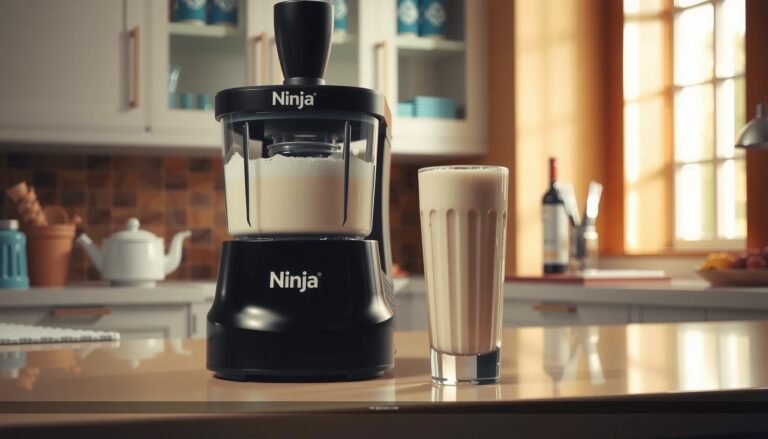
Get the best Ninja Slushie vanilla milkshake recipe with a thick, creamy result and zero guesswork—perfect for when you want that smooth “slushie” milkshake texture fast. This step-by-step method tells you exactly how to blend, what amounts to use, and how to dial in sweetness and thickness. If you follow these steps, you’ll get a cold, spoonable vanilla milkshake every time.
Make a creamy Ninja Slushie vanilla milkshake by blending vanilla milk, ice, and your preferred sweetener until smooth and thick—then fine-tune the texture with small adjustments. Below, you’ll get exact blending steps and an ice-to-milk approach that consistently delivers the “frosty slushie” body you want, not a watery shake.
What You Need (Ingredients & Tools)

To reliably produce a thick Ninja slushie vanilla milkshake, focus on two variables: (1) dairy flavor (vanilla + milk) and (2) the ice behavior (size, volume, and blending time). Unlike a traditional shake where everything is liquid-first, slushies depend on how quickly ice breaks down while staying emulsified with the milk base.
– Vanilla flavor: Vanilla milk (best for convenience) or plain milk plus a vanilla extract (for more control over intensity).
– Milk: Whole milk delivers the creamiest body; 2% works, but may feel slightly lighter. Oat milk or almond milk can work for non-dairy versions, though texture will vary.
– Ice: Use enough ice to create thickness and enough water-free “grind” action to thicken without turning grainy.
Sweetener options (choose one)
– Sugar (granulated) for a classic taste
– Simple syrup (often dissolves faster for smoother blending)
– Honey or maple syrup (stronger flavor—use slightly less)
– If your vanilla milk already has added sugar, you may only need a small extra touch
Optional add-ins (high impact)
– Vanilla extract (if using plain milk or for extra aroma)
– Sugar or vanilla syrup (for stronger dessert alignment)
– Whipped topping (for a “creamier finish” when served, not always necessary during blending)
Tool requirements
– Ninja blender (a personal blender or countertop model both work)
– Measuring cup/spoons for repeatable ratios
– Tamper (if your model includes one) to ensure efficient processing
To help you choose ingredients strategically, here’s a practical “what to expect” data table comparing common base choices for a Ninja slushie vanilla milkshake.
Ice-to-Milk Starting Points for a Thick Ninja Slushie (1 Serving)
| # | Base Type | Milk (ml) | Ice (cups) | Expected Thickness | Blend Time (s) |
|---|---|---|---|---|---|
| 1 | Whole vanilla milk | 180 | 1.5 | ★★★★☆ | 35–45 |
| 2 | 2% vanilla milk | 180 | 1.75 | ★★★☆☆ | 40–50 |
| 3 | Plain whole milk + vanilla extract | 200 | 1.5 | ★★★★☆ | 35–45 |
| 4 | Plain 2% milk + vanilla extract | 200 | 1.8 | ★★★☆☆ | 40–55 |
| 5 | Oat milk (barista style) | 190 | 1.7 | ★★★★☆ | 40–55 |
| 6 | Almond milk (unsweetened) | 180 | 1.9 | ★★☆☆☆ | 45–60 |
| 7 | Vanilla milk + whipped topping | 170 | 1.5 | ★★★★★ | 30–40 |
Ninja Slushie Vanilla Milkshake Base Recipe

A great Ninja slushie vanilla milkshake is mostly process, not mystery. The goal is to emulsify milk with partially crushed ice quickly enough that it stays thick while still smooth.
Step-by-step (single serving)
1. Start with liquids and flavor
– Add vanilla milk (or plain milk + vanilla extract) to the Ninja blender.
– Add your chosen sweetener. If you’re using granulated sugar, add it now so it has time to dissolve during blending.
2. Blend briefly to unify
– Pulse for 5–8 seconds to evenly distribute vanilla and sweetener.
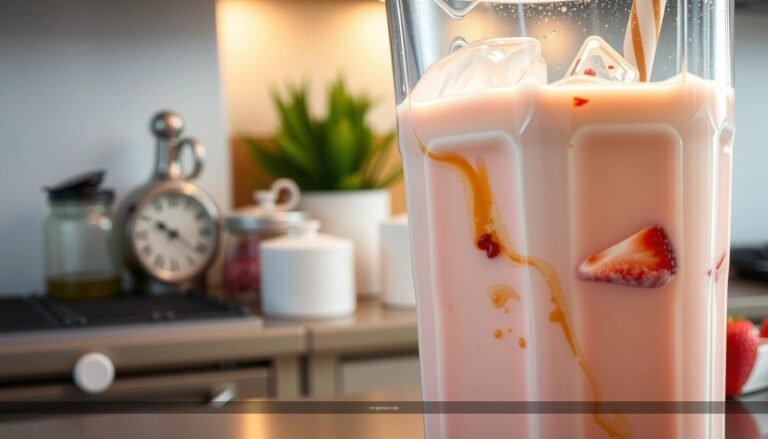
3. Add ice gradually
– Add ice in stages (for example: half first, then the remainder).
– This prevents “ice-only clumps” that can lead to uneven texture.
4. Blend until creamy, not watery
– Use short pulses first (about 3–5 pulses, 2–3 seconds each).
– Then blend continuously until the mixture reaches your target thickness (typically 30–55 seconds, depending on ice size and milk type).
Visual/texture checkpoints (what you should see)
– Early stage: slush looks chunky; edges of ice still visible.
– Mid stage: mixture becomes opaque and thick; sound changes from “grinding” to “creamy whirl.”
– Finish: no large ice fragments, and the slush has body that holds for a few seconds when you spoon it.
How to Get the Perfect Slushie Consistency

Consistency is the difference between a premium slushie and a “failed milkshake.” In practice, you’re managing ice particle size and how quickly the blender creates a stable emulsion.
1) Use smaller ice cubes
Smaller cubes distribute and fracture faster, which reduces icy mouthfeel. If your ice tends to be large (or forms in a slow-freeze tray), consider:
– cracking larger cubes into smaller pieces, or
– using freshly made, smaller cubes for best results.
2) Use a two-stage blend pattern
– Short pulses (to break ice and start emulsification)
– Continuous blend (to reach a uniform, thick slush)
This approach prevents the common issue where prolonged blending turns the mixture thinner because the ice melts faster than it’s being processed.
3) Adjust thickness with “directional” ingredients
For a Ninja slushie vanilla milkshake, your main levers are:
– More ice = thicker, colder, and more “slush-forward”
– More milk = smoother and slightly looser
Make adjustments in small increments:
– Add 1–2 tablespoons of milk if it’s too thick.
– Add a small handful of ice if it’s too thin, blending 20–30 seconds again after each adjustment.
Flavor Variations to Try

Once you’ve mastered the base process, flavor variations are straightforward because the blending mechanics remain the same. Think in terms of compatible flavor systems: chocolate pairs with vanilla dairy; fruit pairs well when you keep sweetness balanced.
– Chocolate twist: Add chocolate syrup or unsweetened cocoa.
– If using cocoa powder, whisk it in with a tablespoon of milk first (to avoid clumps).
– Caramel mood: Use caramel syrup and a pinch of salt (optional) to enhance caramel notes.
– Strawberry vibe: Blend in strawberry syrup or a spoonful of fruit puree (use enough ice to maintain thickness).
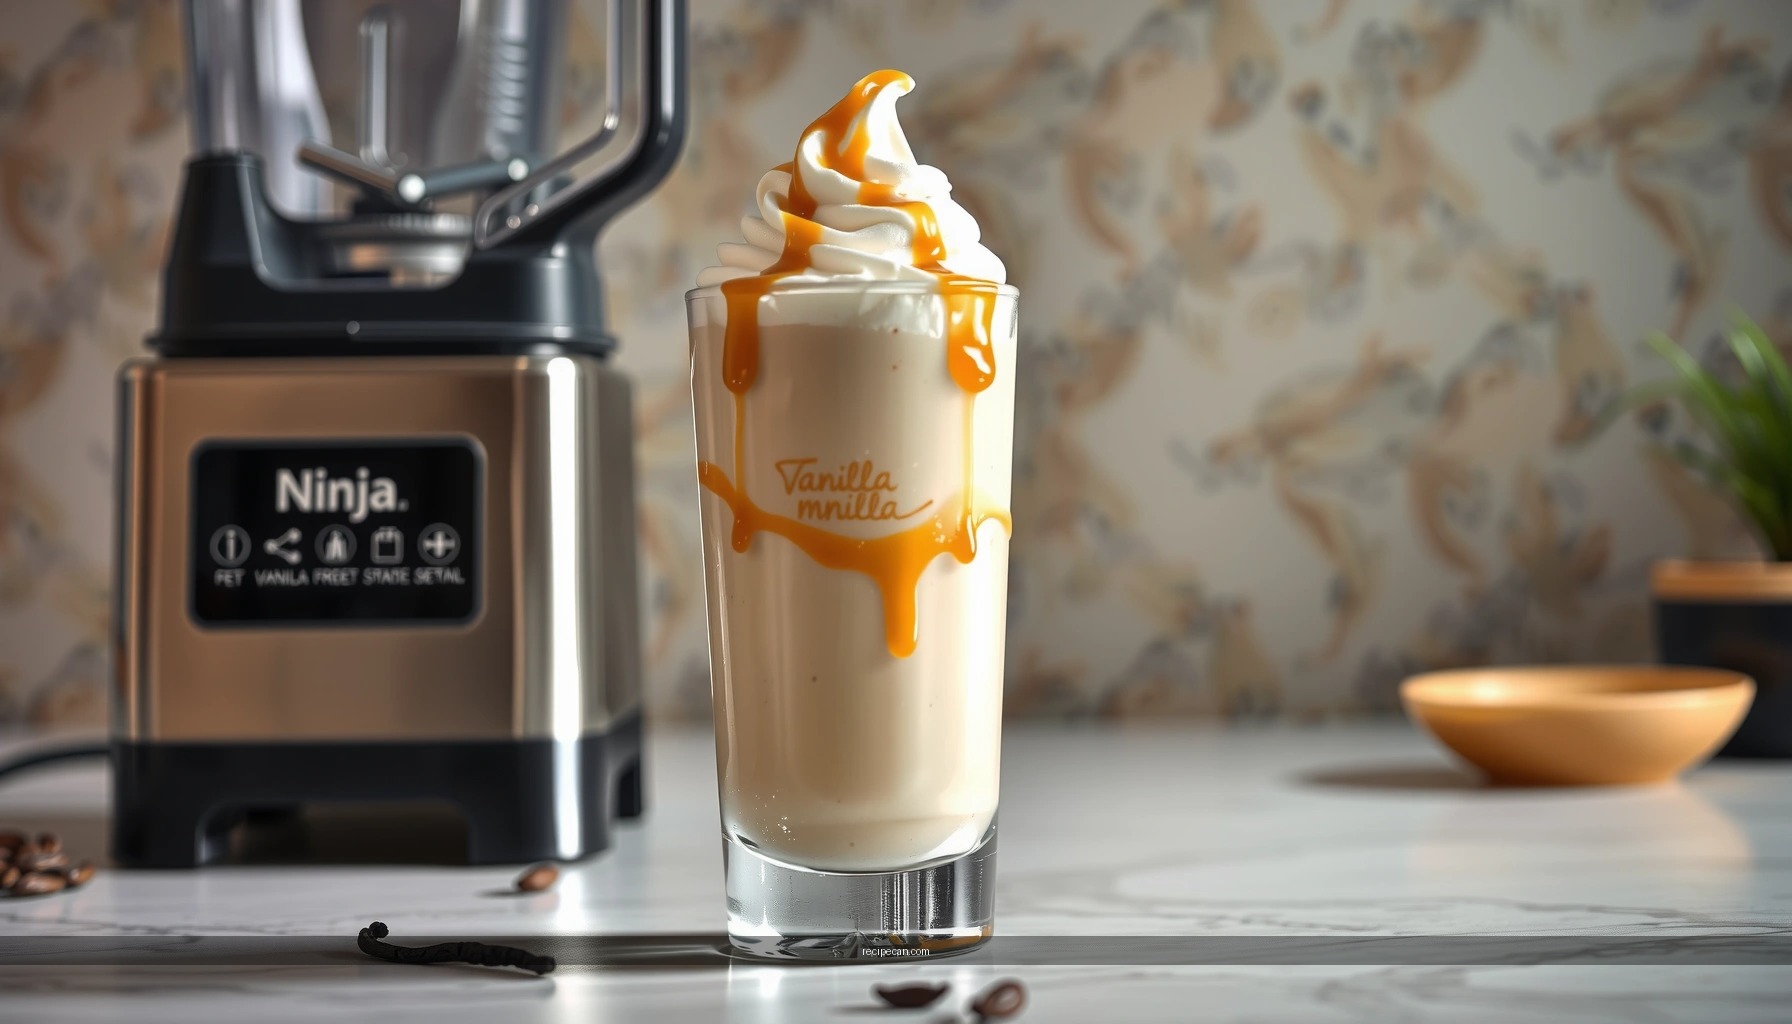
– Dessert-style toppings: Finish with sprinkles, whipped cream, or a vanilla drizzle. Toppings don’t just look good—they reinforce the “milkshake” identity even when the drink is slush-like.
Operational tip: If you add a syrup that’s very sweet, reduce extra sweetener in the base to avoid an over-sugared finish.
Serving Tips (Texture, Temperature, Presentation)
A slushie behaves like a cold dessert: it’s best right after blending, when ice particle size and emulsification are at their peak.
– Serve immediately
– As soon as you stop blending, melting begins. For the best frosty thickness, pour and serve within a minute or two.
– Chill the glass
– Pre-chilled glasses slow temperature rise and help the slush maintain body for longer.
– Choose the right utensil
– Straw: slightly thicker slush with smoother consistency
– Spoon: ideal for “thicker-than-a-shake” texture
For presentation, drizzle sauce on the inside rim of the glass, then spoon on whipped topping if desired. Even in home settings, this creates a consistent “store-style” visual cue that customers (or guests) associate with quality.
Troubleshooting Common Issues
Even with a solid Ninja slushie vanilla milkshake recipe, small variables—like cube size, milk fat content, and blender model—can change results. Use these fixes as a controlled adjustment process.
– If it’s too thin
– Blend in more ice, small batches.
– Add a handful of ice, blend 20–30 seconds, and reassess.
– If it’s too thick
– Add milk 1–2 tablespoons at a time.
– Blend briefly after each addition so the texture integrates rather than stays lumpy.
– If it’s icy or grainy
– Pulse longer at first to fully break down ice.
– Consider using finer ice cubes next time (or cracked ice).
– Avoid over-reducing the ice-to-milk ratio; too little ice can lead to slushy separation.
The fastest path to “perfect every time” is to treat texture like a dial: adjust in small increments, then document your final ratio (even mentally) for future repeat results.
After blending, you’ll have a thick, creamy Ninja slushie vanilla milkshake ready to enjoy right away. Follow the base recipe, adjust the ice-to-milk ratio to match your preferred thickness, and try one flavor variation—then make your next batch even better.
References
- Google Scholar Google Scholar
https://scholar.google.com/scholar?q=ninja+slushie+vanilla+milkshake+recipe - Google Scholar Google Scholar
https://scholar.google.com/scholar?q=milkshake+frozen+dessert+food+science+ice+crystalization - Google Scholar Google Scholar
https://scholar.google.com/scholar?q=slush+beverage+freezing+point+depression+sucrose - Milkshake
https://en.wikipedia.org/wiki/Milkshake - https://en.wikipedia.org/wiki/Slush_(drink
https://en.wikipedia.org/wiki/Slush_(drink - Frozen dessert
https://en.wikipedia.org/wiki/Frozen_dessert - https://www.fda.gov/food/milk-products/ice-cream-and-frozen-desserts
https://www.fda.gov/food/milk-products/ice-cream-and-frozen-desserts - https://pubmed.ncbi.nlm.nih.gov/?term=ice+cream+formulation+processing
https://pubmed.ncbi.nlm.nih.gov/?term=ice+cream+formulation+processing - https://pubmed.ncbi.nlm.nih.gov/?term=slush+beverage+freezing+food+science
https://pubmed.ncbi.nlm.nih.gov/?term=slush+beverage+freezing+food+science - https://www.sciencedirect.com/search?qs=milkshake+ice+crystalization
https://www.sciencedirect.com/search?qs=milkshake+ice+crystalization