Find out how to make a Ninja Creami milkshake that turns out thick, creamy, and restaurant-smooth with minimal effort—without guesswork. This recipe delivers the fastest path to a perfectly blended shake, using the right freeze-and-process steps for consistent results every time. If you want the best “set it and spin it” Ninja Creami method for a sweet, smooth milkshake, this is the one to follow.
Make a Ninja Creami milkshake by blending your milk/cream with flavor, freezing it solid, then processing it in the Creami until it turns into a thick, spoonable shake. With the right base ratio and a couple of targeted process steps (especially scraping and correct re-process timing), you can reliably achieve that smooth, ice-cream-style texture at home.
Choose Your Milkshake Base

A great Ninja Creami milkshake starts with the base, because the freezer-to-processor transformation is extremely sensitive to fat content, sugar, and temperature. In practical terms, you’re building the “ice crystal control” needed for a smooth result.
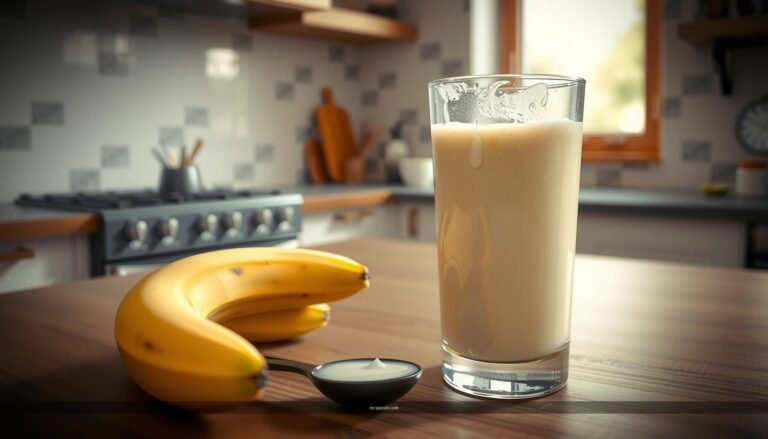
Use cold milk or cream (or a mix) for the best texture
– Cream (highest fat): Delivers the richest mouthfeel and typically the smoothest texture because fat slows down icier crystallization.
– Whole milk (balanced option): Still creamy, slightly lighter than cream, and easier if you want a more classic “milkshake” taste.
– Milk + cream blend: Often the best compromise for both texture and flavor intensity. A modest amount of cream upgrades body without making it overly heavy.
Pick a flavor base like chocolate, vanilla, or cookie crumbs
Think of flavoring as having two roles: (1) taste and (2) how it behaves when frozen and churned.
– Vanilla: Works with dairy and lighter add-ins (like cookie crumbs or caramel). Extracts integrate cleanly.
– Chocolate: Cocoa powder and chocolate syrups behave differently—cocoa tends to thicken and may require a bit more sweetener for a “shake-like” balance.
– Cookie crumbs (e.g., chocolate sandwich cookies): Add in small amounts first; too much can absorb liquid and create a grainy texture unless the base is well-sweetened and properly blended.
Analytical tip for consistency: If your mixture tastes slightly sweeter than you normally prefer (before freezing), you’ll often land closer to “restaurant milkshake” flavor after processing. Freezing can mute sweetness, and Cocoa/Cookies can dull it further.
Best Creami Milkshake Bases (Fat %, Freeze Behavior, Texture)
| # | Base (Dairy + Style) | Milk/Fat % | Freezing Outcome | Texture Rating | Recommendation |
|---|---|---|---|---|---|
| 1 | Heavy cream (rich shake) | ~36% | Smooth churn; minimal iciness | ★★★★★ | Top pick |
| 2 | Half-and-half (balanced) | ~10–12% | Creamy; slightly softer set | ★★★★☆ | Great for most recipes |
| 3 | Whole milk (classic) | ~3.25% | Can firm up more; needs careful sweetness | ★★★☆☆ | Works with ideal sugar |
| 4 | 2% milk + cream (upgrade) | ~5–8% | Good set; smoother with a small re-process | ★★★★☆ | Best value texture |
| 5 | Coconut cream (dairy-free option) | ~20% | Smooth but flavor shifts; benefits from neutral sweetness | ★★★★☆ | Excellent for non-dairy |
| 6 | Skim milk (light, harder churn) | ~0–0.5% | More ice crystals; requires added fat/sweetness | ★★☆☆☆ | Not recommended |
| 7 | Greek yogurt + milk blend (tangy) | ~5–10% | Creamy tang; can be thicker to blend | ★★★☆☆ | Good for “dessert-like” shakes |
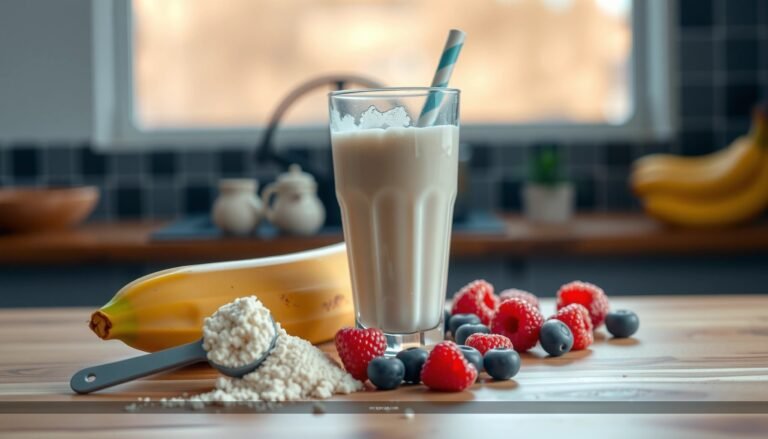
Mix-In Flavor and Sweetness

Once you’ve selected the base, flavoring is where you turn a frozen dairy mixture into an actual Ninja Creami milkshake experience. The key is balancing intensity and “processor friendliness.”
Add syrup, cocoa powder, or extract for strong flavor
– Syrup (chocolate, caramel, maple): Typically melts and disperses well, making it easy to achieve uniform flavor. It also contributes sugar, improving freeze behavior.
– Cocoa powder: Delivers depth, but it can taste flat if you don’t sweeten enough. Cocoa also thickens the mixture, so blend thoroughly to avoid gritty texture.
– Extracts (vanilla, almond, peppermint): Potent and fast. Add after heating/cooling steps to preserve aroma.
Actionable method: If you use powders (cocoa, espresso powder, milk powder), mix them with a small portion of the liquid first to form a smooth paste before combining into the full batch. This reduces the risk of cocoa specks during processing.
Sweeten to taste while keeping the mixture not too watery
A Ninja Creami milkshake needs sweetness for two reasons:
1. Taste after freezing (sugar reads less intense).
2. Texture—sugar lowers the freezing point, helping the mixture churn smoother.
Guideline approach:
– Start with a base that tastes “slightly dessert-ready” while still liquid.
– If you’re aiming for a classic milkshake, avoid watery additions (like extra milk or unmodified juice). If you must loosen the mixture, do it before freezing and blend well.
Flavor architecture that works especially well in the Creami
– Chocolate: cocoa + a chocolate syrup drizzle + optional pinch of salt
– Vanilla: vanilla extract + a small amount of sugar + cookie crumbs or caramel sauce
– Cookies-and-cream: cookie crumbs plus a portion of syrup (or crushed cookies + sweetened condensed-style sweetness if that’s your preference)
Freeze and Set the Mixture

Freezing is not just a waiting step—it’s the foundation for how your Ninja Creami will behave when it churns.
Pour your mixture into the Ninja Creami container
– Strain if you’re using chunky add-ins to prevent clogging or uneven scraping.
– Fill to a level that allows the container to freeze evenly (follow your specific container guidance).
– Leave the surface relatively smooth so the first churning pass can “read” the texture correctly.
Freeze until fully solid for proper churning
For best results:
– Freeze long enough to be completely firm—in most home freezers that typically means “overnight,” then a bit longer if your unit runs warm.
– Keep the container stable in the coldest part of the freezer to minimize partial thaw/freeze cycles.
Analytical note: If the mixture is not fully solid, the Creami can produce a softer, less structured texture—sometimes resulting in a grainy melt pattern rather than a thick shake.
Process in the Ninja Creami

Processing is where the milkshake becomes unmistakably “Creami”—thick, spoonable, and smooth. Small technique details make a large difference.
Use the correct setting for milkshakes/ice cream-style desserts
– Select the setting aligned with ice cream-style desserts/milkshake textures as your starting point.
– If your result comes out a little coarse, that’s typically an indication that the mix needs better freezing or a targeted re-process step.
Scrape down the sides, then re-process if needed for smoothness
Most successful users follow the same disciplined flow:
1. Start processing.
2. Pause to scrape any texture clinging to the sides.
3. Re-process using the appropriate setting when needed.
Why scraping matters: Frozen edges can contain denser ice crystals or partially churned layers. Scraping mixes those portions back into the churn path so you avoid “chunk bands” along the container wall.
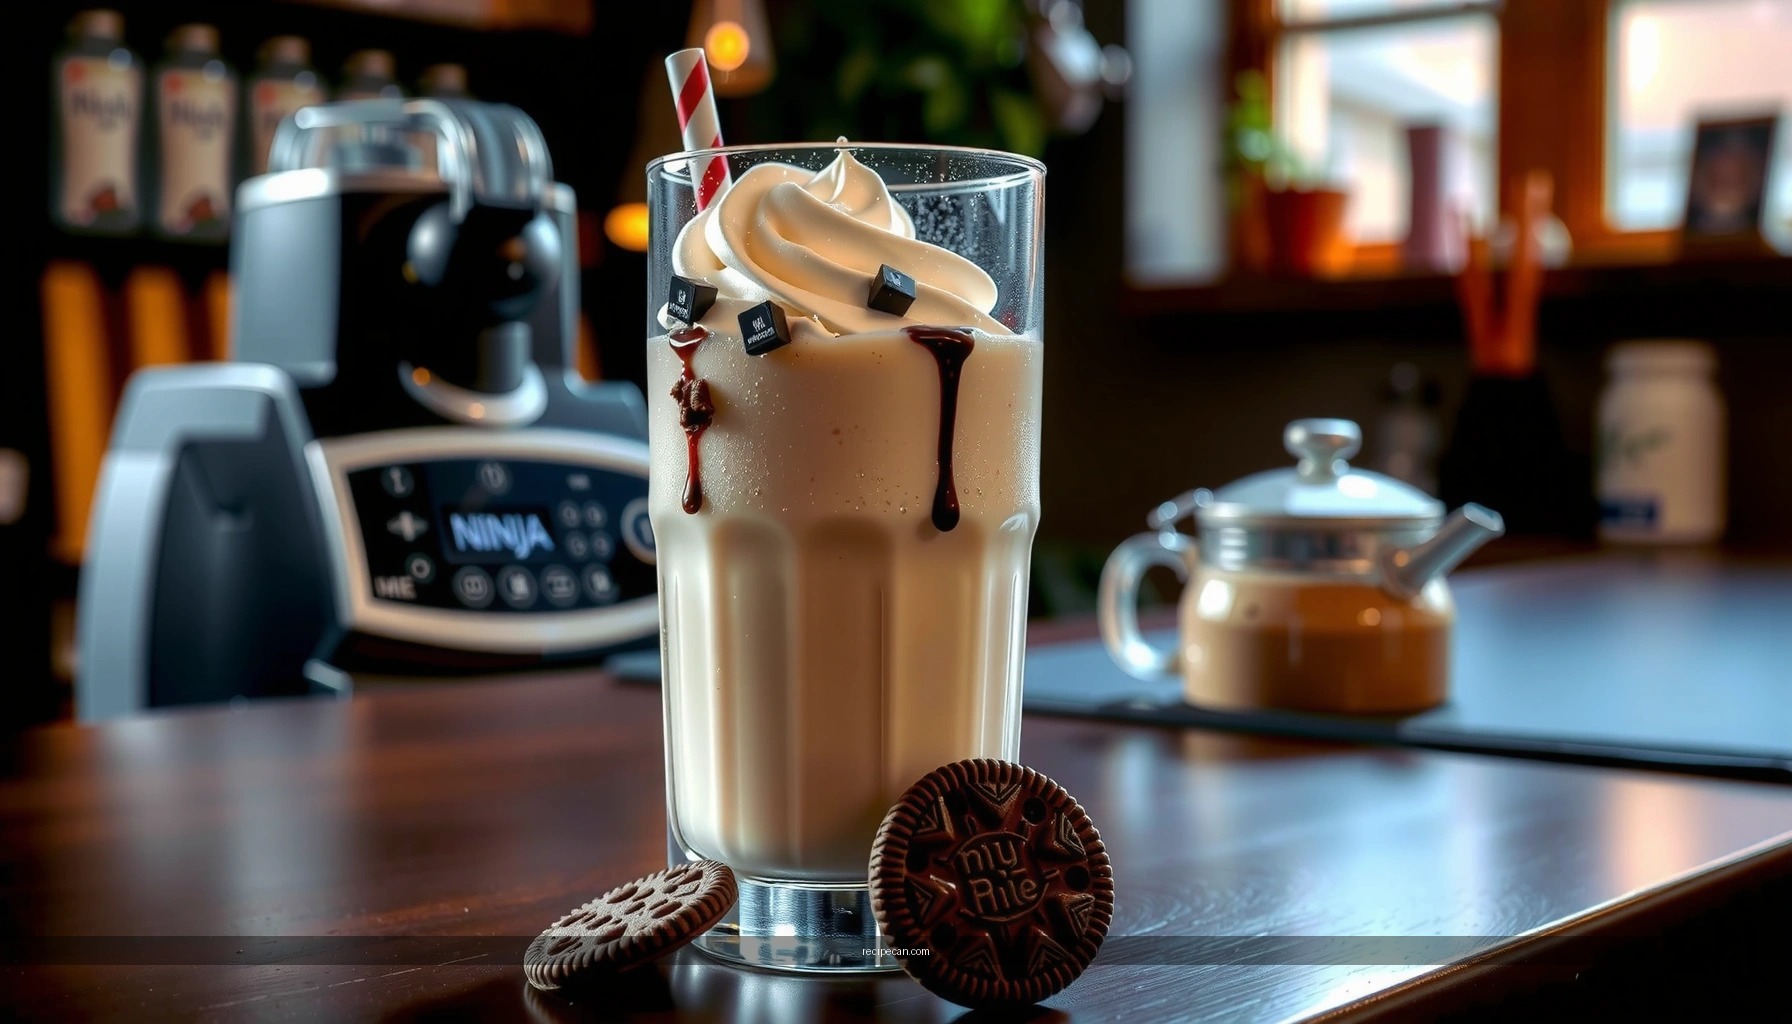
Example: Chocolate cookie milkshake workflow
– Blend cocoa + cream/milk + chocolate syrup.
– Freeze solid.
– Process once to break down.
– Scrape and process again until thick and uniform.
– Add cookie crumbs after processing only if you want a fresher crunch; add earlier only if the crumbs are finely crushed and the mixture is blended very smooth.
Top and Serve for Maximum Creaminess
Toppings are not just finishing—they affect perceived texture and flavor contrast. In a Ninja Creami milkshake, the “final minute” is when you lock in satisfaction.
Finish with whipped cream, drizzle, or crushed toppings
Good topping strategies:
– Whipped cream: Boosts lightness and enhances dairy richness.
– Drizzle (caramel/chocolate syrup): Adds glossy sweetness and gives a “shop-style” appearance.
– Crushed cookie or chocolate shavings: Provides structured crunch against the smooth base.
Serve immediately for the thickest milkshake texture
Milkshake texture is time-sensitive because the mixture begins to melt as it warms. To maximize thickness:
– Plate or spoon as soon as processing finishes.
– If you want toppings to stay crisp, add crumb toppings right before serving.
– Keep glasses/chilled cups ready to reduce waiting time.
Practical serving idea for consistency: If you’re making multiple milkshakes, process one container at a time and top/serve immediately to preserve the thick “Creami spoon” feel.
Troubleshooting Common Issues
Even when you follow the steps, you may encounter texture problems. Use these fixes as a repeatable playbook rather than guessing.
If too icy, re-process with a splash of liquid and scrape well
Symptoms often include:
– Coarse/grainy bite
– Excess ice crystals
– Dry, “snowy” appearance
Fix:
– Add a small splash of milk, cream, or a syrup-forward liquid (so it also improves sweetness).
– Scrape thoroughly.
– Re-process with the milkshake/ice cream-style setting.
– Repeat only if necessary; incremental adjustments are more controllable than large changes.
If too soft, freeze longer next time and keep ingredients cold
Symptoms:
– Slower thickening
– More “soft-serve” than milkshake thickness
– Less structure when spooned
Fix:
– Freeze longer so the container contents become fully solid.
– Chill your base ingredients before mixing (cold dairy freezes more predictably).
– Avoid over-watering the base before freezing.
Root-cause checklist (quick diagnostic)
– Were ingredients cold?
– Was the mixture fully frozen before processing?
– Did you scrape the container walls before the final pass?
– Was the sweetness adequate for dessert-like texture?
The Ninja Creami milkshake is all about the right base, fully freezing, and processing until smooth. Follow the steps above, then customize with your favorite mix-ins and toppings—make your next milkshake today and enjoy it right away.
References
- Google Scholar Google Scholar
https://scholar.google.com/scholar?q=Ninja+Creami+milkshake+recipe - Google Scholar Google Scholar
https://scholar.google.com/scholar?q=milkshake+nutrition+sugar+sweetened+beverages - Google Scholar Google Scholar
https://scholar.google.com/scholar?q=ice+cream+frozen+dessert+processing+emulsion+science - Milkshake
https://en.wikipedia.org/wiki/Milkshake - Ice cream
https://en.wikipedia.org/wiki/Ice_cream - https://www.britannica.com/topic/milkshake
https://www.britannica.com/topic/milkshake - https://www.cdc.gov/foodsafety/food-safety-basics.html
https://www.cdc.gov/foodsafety/food-safety-basics.html - https://www.fda.gov/food/consumers
https://www.fda.gov/food/consumers - https://www.niddk.nih.gov/health-information/diet-nutrition/healthy-eating/added-sugars
https://www.niddk.nih.gov/health-information/diet-nutrition/healthy-eating/added-sugars - https://pubmed.ncbi.nlm.nih.gov/?term=milkshake
https://pubmed.ncbi.nlm.nih.gov/?term=milkshake