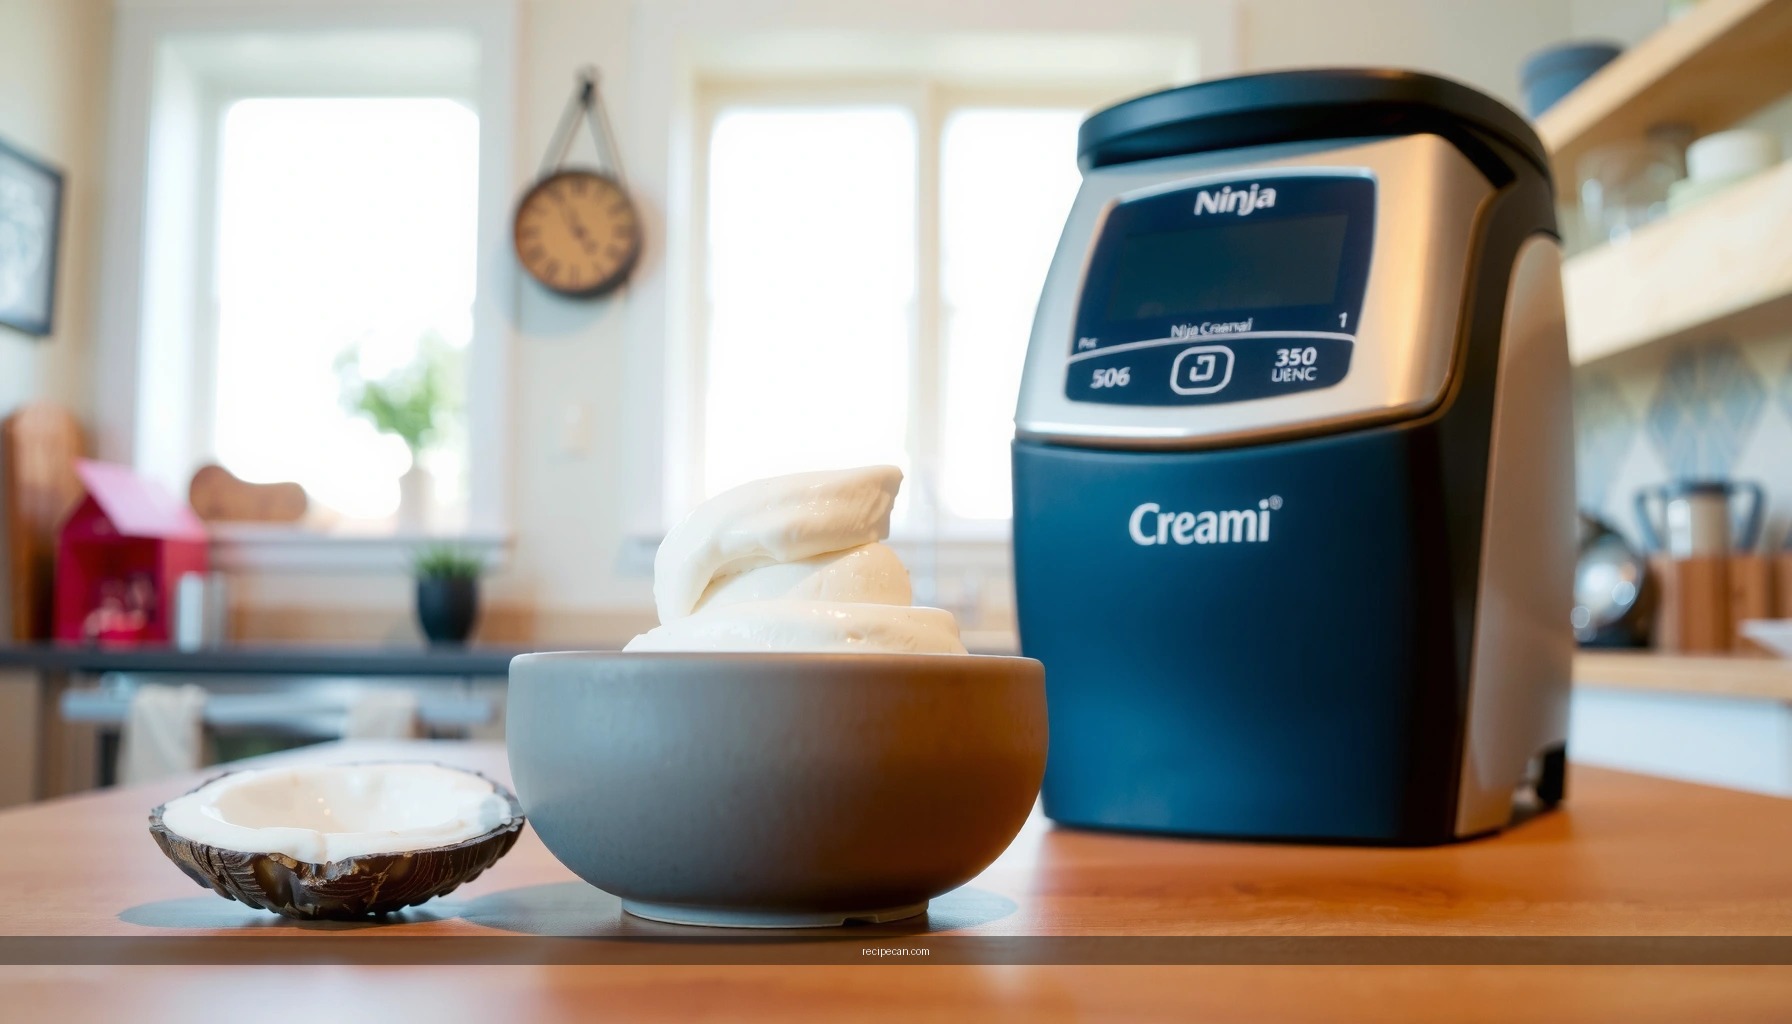
Get the Ninja Creami coconut ice cream recipe that delivers true scoopable, creamy coconut flavor every time. This guide tells you exactly how to mix, churn, and get the right texture in your Ninja Creami—no icy disappointment, no guesswork. If you want an easy homemade coconut ice cream that comes out rich and smooth, this is the winning method.
You can make rich, scoopable Ninja Creami coconut ice cream by blending a well-chilled coconut base with a small amount of stabilizer (to prevent iciness), then processing it on the correct CREAMi program until it reaches a thick, spoonable texture. This guide gives you the exact ingredients, blending approach, freezing timeline, and Ninja CREAMi settings to help you get consistent results batch after batch.
What You’ll Need for Ninja Creami Coconut Ice Cream

– Coconut base: use coconut milk (for lighter, dairy-free creaminess) or full-fat coconut cream (for extra-rich results). For the smoothest “ice cream” texture, full-fat is typically easier to get right.
– Sweetener: granulated sugar or a 1:1 all-purpose sweetener. Stabilizers work better when sweetness is fully dissolved before freezing.
– Stabilizers (recommended for scoopability): choose one:
– Guar gum (great for thickening with very small amounts)
– Locust bean gum (LBG) (often used with guar or on its own)
– No-sugar-added ice cream stabilizer blend (if that’s what you have, follow its label directions)
– Optional flavor additions: vanilla extract, toasted coconut, coconut flakes, pinch of salt.
– CREAMi-ready containers: use CREAMi pints (or approved containers) so the motor and freezing geometry work as intended.
– Key prep tools: a blender (for smoothness), a whisk or scale (for accurate stabilizer dosing), and an airtight fridge for chilling.
Why stabilizers matter: coconut milk doesn’t behave like dairy cream when frozen—without stabilizing agents, you’re more likely to get an icier, softer texture. Stabilizers help bind water and reduce ice crystal growth, which is exactly what a Ninja CREAMi needs to deliver “hard-scoop, spoon-ready” results.
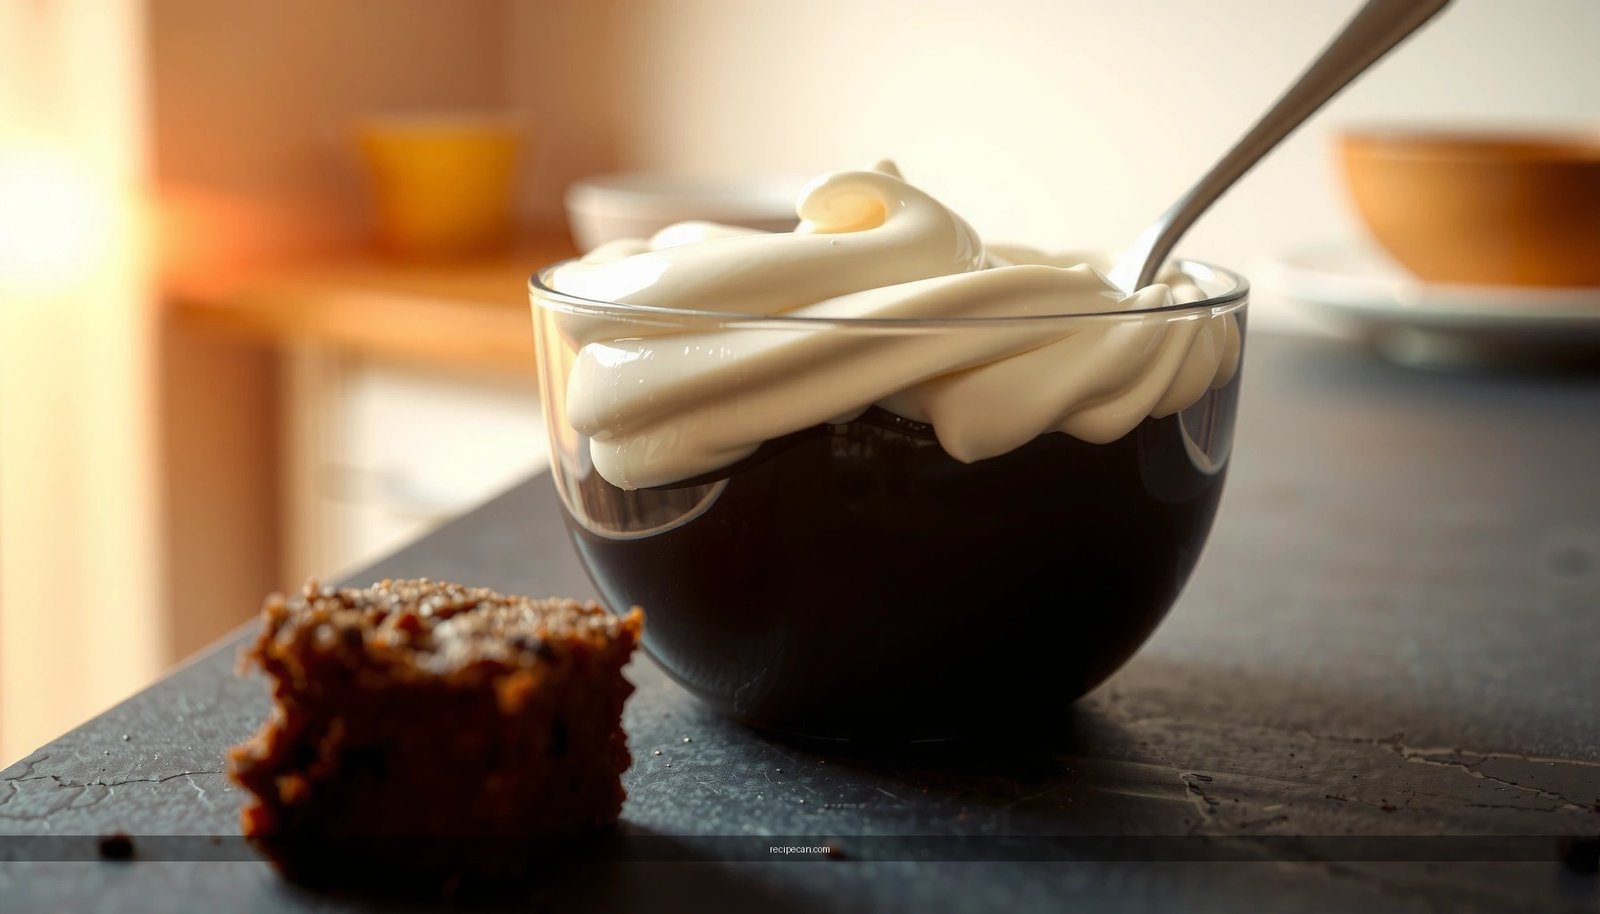
Make the Coconut Ice Cream Base

– Blend coconut ingredients until smooth, with even sweetness throughout
– Add stabilizers (if using) to prevent iciness and improve scoopability
– Chill the base thoroughly before freezing for best results
Exact easy base recipe (makes 1 CREAMi pint)
Use this ratio as a starting point; it’s designed to freeze firmly, churn smoothly, and hold shape.
Ingredients
– 480 g (about 2 cups) full-fat coconut milk (shake well first)
– 120 g (about 1/2 cup) coconut cream (or use additional coconut milk if unavailable)
– 60 g sugar (or 60 g 1:1 sweetener)
– 1/4 tsp vanilla extract (optional, but strongly recommended)
– 1/8 tsp salt
– Guar gum: 1/16 tsp (a tiny pinch; measuring matters)
> If you don’t have guar gum, you can use a stabilizer blend instead—follow the package label for an ice-cream-style base. The goal is consistent thickening, not “more is better.”
How to blend for best texture
1. Warm slightly (optional but helpful): Warm coconut milk/cream to about “steamy,” not boiling. This helps dissolve sugar and bloom stabilizers.
2. Add sugar and salt first: whisk until fully dissolved.
3. Sprinkle guar gum gradually while blending: add in a thin stream, then blend for 45–60 seconds to fully hydrate it.
4. Add vanilla last (or near the end) and blend again briefly.
5. Blend until visually uniform: no grainy sugar pockets and no “stringy” stabilizer lumps.
Analytical tip: even when the stabilizer amount is small, under-blending can lead to uneven thickening. Uneven thickness increases the chance of soft spots that don’t process evenly in the Ninja CREAMi.
Guar Gum vs. No-Stabilizer: Predicted Ninja Creami Scoopability
| # | Base Approach | Stabilizer Added | Typical Freezer Firmness | Expected Scoopability | Rating (★) |
|---|---|---|---|---|---|
| 1 | Full-fat coconut milk + coconut cream | Guar gum (1/16 tsp) | Firm (churn-ready) | High | ★★★★★ |
| 2 | Full-fat coconut milk only | Guar gum (1/16 tsp) | Firm, slightly softer edge | High | ★★★★☆ |
| 3 | Light coconut milk | Guar gum (1/16 tsp) | May need extra rest time | Medium-High | ★★★★☆ |
| 4 | Full-fat coconut milk + coconut cream | Guar gum (1/8 tsp) | Firm but can feel “too thick” | Medium | ★★★☆☆ |
| 5 | Full-fat coconut milk + coconut cream | No stabilizer | Often icy after processing | Low-Medium | ★★☆☆☆ |
| 6 | Light coconut milk | No stabilizer | Soft/icy mix; uneven scoops | Low | ★☆☆☆☆ |
| 7 | Full-fat coconut milk + coconut cream | Guar gum + adequate chilling | Firm, smooth churn | High | ★★★★★ |
Freeze Like a Pro (So It Churns Smoothly)

– Freeze the base in the CREAMi pint solid (typically 24 hours)
– Keep pints flat and undisturbed to avoid uneven freezing
– Confirm it’s fully firm before processing
Freezing is where most “inconsistent Ninja Creami coconut ice cream” problems begin—not in the churn stage.
What “fully firm” actually means
For a coconut base, you want:
– Solid pints with no slushy center
– Edges that don’t dent easily when you lift the pint
– A freeze time of about 24 hours (especially if your freezer is busy or fluctuates)
If your freezer tends to run warm, plan for up to 36 hours to be safe.
Best freezing practices
1. Fill pints evenly: don’t overfill beyond the pint fill line.
2. Freeze pints flat: place them on a level shelf so the thickness forms evenly.
3. Don’t keep opening the freezer: temperature swings contribute to larger ice crystals.
4. Optional—but effective: after freezing, keep the pint at the same spot for consistent firmness during your processing day.
Quality control move: If the pint looks slightly matte or feels “cool but not solid,” let it freeze longer before running the CREAMi.
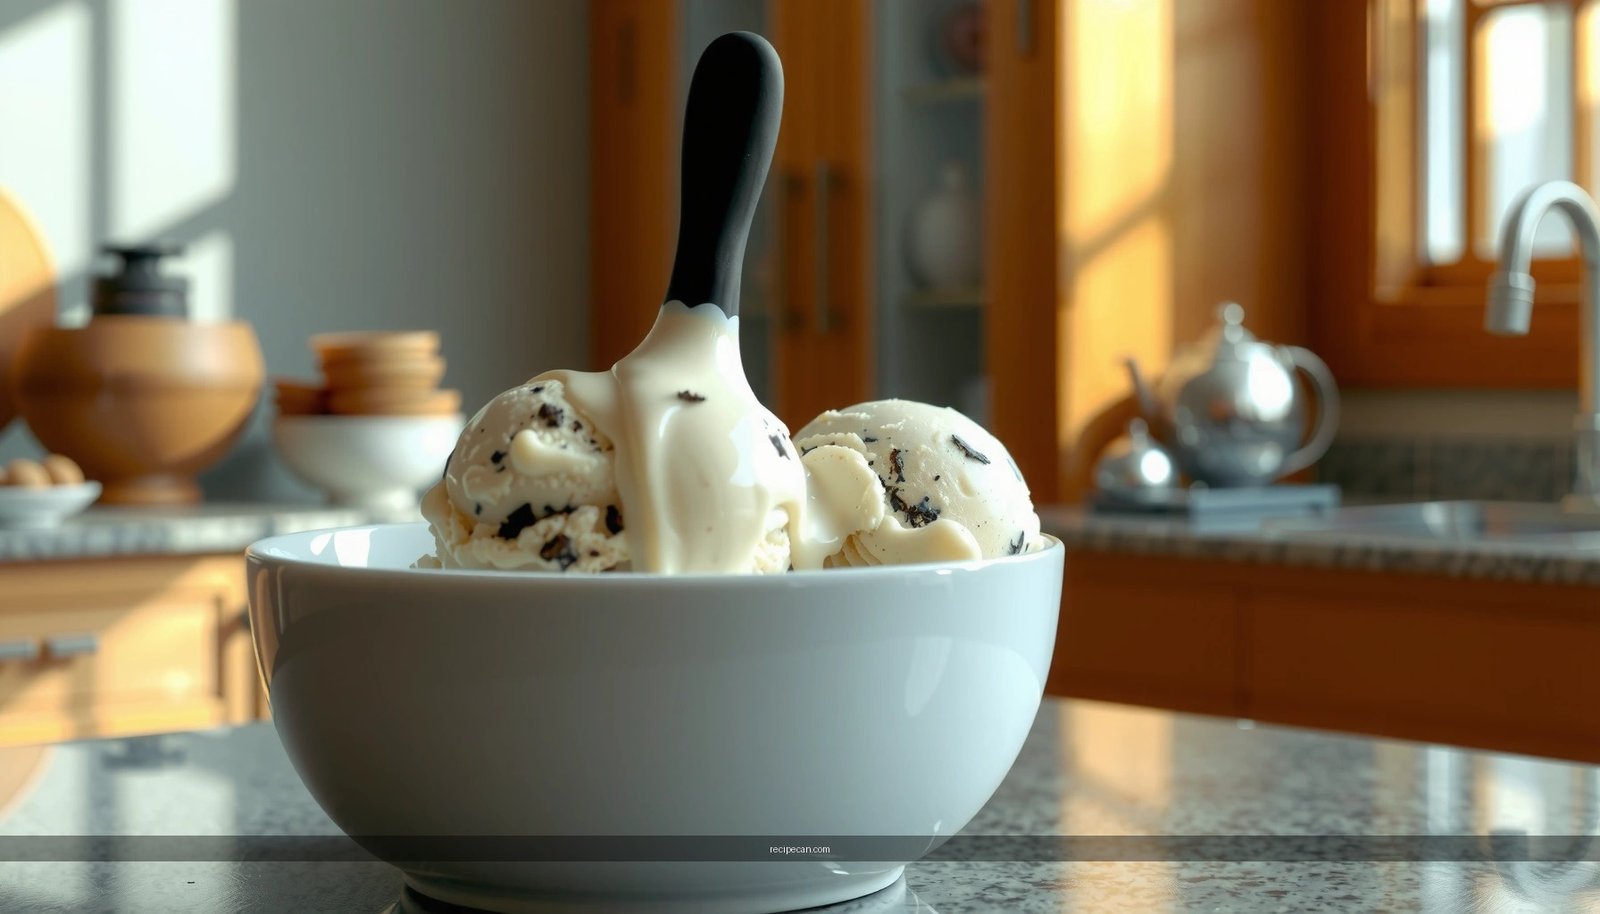
Process in Your Ninja Creami for the Right Texture
– Use the correct CREAMi function (commonly “Ice Cream”)
– Scrape the sides and top before re-processing, if needed
– Let it sit briefly to soften if it feels too hard
The typical processing workflow (practical and repeatable)
1. Remove pint from freezer and insert it into the Ninja CREAMi.
2. Select the “Ice Cream” program (this is the most consistent starting point for creamy frozen bases).
3. Start the program and monitor for smooth blending: if your unit allows, stop to check texture if it looks like ingredients aren’t pulling evenly.
Scraping and rest timing
– Scrape the top and sides with a spatula if you see a layer that didn’t fully incorporate. Then run a short re-process (if your model supports it).
– If the result is too hard, let it sit at room temperature for 2–5 minutes. Coconut ice cream thickens quickly as it warms; this small window often gives you the scoop you want without melting it into soup.
Texture target: You’re aiming for “firm-soft”—strong enough to scoop but not rock-hard.
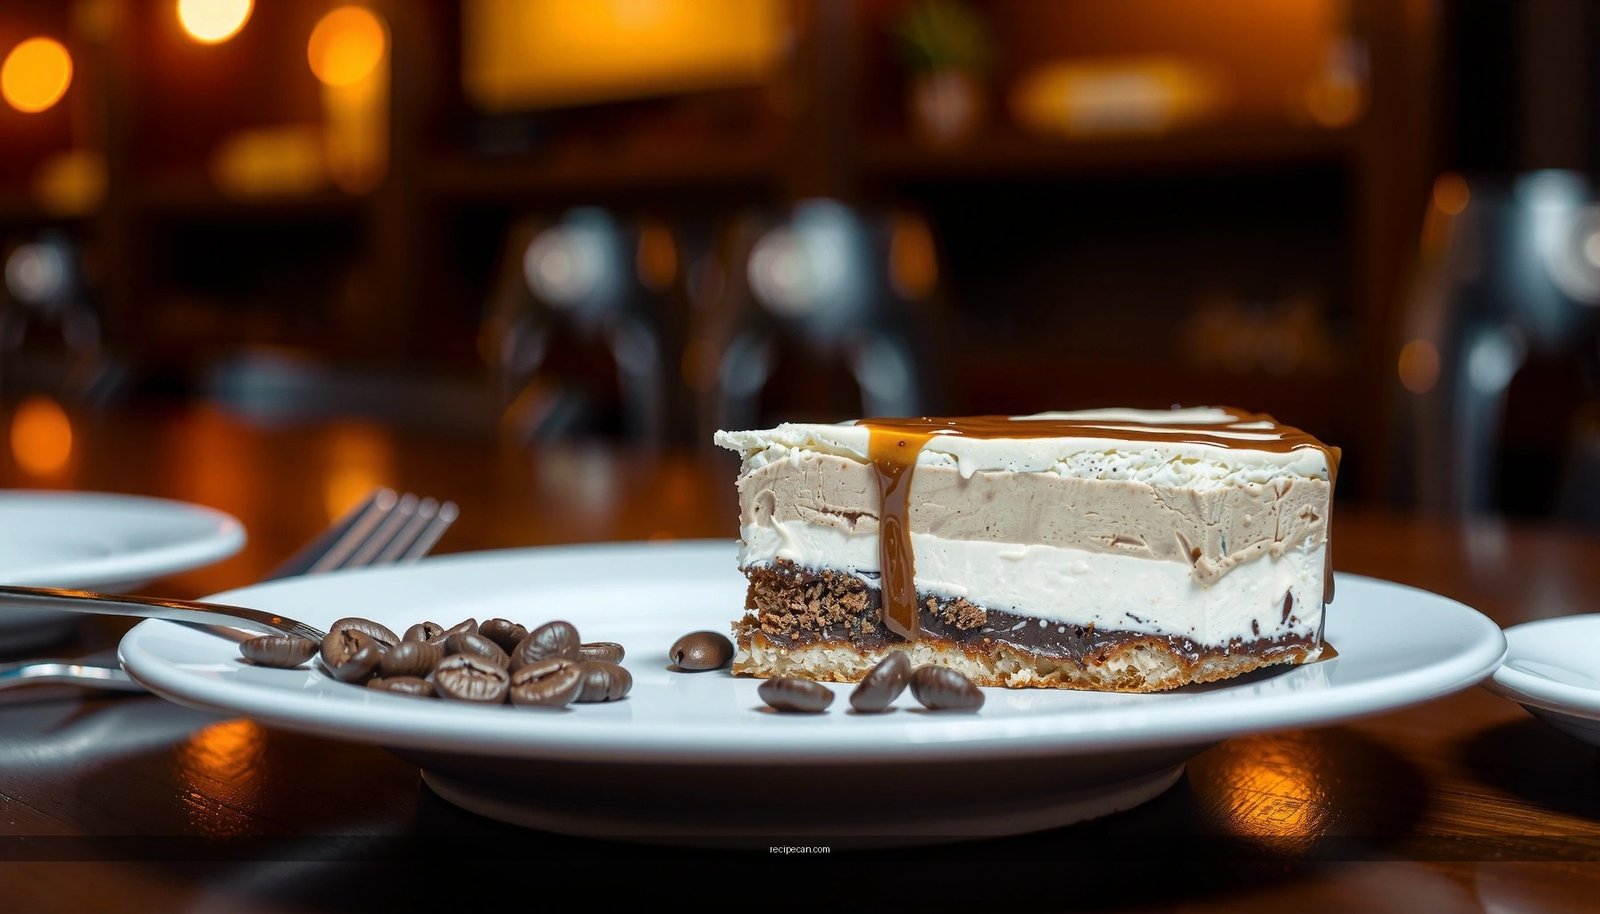
Flavor Variations and Mix-In Ideas
– Add vanilla extract, shredded toasted coconut, or a pinch of salt
– Swirl in chocolate, caramel, or fruit for a different twist
– Keep mix-ins small to maintain a smooth, scoopable texture
Once the base is dialed in, the Ninja Creami coconut ice cream becomes a platform for variety.
Flavor boosters that work especially well
– Toasted coconut: Use finely chopped or very small shreds. Toasting (3–5 minutes in a dry pan) brings a deeper aroma that matches coconut’s natural sweetness.
– Vanilla: A small amount makes coconut taste more “ice cream-like” rather than purely “coconut drink.”
– Salt: A tiny pinch rounds flavors and improves perceived sweetness balance.
Mix-in guide (to prevent problems)
– Chocolate: Use cocoa powder in the base for uniform flavor, or add small chocolate chips after processing by mixing gently.
– Fruit: Use freeze-dried fruit or very small pieces. Watery fruit increases ice crystal formation unless balanced with stabilizers.
– Caramel: Choose thicker sauces; swirling thin sauces can create icy streaks.
Rule of thumb: keep mix-ins small and use them sparingly for the smoothest scoop.
Troubleshooting Common Issues
– If it’s too icy: increase stabilizer and freeze longer
– If it’s too soft: chill the base more next time and avoid over-processing
– If it separates: blend the base longer and ensure thorough freezing
1) “My coconut ice cream is too icy”
Common causes:
– Insufficient stabilizer
– Base not chilled long enough before freezing
– Not fully frozen before processing
Fixes:
– Use guar gum (1/16 tsp) as the baseline.
– Chill the base at least 4 hours before freezing for best hydration.
– Extend freezing to 36 hours if your freezer runs warm.
2) “It’s too soft or won’t hold a scoop”
Common causes:
– Base was too warm going into the pint
– Under-freezing (not fully firm)
– Processing on a program that’s too aggressive for your freezer conditions
Fixes:
– Chill the base longer next time and ensure the pint is fully firm.
– If you get over-soft texture, freeze again for 2–4 hours and re-process briefly.
3) “It separates or looks grainy”
Common causes:
– Stabilizer not fully hydrated
– Incomplete blending
– Uneven freezing (pint moved during initial freezing)
Fixes:
– Blend the base longer (45–60 seconds) until uniform.
– Ensure pints remain undisturbed on a flat surface.
– If separation happens after processing, re-process once more after scraping.
When you use a well-chilled coconut base and process it correctly in your Ninja CREAMi, you’ll get smooth, creamy coconut ice cream every time. Make this recipe as written, then try one variation (toast coconut for crunch aroma or add vanilla for classic flavor) for your next batch. Grab your ingredients, freeze the base, and run the CREAMi today for an easy homemade treat.
If you’d like, tell me which Ninja CREAMi model you have (and whether you prefer higher fat or lighter coconut flavor), and I’ll tailor the exact stabilizer and processing timing for your setup.
Frequently Asked Questions
What is a Ninja Creami coconut ice cream recipe and what makes it different?
A Ninja Creami coconut ice cream recipe uses your Ninja Creami machine to churn and refreeze a pre-made coconut base into a thick, scoopable dessert. Coconut milk or coconut cream provides the signature flavor, while stabilizers like sweetened condensed milk or a bit of cornstarch help improve texture. The main difference is that the Ninja Creami process delivers a dense “ice cream” consistency without needing an ice cream maker or constant stirring.
How do I make Ninja Creami coconut ice cream base that won’t turn icy?
To avoid icy Ninja Creami coconut ice cream, use enough fat and sugar in the coconut base, such as coconut cream plus sweetened condensed milk or full-fat coconut milk. If your mixture is thin, add a small amount of thickener (like cornstarch slurry) and cook it briefly, then chill completely before freezing. Freeze the base fully in the Creami pint (usually overnight) so it can be processed smoothly on the correct setting.
Why is my coconut ice cream too soft or not scoopable after Ninja Creami processing?
Soft or soupy texture usually comes from under-freezing, not chilling long enough, or a base with too little fat/sugar. Make sure the pint is frozen solid and follow the recommended processing mode for ice cream (often “Ice Cream” or “Custom” depending on your model). If it’s already processed and too soft, refreeze the pint and re-spin with a “top up” or “extra” respin option if your machine supports it.
Which coconut milk or cream is best for Ninja Creami coconut ice cream—full-fat or light?
For the best results, choose full-fat coconut milk or coconut cream because higher fat helps prevent iciness and improves creaminess in Ninja Creami coconut ice cream. Light coconut milk typically produces a thinner base that may freeze harder or become grainy. If you use lower-fat coconut milk, compensate by adding a richer sweetener (like sweetened condensed milk) to keep the texture smooth.
What’s the best way to add mix-ins like toasted coconut, chocolate, or cookie pieces to Ninja Creami coconut ice cream?
For even distribution, fold mix-ins into the coconut base only if they’re not too crunchy or watery; otherwise add them after the first spin using the “mix-in” stage. Toasted coconut works especially well because it brings deeper flavor and a pleasant crunch, but chop it finely so it mixes easily. Keep chocolate or cookie bits from getting overly hard by keeping pieces moderate in size and avoiding ingredients that release lots of liquid.
References
- Google Scholar Google Scholar
https://scholar.google.com/scholar?q=ninja+creami+ice+cream+recipe+coconut - Google Scholar Google Scholar
https://scholar.google.com/scholar?q=coconut+milk+ice+cream+recipe+emulsion+stabilizers - Google Scholar Google Scholar
https://scholar.google.com/scholar?q=ice+cream+science+homemade+ice+cream+churn+freezing+point - https://pubmed.ncbi.nlm.nih.gov/?term=coconut+milk+ice+cream
https://pubmed.ncbi.nlm.nih.gov/?term=coconut+milk+ice+cream - Ice cream
https://en.wikipedia.org/wiki/Ice_cream - Coconut milk
https://en.wikipedia.org/wiki/Coconut_milk - Ice cream | Definition, History, & Production | Britannica
https://www.britannica.com/topic/ice-cream - https://nchfp.uga.edu/how/freeze/ice_cream.html
https://nchfp.uga.edu/how/freeze/ice_cream.html - Projects – National Center for Home Food Preservation
https://nchfp.uga.edu/how/freeze/ice_cream_sorbets.html - https://extension.psu.edu/making-ice-cream-at-home
https://extension.psu.edu/making-ice-cream-at-home