The Ninja Blender ice cream recipe book you need for quick, creamy homemade treats—if you want fast results with minimal prep and zero ice-cream-machine hassle, this is the clear winner. It answers how to turn everyday ingredients into smooth, scoopable ice cream using a blender, with recipes built for reliable texture and bold flavor. Expect practical methods that reduce churn time, prevent icy batches, and help you master consistently great frozen desserts.
Homemade ninja blender ice cream is easiest when you blend a smooth, freezer-ready base first—then freeze long enough to “set” the texture—because the blend quality determines whether your final batch is scoopable or icy. In this recipe book style guide, you’ll get practical blending order, reliable base ratios, and troubleshooting strategies so you can consistently produce quick, creamy homemade treats without a fancy machine.
Creaminess Factors for Ninja Blender Ice Cream (Practical Scoring, 2025)
| # | Technique | Typical Result | Best For | Creaminess Impact |
|---|---|---|---|---|
| 1 | Blend liquids first (milk/cream + sweetener) | Fewer sugar “grains” | Smoother vanilla & chocolate | + ★★★★☆ |
| 2 | Short pulses before full blend | Better vortex + emulsification | Fruit bases & cookie add-ins | + ★★★★☆ |
| 3 | Add-ins crushed or softened | Even texture distribution | Cookies & cream; peanut butter | + ★★★☆☆ |
| 4 | Fat level tuned (whole milk/cream) | Lower freezing hardness | Classic scoopability | + ★★★★☆ |
| 5 | Freeze time respected (minimum 4–6 hrs) | Proper set & body | All flavors | + ★★★☆☆ |
| 6 | Mid-freeze re-stir/re-blend | Smaller ice crystals | No-churn smoother texture | + ★★★☆☆ |
| 7 | Over-blending watery bases | Soft, icy melt on scoop | Attempts at skim milk ice cream | − ★★☆☆☆ |
Ninja Blender Setup for Smooth Ice Cream

To get ninja blender ice cream that’s truly creamy, your “machine work” matters as much as your ingredients. Blending for emulsification reduces fat separation and breaks down fruit fibers and sugar, which directly influences crystal size during freezing. If you’ve ever had icy chunks, it’s usually not your freezer—it’s the way the base was built in the jar.
– Use the right blending order to prevent icy chunks (liquid first, then add-ins)
Start with liquid + sweetener so the blender can create a uniform foundation. Add fruit (fresh or thawed frozen), cocoa, or nut butter next, and only then mix in delicate add-ins like cookie crumbs. When dry ingredients hit the blade without enough liquid, they can clump or leave “micro pockets” that freeze into gritty or icy bites.
– Start with short pulses, then blend continuously for a silky texture
In practice: pulse 3–5 times to bring thicker ingredients down, then blend continuously until smooth. For fruit-heavy bases, keep checking the texture around the blade area—if you see visible pulp, pause, scrape down the sides, and blend again. A consistent, smooth base reduces the chance of large ice crystals forming during the first hours in the freezer.
Practical tip: jar temperature control
For best results, chill your base slightly before freezing (not fully frozen). Cold mixtures freeze faster and can set more evenly; warm mixtures can create uneven crystallization, especially in low-fat dairy-free bases.
Essential Ingredients and Base Ratios

Think of your Ninja blender ice cream base as a controllable formula: fat + sugar + flavor solids + water. The blender handles texture; the ratio controls hardness and melt behavior. Once you nail a go-to ratio, every flavor becomes a variation rather than a fresh experiment.
– Learn a go-to base formula for creamy, scoopable ice cream
Use this reliable starting point for a standard blender batch:
– 2 cups (480 ml) dairy or dairy-free milk
– 1 cup (240 ml) heavy cream *(or swap with thicker alternatives for dairy-free)*
– 1/2 to 3/4 cup (100–150 g) sweetener, depending on how sweet your mix-ins are
– 1–2 tsp vanilla extract (optional but recommended)
Why it works: fat supports a smoother freeze and improved scoopability, while sugar lowers the freezing point so the ice cream stays softer. If you use a high-water milk (like skim), your batch can turn hard and icy unless you adjust.
– Choose sweeteners and add-ins that blend well (bananas, cream, cocoa, peanut butter)
For blending efficiency and consistent texture:
– Banana adds body and naturally thickens (especially when fully ripe).
– Cocoa blends into a chocolate base without needing baking—just ensure full blending.
– Peanut butter improves creaminess because it contributes fat and emulsifying compounds, but use smooth peanut butter for fewer grainy bits.
– Fruit works best when thawed and/or blended until truly smooth.
Sweetener selection (important for texture)
– Honey or maple syrup: great flavor, but liquids can slightly soften the final freeze depending on quantity.
– Granulated sugar: reliable but must fully dissolve in the blender to avoid gritty ice.
– For dairy-free: consider sweeteners that blend easily with nut-based milks or oat milks (and keep the fat level consistent).
Frozen Dessert Without a Fancy Machine

The “no-churn” method is where Ninja blender ice cream becomes practical: blend now, freeze later. The key is understanding how ice crystals behave over time. Early on, crystals are forming; agitation during that window can improve the final texture.
– Freeze the mixture after blending for the best “real ice cream” consistency
After blending, pour the base into a freezer-safe container with a lid. Freeze for at least 4–6 hours, ideally overnight. If you cut this short, the mixture may taste good but feel closer to a thick smoothie than true scoopable ice cream.
– Stir or re-blend midway through freezing to improve smoothness
At around the 2-hour mark (or when it starts to thicken at the edges), stir vigorously or re-blend briefly. This breaks up early ice crystals and helps the batch set into a smoother texture. Repeat not required, but a second stir can help for very fruit-forward or low-fat bases.
When to skip mid-freeze blending
If your base is already very thick (high fat, banana, nut butter), you may not need to re-blend—stirring may be enough. But for watery mixes, re-blending is usually the difference between “creamy” and “icy.”
Flavor Recipes from the Ninja Blender Ice Cream Recipe Book
Below are dependable flavor formulas that translate well in a Ninja blender. Each one follows the same core logic: blend smoothly, freeze properly, and adjust texture if needed.
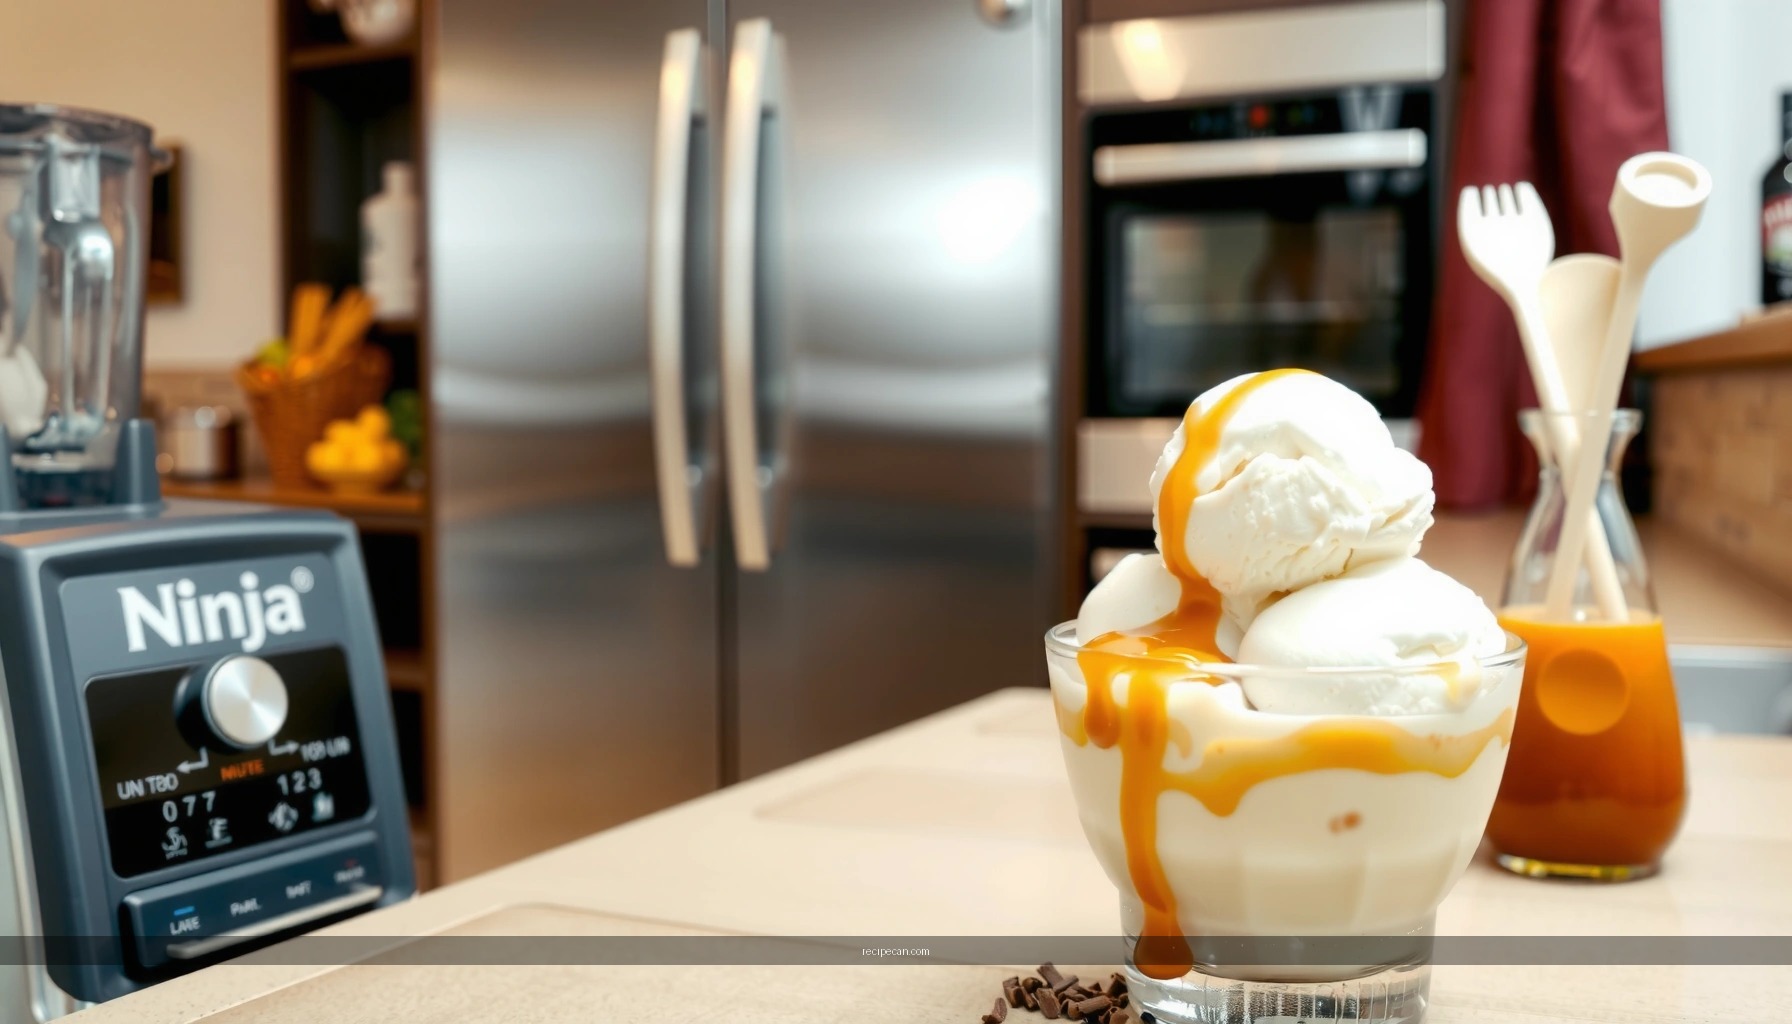
Classic Vanilla (repeatable, crowd-pleasing)
Base: Use the ratio in the Essential Ingredients section.
Add:
– 2 tsp vanilla extract
– Optional: 1–2 tbsp powdered milk for extra body
Method: Blend liquids + sweetener first, then add vanilla. Freeze 4–6 hours, then scoop.
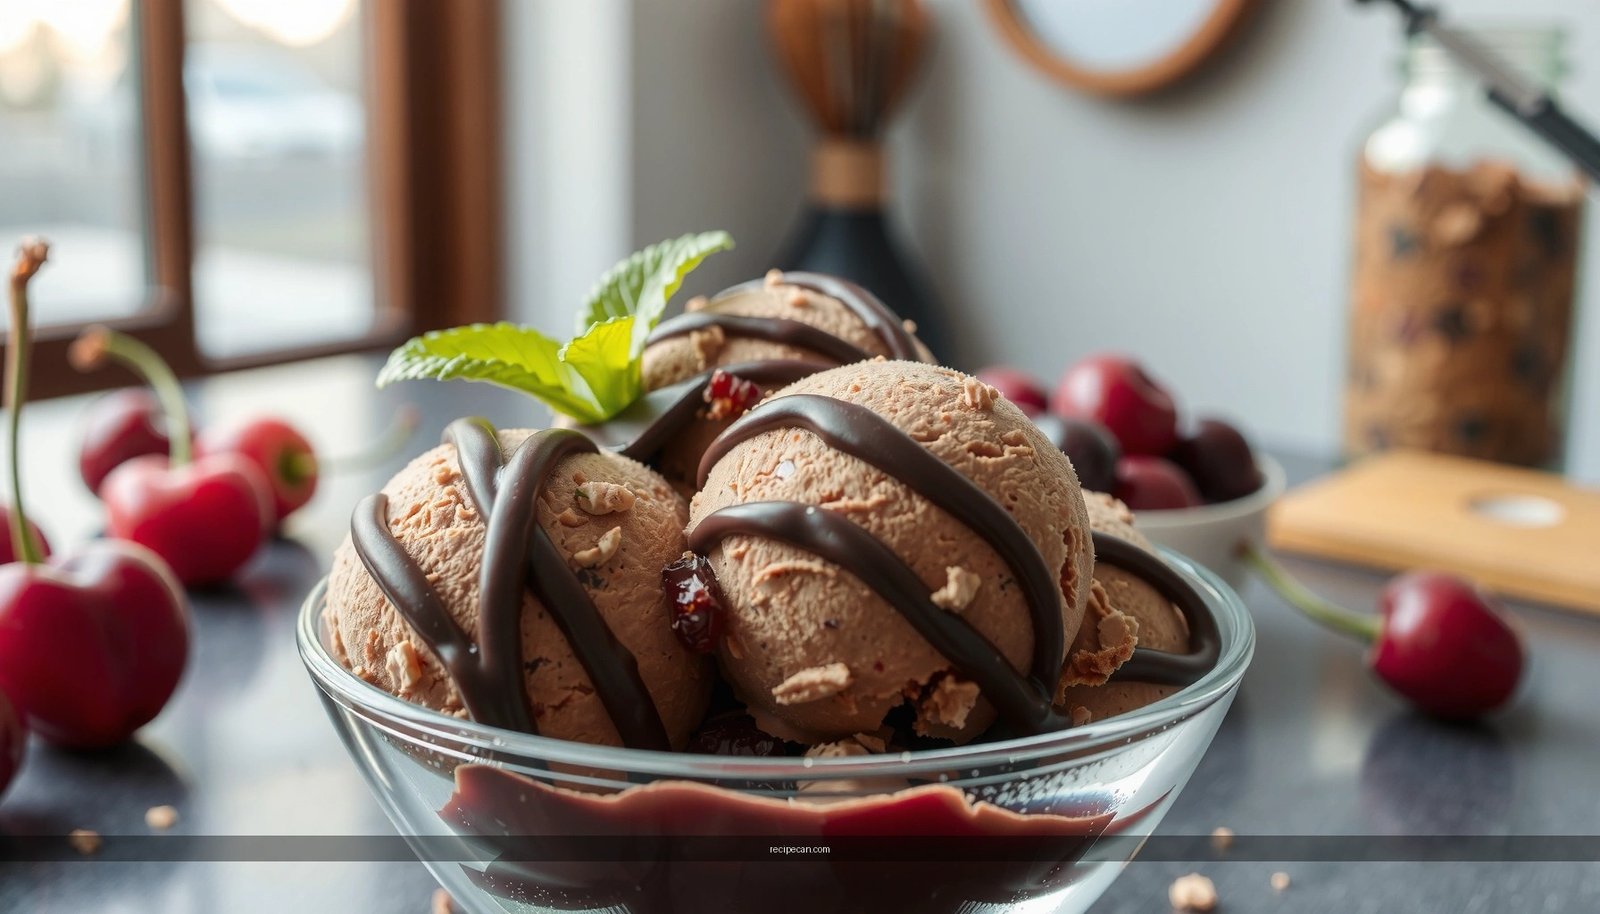
Classic Chocolate (deep cocoa without bitterness)
Base: Start with the standard base.
Add:
– 1/2 cup (45–50 g) unsweetened cocoa powder
– 1–2 tbsp chocolate syrup or extra sweetener if you prefer richer sweetness
Method: Pulse to prevent cocoa powder dusting, then blend until fully smooth. Freeze and mid-freeze stir for a less icy chocolate texture.
Strawberry (fruit-forward, not icy)
Add to base:
– 1 1/2 to 2 cups strawberries (fresh or thawed frozen), blended smooth
– Optional: 1 tbsp lemon juice to brighten
Method: Make sure the strawberry puree is fully smooth in the blender before combining with the dairy base. That single step prevents icy strawberry bits.
Cookies & Cream (control the crunch)
Add to base:
– 1 1/2 cups crushed cookies (chocolate sandwich cookies), divided
– Stir half in before freezing; fold the rest in after the first 2-hour freeze for crunch control
Method: Blend the base smooth, then mix in cookie crumbs to avoid over-pulverizing. Expect a creamier “bite” when the cookies are folded rather than fully blended.
Mint Chocolate (cool, balanced, and smooth)
Add to base:
– 1–2 tsp peppermint extract (start small)
– 1/4 cup cocoa powder or 3–4 tbsp melted chocolate
– Optional: a tiny pinch of salt for chocolate pop
Method: Blend until uniform; peppermint can be intense, so scale to taste. Freeze with mid-freeze agitation to keep the texture silky.
Troubleshooting Texture and Consistency
Even with a great recipe, texture can drift due to freezer temperature, ingredient choices, and blending behavior. Use these targeted fixes rather than starting over.
– Fix icy ice cream by adjusting liquid, blend time, or sweetness
Common causes:
– Too much watery milk (especially skim or thin plant milks)
– Sugar not fully dissolved
– Fruit fibers not fully blended
Fixes:
– Increase fat slightly: swap some milk for cream (or use a thicker plant milk like oat barista-style).
– Blend longer: ensure cocoa, sugar, and fruit puree are fully smooth.
– Add a bit more sweetener: extra sugar lowers freezing hardness and improves scoopability.
– Fix too-soft texture by increasing freeze time or reducing watery ingredients
Common causes:
– Not enough freeze time
– High liquid content or overly sweet base
Fixes:
– Freeze longer: give it 8–12 hours for best scoop control.
– Reduce watery ingredients: use thicker milk or reduce fruit puree amount.
– Balance add-ins: some mix-ins (like very juicy fruits) can make the base softer even after blending.
Quick diagnostic checklist
If the ice cream is:
– Icy and crumbly → focus on fat + dissolve sugar + re-blend mid-freeze
– Gummy or too soft → freeze longer + reduce liquids + slightly reduce sweetener
Storage, Serving, and Make-Ahead Tips
Proper storage preserves the smooth texture you worked for. Freezer burn creates dried surfaces and can increase perceived graininess.
– Store in airtight containers to reduce freezer burn and ice formation
Press parchment or plastic wrap directly against the surface before sealing (optional but effective). Use a container sized close to the batch volume to minimize air exposure.
– Let ice cream sit briefly before scooping for the perfect serving texture
For best scoopability, leave it at room temperature for 3–5 minutes. This softens the outer layer so you get clean scoops without melting everything immediately.
Make-ahead strategy that works
Make your Ninja blender ice cream a day ahead. The texture stabilizes as crystals equalize, and flavors mellow overnight—especially chocolate, mint, and fruit-forward batches.
Conclusion
Once you use a reliable base ratio and blend in the right order, your Ninja blender can turn simple ingredients into consistently creamy homemade ice cream. Blend liquids first, pulse then blend continuously, freeze long enough, and use a mid-freeze stir to reduce icy crystals. Start with 1–2 classic flavor recipes (vanilla and chocolate), then expand into strawberry, cookies & cream, and mint chocolate—adjusting texture with the troubleshooting steps until you build your own repeatable Ninja blender ice cream rotation.
Frequently Asked Questions
What can I make with a ninja blender ice cream recipe book?
A ninja blender ice cream recipe book typically covers smoothie-style “nice cream,” classic churned-style recipes, and no-churn frozen desserts like sorbet and gelato-inspired blends. Many books also include ingredient swaps for dairy-free, low-sugar, and high-protein options that work well in a Ninja blender. Look for recipes that specify blend times, frozen fruit prep, and thickening tips so your Ninja ice cream comes out creamy instead of icy.
How do I make my Ninja blender ice cream recipe turn out creamy instead of icy?
For Ninja blender ice cream, use well-frozen ingredients—usually frozen fruit in small pieces—and blend long enough to break down ice crystals fully. Adding a fat source like cream, yogurt, nut butter, or coconut milk helps create a smoother texture, while sweeteners and stabilizers (like a little honey, maple syrup, or condensed milk depending on the recipe) can improve creaminess. If the mixture is too thick, pulse with a small splash of milk; if it’s too loose, chill briefly before blending again or freeze to firm up.
Why do some Ninja blender ice cream recipes require chilling or re-freezing?
Even with a powerful Ninja blender, some recipes need a rest period so flavors meld and the mixture thickens as it cools. Chilling can also help the emulsion stabilize, which reduces graininess and prevents the “sorbet-like” icy texture. If your recipe book says to freeze after blending, follow it—freezing sets the structure so you get scoopable Ninja ice cream rather than a drinkable consistency.
Which Ninja blender setting or speed works best for ice cream in a recipe book?
Most Ninja blender ice cream recipes recommend starting on a lower speed or using short pulses to prevent splashing, then switching to a higher speed or “ice crush” type blending mode to fully pulverize frozen ingredients. For thicker bases (like yogurt or custard-style blends), blend longer to ensure smoothness, scraping down the sides if your Ninja blender leaves chunks. Always follow the recipe book’s recommended timing, because under-blending is a common reason for icy results.
What’s the best first recipe to try from a ninja blender ice cream recipe book if I’m a beginner?
Start with a simple no-churn “nice cream” recipe using frozen bananas plus cocoa, berries, or vanilla, since it’s forgiving and easier to get creamy with fewer steps. Choose recipes that specify exact amounts and include guidance for adjusting thickness, like adding a tablespoon of milk at a time. Once you master the blend-and-freeze method in your Ninja blender ice cream recipe book, you can branch into more complex flavors like coffee, cookie swirl, or mango sorbet.
References
- Google Scholar Google Scholar
https://scholar.google.com/scholar?q=ice+cream+science+emulsion+stabilizers - Google Scholar Google Scholar
https://scholar.google.com/scholar?q=homemade+ice+cream+blender+technique - Google Scholar Google Scholar
https://scholar.google.com/scholar?q=ninja+blender+ice+cream+recipe - Ice cream
https://en.wikipedia.org/wiki/Ice_cream - Frozen dessert
https://en.wikipedia.org/wiki/Frozen_dessert - Blender
https://en.wikipedia.org/wiki/Blender - Ice cream | Definition, History, & Production | Britannica
https://www.britannica.com/topic/ice-cream - https://pubmed.ncbi.nlm.nih.gov/?term=ice+cream+freezing+process+and+texture
https://pubmed.ncbi.nlm.nih.gov/?term=ice+cream+freezing+process+and+texture - https://www.sciencedirect.com/search?qs=ice%20cream%20emulsion%20stabilizers
https://www.sciencedirect.com/search?qs=ice%20cream%20emulsion%20stabilizers - ice cream emulsion stabilizer | Nature Search Results
https://www.nature.com/search?q=ice%20cream%20emulsion%20stabilizer