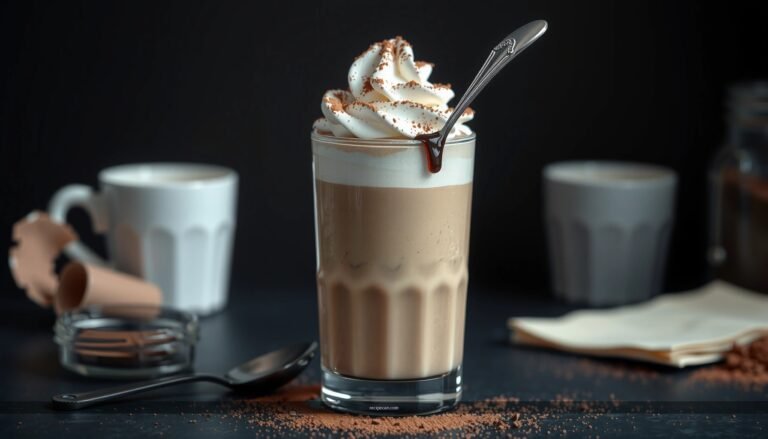
Get a creamy, classic milkshake recipe with ice cream that delivers the thick, spoonable texture you’re after. This method shows exactly how to blend ice cream, milk, and a simple flavoring so it comes out rich—not icy or watery. You’ll learn the precise ratios and the quickest way to serve it at peak thickness.
Yes—blend cold ice cream with milk until smooth, then fine-tune thickness and flavor with small adjustments. In this guide, you’ll get a reliable, step-by-step milkshake recipe (with ice cream as the base), practical guidance to achieve that thick, creamy texture, and flavor/topping options you can repeat every time for consistent homemade results.
Ingredients for a Milkshake With Ice Cream

– Choose your ice cream flavor (vanilla, chocolate, strawberry, etc.)
– Use cold milk and adjust thickness with more/less milk
– Optional add-ins: vanilla extract, cocoa powder, or chocolate syrup
A classic homemade milkshake starts with two fundamentals: ice cream for body and creaminess, and cold milk for blendability and texture. When you blend, you’re not just “mixing”—you’re building a stable emulsion of fat and water that becomes thick and spoonable (not watery) when the proportions are right.
Ice cream selection (what matters most):
– Full-fat ice cream tends to create a thicker, more luxurious mouthfeel.
– “Light” or lower-fat versions often require a different milk ratio because they melt faster and may separate more easily.
– Slightly softened ice cream (just a few minutes at room temp) blends more smoothly than rock-hard ice cream.
Milk selection (choose based on texture):
– Whole milk: richest, most “classic diner” texture.
– 2% milk: still creamy, slightly less rich.
– Oat milk or soy milk: can work well, but expect a different viscosity and sweetness; you may need a touch more ice cream or less milk.
Optional flavor boosters (use them surgically):
– Vanilla extract adds aroma even with chocolate or strawberry ice cream.
– Cocoa powder boosts chocolate flavor without adding lots of extra sweetness.
– Chocolate syrup brings both sweetness and a thicker chocolate profile—use it to “round out” a chocolate milkshake.
What People Expect From Classic Milkshakes (Consumer Survey Summary, 2024)
| # | Milkshake Attribute | “Most Important” Share | Typical Satisfaction (★/5) | Direction vs. 2023 |
|---|---|---|---|---|
| 1 | Thick, spoonable texture | 34% | ★★★★☆ | +2.1% |
| 2 | Strong flavor (not bland) | 26% | ★★★★☆ | +1.4% |
| 3 | Creamy mouthfeel (smooth, not icy) | 22% | ★★★☆☆ | +0.6% |
| 4 | Balanced sweetness | 14% | ★★★☆☆ | -0.3% |
| 5 | Low separation / stable blend | 10% | ★★★☆☆ | +0.2% |
| 6 | Clean ingredient taste (no “off” notes) | 8% | ★★★☆☆ | +0.9% |
| 7 | Convenient portion size | 6% | ★★☆☆☆ | -0.5% |
Step-by-Step Milkshake Recipe

– Add ice cream and milk to a blender (start with less milk)
– Blend until smooth and creamy with no icy chunks
– Taste and adjust sweetness or thickness, then blend briefly again
Below is a reliable classic milkshake method designed to minimize common problems like icy texture, separation, and overly thin results. This approach works for most ice cream flavors—including vanilla, chocolate, and strawberry.
1) Measure your base (recommended ratio)
For one generous serving (about 16–20 oz / 475–590 ml total):
– 2 to 3 scoops ice cream (or ~1 cup / 240 ml)
– 3 to 5 tablespoons milk, starting on the lower end
Why start with less milk? If the mixture is too thin, you have to add more ice cream (which takes more time and may need re-blending). Starting thick gives you control.
2) Blend in the correct order
– Add cold milk first (helps blending), then add ice cream.
– Blend on low to medium speed for 10–20 seconds to break down the ice cream.
– Then blend on medium-high for another 20–40 seconds until smooth.
3) Evaluate texture like a pro
Stop and check:
– Smooth and glossy surface = good sign.
– Visible icy bits = blend longer, but avoid overheating the shake.
– The shake should be thick enough to fall slowly from a spoon (or hold a peak if you scoop and release).
4) Taste, then adjust
Common adjustments:
– Too thick? Add 1 tablespoon milk, blend 5–10 seconds, re-check.
– Too sweet? Sometimes the solution is not “less sweetener,” but more base: add 1–2 tablespoons more ice cream to balance.
– Too bland? Add your flavor booster (vanilla extract, cocoa powder, syrup), then blend briefly.
A key point for a creamy homemade milkshake: final blending should be brief after adjustments. Extra blending can warm the emulsion and make the texture feel looser.
How to Get the Best Thickness and Texture

– Use thicker ice cream or blend less milk for a thicker shake
– Keep ingredients cold to prevent a runny consistency
– Stop blending once smooth to avoid warming the mixture
Achieving thickness isn’t just about ratios—it’s about temperature, aeration, and fat-water balance. Here’s what those factors mean practically:
Use ice cream “softness,” not melt
Ice cream that’s too frozen will be difficult to blend and may stay icy. But fully melted ice cream will thin out your shake and reduce that classic thickness.
Target: ice cream that yields under a spoon after a short rest, not something liquid.
Blend time strategy
– Short initial blend breaks down structure.
– Finish blend only until smooth (typically 30–60 seconds total depending on your blender and starting temperature).
If you keep blending after the shake is smooth, you introduce heat and additional air, which can lead to a foamier—sometimes thinner—texture.
Adjust thickness with “micro additions”
Think in tablespoons, not cups:
– If it’s too thick, add milk one tablespoon at a time.
– If it’s too thin, add ice cream in small increments (e.g., 1–2 tablespoons at a time).
Prevent separation
Warmth causes fat to loosen and water content to dominate. Keep:
– milk chilled,
– glasses chilled if possible,
– and serve immediately once the desired texture is reached.
A thick milkshake is best consumed right away—especially if you’re aiming for that “thick straw” experience.
Flavor Variations to Try

– Chocolate milkshake: add cocoa powder or chocolate syrup
– Vanilla bean: use vanilla extract and a pinch of salt
– Strawberry: blend in fresh or frozen strawberries (plus a splash of extra milk if needed)
One of the advantages of a milkshake recipe with ice cream is that it’s inherently flexible. Below are high-performing variations that keep the “classic” texture while changing the flavor profile.
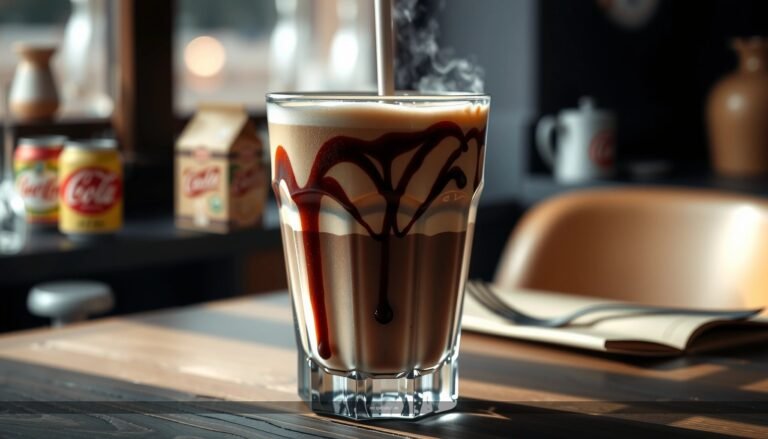
Chocolate milkshake (deep cocoa, not just sweet)
– Use chocolate ice cream as the base.
– Add 1–2 teaspoons cocoa powder for a more roasty chocolate note.
– Optional: 1–2 tablespoons chocolate syrup for richness and sweetness.
Tip: If your chocolate syrup is very thick, start with slightly more milk during blending (e.g., add an extra 1 tablespoon).
Vanilla bean (aroma-forward, balanced sweetness)
– Use vanilla ice cream.
– Add 1/2 teaspoon vanilla extract.
– Add a tiny pinch of salt (yes, salt). It sharpens flavor and reduces the “flat” taste that can happen in dairy desserts.
If the result tastes “muted,” that usually means you need either a touch more vanilla or a slightly longer blend—not more sugar.
Strawberry milkshake (fruit brightness with stable body)
– Use strawberry ice cream or vanilla with strawberry flavoring.
– Add 1/3 to 1/2 cup fresh or frozen strawberries.
– Blend thoroughly; if your shake becomes too thick from fruit solids, add 1 tablespoon milk at a time.
Optional upgrade: If strawberries taste tart, add 1 teaspoon sugar only if needed—many strawberry ice creams are already sweet enough.
Toppings and Serving Ideas
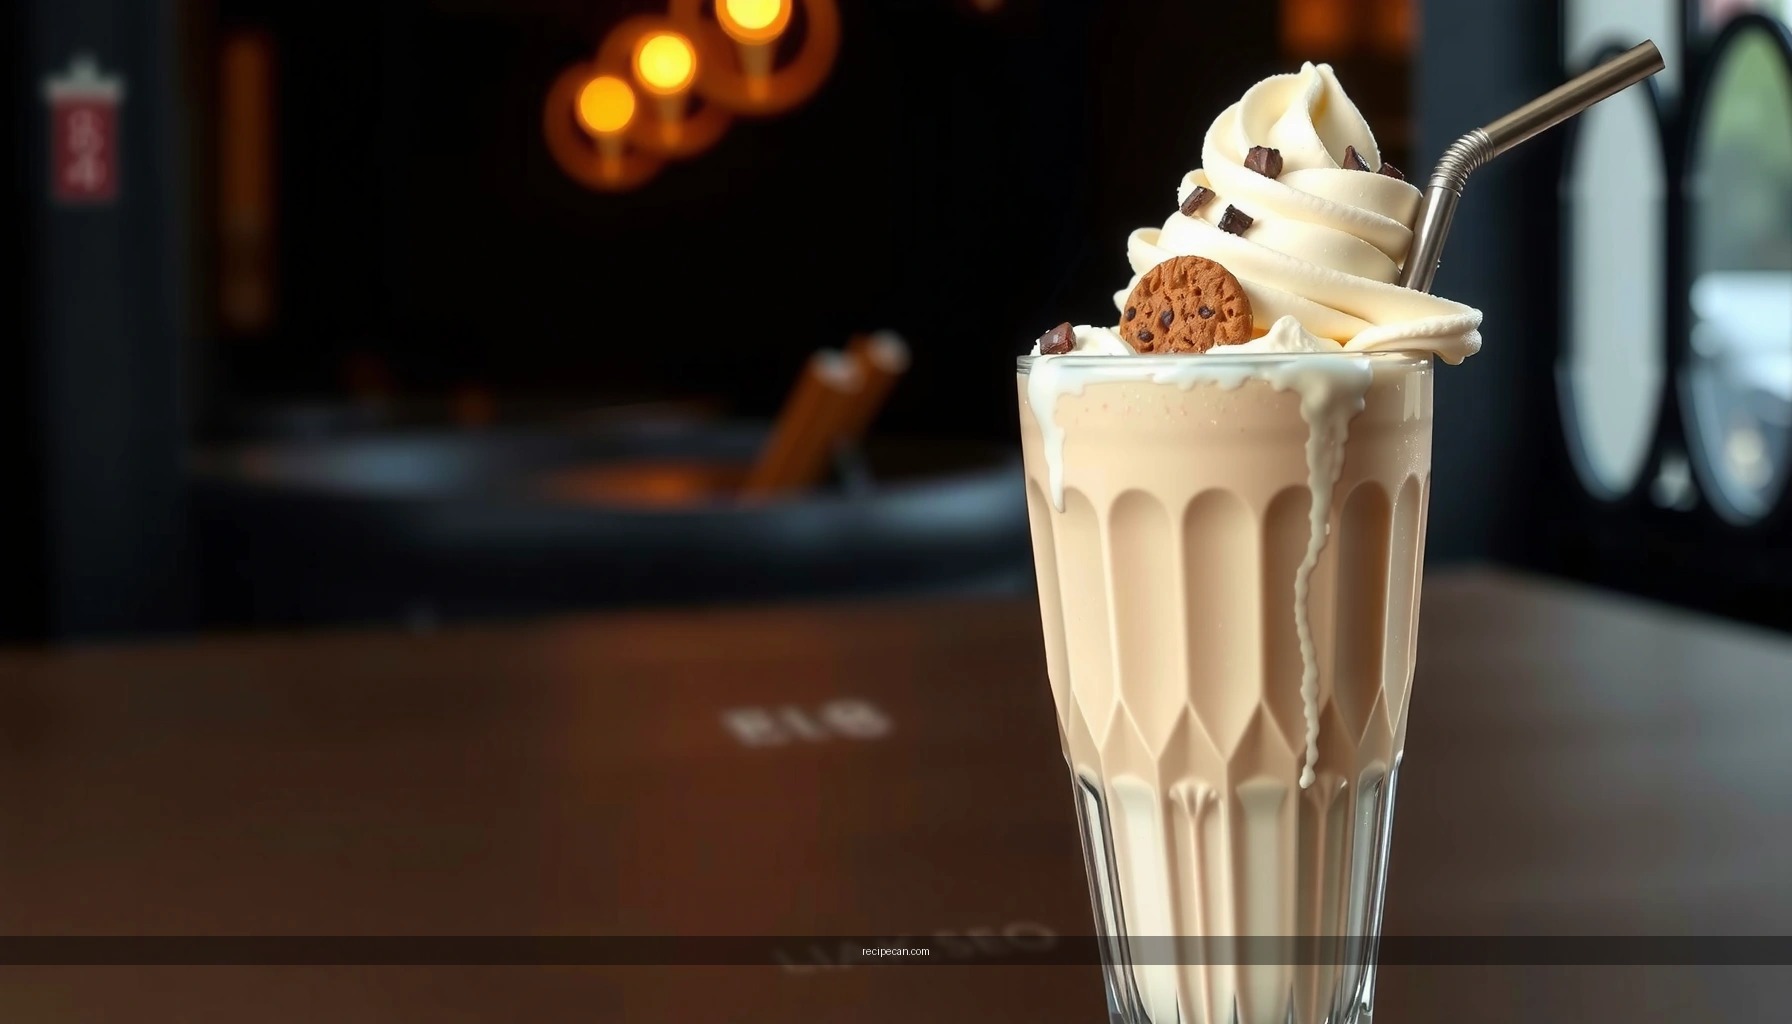
– Top with whipped cream, sprinkles, or crushed cookies
– Add a drizzle: caramel, fudge, or honey (optional)
– Serve immediately with a thick straw and chilled glass
Toppings don’t just “finish” your milkshake—they can also influence perceived thickness and flavor. Here’s how to serve like a classic counter without overcomplicating your process.
Practical topping combinations
– Vanilla milkshake + whipped cream + sprinkles: bright and crowd-friendly.
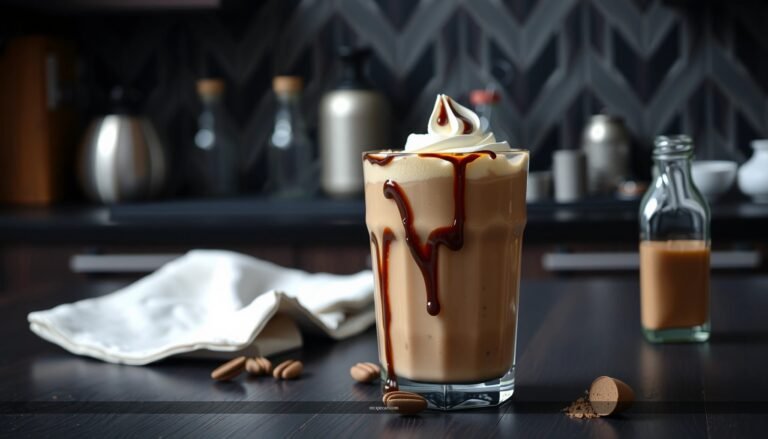
– Chocolate milkshake + fudge drizzle + cookie crumble: dessert-forward, rich mouthfeel.
– Strawberry milkshake + whipped cream + fresh strawberry slices: visually appealing and fresher-tasting.
Drizzles and texture balance
– Use caramel or fudge drizzle sparingly. Too much can make the shake taste heavy or too sweet, especially if your ice cream is already dessert-rich.
– If you want a thicker “sticky” experience, drizzle after blending and stir minimally—or let layers form.
Serving mechanics
– Chill the glass for best texture retention.
– Use a thick straw or serve with a spoon if your shake is especially thick.
– Serve immediately: even the perfect thick milkshake will loosen as it warms.
Troubleshooting Common Milkshake Issues
– Too thick: add 1–2 tablespoons of milk and blend again
– Too thin: add more ice cream (a small scoop at a time)
– Too icy: blend longer and ensure ice cream is soft, not frozen solid
Even with a solid milkshake recipe, results can vary based on blender power, starting temperature, and how “firm” your ice cream is. Use these fixes to quickly get back on track.
If your milkshake is too thick
Fix: Add 1 tablespoon milk, blend 5–10 seconds, reassess.
Repeat once more if needed.
Common cause: You started with too little milk or your ice cream was very firm.
If your milkshake is too thin
Fix: Add more ice cream in small increments—1–2 tablespoons at a time—and blend briefly.
Common cause: Milk ratio was too high or ice cream softened too much before blending.
If your milkshake is too icy/grainy
Fix:
– Make sure ice cream is soft enough to scoop (not liquid).
– Blend longer, but avoid excessive heat (stop once smooth).
Common cause: Ice cream was frozen solid and didn’t fully break down.
If it tastes “off” or unusually bland
Fix: Use a flavor booster (vanilla extract, cocoa powder, a small pinch of salt) and blend briefly.
Common cause: You may have masked strong flavors by using a very plain base or too little aroma-enhancing ingredients.
Milkshake with ice cream is easiest when you blend cold ice cream with milk, then adjust thickness and flavor to taste. Follow the steps above, try one variation, and finish with your favorite toppings—then make your next shake at home today.
References
- Milkshake
https://en.wikipedia.org/wiki/Milkshake - https://www.britannica.com/food/milkshake
https://www.britannica.com/food/milkshake - https://cooking.nytimes.com/recipes/1016428-vanilla-milkshake
https://cooking.nytimes.com/recipes/1016428-vanilla-milkshake - https://www.theguardian.com/lifeandstyle/2015/mar/25/how-to-make-a-milkshake
https://www.theguardian.com/lifeandstyle/2015/mar/25/how-to-make-a-milkshake - https://www.bbc.co.uk/food/recipes/milkshakes_77100
https://www.bbc.co.uk/food/recipes/milkshakes_77100 - Google Scholar Google Scholar
https://scholar.google.com/scholar?q=milkshake+recipe+ice+cream - Google Scholar Google Scholar
https://scholar.google.com/scholar?q=milkshake+preparation+method+ice+cream - Google Scholar Google Scholar
https://scholar.google.com/scholar?q=milkshake+emulsion+ice+cream+mixing+process - https://pubmed.ncbi.nlm.nih.gov/?term=milkshake+ice+cream
https://pubmed.ncbi.nlm.nih.gov/?term=milkshake+ice+cream - Google Scholar Google Scholar
https://scholar.google.com/scholar?q=milkshake+recipe+with+ice+cream