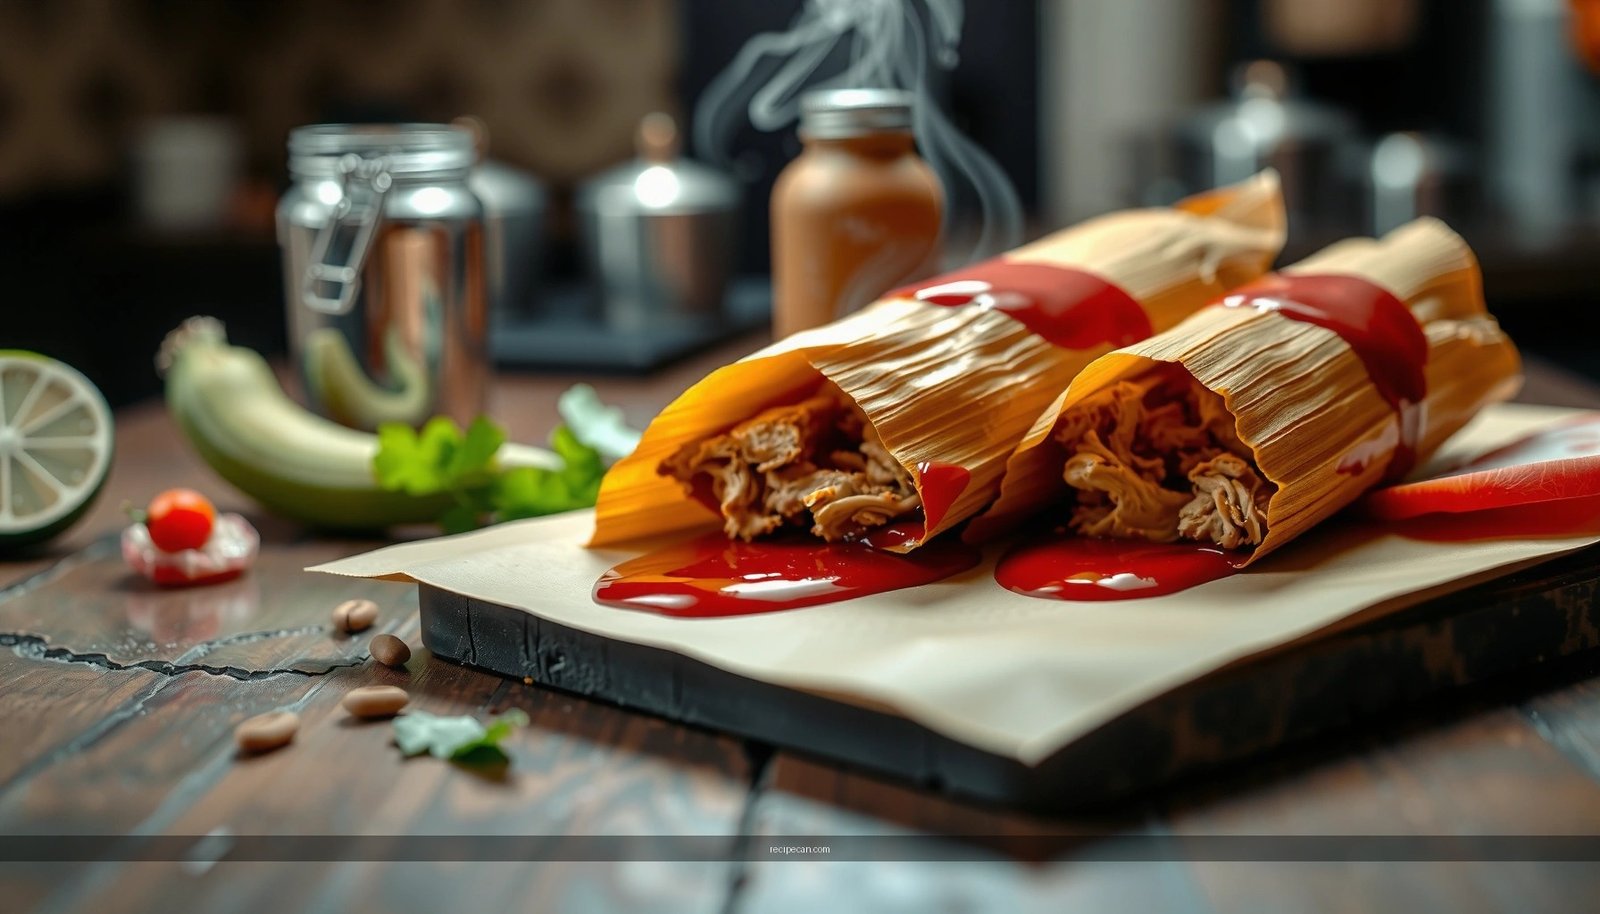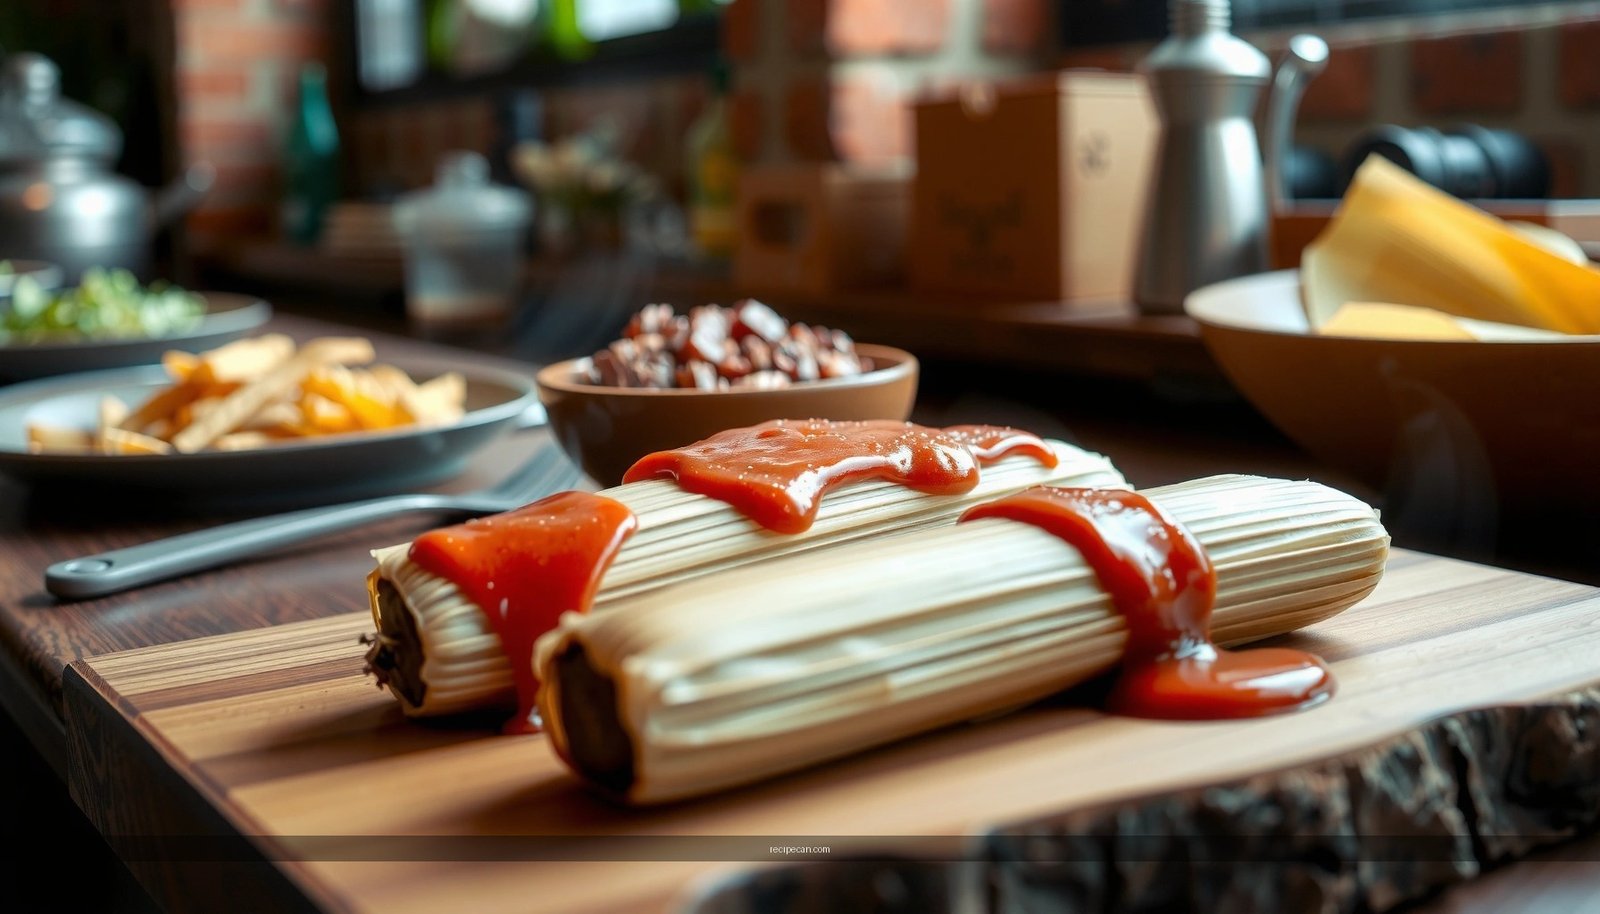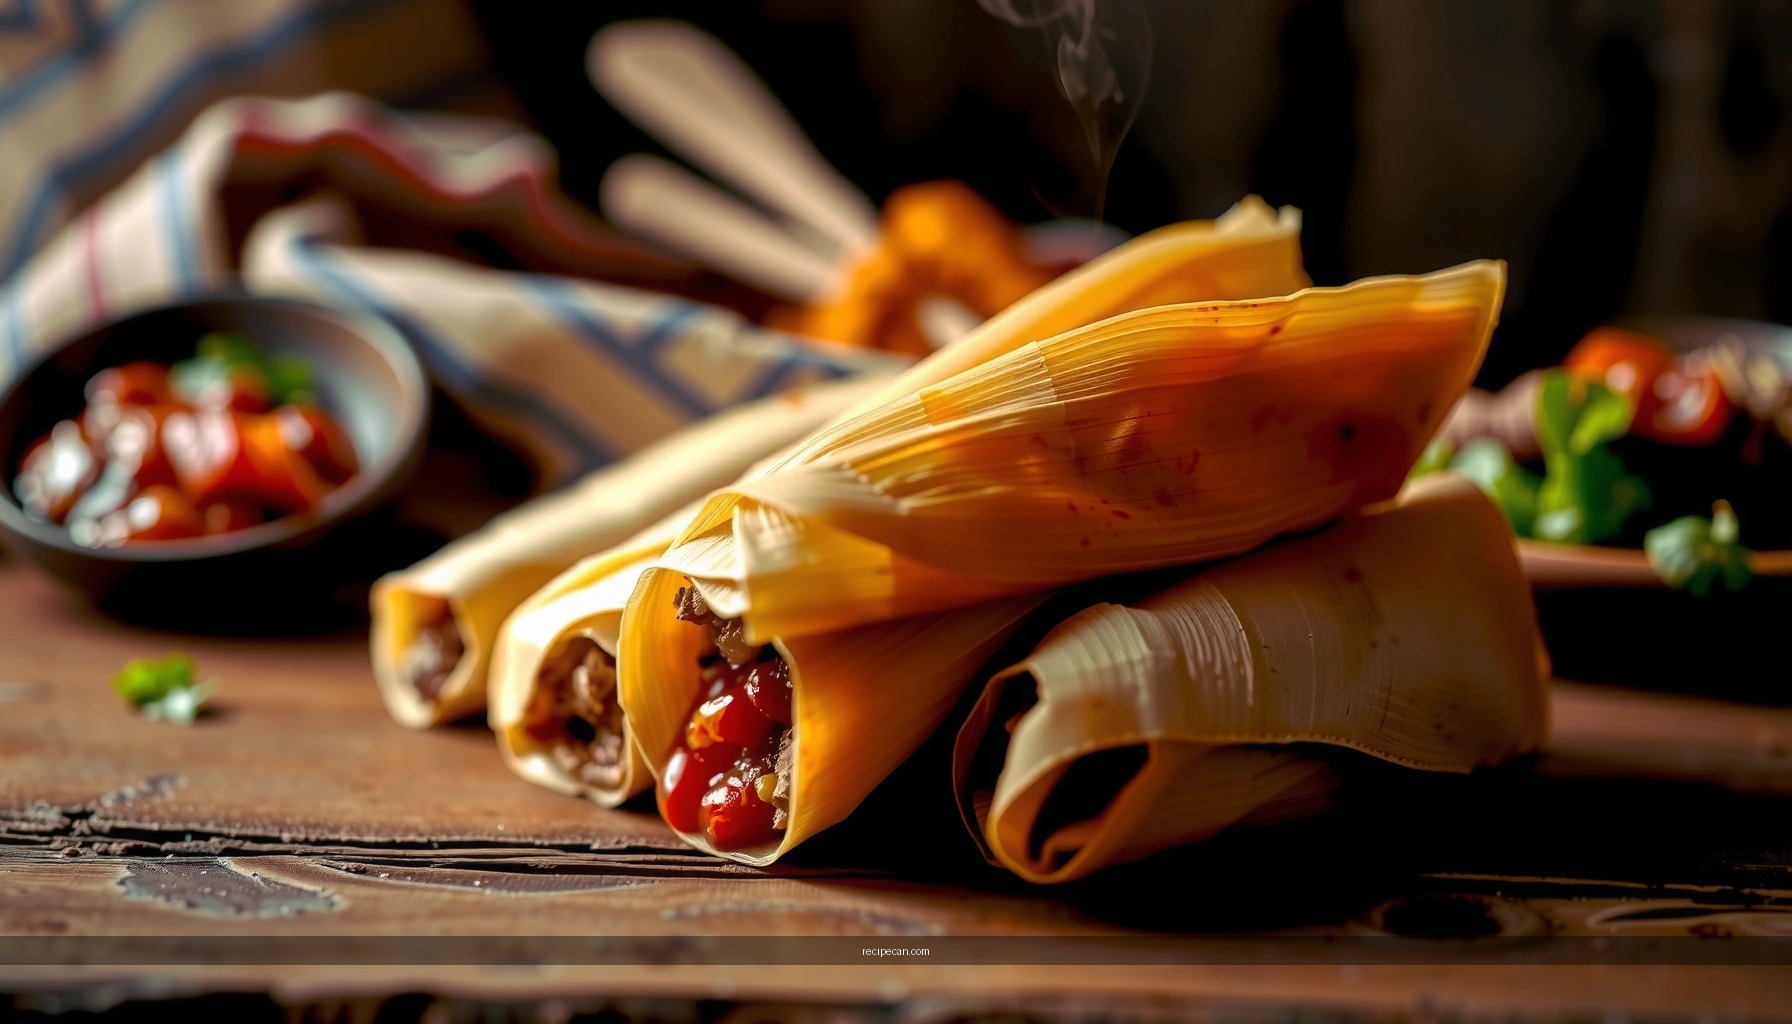
This homemade tamales recipe delivers classic, flavorful tamales with a clear step-by-step process you can follow from masa to steaming. You’ll get exact timing and technique so the masa stays tender, the filling stays properly seasoned, and the tamales hold together cleanly. If you want restaurant-style results at home, this is the fastest path to tamales you’ll actually be proud to serve.
The best homemade tamales recipe delivers two things reliably: flavorful masa and a filling that stays juicy after steaming—so you get tamales with tender structure and cleanly removable husks. Follow the step-by-step process below (corn husks, masa harina dough, filling, assembly, and steaming) and you’ll be able to reproduce classic results batch after batch.
In professional kitchens and family kitchens alike, tamales succeed or fail on technique: the masa consistency, the seasoning balance in the filling, and disciplined steaming. This guide focuses on those levers so your tamales come out evenly cooked, neatly set, and ready to serve with salsa, crema, and lime.
Choose Your Tamale Ingredients
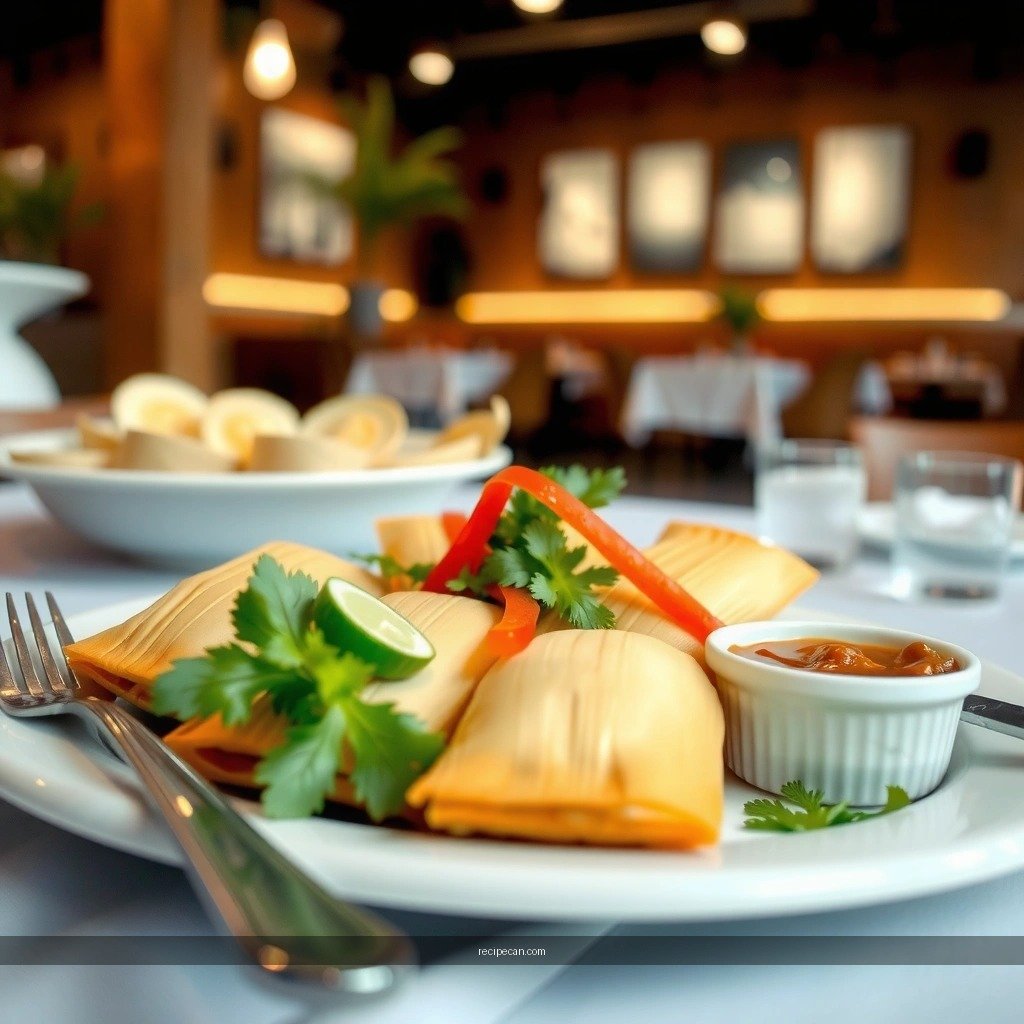
– Pick your filling (pork, chicken, or cheese) and season it well
– Use masa harina and check for “tamale” or “freshly ground” instructions
– Select fresh corn husks or dried husks that you can soak properly
Choosing ingredients is less about “what sounds right” and more about performance—tamales are steamed for a long time, so the filling must tolerate gentle heat without drying out, and the masa must bind cleanly.
Masa harina: Look for masa harina labeled for tamales or for making corn dough (not instant cornmeal). Brands differ slightly in moisture and grind, so the package instructions matter. If you’re aiming for a classic texture—soft but structured—use masa harina specifically made for tamales/tortillas-style dough.
Filling options (and how to season them):
– Pork (classic, forgiving): Use pork shoulder or pork butt. Season with salt early, then build flavor using onion, garlic, and chiles (like guajillo or ancho). Pork tolerates steaming well and stays tender.
– Chicken (lighter, still rich): Use bone-in thighs or shredded breast with enough fat from the cooking liquid. Chicken can dry if overcooked before steaming, so simmer just until tender, then shred.
– Cheese (fast assembly, needs control): Use Oaxaca-style cheese, Monterey Jack, or queso fresco blended with a little Oaxaca for stretch. Cheese fillings should be seasoned, and you should avoid watery cheeses that weep after steaming.
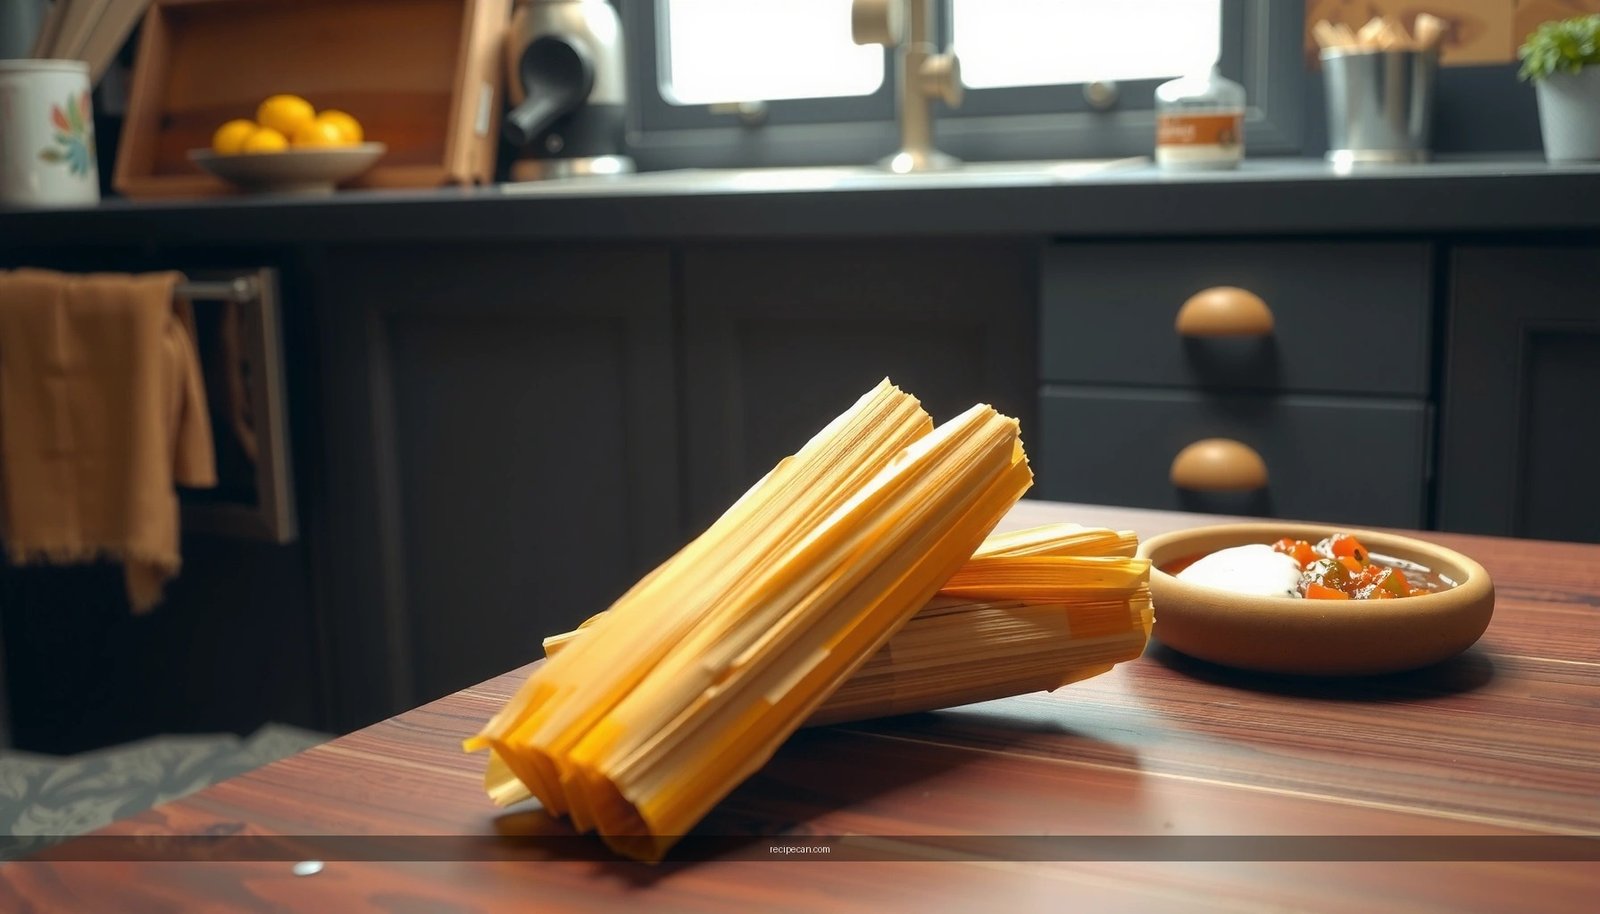
Corn husks: Fresh husks are flexible and fragrant; dried husks are dependable if soaked properly. If husks are too brittle, you’ll struggle with folding and sealing; too soft and they can tear easily. Your goal is pliable husks that fold without cracking.
Prepare the Corn Husks
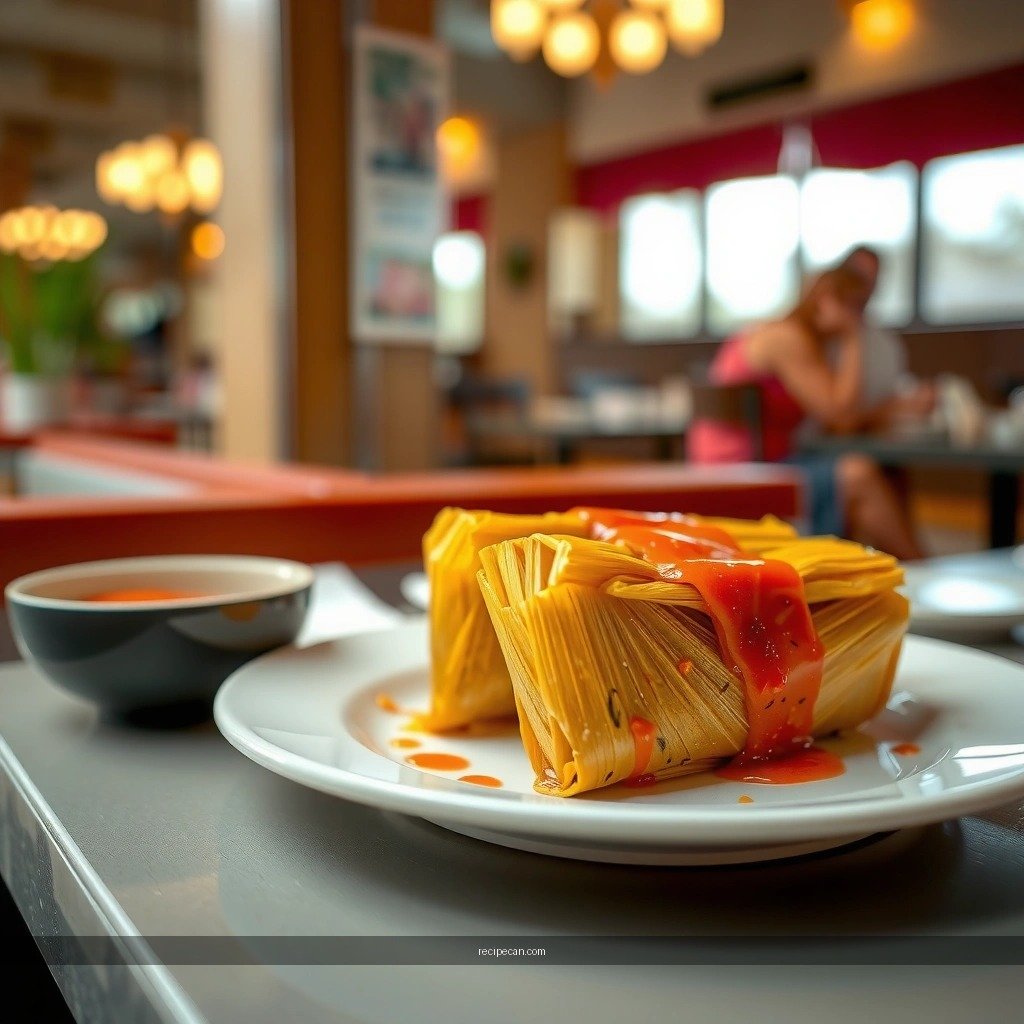
– Soak husks in warm water until pliable, not stiff or crumbly
– Trim any tough ends so they fold neatly
– Keep husks wrapped in a damp towel to prevent drying
Husk prep is a quality-control step. If husks are under-soaked, they won’t fold cleanly. If they over-soak or dry out mid-assembly, you’ll get inconsistent seam integrity—which affects how evenly the masa steams.
Best-practice method:
1. Soak dried husks in warm water (not boiling) until they bend without snapping. This usually takes 30–60 minutes depending on thickness.
2. Test readiness: take one husk and try folding a corner. It should crease smoothly.
3. Trim stiff ends so your tamales fold with a straight line and no bulky hard edges.
4. Prevent drying: keep soaked husks stacked and covered with a damp towel while you assemble.
Operational tip: If you’re making tamales in multiple batches, keep only what you need out at a time. Husks that dry during assembly can become brittle and won’t peel away easily later.
U.S. Tamales: Common Fillings, Typical Steam Time, and Doneness Targets
| # | Filling Style | Typical Steam Time | Masa Pull Test | Steam Consistency | Cooked Result Rating |
|---|---|---|---|---|---|
| 1 | Pork (Red Chile) | 75–90 min | Clean peel at center | Steady simmer, not rolling boil | ★★★★★ |
| 2 | Chicken (Green Chile) | 70–85 min | Minimal sticking on husk | Maintain water level to prevent drying | ★★★★☆ |
| 3 | Cheese (Oaxaca/Jack) | 55–70 min | Pulls away without wet smear | Avoid over-steaming to prevent pooling | ★★★★☆ |
| 4 | Pork (Verde/Tomatillo) | 75–90 min | Firm set, edges lift cleanly | Keep lids vented so steam stays circulating | ★★★★★ |
| 5 | Beef (Adobo-Style) | 85–100 min | Dry surface, no tacky dough | Longer simmer for thicker masa | ★★★★☆ |
| 6 | Turkey (Chile-Lime) | 70–85 min | Husk peels with light resistance | Do not overcook pre-shred meat | ★★★☆☆ |
| 7 | Vegetarian (Beans/Chiles) | 75–95 min | Set center, not doughy | Thicken filling to avoid seepage | ★★★☆☆ |
Make the Masa (Tamale Dough)
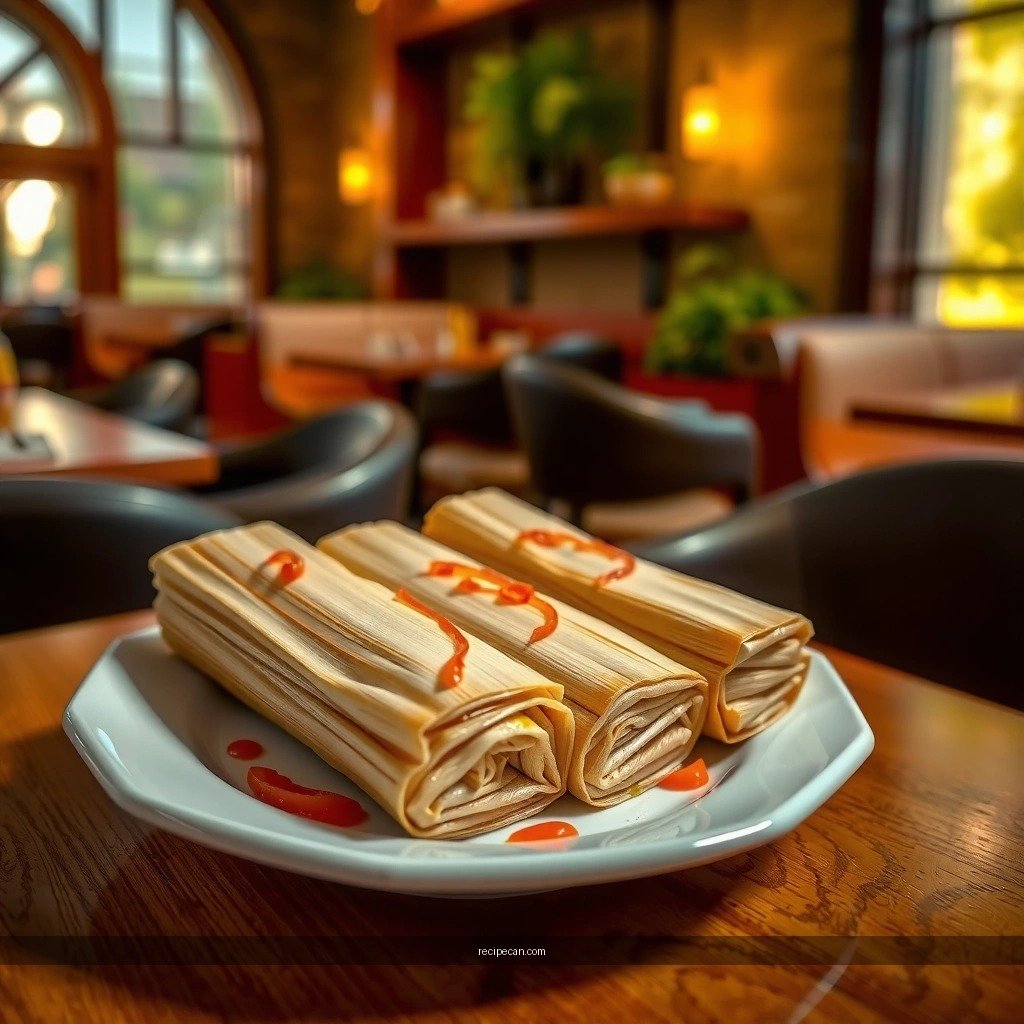
– Mix masa harina with broth and salt until smooth and spreadable
– Whip or beat with fat (lard or shortening) until light for better texture
– Test consistency: it should spread but hold shape during assembly
Masa is where “good” becomes “classic.” The masa should be creamy and cohesive—not stiff, not runny. If it’s too thick, you’ll get dense tamales; too thin, you’ll lose shape and filling will leak.
Core building blocks:
1. Hydrate the masa harina: Use warm broth (often chicken or pork broth) plus salt. Warm liquid blends more evenly and reduces lumps.
2. Beat with fat: Lard or shortening aerates the masa when whipped thoroughly. This is a texture driver: light masa steams more evenly and sets with a tender bite.
3. Adjust consistency: Add a little broth to loosen or add masa harina to thicken, then mix again until smooth.
Professional “consistency test” (easy and reliable):
– Spread a spoonful on the husk. It should be thick enough to stay where you put it, but it should smooth easily without tearing.
– If your spoon leaves ridges that don’t soften, the masa is too thick.
– If it spreads like batter and pools, it’s too thin.
Why salt matters: Masa needs its own seasoning. Under-salted masa tastes flat even if the filling is excellent.
Cook the Tamale Filling
– Simmer meat with aromatics (onion, garlic, chiles) until tender
– Thicken sauces if needed so filling stays inside tamales
– Taste and adjust salt, spice, and acidity before assembling
A classic tamale filling is cooked in two stages: tenderize the protein, then build a sauce that clings. The sauce is what prevents leakage and creates balanced flavor in each bite.
For meat fillings (pork or chicken):
1. Sauté aromatics (onion and garlic) briefly to develop sweetness.
2. Simmer with chiles (blended guajillo/ancho for red, tomatillo/green chiles for verde, etc.).
3. Cook until tender, then shred and return to the sauce.
Thickening is non-negotiable for clean assembly:
– If your filling looks glossy but loose, reduce it slightly.
– A good target is a saucy consistency that coats meat without sliding off a spoon.
– If you have a very thin broth base (common with certain chili reductions), simmer longer until thick enough to stay put.
Taste before assembly:
– Adjust salt to make the flavors “pop” against neutral masa.
– Check acidity (tomatillo, vinegar, or citrus) so the filling doesn’t taste heavy.
– Control heat: you can always add heat later with salsa, so keep the filling spicy but not scorching.
Assemble and Fill the Tamales
– Spread masa on the husk, add filling in the center, and fold tightly
– Roll and tie (optional) to keep the shape during steaming
– Arrange seam-side down for even cooking
Assembly is where you protect the filling and help the masa cook evenly. The goal is consistent thickness—especially at the edges—so your tamales set at the same pace.
Step-by-step assembly technique:
1. Lay the husk flat (broader side up).
2. Spread masa into a rectangle, leaving space near the top edge for folding.
3. Add filling in the center. Avoid overfilling; too much filling increases leakage risk and can prevent proper sealing.
4. Fold the husk so the masa covers the filling edges.
5. Tie or roll (optional): Tie with kitchen twine if you want extra stability during long steaming. Not mandatory, but helpful when learning.
6. Seam-side down: Place tamales seam-side down in the steamer to reduce seepage and ensure even steam exposure.
Consistency tip: If your masa is too thin, you’ll get holes or weak edges. If it’s too thick, the center can stay doughy. Use your consistency test to prevent rework.
Steam and Serve Your Homemade Tamales
– Steam in batches, keeping water at a steady simmer
– Cook until masa is set and husk peels away easily
– Let rest briefly, then serve with salsa, crema, and lime
Steaming is both cooking method and timing system. Tamales must steam long enough for the masa to hydrate fully and set, but not so long that they dry out or the husks become overly brittle.
How to steam for classic results:
1. Use a steamer with racks and a lid that traps steady steam.
2. Keep water at a simmer: You want constant steam without aggressive boiling that can splash and disrupt tamales.
3. Steam in batches if needed: Overcrowding blocks steam circulation and creates uneven cooking.
4. Check doneness by the husk peel test: When the masa is set, the husk should peel away with minimal resistance—no wet smear.
Resting matters: After steaming, let tamales rest for 10–15 minutes. This firms the masa slightly and makes them easier to handle and serve.
Serving ideas (classic and high-impact):
– Salsa (red chile, salsa verde, or roasted tomato)
– Crema or Mexican crema for cooling contrast
– Lime wedges for bright acidity
– Optional: chopped cilantro and onions, or a drizzle of extra chili sauce
Batch strategy for quality: If you’re making tamales for an event, plan to steam a first batch, test one for doneness, then use that as your timing benchmark for subsequent batches.
This homemade tamales recipe gives you everything you need for tender, flavorful tamales—from soaking husks to steaming time. Follow the steps closely, check consistency and doneness, and make a few batches to perfect your assembly—then enjoy and share your results!
A great batch of homemade tamales is the result of disciplined technique rather than luck: prepare pliable husks, make aerated masa with the right spreadability, cook fillings until they cling, and steam steadily until the masa pulls cleanly from the husk. With those fundamentals locked in, you can confidently vary fillings and flavors while keeping the classic tamale texture that everyone expects.
Frequently Asked Questions
What is the best homemade tamales recipe for beginners?
A beginner-friendly homemade tamales recipe uses masa harina as the base, clear instructions for soaking corn husks, and a simple filling like shredded chicken in salsa or pork with red chile. Choose a filling that’s already seasoned and moist so it doesn’t dry out during steaming. Look for recipes that specify steam time by tamale size and include doneness cues, such as masa lifting slightly from the husk.
How do I make the masa for homemade tamales that’s fluffy and not gummy?
For fluffy masa, mix masa harina with warm broth and keep the texture smooth, then incorporate fat (usually lard or vegetable shortening) until the masa is light and spreadable. Add baking powder for lift if your recipe calls for it, and don’t overmix once the masa is hydrated. If your masa feels gummy, it’s often due to too much liquid or insufficient fat; adjust with small amounts of masa harina or broth next batch.
How long should I steam homemade tamales, and how can I tell they’re done?
Most homemade tamales need about 60–90 minutes of steaming, depending on tamale thickness and your steamer size, with water maintained at a steady simmer. Tamales are done when the masa looks set and firm, the filling is hot throughout, and the masa peels back slightly from the husk. If you open one and see wet, soft batter on the underside, steam in 15-minute intervals until fully cooked.
Which fillings work best in a homemade tamales recipe—chicken, pork, or beef?
Chicken, pork, and beef all work well, but the best choice depends on the flavor profile you want and how well the filling holds up to steaming. Chicken tamales are typically mild and easy, especially with salsa verde or red chile, while pork is rich and forgiving with chile-based sauces. Beef can be delicious but should be cooked very tender first (like barbacoa-style) so it stays moist after steaming.
Why do my homemade tamales fall apart or tear when I peel them from the husks?
Tamales often tear if the husks weren’t soaked long enough or if the masa isn’t fully cooked and set before removing them from the steamer. Make sure the corn husks are pliable (soft and flexible, not brittle) and that you steam until the masa firms up and separates slightly from the husk. Let the tamales rest briefly after steaming; cutting too soon can cause the masa to tear or crumble.
References
- Tamale
https://en.wikipedia.org/wiki/Tamale - https://www.britannica.com/topic/tamale
https://www.britannica.com/topic/tamale - https://pubmed.ncbi.nlm.nih.gov/?term=tamales
https://pubmed.ncbi.nlm.nih.gov/?term=tamales - https://pubmed.ncbi.nlm.nih.gov/?term=nixtamalization+masa+properties
https://pubmed.ncbi.nlm.nih.gov/?term=nixtamalization+masa+properties - Google Scholar Google Scholar
https://scholar.google.com/scholar?q=homemade+tamales+recipe - Google Scholar Google Scholar
https://scholar.google.com/scholar?q=how+to+make+tamales+masa+corn+nixtamalization - Google Scholar Google Scholar
https://scholar.google.com/scholar?q=tamales+preparation+technique+steaming - Google Scholar Google Scholar
https://scholar.google.com/scholar?q=traditional+tamales+mexican+cooking+corn+dough - Google Scholar Google Scholar
https://scholar.google.com/scholar?q=nixtamalization+masa+dough+tamale+structure - Google Scholar Google Scholar
https://scholar.google.com/scholar?q=tamales+food+science+starch+gelatinization+steaming