Get the best chocolate milkshake recipe with a creamy, thick result you can make fast with simple ingredients. This step-by-step guide answers whether you can nail a real, ice-cream-style shake at home—without guesswork or fancy equipment. If you want a classic chocolate milkshake that tastes rich, not icy, follow this method and you’ll get it.
A truly creamy, easy chocolate milkshake is simply cold milk plus chocolate flavor (syrup or cocoa) blended with ice cream until thick and smooth. With a few technique tweaks—like blending order, chilling ingredients, and dialing in sweetness—you can consistently produce a shake that tastes like a café version at home.
A good milkshake is also a systems problem: temperature, fat content, and sugar levels all affect viscosity and mouthfeel. If you get those variables aligned, the rest becomes straightforward. Below is a practical method you can repeat every time, plus quick adjustments for thickness, sweetness, and mix-ins.
Choose Your Chocolate Base

Your chocolate base determines the flavor profile and how easily the chocolate disperses in the shake. In practice, this matters more than many home cooks expect.
– Use chocolate syrup for classic flavor or cocoa powder for a deeper taste
– Chocolate syrup (like Hershey’s-style or similar) blends quickly because it already contains sugar and a liquid component. Expect a more “dessert-like” sweetness and a cohesive chocolate flavor.
– Cocoa powder delivers a more intense chocolate character and can taste less sweet by default, but it may require more mixing time and a bit of sweetener to fully integrate.
– Decide between ice cream or milk-only for the thickness you want
– Ice cream-based shakes are typically thicker because ice cream contributes fat and stabilizing solids. This is the most reliable route for a traditional milkshake texture.
– Milk-only with cocoa can work if you prefer a lighter drink, but you’ll often need to compensate with extra cocoa (for flavor) and potentially a thicker technique (more ice, or a small amount of cornstarch-free thickener is possible, though not necessary for most people).
Quick decision guide (business-ready consistency):
– Want “thick straw” texture and nostalgic flavor? Use syrup + ice cream.
– Want richer, less sugary chocolate and a more mature cocoa taste? Use cocoa powder + ice cream, and consider adding a teaspoon of sugar or adjusting syrup to taste.
Milkshake Mix Options: Flavor, Sweetness, and Blending Behavior
| # | Base Method | Best For | Blend Time to Smooth | Sweetness Intensity | Consistency Outcome |
|---|---|---|---|---|---|
| 1 | Cold milk + chocolate syrup + ice cream | Classic café-style | 25–35 sec | High ★★★★☆ | Thick, stable |
| 2 | Cold milk + cocoa powder + ice cream | Deeper chocolate taste | 35–55 sec | Medium-high ★★★★☆ | Creamy, slightly lighter |
| 3 | Cold milk + chocolate syrup (no ice cream) | Light drink | 20–30 sec | High ★★★★☆ | Runny if not chilled |
| 4 | Cold milk + cocoa powder + extra ice | Thicker without ice cream | 45–70 sec | Lower ★★★☆☆ | Slushy-thick |
| 5 | Cold milk + frozen chocolate dessert + syrup | Shake-like density | 30–45 sec | High ★★★★☆ | Very thick |
| 6 | Cold milk + syrup + half ice cream / half milk | Balanced thickness | 25–40 sec | Medium ★★★☆☆ | Creamy but pourable |
| 7 | Cold milk + cocoa + syrup + ice cream | Best of both worlds | 35–50 sec | Medium-high ★★★★☆ | Rich + smooth |
Ingredients and Measurements

A reliable chocolate milkshake uses a simple framework: liquid + fat + chocolate + a stabilizing pinch. Measure once, then adjust by taste.
Base ingredients (one generous serving):
– Milk: 1 cup (cold)
– Ice cream: 1 to 1½ cups (for thickness, start with 1 cup and adjust)
– Chocolate: choose one
– Chocolate syrup: 2 to 4 tablespoons, or
– Unsweetened cocoa powder: 2 to 3 tablespoons (plus adjust sweetness if needed)
– Pinch of salt: 1/16 to 1/8 teaspoon
Salt heightens chocolate flavor and reduces “flat” sweetness.
Optional upgrades (use 1 at a time initially):
– Vanilla extract: ½ teaspoon for a softer, bakery-like profile
– Chocolate chips: 1 to 3 tablespoons for texture (add at the end or pulse briefly)
Frosty alternative options
If you don’t have traditional ice cream, you can use:
– frozen chocolate dessert, frozen custard, or a thicker ice-cream-style product
The key is using something cold, creamy, and fat-forward to achieve that classic milkshake viscosity.
Step-by-Step Blending Method

The blending method is where most “good” shakes become consistently “great.” The biggest lever is blending order.
1. Blend milk and chocolate first (syrup or cocoa).
Start with milk in the blender, add syrup or cocoa, and blend for about 10–15 seconds. This helps cocoa hydrate and prevents dry cocoa clumps.
2. Add ice cream and blend until smooth.
Add ice cream next and blend for 20–35 seconds depending on your blender power and how thick you want it.
3. Control thickness with blending time.
– Blend longer for a smoother, denser shake (more uniform fat dispersion).
– Blend shorter for a slightly airier, thinner texture with visible chill.
Practical note: If your shake seems grainy, it’s usually cocoa not fully dissolved or not enough pre-blending. A quick fix: blend milk + cocoa another 10–15 seconds before adding ice cream.
Make It Extra Creamy

Creaminess is a function of temperature management and fat content distribution. You can get noticeably better results with small operational changes.
– Chill ingredients beforehand for better consistency
Keep milk cold and let ice cream soften only slightly—just enough to scoop. If your ice cream is too melted, the shake will thin out before you finish blending.
– Add a small amount of cream or extra ice cream if it isn’t thick enough
If your shake isn’t reaching your desired thickness:
– add 1–2 tablespoons of heavy cream, or
– add another ¼ cup of ice cream, blending 10–15 seconds longer.
Troubleshooting shortcuts
– Too thin: add ice cream, not more milk. Milk will dilute flavor and slow down thickness.
– Too thick: add 1–2 tablespoons milk and blend briefly.
– Not chocolate-forward: increase chocolate base slightly (syrup or cocoa), then blend again to fully incorporate.
Customize Your Chocolate Milkshake
Customization turns your chocolate milkshake recipe into a product tailored to preference—sweetness, intensity, and even “functional” outcomes like extra richness.
– Adjust sweetness with more/less syrup, or use dark chocolate for richer flavor
– If using syrup, adjust in 1-tablespoon increments.
– If using dark cocoa or a higher-cocoa powder, expect a more bitter profile; compensate by slightly increasing syrup or adding a small amount of sugar.
– Mix-ins: whipped cream, crushed cookies, espresso, or peanut butter
Mix-ins alter both flavor and mouthfeel. For best results:
– Whipped cream: add on top for visual and texture contrast.
– Crushed cookies: pulse briefly after the base blends; aim for small pieces rather than fully grinding.
– Espresso: start with ½ teaspoon instant espresso dissolved into the milk before blending, or add a shot worth if you have brewed espresso cooled.
– Peanut butter: add 1–2 tablespoons and blend longer for a uniform swirl.
Professional flavor pairing logic (why it works)
– Espresso deepens chocolate without turning it “coffee-flavored.”
– Peanut butter adds fat and salt, which can amplify chocolate notes.
– Cookie pieces contribute crunch that delays flavor perception, making the shake feel more complex even with the same base.
Serve and Store Tips
A milkshake is best treated like fresh inventory: serve immediately, and store properly to preserve texture.
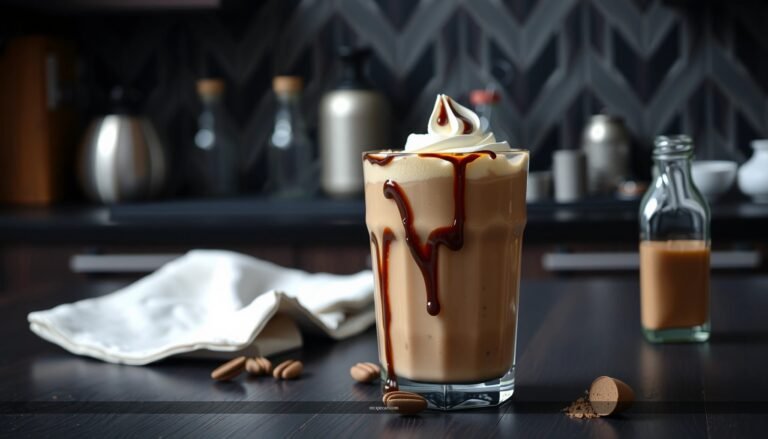
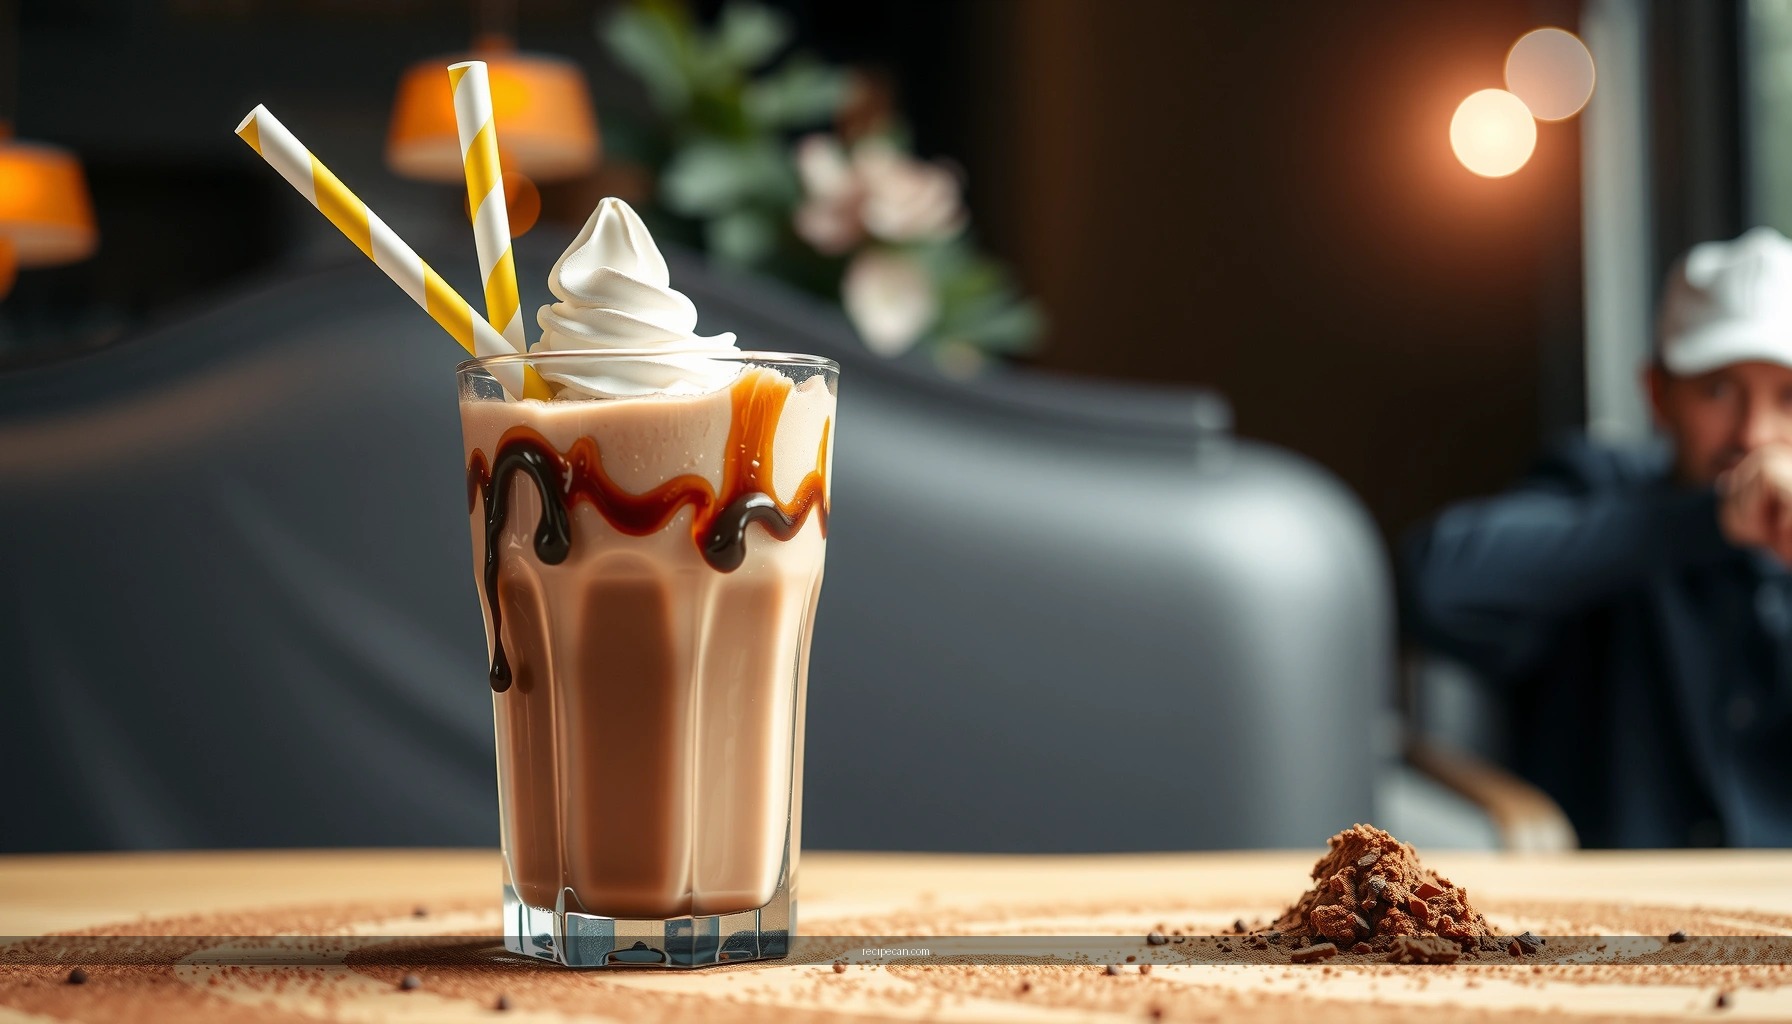
– Serve immediately with a thick straw and optional topping
Once blended, the mix starts to melt and thin. Serve right away for a thick, drinkable consistency. Popular finishing options include:
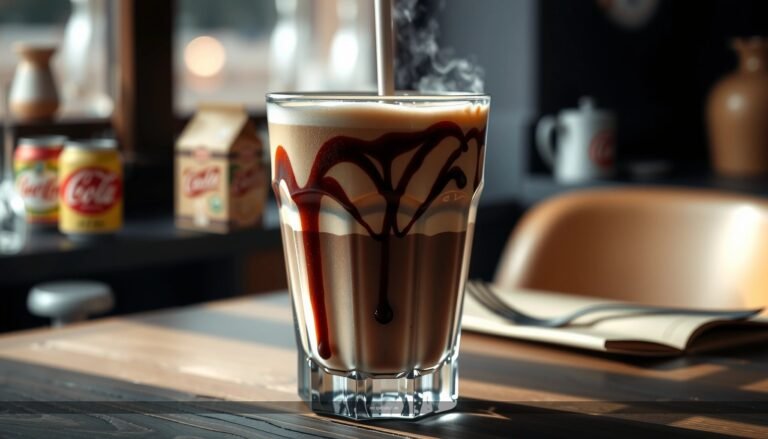
– chocolate drizzle
– whipped cream
– shaved chocolate or sprinkles
– a cookie crumb rim (dip cup edge lightly, then coat)
– For leftovers, refrigerate and re-stir or re-blend briefly before drinking
If you store it:
1. Refrigerate in a covered container.
2. When ready to drink, stir thoroughly.
3. If still too thick, re-blend 10–20 seconds with a splash of milk.
Food safety and quality note: Keep leftovers within the refrigerator for up to 24 hours for best flavor and texture.
A great chocolate milkshake comes down to the right chocolate base and blending to your preferred thickness. Choose syrup for classic sweetness or cocoa for deeper intensity, pre-blend milk with chocolate to prevent graininess, and use chilling plus small incremental adjustments to dial in creaminess. Then make it yours with a controlled mix-in—whether that’s espresso for depth or peanut butter for richness—and serve immediately for the thickest, smoothest result.
References
- Milkshake
https://en.wikipedia.org/wiki/Milkshake - Chocolate milk
https://en.wikipedia.org/wiki/Chocolate_milk - Chocolate
https://en.wikipedia.org/wiki/Chocolate - https://www.britannica.com/topic/milkshake
https://www.britannica.com/topic/milkshake - Google Scholar Google Scholar
https://scholar.google.com/scholar?q=chocolate+milkshake+recipe - Google Scholar Google Scholar
https://scholar.google.com/scholar?q=milkshake+chocolate+flavor+ingredients+analysis - Google Scholar Google Scholar
https://scholar.google.com/scholar?q=chocolate+milk+nutrition+review - Google Scholar Google Scholar
https://scholar.google.com/scholar?q=milk+and+sucrose+emulsion+science+food+technology - Google Scholar Google Scholar
https://scholar.google.com/scholar?q=dairy+beverage+emulsion+stabilization+casein+chocolate - Google Scholar Google Scholar
https://scholar.google.com/scholar?q=ice+cream+mix+chocolate+flavor+formulation+milkshake