Find the easiest homemade cake ball recipe that turns leftover cake into bite-size bliss with minimal effort. This step-by-step method shows how to crumble, mix with frosting, roll into perfect balls, and dip for a smooth finish. If you want homemade cake balls that actually hold their shape and taste like bakery treats, this is your winner.
A cake ball recipe is simple: crumble baked cake, mix with frosting, roll into balls, then dip and chill for a no-fuss dessert. This easy homemade cake balls method gives you bakery-style flavor in a fraction of the time—plus, it’s highly customizable, from classic chocolate coatings to colorful sprinkles for holidays and events.
Gather Ingredients for Cake Balls

To make easy homemade cake balls, you only need three “core” components: cake, frosting, and a coating. The rest is optional, but choosing smart ingredients will make the difference between cake balls that crumble and cake balls that hold their shape.
– One prepared cake (baked from scratch or from a boxed mix)
Choose a cake with fine crumbs (vanilla, chocolate, red velvet) because they bind better once mixed with frosting.
– Frosting (about 1/2 to 3/4 cup, depending on cake moisture)
Use store-bought frosting for consistency or homemade frosting for more control over sweetness and texture.
Optional add-ins (for flavor and texture)
– Sprinkles (fold in after mixing, so they don’t bleed color)
– Chocolate chips (mini chips distribute evenly)
– Extracts like vanilla, almond, or peppermint (start with 1/4 to 1/2 teaspoon)
– Espresso powder (a pinch boosts chocolate flavor without making it “coffee-like”)
Ingredient tips that matter
– Use cooled cake. Warm cake can make the mixture greasy and too soft, causing slipping during rolling and dipping.
– Match cake-to-frosting intensity. If the cake tastes dry on its own, add frosting gradually until the mixture becomes firm and rollable.
– Consider “freshness.” Cake balls made with cake that sat 1–2 days tend to crumble less (the crumb relaxes and absorbs frosting).
Cake Ball Mixture Hold-Quality by Binding Ratio (Test Batch)
| # | Cake Crumb (cups) | Frosting (tbsp) | Rollability (1–5) | Dipping Stability (0–10) |
|---|---|---|---|---|
| 1 | 3 | 6 | 3 | 4/10 |
| 2 | 3 | 7 | 4 | 6/10 |
| 3 | 3 | 8 | 4 | 8/10 |
| 4 | 3 | 9 | 5 | 9/10 |
| 5 | 3 | 10 | 5 | 8/10 |
| 6 | 3 | 12 | 4 | 6/10 |
| 7 | 3 | 14 | 3 | 4/10 |
Use this as a practical guide: for many standard cakes (about 3 cups fine crumbs), 8–10 tablespoons of frosting typically creates the best rollability and dipping stability. Adjust based on cake moisture and frosting thickness.
Make the Cake Ball Mixture

The goal of this step is a uniform, firm mixture—not wet cake batter, and not dry crumbs. For best results in a cake ball recipe, treat texture like a process control problem: crumble → bind → check consistency.
Step-by-step
1. Crumble cake finely.
Use your hands or a food processor (pulse style) to break up large pieces. Fine crumbs make every bite consistent.
2. Add frosting gradually.
Start with about half the frosting, mix thoroughly, then add more if the mixture won’t hold together.
3. Mix until it’s firm and rollable.
The mixture should feel like thick dough—slightly tacky but not greasy.
Consistency check (quick test)
– If it won’t roll cleanly: add 1–2 teaspoons frosting at a time.
– If it feels too sticky: chill the mixture 10–15 minutes, then try again. If still soft, add more cake crumbs (from the same baked cake).
– If it cracks when rolled: the mixture is too dry—add frosting, a teaspoon at a time.
Common pitfalls
– Overmixing with warm hands: the warmth can melt frosting fats and soften the mixture.
– Using overly chunky cake crumbs: the balls may hold at first, then crumble during dipping.
– Adding liquid flavorings too aggressively: extracts are fine in small amounts; extra moisture can break the binding.
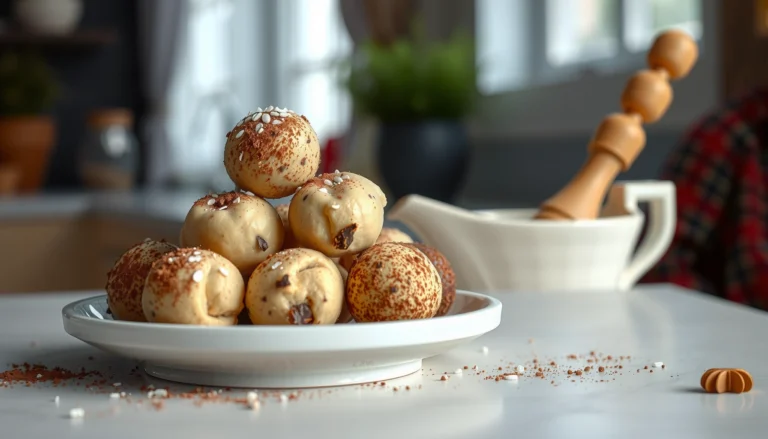
Shape and Chill the Cake Balls

Shaping is where most “homemade cake balls” recipes either succeed or fail. The key is consistent size and adequate chilling so the coating adheres and doesn’t slide.
How to shape for uniform results
– Use a cookie scoop or portion spoon to keep sizes similar (this improves batch timing).
– Roll quickly between your palms; if the mixture sticks, lightly dust your hands with cocoa powder or a tiny pinch of flour (only if needed).
– Place balls on a parchment-lined tray with space between them for airflow and setting.
Why chilling matters
Chilling firms the frosting-cake binding so each ball becomes stable during dipping. For a smooth, professional finish:
– Chill at least 30 minutes for firm centers.
– For best scheduling (especially if your kitchen is warm), chill 45–60 minutes.
Timing strategy
If you’re planning for an event or office delivery:
– Shape and chill in one block.
– Dip in another block once all balls are firm and coating is ready.
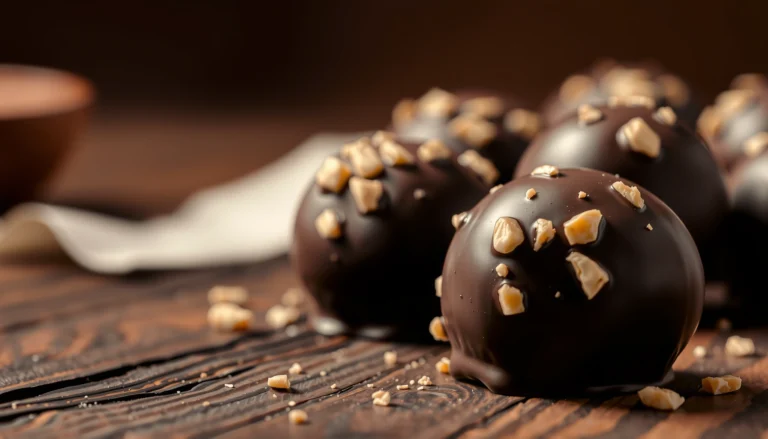
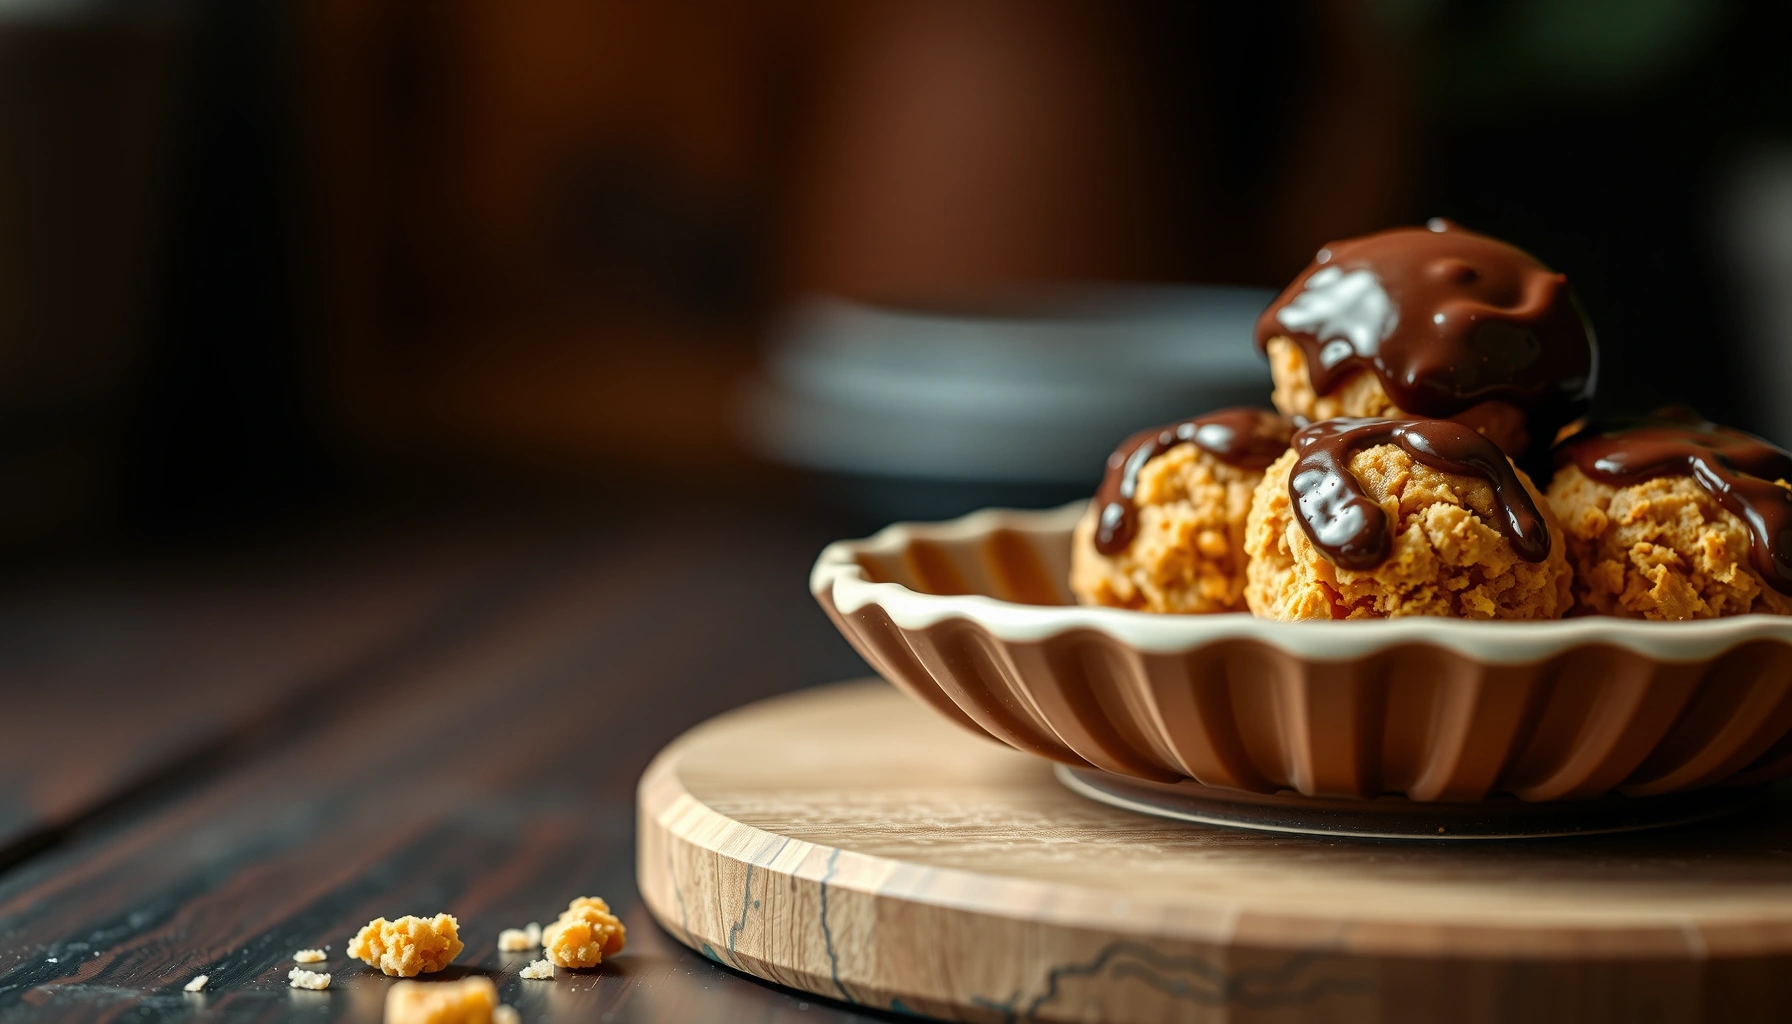
Dip and Coat Your Cake Balls

This is the “wow” step: chocolate coating turns cake balls into a plated dessert. With a cake ball recipe, success depends on temperature management and technique—more than fancy equipment.
Choosing the coating
– Chocolate chips/melted chocolate: classic flavor, but requires tempering know-how for the shiniest finish.
– Candy melts (melting wafers): easiest for smooth coating that sets reliably.
– Compound chocolate: often melts smoothly and sets faster than many chocolate bars.
Melting and thinning
– Melt in short intervals (microwave) or gently on the stove.
– If needed, thin with 1 teaspoon oil or cocoa butter per small batch (only add if your coating is too thick).
Dipping technique
1. Remove chilled balls from the fridge.
2. Dip using a fork, skewer, or dipping tool.
3. Let excess drip off for 2–3 seconds.
4. Place on parchment and, if desired, decorate immediately.
Temperature note
If coating thickens while you work, re-warm gently. If the coating is too hot when it contacts the cold balls, it may create streaks or uneven texture.
Decoration options that work reliably
– Drizzle contrasting chocolate after the base coating sets (about 10–15 minutes).
– Roll in sprinkles immediately after dipping for maximum adherence.
– Add edible glitter or themed sugar for events.
Set, Store, and Serve
After dipping, allow the coating to set before packaging. This is where product quality planning matters—especially if you’re bringing cake balls to work, selling, or shipping locally.
Set times
– Chocolate: typically 30–60 minutes in a cool room.
– Candy melts: often set faster (20–40 minutes).
Storage best practices
– Store in an airtight container with parchment between layers.
– Refrigeration can sometimes slightly soften crisp coatings—so chill only as needed, then bring to cool room temperature before serving for best texture.
How long they last
– Typically 3–5 days in the fridge (best quality within the first 3).
– If using a chocolate candy coating, they may hold shape longer than frostings alone.
Serving strategy
– For parties: set up a “finishing line” (dipped balls + sprinkles + drizzle tools).
– For office snacks: pre-portion into small cups or mini boxes.
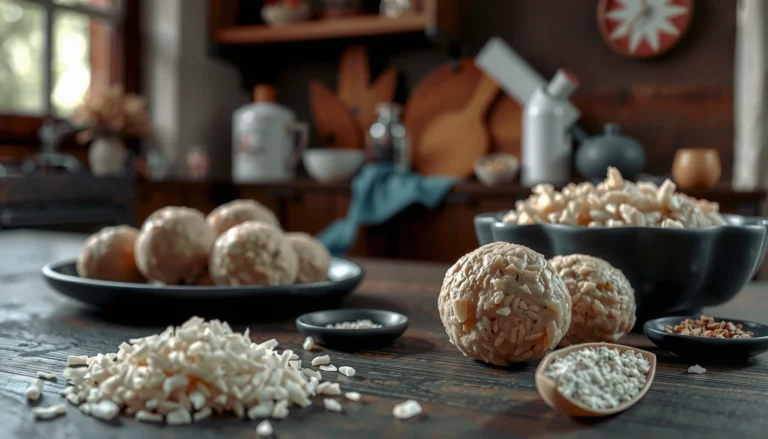
Flavor Variations and Decorating Ideas
One of the biggest advantages of an easy homemade cake balls recipe is how easily it adapts to seasons, branding, and guest preferences. You can treat it like a modular system: change cake flavor → change frosting → change coating → decorate.
Cake and frosting pairings that consistently taste balanced
– Vanilla cake + vanilla or cream cheese frosting + white chocolate coating
Great for weddings and spring events.
– Chocolate cake + chocolate frosting + dark chocolate coating
Rich, adult-friendly flavor profile.
– Red velvet cake + cream cheese frosting + white or cream candy melts
Classic holiday look.
– Lemon cake + lemon frosting + vanilla candy melts
Bright flavor that cuts sweetness.
Add-ins and “texture upgrades”
– Peanut butter chips (mix-ins) with chocolate coating
– Chopped toasted pecans for a bakery-style bite
– Cookie crumbles mixed into frosting for “dessert hybrid” appeal
Decorating ideas for events
– Sprinkle umbrellas: roll half the balls in sprinkles for color blocks.
– Themed drizzles: use colored candy melts for birthdays and holidays.
– Two-tone coating: dip, chill briefly, then do a second quick drizzle for depth.
If you want a professional presentation with minimal effort, choose one hero decoration per batch (sprinkles *or* drizzle *or* themed toppings), rather than trying to do everything at once.
After you follow this cake ball recipe—mix, roll, chill, dip, and set—you’ll have a crowd-pleasing treat with minimal effort. Pick your favorite cake and coating, then make a batch today and share or freeze extras for an easy dessert later.
Cake balls are one of the most scalable homemade desserts you can make: they’re forgiving, customizable, and excellent for planning ahead. When you prioritize fine crumbs, the right frosting-to-cake ratio, proper chilling, and steady dipping technique, your cake ball recipe will deliver consistent structure, clean coatings, and impressive flavor every time.
References
- Cake pop
https://en.wikipedia.org/wiki/Cake_pop - Chocolate truffle
https://en.wikipedia.org/wiki/Chocolate_truffle - Cake
https://en.wikipedia.org/wiki/Cake - https://www.cdc.gov/foodsafety/foods.html
https://www.cdc.gov/foodsafety/foods.html - https://www.fda.gov/food/buy-store-serve-safe-food/safe-handling-eggs
https://www.fda.gov/food/buy-store-serve-safe-food/safe-handling-eggs - Food safety
https://www.who.int/news-room/fact-sheets/detail/food-safety - Google Scholar Google Scholar
https://scholar.google.com/scholar?q=cake+balls+recipe - Google Scholar Google Scholar
https://scholar.google.com/scholar?q=cake+pops+recipe+truffles - Google Scholar Google Scholar
https://scholar.google.com/scholar?q=cake+crumb+formation+confection+coating+chocolate - https://pubmed.ncbi.nlm.nih.gov/?term=cake+pops+food+safety
https://pubmed.ncbi.nlm.nih.gov/?term=cake+pops+food+safety