If you want a baked cannoli recipe that delivers crispy shells with minimal fuss, this is the clear winner. You’ll get easy, step-by-step instructions for shaping and baking the shells so they stay crunchy, plus a creamy filling that actually holds its flavor. The question answered here: how to make cannoli that taste like the real thing—without frying.
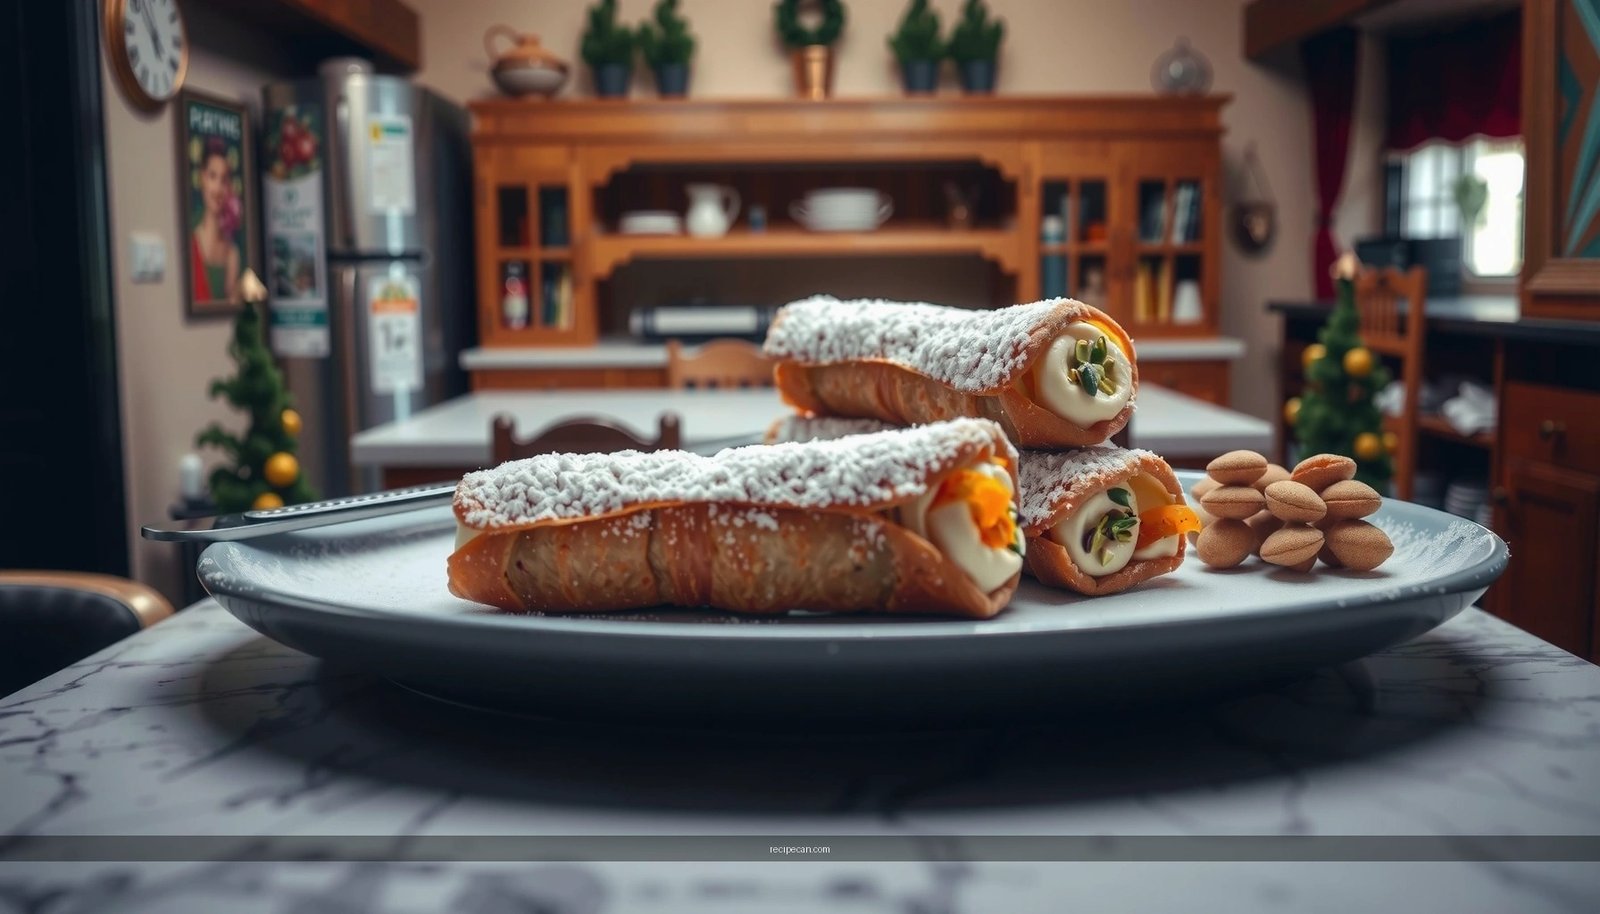
Yes—you can make classic cannoli flavors without deep-frying by baking the shells until they’re golden and crisp, then filling them with a thick, sweet ricotta mixture right before serving. Below is a practical, bakery-style baked cannoli recipe with clear steps for oven-ready crunch, a smooth traditional filling, and an assembly workflow that keeps your shells crisp even for a crowd.
Cannoli Shell Bake Targets for Consistent Crispness (Oven-Baked)
| # | Shell batch goal | Oven temperature | Bake time | Crispness rating | Humidity impact on crisp |
|---|---|---|---|---|---|
| 1 | Golden, shatters on bite | 425°F / 218°C | 12–15 min | ★★★★★ | Low |
| 2 | Standard crisp, crowd-ready | 400°F / 205°C | 15–18 min | ★★★★☆ | Low–Medium |
| 3 | Crisp but slightly softer center | 375°F / 190°C | 18–22 min | ★★★☆☆ | Medium |
| 4 | Avoid underbaked texture | 350°F / 177°C | 20–25 min | ★★☆☆☆ | High |
| 5 | Extra-dry for longer holding | 425°F / 218°C | 15–17 min + 2 min cool-oven | ★★★★★ | Very Low |
| 6 | Quick batches for same-day assembly | 425°F / 218°C | 11–13 min | ★★★★☆ | Medium (if overfilled) |
| 7 | High-altitude adjustment | 410°F / 210°C | 13–16 min | ★★★★☆ | Low–Medium |
Ingredients You’ll Need for Baked Cannoli

A reliable baked cannoli recipe starts with ingredients that support crispness (low moisture in the shell and a sturdy dough) and a filling that stays thick (properly drained ricotta and balanced sweetness).
Shell ingredients
– All-purpose flour (structure): typically the base of the dough
– Granulated sugar (light sweetness + browning)
– Unsalted butter, softened (tenderness and flavor; also helps with flake-like crispness)
– Eggs (binding and richness)
– Optional flavoring: vanilla extract, a pinch of cinnamon, or lemon zest (use sparingly so the classic cannoli profile stays intact)
Filling ingredients
– Ricotta cheese, preferably whole milk (best texture for classic cannoli)
– Powdered sugar (dissolves smoothly into ricotta)
– Vanilla extract (rounds the flavor)
– Chocolate chips (or chopped dark chocolate)
– Optional add-ins: orange zest, mini candied fruit, or a small pinch of cinnamon for a more aromatic filling
Pro tip for quality: For true “bakery” results, use well-drained ricotta. If your ricotta looks wet or grainy, strain it through cheesecloth in the refrigerator for 30–60 minutes before mixing.
Make the Baked Cannoli Shells

Baked cannoli shells work when you treat them like a laminated pastry cousin: shape carefully, bake hot enough for browning, then cool completely so the shells set and stay crisp.
1) Mix the dough for structure and crispness
In a bowl, combine flour, sugar, and your optional flavoring. Add softened butter and mix until the mixture resembles coarse crumbs. Beat in eggs until a cohesive dough forms. If the dough feels too sticky, add flour a tablespoon at a time—sticky dough tends to steam in the oven and reduces crispness.
2) Shape into cannoli shell forms
– Lightly dust your work surface and rolling pin.
– Roll the dough thin enough to bake crisp, but not so thin that it tears.
– Wrap dough strips around cannoli molds/tubes or reusable forms. Overlapping slightly helps seams stay sealed.
– Aim for consistent thickness; uneven dough bakes at different rates, creating soft spots.
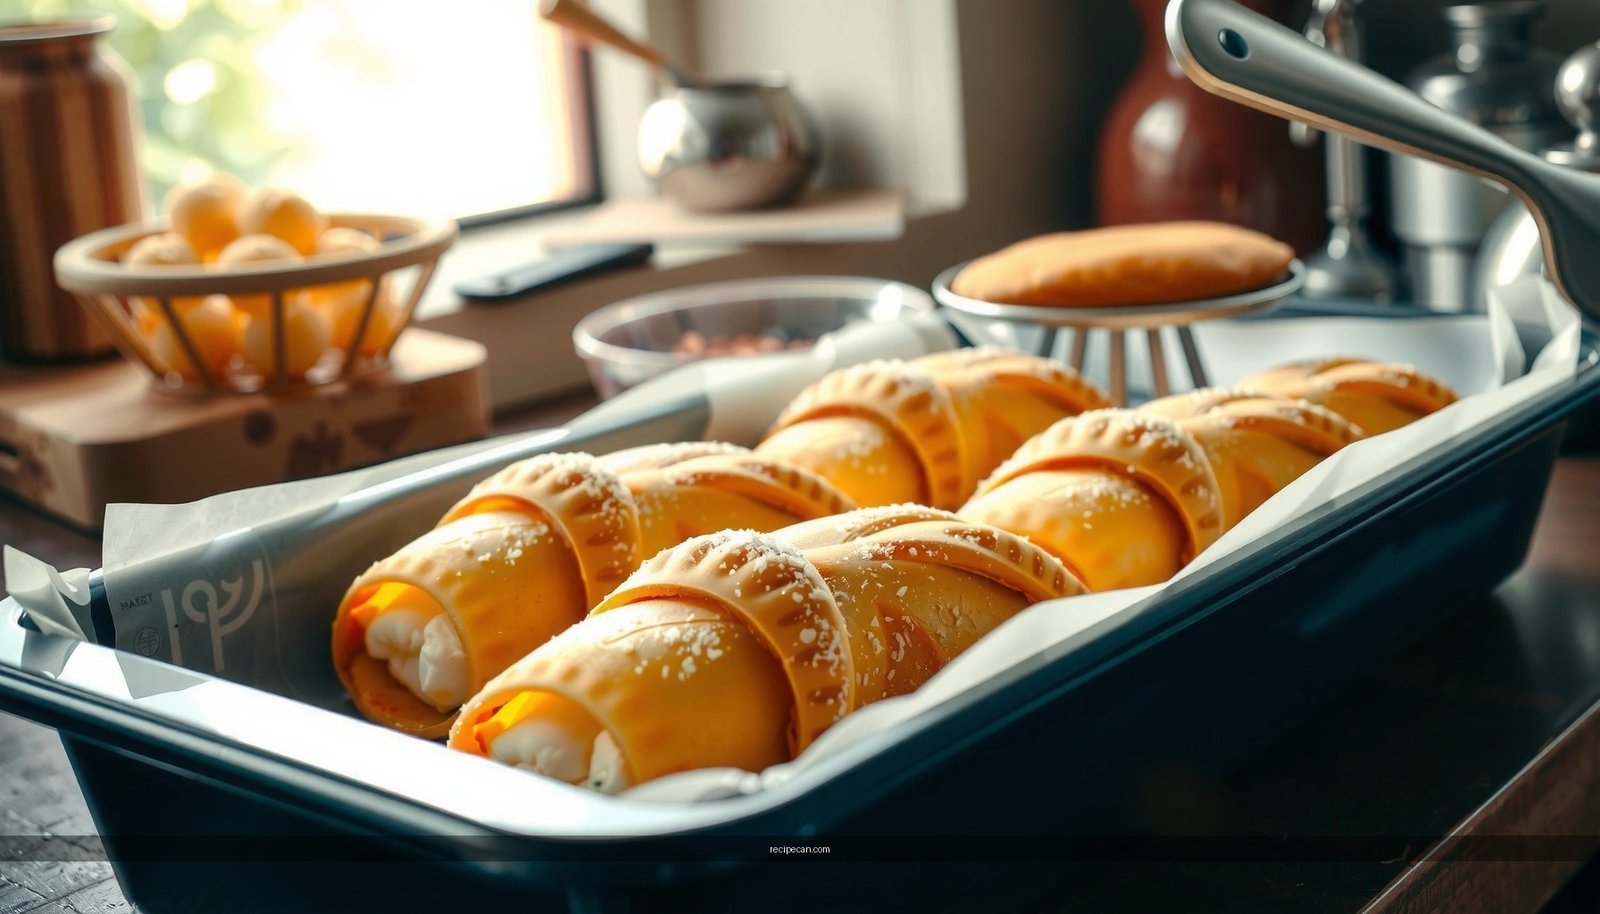
3) Bake until golden and crisp, then cool completely
Place the wrapped shells on a parchment-lined sheet. Bake at a hot, steady temperature—commonly 400–425°F (205–218°C)—until deep golden brown.
After baking, remove from the oven and let shells cool fully on the molds or on a rack until they’re room temperature and dry. Warm shells are more elastic and can lose their crispness quickly once filled.
Why cooling matters (the practical science): Shell crispness is driven by moisture loss and fat setting. Fill while warm and you’ll trap steam from both the shell and the cold ricotta, which softens the shell faster—especially for servings beyond the first few minutes.
Prepare the Classic Cannoli Filling

The traditional sweet ricotta filling should be smooth, pipeable, and able to hold shape long enough to garnish and plate beautifully. Think of it as a “stabilized cream,” not a loose dip.
1) Combine ricotta and powdered sugar until smooth
Press drained ricotta through a fine mesh or whisk vigorously until it loses lumps. Add powdered sugar gradually to avoid a grainy texture. The goal is a creamy body that clings to a spoon.
2) Flavor and build texture
Add vanilla extract and fold in chocolate chips. If you’re using zest (lemon or orange), add it after the base is smooth so the flavor distributes evenly.
For a more “classic” cannoli feel, use small add-ins—too many mix-ins can prevent piping and create air pockets.
Consistency check:
– If the filling seems too soft, refrigerate it 20–30 minutes to firm up slightly.
– If it’s too thick, add 1–2 teaspoons of milk or cream to loosen, then chill again.
Food-service insight: For events, mix filling in advance, portion it, and keep it cold. Cannoli shell crispness is fragile; the filling can wait—shells cannot.
Assemble Baked Cannoli
Assembly is where many baked cannoli recipes succeed or fail. The best approach is simple: fill cooled shells just before serving, and keep the filling portion controlled.
1) Fill the cooled shells right before serving
Once shells are fully cooled, you can gently remove them from molds (if used) and set them on a tray. Fill only when you’re ready to plate, especially if you expect guests to arrive over time.
2) Pipe or spoon filling evenly
– Use a piping bag for cleaner edges and consistent portions, or spoon filling in carefully.
– Avoid overfilling. Excess filling pushes outward, creating leakage that softens shells faster.
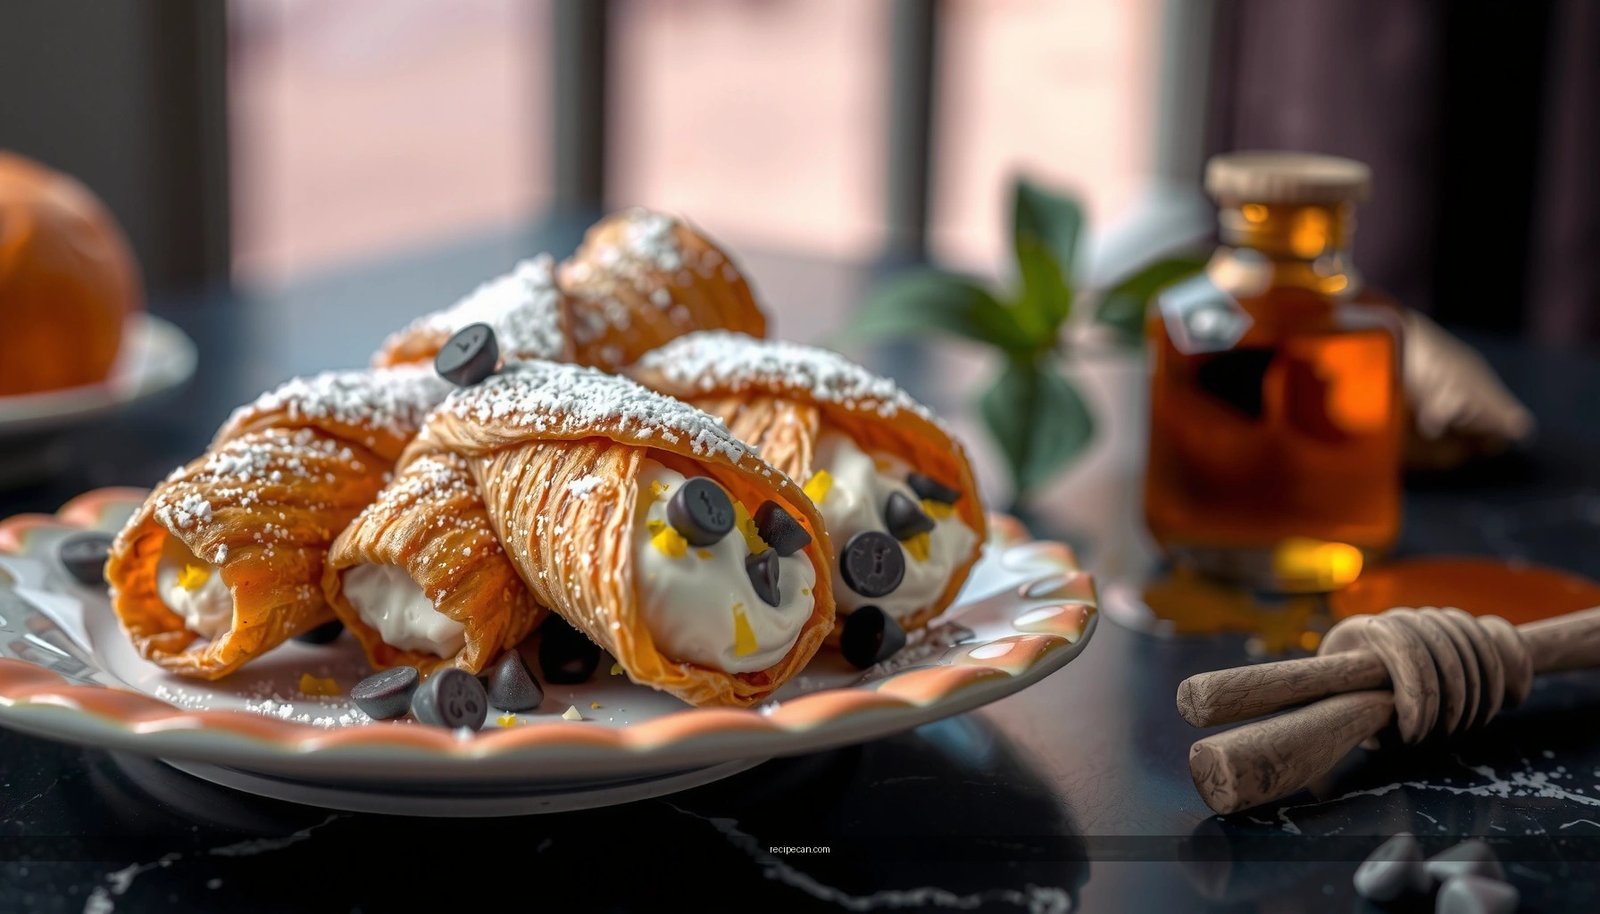
– Add garnish immediately: a light dusting of powdered sugar, extra chocolate chips, or a small strip of candied fruit if you choose to use it.
Serving cadence suggestion:
If serving many guests, fill in batches—e.g., fill 12 shells, plate them, then repeat. This keeps the first batch crisp while you finish the rest.
Tips for Best Texture and Flavor
Baked cannoli is straightforward, but the details strongly affect the outcome. These tips target the most common failure points: soft shells, runny filling, and bland flavor.
Don’t skip cooling time—warm shells can soften quickly
Even well-baked shells can turn leathery or soggy if you fill them too soon. Cool at least to room temperature. If your kitchen is humid, an extra 10 minutes of cooling on a rack helps dry the exterior.
Use well-drained ricotta for a thicker filling that holds its shape
Wet ricotta behaves like a hydration sponge: it releases moisture into the shell. Drained ricotta not only improves texture but also boosts perceived flavor because the filling isn’t diluted.
Additional high-impact refinements
– Bake for color, not just time. Golden brown is a reliable indicator of crispness in oven-baked pastries.
– Don’t overcrowd the tray. Airflow matters; overcrowding slows browning and increases steaming.
– Taste your filling before assembling. If it’s not sweet enough, powdered sugar corrections after mixing are simple. Once filled, adjustments are harder.
Storage and Serving Suggestions
Cannoli is at its best when the shell meets the filling at the right moment. Storage should prioritize shell crispness and food safety.
Store filled cannoli briefly to preserve shell crispness
Filled cannoli can soften over time because ricotta is moist and shell textures are delicate. If you must store:
– Keep them refrigerated in a sealed container.
– Plan to eat within a short window (generally the same day for best results).
Serve at room temperature for the best flavor and creaminess
Take cannoli out of the refrigerator 15–20 minutes before serving. This slightly softens the filling (without making it run) and improves flavor intensity so the vanilla and chocolate read clearly.
Make-ahead strategy (the professional workflow):
– Shells: bake ahead and store airtight at room temperature.
– Filling: prepare and refrigerate in a covered bowl.
– Assemble: only when you’re ready to serve.
This approach gives you the crisp shell you want and the creamy ricotta texture guests expect—without deep-frying.
—
Baked cannoli is an easy way to enjoy classic ricotta filling with crisp shells—made simpler without deep-frying. By baking the shells until deeply golden, fully cooling them before filling, and using well-drained ricotta for a thick, pipeable classic cannoli filling, you’ll get a dessert that tastes like it came from a pastry case. Bake your shells, mix your filling, assemble in small batches, and share your results with family and friends.
Frequently Asked Questions
What is a baked cannoli recipe and how is it different from traditional cannoli?
A baked cannoli recipe is a cannoli-style dessert where the filling—typically ricotta mixed with sugar and chocolate chips—is baked inside a pastry shell or biscuit-like crust instead of being fried in traditional cannoli shells. This approach skips deep-frying, making it easier to prepare and often less messy. The result is a cannoli-inspired flavor with a softer, sliceable texture that’s great for feeding a crowd.
How do you prevent baked cannoli from getting soggy or watery?
To avoid soggy baked cannoli, start with well-drained ricotta (you can blot it or strain it briefly) so excess moisture doesn’t seep into the crust. Use a thickening ingredient like cornstarch or ensure the filling is stiff enough before baking by mixing thoroughly and chilling if needed. Also, bake until the pastry turns golden and let the baked cannoli cool fully so the filling sets instead of weeping.
Why is my baked cannoli filling runny, and how can I fix it?
Runny filling usually comes from ricotta that’s too wet, not enough mixing, or baking time that’s too short for the filling to set. Try using part-skim ricotta for a thicker texture, drain it well, and consider adding a small amount of cornstarch or instant pudding mix for stability. If your first batch is slightly loose, chilling the baked cannoli can firm it up significantly—just avoid serving immediately after baking.
Which pastry or crust works best for a baked cannoli recipe?
Many home bakers choose crescent roll dough, puff pastry, or a simple cookie-cake crust depending on the style of baked cannoli they want. Crescent rolls are convenient and yield a flaky outside, while puff pastry creates a more dramatic, layered bite. For a sturdier result that holds slices cleanly, use a sheet-pan pastry or lightly sweetened crust that you prebake briefly to firm up before adding ricotta filling.
What’s the best way to store and reheat baked cannoli for optimal texture?
Store baked cannoli in an airtight container in the refrigerator for up to 3–4 days to keep the ricotta filling fresh. For the best texture, reheat individual portions in a low oven (around 300°F/150°C) for 5–10 minutes rather than microwaving, which can make the crust soften. Let it cool a minute before eating so the baked cannoli sets slightly and the flavors—like chocolate chips and vanilla—taste more pronounced.
References
- Cannoli
https://en.wikipedia.org/wiki/Cannoli - https://www.britannica.com/topic/cannoli
https://www.britannica.com/topic/cannoli - Ricotta
https://en.wikipedia.org/wiki/Ricotta - Ricotta | Cheese, Whey, & Production | Britannica
https://www.britannica.com/topic/ricotta - Pastry
https://en.wikipedia.org/wiki/Pastry - Baking
https://en.wikipedia.org/wiki/Baking - Frying
https://en.wikipedia.org/wiki/Frying - Dessert
https://en.wikipedia.org/wiki/Dessert - Google Scholar Google Scholar
https://scholar.google.com/scholar?q=baked+cannoli+recipe - Google Scholar Google Scholar
https://scholar.google.com/scholar?q=cannoli+shell+baking+instead+of+frying