This Apple Crumble recipe delivers the fastest path to a perfectly crisp topping, with simple steps you can follow without guesswork. You’ll get the exact crumble-to-apple ratio, bake time, and temperature so the apples turn tender while the topping stays golden and crunchy. If you want a consistently crisp apple crumble every time, this is the one to make.
This apple crumble recipe delivers a reliably jammy, tender filling and a buttery, crisp topping—without complicated technique. By choosing the right apples, thickening the fruit properly, and baking until the crumble is deeply golden, you’ll get the classic “bubbly at the edges” finish every time.
Apple Texture Guide for Baking (Best Use & Expected Bake Behavior)
| # | Apple variety | Firmness | Ideal for crumble | Bake reliability |
|---|---|---|---|---|
| 1 | Granny Smith | Very firm | Sweet-tart filling | ★★★★☆ |
| 2 | Honeycrisp | Firm | Balanced flavor | ★★★★☆ |
| 3 | Braeburn | Firm | Holds shape well | ★★★★☆ |
| 4 | Pink Lady (Cripps Pink) | Medium-firm | Mild sweetness | ★★★☆☆ |
| 5 | Golden Delicious | Medium | Softens quickly | ★★☆☆☆ |
| 6 | McIntosh | Soft | More compote-like | ★☆☆☆☆ |
| 7 | Jonagold | Medium-firm | Good all-rounder | ★★★☆☆ |
Choose the Best Apples

Choosing the right apples is the difference between a crumble that slices cleanly and one that collapses into sweet applesauce. Look for varieties that are firm and hold their structure under heat—typically apples with higher acidity and crisp texture. As a practical rule, aim for apples labeled as good for baking or those that feel dense and “snappy” when you bite them raw.
– Use firm apples like Honeycrisp, Granny Smith, or a mix for balanced flavor
Granny Smith brings a reliable tart backbone that prevents the filling from tasting flat once baked. Honeycrisp adds a more rounded sweetness and a satisfying bite. Mixing varieties is often the best “quality control” strategy: tart apples improve flavor complexity, while sweeter, firm apples improve overall balance and browning.
– Slice evenly so the filling bakes at the same rate
Uneven slices create uneven outcomes: thin pieces can turn mushy while thicker pieces remain undercooked. Target roughly the same thickness—about 1/4 inch (6 mm)—so your crumble filling becomes tender uniformly. Also consider cutting method: consistent wedges or slices increase surface area contact with the sugar-cinnamon mixture, improving flavor development and thickening.
If you want a quick decision framework: firm apples yield a more “apple-forward” texture; softer apples shift the dessert toward a thicker compote. The table above summarizes typical baking behavior so you can select the best apples for your desired texture.
Make the Apple Filling

A successful apple crumble filling is not just fruit plus sugar—it’s a controlled balance of sweetness, acidity, spice, and thickening. When that balance is off, you’ll either get a watery bake (fruit releases too much liquid) or a filling that’s overly stiff. The best approach is to coat the apples thoroughly and add a thickener that activates in the oven.
– Toss apples with sugar, cinnamon, and a little lemon juice
Sugar draws out moisture from the apples during baking, which then dissolves into a syrup that flavors the fruit. Cinnamon provides classic warmth, but its impact is amplified by browning—hence the need for proper baking time. Lemon juice contributes acidity, which brightens flavor and helps prevent the filling from tasting overly sweet. It also supports how sugars and starches behave, creating a more stable set.
For flavor calibration: if your apples are already very tart (for example, Granny Smith), you can slightly reduce sugar; if you use sweeter apples, keep sugar moderate and rely on lemon for lift.
– Add a thickener (like cornstarch or flour) for a set, non-watery crumble
Thickener is essential if you want crisp topping and a filling that stays cohesive under a spoon. Cornstarch tends to create a clearer, more glossy set; flour gives a slightly more rustic, opaque texture. Add the thickener after the sugar and spices so it coats the apple pieces evenly—this improves consistency and prevents pockets of starch.
Timing and quantity matter: too little thickener leaves the filling loose; too much can make the filling feel paste-like. In standard home-portion crumble recipes (roughly 6–7 cups sliced apples), cornstarch in the range of about 1–2 tablespoons or flour about 2–3 tablespoons usually performs well, especially with firm apples.
Pro-level technique (optional but effective)
Let the apple mixture sit for 10–15 minutes before assembling. This draws out some juices, ensuring the thickener can distribute and begin thickening when heat is applied. You’ll still bake it, but you’ll get a more predictable “bubbly” stage.
Mix the Crumble Topping
Crumble topping is essentially a dry mixture fused with cold fat. The goal isn’t to form a smooth batter—it’s to create uneven, buttery crumbs that brown quickly. Cold butter is the key: it limits gluten development and creates steam pockets in the oven, improving crispness.
– Combine flour, oats (optional), sugar, and cinnamon
Use flour for structure and crispness. Add oats if you want additional texture and a hearty, crunchy top; they also help absorb some moisture so the topping stays crisp longer. Sugar contributes to caramelization at the edges, supporting the golden-brown “crumbly” finish. Cinnamon is optional here because the filling already has it, but a small amount in the topping can create a more unified spice profile across bites.
– Cut in cold butter until you get crumbly, uneven bits
Dice butter and keep it cold—then cut it into the dry ingredients until you see coarse crumbs with some larger chunks. Those larger chunks melt into crisp clusters, giving the topping its signature texture. If you overwork the mixture, the topping can become dense rather than crisp. If it looks too dry, add butter by the teaspoon; if it looks too wet, add a bit more flour.
Practical indicator: the topping should resemble coarse sand. When you pinch a handful, it should hold together lightly but still break into crumbs when you release it.
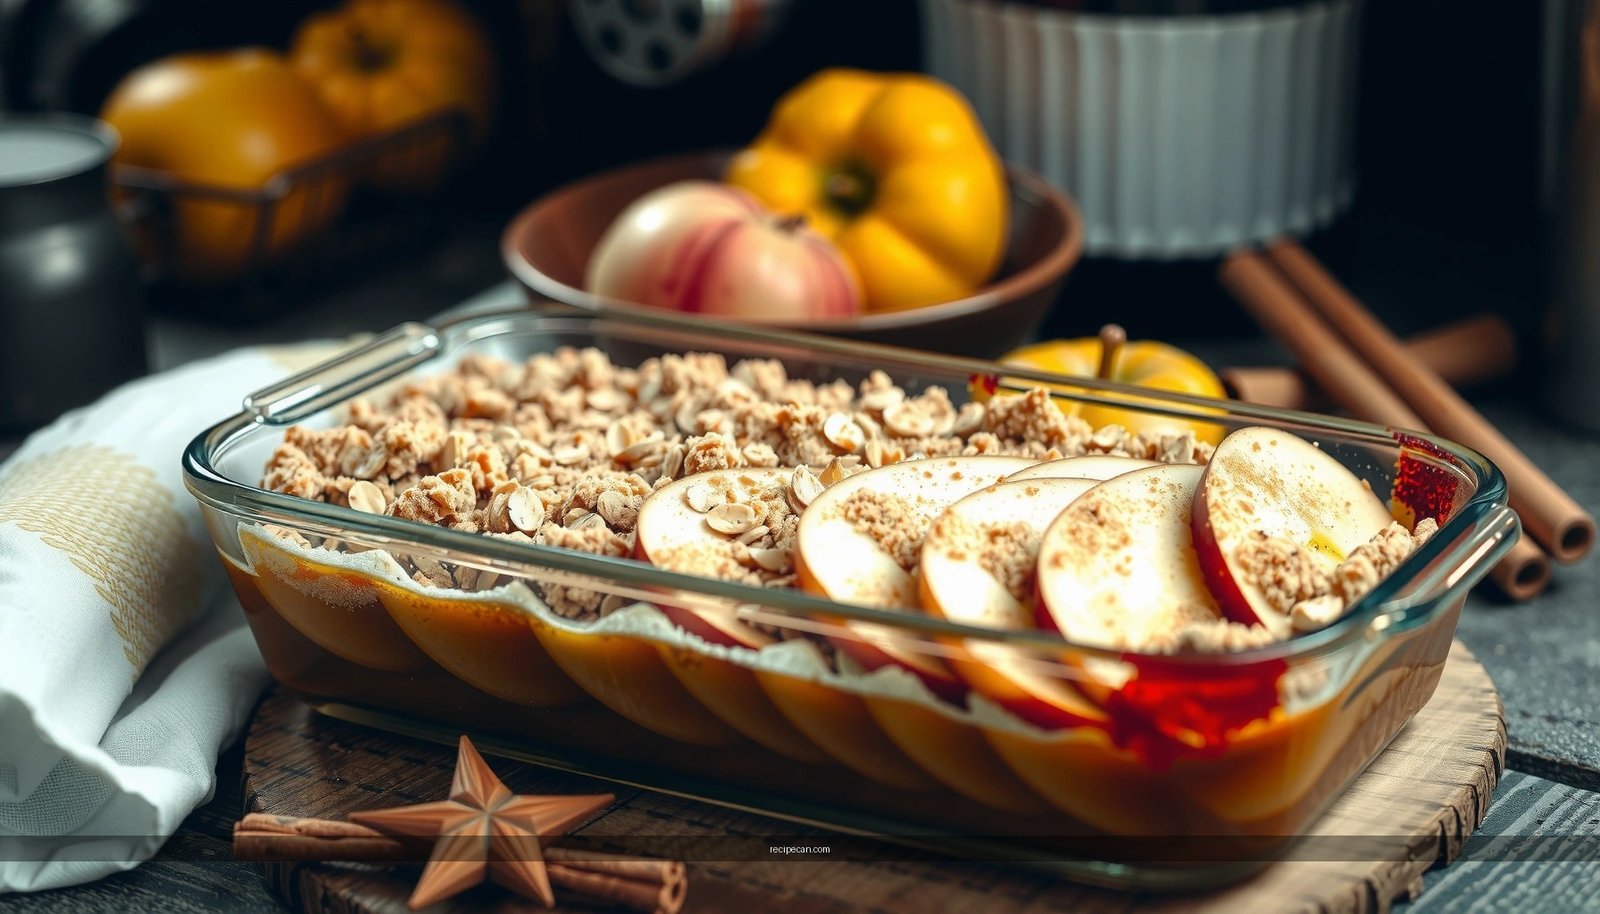
Assemble and Bake
Assembly is where the method becomes foolproof. Spread the filling evenly so it bubbles at the same rate across the dish, then cover with a generous layer of topping to protect the fruit and promote browning.
– Spread the apple filling in a baking dish
Choose a dish large enough that the apples are in an even layer (commonly 8×8 inches or similar for home portions). If the dish is too small, the filling may overflow or steam rather than bubble; if it’s too large, the fruit layer can be thin and dry out. Smooth the surface so heat distribution is consistent.
– Sprinkle topping generously and bake until bubbly and golden
Bake until the filling bubbles around the edges and the topping reaches a deep golden color. This is the practical doneness cue: bubbling means the thickened juices have set; golden crumbs mean the butter has browned enough to create crispness and flavor. Many crumbles bake in the neighborhood of 35–50 minutes at 350°F (175°C), but your exact time depends on apple thickness and dish depth.
For crisp topping, avoid loosely covering with foil for the entire bake. If the top browns faster than the filling thickens, tent with foil for the final 10–15 minutes instead of blocking heat from the start.
Quality checkpoints during baking
– Edges bubbling: your filling has reached the thickened syrup stage.
– Top color: look for golden brown, not pale beige.
– Gentle jiggle: the center should move slightly but not remain liquid.
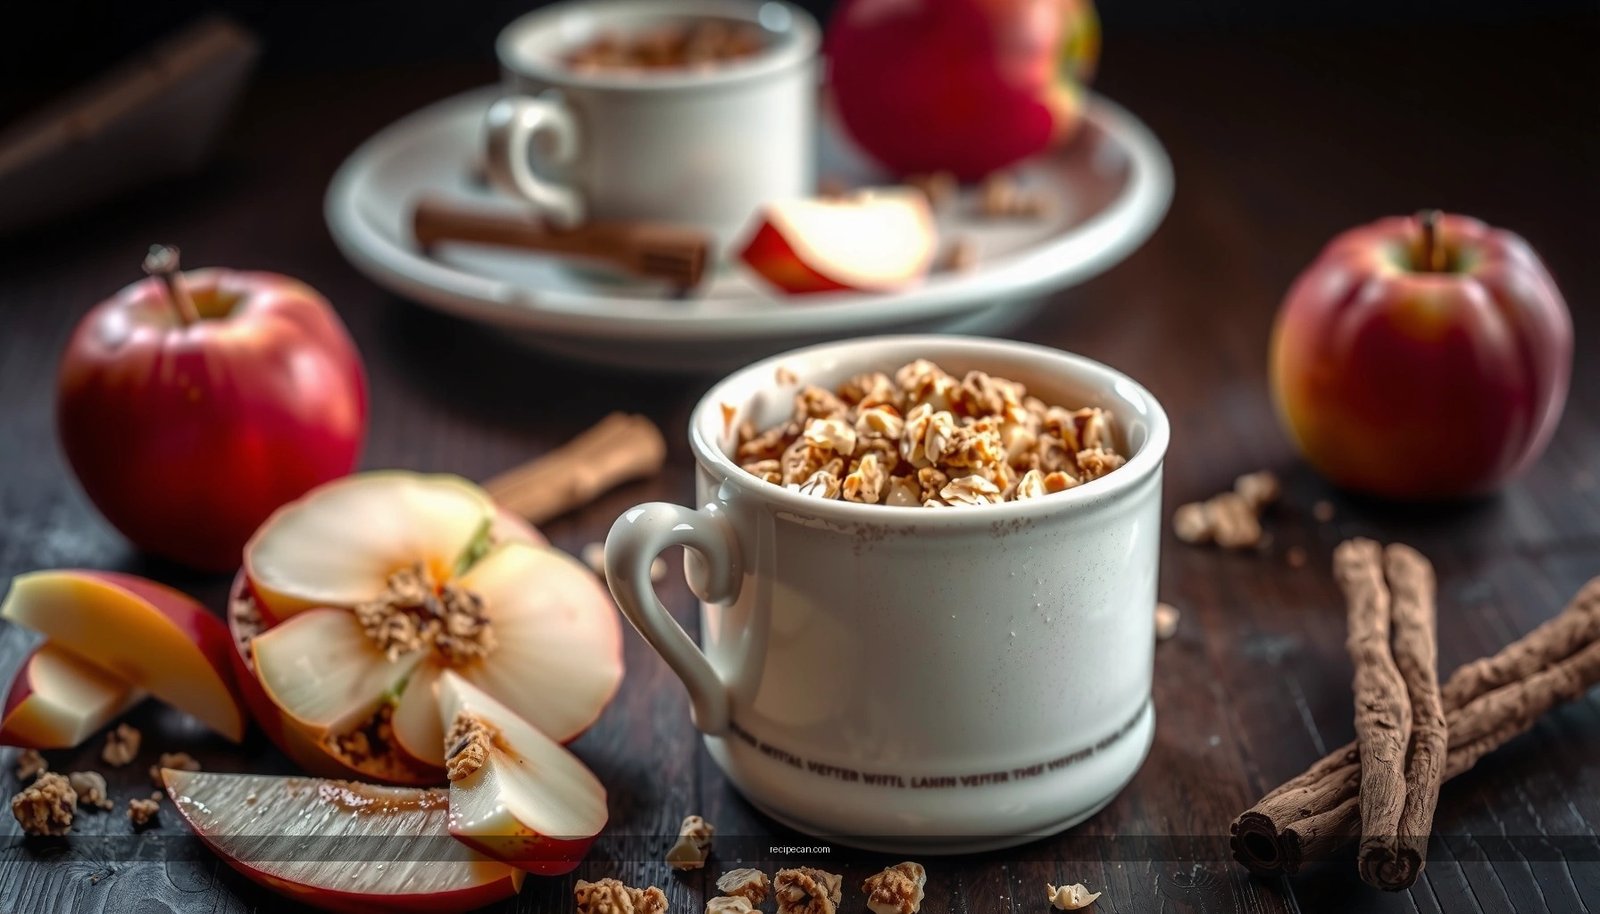
Serve and Store
Serving temperature impacts texture and sliceability. Apple crumble tastes best warm, but it also needs a brief rest to fully set the filling.
– Let it cool slightly so the filling thickens and slices cleanly
Rest the crumble for 10–20 minutes before serving. This lets starches set and juices stabilize, so scoops hold shape. If you cut immediately, you’ll likely get a “runny” filling even if it baked correctly.
– Store leftovers covered in the fridge; reheat in the oven or microwave
Cool completely, then cover and refrigerate. For best texture, reheat in an oven at 325°F (160°C) until warmed through; this helps the topping regain crispness. The microwave is faster, but it softens the topping more quickly. If serving for business events or meal prep, oven reheating is typically the more presentation-friendly option.
Food safety note
If you prepare crumble ahead, store it promptly after cooling. Refrigerated leftovers are generally best within 3–4 days for quality, and they should be reheated to piping hot.
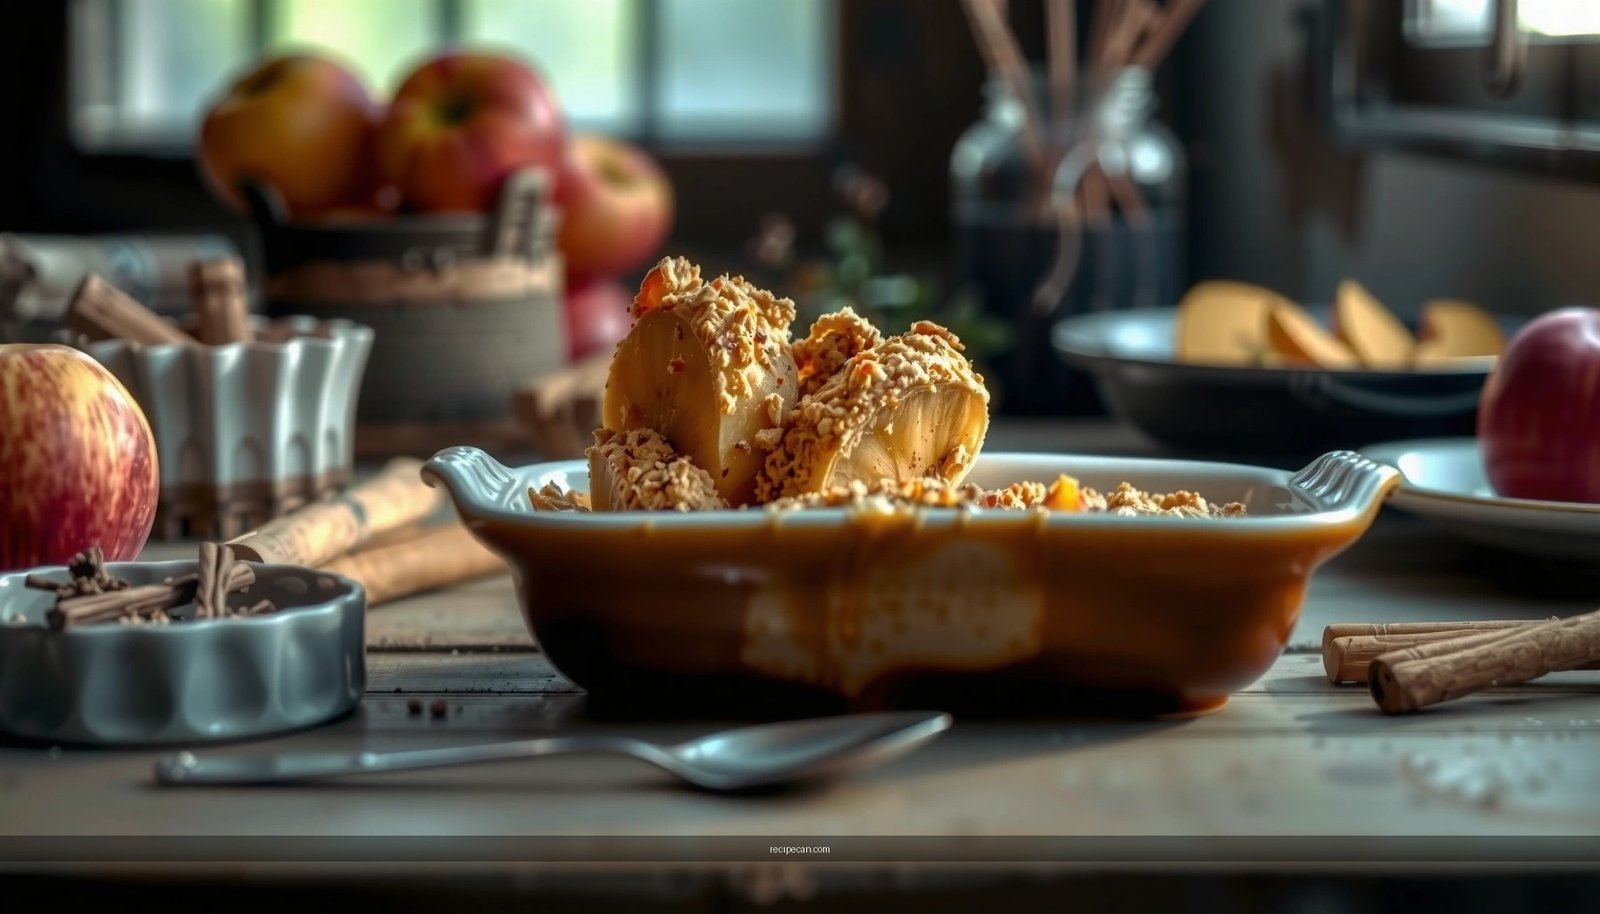
Easy Variations to Try
Once you master the base recipe, you can tailor apple crumble to match preferences, seasonality, or dietary goals—without sacrificing the core structure that makes it reliable.
– Add chopped nuts (walnuts/pecans) for extra crunch
Nuts add texture contrast and depth from toasted fats. Fold them into the topping so they roast alongside the butter crumbs. Keep the pieces small so they distribute evenly and don’t create hard bites.
– Swap spices or add vanilla, ginger, or a splash of apple cider
Spice variations let you create a “signature” crumble:– Vanilla extract or vanilla bean paste in the filling adds warmth and rounds sharp notes.
– Ginger (fresh grated or ground) pairs especially well with tart apples and creates a subtle heat.
– Apple cider enhances aroma and fruitiness. Use a small splash and consider reducing added sugar slightly so the filling doesn’t become overly sweet.
If you want a modern twist, consider adding orange zest for a bright, aromatic lift—just a small amount is enough to elevate the entire dish.
Warm apple crumble is all about sweet-tart apples and a crisp, buttery topping. Try this recipe as written first, then adjust apples, spices, or add-ins next time—bake a batch today and serve it with vanilla ice cream or whipped cream.
In summary, the most consistent apple crumble comes from three fundamentals: selecting firm, baking-friendly apples; thickening the filling so it bakes up bubbly and set rather than watery; and using cold butter to create uneven, golden crumble clusters. Follow the steps closely, then fine-tune toppings and spices to match your taste for a crisp, restaurant-quality result at home.
Frequently Asked Questions
What is the best recipe for apple crumble with a crisp topping?
A classic apple crumble uses thinly sliced apples (Honeycrisp, Granny Smith, or a mix), tossed with sugar, lemon juice, cinnamon, and a little flour to thicken. For the topping, combine flour, rolled oats (optional), brown sugar, cinnamon, and cold butter, then rub the mixture until it looks like coarse crumbs. Bake until the apples are bubbling and the topping is golden and crisp, typically around 35–45 minutes at 350°F/175°C. Let it rest for 10 minutes so the apple juices set and the crumble holds its shape.
How do I make apple crumble filling not runny?
Runny crumble is usually caused by watery apples or too little thickener. Use firmer apples and toss them with a thickening agent like flour or cornstarch (about 1–2 tablespoons per 6 cups sliced apples), plus lemon juice to balance sweetness. Let the assembled crumble sit 10 minutes before baking so the juices start to release, then bake until you see active bubbling in the center. If it still seems loose, bake 5–10 minutes longer.
Why should I use cold butter for apple crumble topping?
Cold butter helps create a crumbly, crisp apple crumble topping because it stays in small pieces as it bakes. As the butter melts, it creates steam and fat pockets that lead to a crunchy texture instead of a dense, cake-like layer. For best results, keep the butter refrigerated until you’re ready to mix, and “rub” it into the dry ingredients until the texture resembles coarse crumbs. This technique is one of the key differences between a soggy topping and a bakery-style crisp crumble.
Which apples are best for apple crumble—tart or sweet?
For the most flavorful apple crumble, a mix of tart and sweet apples works great because tart apples hold their shape while sweet apples add natural dessert flavor. Granny Smith (tart) and Honeycrisp (sweet-tart) are popular choices, but you can also use Golden Delicious for sweetness if you prefer. Slice apples evenly so they cook at the same rate, and aim for firm varieties to avoid a watery filling. Adjust sugar in the filling based on how sweet your apples are.
How can I make apple crumble gluten-free or dairy-free?
For a gluten-free apple crumble, use a gluten-free all-purpose flour blend in the filling and gluten-free flour or oats (certified gluten-free) in the topping. For dairy-free, replace butter with an equal amount of a plant-based butter or coconut oil that’s solid when cold for the best crumb texture. Keep the butter/oil cold and mix until you get coarse crumbs, then bake until the top is browned and the filling bubbles. Taste and adjust cinnamon and sweetness, since gluten-free and dairy-free ingredients can slightly change flavor and moisture.