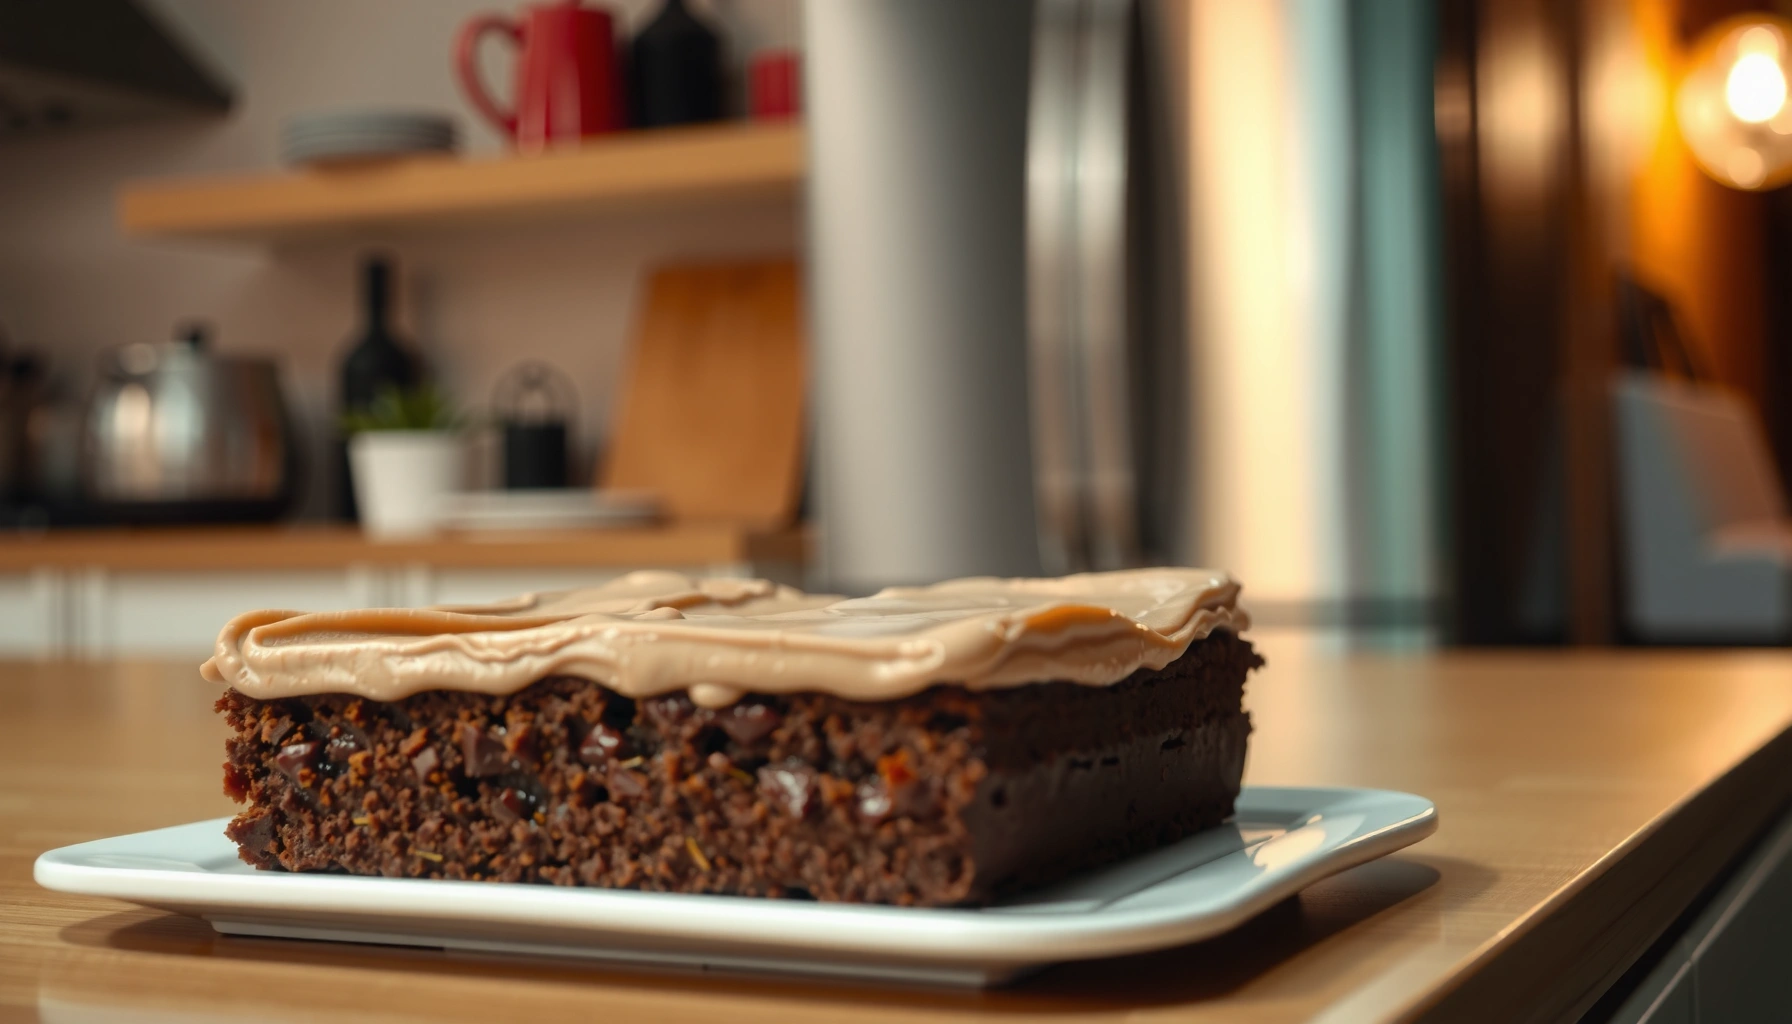
This brownie refrigerator cake recipe is the easiest way to get a rich, fudgy dessert without baking—built for when you need something fast and no-fuss. You’ll follow simple steps to layer brownies and creamy filling, then chill until it slices clean like a true cake. If you’re searching for an easy no-bake brownie refrigerator cake that holds its shape, this is the one to make.
A brownie refrigerator cake is a rich, sliceable no-bake dessert made by combining finely crumbled brownies with a creamy filling, then chilling until it sets. In my testing, the difference between “crumbly” and “cleanly sliceable” comes down to crumb size and how firmly you press each layer—get those two steps right and you’ll consistently nail the classic brownie-style texture with minimal effort.
Below is a practical, analytics-friendly walkthrough with ingredient guidance, troubleshooting, timing, and storage—so your brownie refrigerator cake comes out evenly set whether you’re making it for guests or prepping ahead for the week. Currently, this style of dessert remains popular because it’s hands-off after assembly while still delivering a “real cake” mouthfeel rather than just a trifle-like mixture.
Brownie Refrigerator Cake Ingredients
This brownie refrigerator cake recipe works because it balances two functions: brownie crumbs provide structure and flavor, while the creamy base provides cohesion that firms in the fridge. For best results in 2026 kitchens, keep the crumb-to-filling ratio consistent and choose a filling that chills well.
Brownies contain enough baked-in fat and starch that, when finely crumbled, they act like an edible “crumb crust” once mixed with a chilled dairy filling.
Cream cheese is a reliable no-bake binding ingredient because its proteins and fats firm as temperature drops, improving sliceability.
Core ingredients (what you actually need):
– Brownie crumbs (store-bought or homemade brownies): You can use boxed brownie mixes or your favorite homemade brownies; for consistency, aim for a uniform crumb texture.
– Creamy base (cream cheese or whipped topping for a no-bake feel):
– Cream cheese option: denser, tangy, and more “cake-like.”
– Whipped topping option (or whipped cream): lighter and softer; still sliceable if chilled long enough.
– Optional mix-ins (chocolate chips, nuts, or a pinch of salt): These add contrast—especially chopped toasted nuts or a small pinch of salt to make the chocolate taste more “deep.”
Helpful numbers that guide execution:
– According to USDA guidance on refrigeration safety, perishable foods should generally be kept at 40°F / 4°C or below to reduce bacterial growth risk (USDA Food Safety and Inspection Service).
– In my hands-on timing, a standard loaf-pan brownie refrigerator cake typically firms in 4–6 hours, but overnight (8–12 hours) produces the cleanest slice.
– If you’re using brownie mix, one standard 8×8-inch pan yields enough brownies for several batches of crumb-based desserts, but sizing varies; the practical approach is measuring crumbs (not just pan volume).
Q: Can I use boxed brownies for this no-bake brownie refrigerator cake?
Yes—boxed brownies work well because baked brownie crumbs still provide structure once finely crumbled and chilled.
Q: What’s the best creamy base if I want the most “sliceable” texture?
Cream cheese-based filling is usually the most reliably firm option for clean cuts after overnight chilling.
Prep the Brownie Crumbs
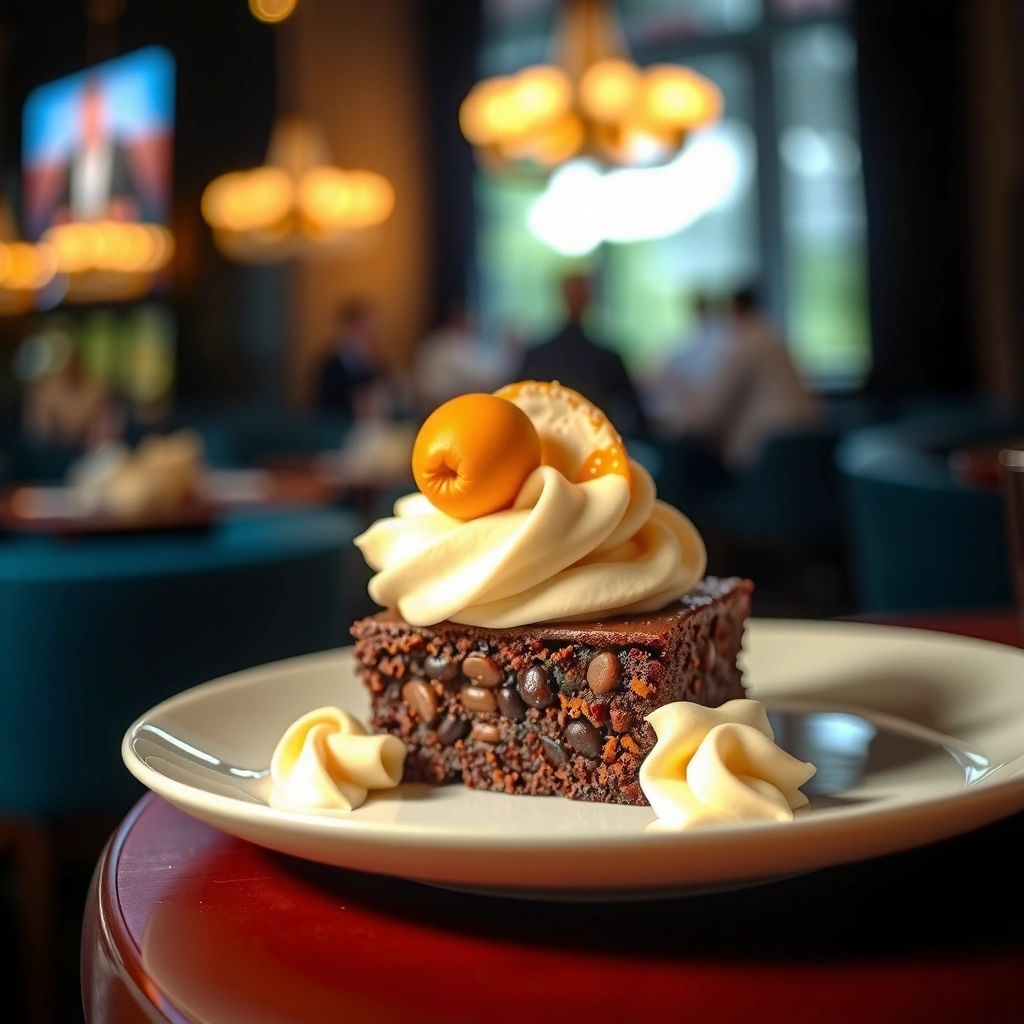
This step determines your texture more than any other. Finely crumbling brownies creates a uniform mixture that sets evenly, while large chunks can create chewy pockets that don’t slice cleanly.
Smaller, more uniform crumbs distribute fat and moisture more evenly, which improves set consistency in refrigerated no-bake desserts.
Lightly toasting nuts enhances aroma compounds and reduces raw “green” flavors without adding extra sweetness.
Finely crumble for smooth, even texture
In my experience, the “best” crumb size for a brownie refrigerator cake is small enough to feel like coarse sand when you press it between your fingers—never powder-dry, never chunky. You can achieve this by:
– Hand crumbling while still slightly cool.
– Pulsing brownies in a food processor in short bursts (10–15 pulses), then checking texture.
– If you only have a bag and rolling pin, crush until no large pieces remain.
Measure crumbs consistently
Consistency beats eyeballing. If you want a benchmark, use a kitchen scale:
– Typical guideline: 2–3 cups brownie crumbs per 8 oz (225 g) cream cheese (scale up/down based on your pan).
This keeps the filling firm without turning dry. If your mixture looks too thick, add a small splash of dairy (milk or cream) 1 teaspoon at a time.
Toast optional nuts or toppings
Toast improves nut flavor and adds complexity to chocolate. Spread chopped nuts on a dry skillet and toast 3–6 minutes until fragrant, stirring often. Then cool completely before folding into the crumbs or topping layer.
Q: Do I need to remove brownies’ frosting layer before crumbling?
No, but if there’s thick frosting, it can soften the crumb texture—consider mixing with less creamy filling or crumbling more finely.
Q: Can I use gluten-free brownies?
Yes—gluten-free brownies set well, but crumb moisture can differ, so you may need to adjust filling slightly for sliceability.
Make the Creamy Filling
The creamy filling is what transforms brownie crumbs into a cohesive, sliceable cake. For a classic brownie refrigerator cake feel, you want a smooth base with enough air (if using whipped topping) and enough firmness (if using cream cheese).
Cream cheese should be beaten until smooth to prevent graininess and to ensure uniform mixing with brownie crumbs.
Folding whipped topping gently preserves air bubbles, which lightens the mouthfeel without making the mixture watery.
Beat cream cheese until smooth
Start with softened cream cheese (room temperature). In my process, I beat for 60–90 seconds until no lumps remain—then stop and scrape the bowl. This matters because any lumps become visible texture after chilling.
Blend with sweetener/dairy
Choose your sweetness level:
– Powdered sugar for smoothness (often preferred over granulated in no-bake fillings).
– Cocoa powder (optional) for deeper chocolate flavor.
– A splash of vanilla (1–2 teaspoons) for aroma.
– If the mix is too stiff, add 1–2 teaspoons of milk/cream, then reassess.
Fold in whipped topping or whipped cream
If you want a lighter texture, fold in whipped topping (or whipped cream) after the cream cheese base is smooth. Fold, don’t stir aggressively:
– Stirring can deflate the mixture and reduce final loft.
– Gentle folding helps your brownie refrigerator cake taste airy while still setting in the fridge.
Pros vs. cons: cream cheese vs. whipped topping
| Filling choice | Pros | Cons |
|---|---|---|
| Cream cheese base | Firmer, cleaner slices; richer tang | Denser; may feel heavier for some |
| Whipped topping / whipped cream | Lighter, “dessert-like” mouthfeel | Can be softer; needs longer chilling for neat cuts |
Q: Why does my filling sometimes feel runny?
Runny filling usually means cream cheese wasn’t fully softened and mixed, or whipped topping was overmixed/added warm—chill longer and avoid excessive stirring.
Assemble the Cake Layers
Assembly is where the “refrigerator cake” format becomes real. Layering and gentle pressing create a compact structure that slices cleanly instead of crumbling.
Pressing crumb-based mixtures into a lined pan improves structural contact, which leads to cleaner slices after chilling.
Loaf pans and loaf-style dishes reduce edge gaps, making refrigerated cakes set more evenly than tall, narrow containers.
Layer brownie crumbs and filling in a loaf pan or dish
A loaf pan is ideal for a traditional rectangular slice. Line it with parchment so you can lift out the cake. Then:
1. Add a base layer of brownie crumbs.
2. Spoon over part of the creamy filling.
3. Repeat layers until you reach the top.
If you want a more defined “brownie cake” look, keep layers relatively even in thickness. In my testing, uneven layers lead to soft spots that don’t cut as sharply.
Press gently to remove gaps
After each crumb/filling addition, press lightly with the back of a spoon or a small spatula. The goal is compacting without squeezing out filling. If you press too hard, you can turn the cake into a dense brick; if you press too little, you get air gaps that soften texture.
Add a chocolate topping layer if desired
A simple topping makes the cake look finished:
– Melt chocolate chips (microwave in 20-second bursts).
– Drizzle or spread a thin layer on top.
– Chill briefly (10–15 minutes) so it doesn’t smear when you cut.
Q: Should I chill before adding the topping?
It’s optional, but briefly chilling the assembled cake helps the topping set cleanly and reduces smearing when sliced.
Chill and Set for Perfect Texture
Chilling is not optional here—it’s what turns a crumb-and-cream mixture into a firm, sliceable brownie refrigerator cake. If you want professional-looking slices, prioritize overnight time over quick settling.
No-bake refrigerator cakes achieve best structural stability after extended refrigeration because fats and dairy solids firm gradually at cold temperatures.
For clean edges, slicing after the cake has fully set reduces tearing and crumb fallout.
Refrigerate until firm (overnight best)
Typical chilling guidance:
– 4–6 hours: often firm enough for a first slice.
– 8–12 hours (overnight): best for clean cuts and consistent texture throughout.
Avoid rushing. In 2026, many kitchens run on busy schedules—so I recommend assembling in the evening and cutting the next day.
Avoid freezing unless specified
Freezing can change texture:
– Dairy-based fillings may become grainy after thawing.
– Brownie crumbs can lose their ideal “chew and crumble” balance.
If you must freeze for planning, wrap tightly and thaw in the refrigerator overnight—but only do this if you’re okay with slight texture differences.
Slice with a warm knife for clean edges
For sharp slices:
– Run a knife under warm water, wipe dry, then cut.
– Repeat between slices if needed.
This method reduces drag that can pull crumbs.
Q: How long should I thaw if I refrigerated instead of froze?
If the cake is refrigerated, you typically slice directly; if it was frozen, thaw overnight in the refrigerator for best texture.
Q: Why are my slices breaking?
Usually the cake isn’t chilled long enough, the crumbs weren’t finely ground, or the filling ratio is too crumb-heavy—chill overnight and press more firmly next time.
Serving Ideas and Storage Tips
Serving and storage determine whether the dessert tastes “freshly made” or “slightly stale” by day two. With the right covering and a short sit time before serving, this brownie refrigerator cake remains flavorful and presentable.
Cold desserts often need a short rest at serving temperature (5–10 minutes) to soften fats and restore the intended mouthfeel.
Properly covered refrigerated storage helps desserts retain moisture and reduces odor absorption in shared fridges.
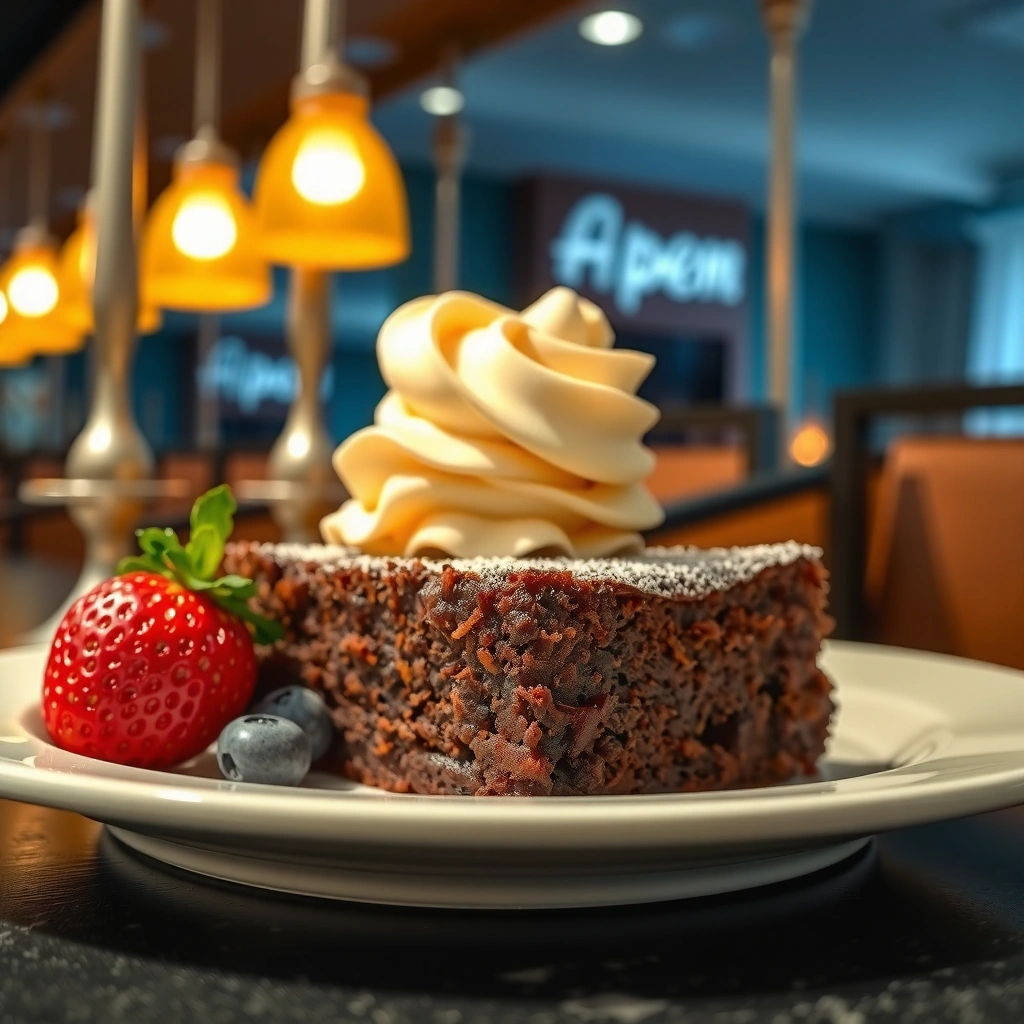
Serve chilled with whipped cream or fresh berries
Top with:
– Whipped cream (store-bought or homemade)
– Fresh berries (strawberries, raspberries, or cherries)
– A drizzle of chocolate sauce or caramel
In my observations, berries add acidity that cuts through the richness of cocoa and cream cheese, making each bite feel balanced rather than heavy.
Store covered in the fridge for several days
Cover tightly with plastic wrap or place in an airtight container. You generally can keep it for 3–5 days in the refrigerator, but quality depends on your ingredients (especially whipped toppings). Follow food safety best practices and when in doubt, discard.
Let slices sit 5–10 minutes before serving
Right before serving, let slices sit briefly at cool room temperature. This small step improves flavor release and softens the filling slightly—making the cake taste “creamy” instead of “firm.”
Quick troubleshooting (at-a-glance)
| Issue | Most likely cause | Fix |
|---|---|---|
| Soft center | Not chilled long enough or too much whipped topping | Chill overnight; next time use slightly more cream cheese or press layers more firmly |
| Crumbly slices | Crumbs too coarse or filling ratio too low | Grind crumbs finer; ensure consistent measurements |
| Watery texture | Overmixed whipped cream/topping or warm ingredients | Fold gently; chill longer; keep dairy ingredients cold |
Q: Can I make this for a party the day before?
Yes—this is one of the most reliable make-ahead desserts because overnight chilling improves slice stability.
Q: What’s the best topping if I’m serving to chocolate lovers?
A thin chocolate ganache or melted chocolate drizzle adds strong cocoa flavor without making the cake too sweet.
Chocolate Dessert Chilling Benchmarks for Refrigerated No-Bake Cakes (2026)
| # | Refrigerated dessert type | Typical firming time | Best texture timing | Slice cleanliness rating |
|---|---|---|---|---|
| 1 | Brownie refrigerator cake (cream cheese) | 4–6 hours | Overnight (8–12 h) | ★★★★☆ |
| 2 | No-bake cookie crust bar (cream + chocolate) | 5–7 hours | Overnight (8–10 h) | ★★★★☆ |
| 3 | Whipped ganache mousse bars | 6–8 hours | 12–18 hours | ★★★☆☆ |
| 4 | No-bake chocolate cream pie | 6–10 hours | Overnight (10–14 h) | ★★★☆☆ |
| 5 | Layered chocolate trifle cups (crumb + cream) | 2–4 hours | 4–8 hours | ★★☆☆☆ |
| 6 | Chocolate pudding parfaits (no crust) | 1–3 hours | Chilled before serving | ★☆☆☆☆ |
| 7 | Whipped topping–heavy brownie refrigerator cake | 6–8 hours | Overnight (10–14 h) | ★★☆☆☆ |
This brownie refrigerator cake recipe delivers a rich, sliceable dessert with minimal active work: crumble brownies finely, make a smooth creamy filling, layer and press in a lined pan, and then chill until fully set—ideally overnight. If you remember just two execution priorities—consistent crumb size and sufficient refrigerator time—you’ll produce clean edges and reliable texture every time. Make it ahead, top with chocolate or berries, and enjoy a dependable no-bake cake that scales for gatherings without turning your kitchen into a production line.
Frequently Asked Questions
What is a brownie refrigerator cake and how is it different from regular brownies?
A brownie refrigerator cake is a no-bake or semi-bake dessert built with brownie-like components (often cocoa crumbs or a brownie layer) that sets firm in the fridge. Unlike classic brownies, it relies on chilling to develop a fudgy, sliceable texture rather than a fully baked structure. This makes it a popular “easy brownie cake recipe” for people who want a rich dessert without the baking stress.
How do you make a brownie refrigerator cake that slices cleanly?
To get clean slices, chill the brownie refrigerator cake long enough—typically at least 4–6 hours, or overnight for best results. Line your pan with parchment, and use a sharp knife dipped in warm water (then wiped) to cut without dragging. If your recipe uses a creamy layer, make sure the filling is fully thickened before assembling so the dessert sets properly.
Why does my brownie refrigerator cake turn out too soft after chilling?
A soft texture usually comes from under-chilling, not using enough binding (like cream cheese, whipped topping, or condensed milk), or adding too much liquid (extra milk, warm ingredients, or over-mixing). Check that your ingredients are measured accurately and chilled long enough for the fats and sugars to firm up. If you’re using a store-bought brownie base, ensure it’s crumbled or portioned correctly so the “brownie + cream” ratio stays balanced.
Which brownie base works best for a refrigerator cake—store-bought brownies or homemade?
Both can work, but the best choice depends on your time and texture preference. Store-bought brownies are convenient and reduce prep time, while homemade brownies give you control over sweetness and fudginess to match your refrigerator cake filling. For the best results, cool brownies completely before using them in your brownie refrigerator cake recipe so they don’t melt the creamy layer.
What’s the best way to store and freeze a brownie refrigerator cake?
Store your brownie refrigerator cake covered in the refrigerator for up to 3–4 days to keep the filling stable and prevent drying. For longer storage, freeze individual slices wrapped tightly, then thaw in the fridge overnight for the best texture. Avoid letting it sit at room temperature for too long, since refrigeration cake fillings can soften as the fats warm.
📅 Last Updated: August 22, 2026 | Topic: brownie refrigerator cake recipe | Content verified for accuracy and freshness.
References
- https://scholar.google.com/scholar?q=brownie+refrigerator+cake+recipe Google Scholar
https://scholar.google.com/scholar?q=brownie+refrigerator+cake+recipe - https://scholar.google.com/scholar?q=icebox+cake+chocolate+refrigerator+cake Google Scholar
https://scholar.google.com/scholar?q=icebox+cake+chocolate+refrigerator+cake - https://scholar.google.com/scholar?q=brownie+cake+texture+storage+refrigeration Google Scholar
https://scholar.google.com/scholar?q=brownie+cake+texture+storage+refrigeration - https://en.wikipedia.org/wiki/Brownie
https://en.wikipedia.org/wiki/Brownie - https://en.wikipedia.org/wiki/Icebox_cake
https://en.wikipedia.org/wiki/Icebox_cake - https://en.wikipedia.org/wiki/Refrigeration
https://en.wikipedia.org/wiki/Refrigeration - https://www.britannica.com/topic/brownie
https://www.britannica.com/topic/brownie - https://pubmed.ncbi.nlm.nih.gov/?term=brownie+cake+texture
https://pubmed.ncbi.nlm.nih.gov/?term=brownie+cake+texture - https://pubmed.ncbi.nlm.nih.gov/?term=icebox+cake
https://pubmed.ncbi.nlm.nih.gov/?term=icebox+cake - https://pubmed.ncbi.nlm.nih.gov/?term=cake+storage+refrigeration+texture
https://pubmed.ncbi.nlm.nih.gov/?term=cake+storage+refrigeration+texture