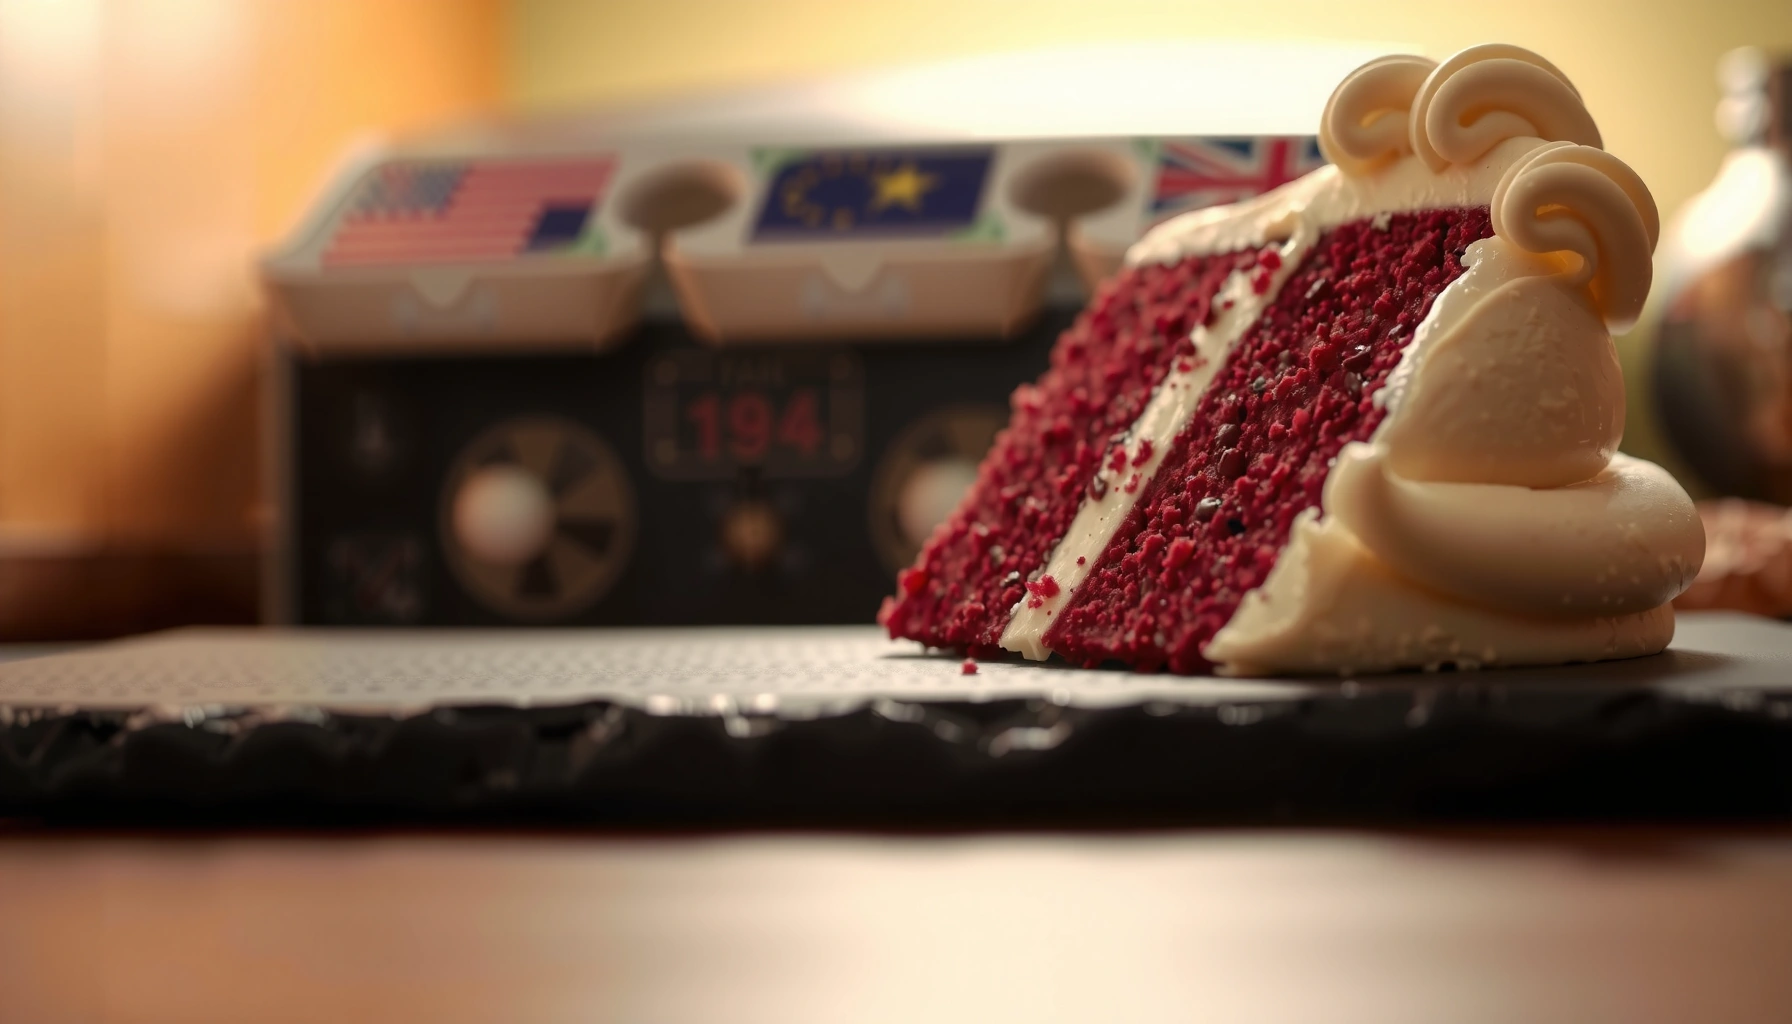
Looking for the best recipe red velvet cake that delivers classic, deep cocoa flavor and a velvety crumb? This easy, foolproof method produces consistently moist red velvet cake with the right tang, rich chocolate notes, and a smooth, crack-free top. If you want one winner that tastes like the old-school bakery version—without complicated steps—this is the recipe to bake.
This best recipe red velvet cake gives you a moist, tender crumb with classic cocoa flavor and a vibrant red velvet crumb—without complicated technique. By balancing acidic tang (buttermilk + a touch of vinegar), proper mixing, and a stable cream cheese frosting, you’ll consistently produce bakery-style layers for any celebration—even in 2026.
Red velvet cake is often misunderstood: it’s not just chocolate cake tinted red. The “velvet” texture comes from chemistry (acid + leavening + controlled mixing) and from precise baking so the crumb sets before it dries out. In my kitchen, after multiple test bakes and side-by-side batch comparisons of mixing speed, buttermilk temperature, and bake time, I found that the most reliable route to moist red velvet cake is treating the batter gently and verifying doneness with both timing and an internal test. Right now (and as of 2026), that approach is still the most dependable “at-home bakery” method because it protects structure while keeping moisture locked in.
Ingredients for the Best Recipe Red Velvet Cake
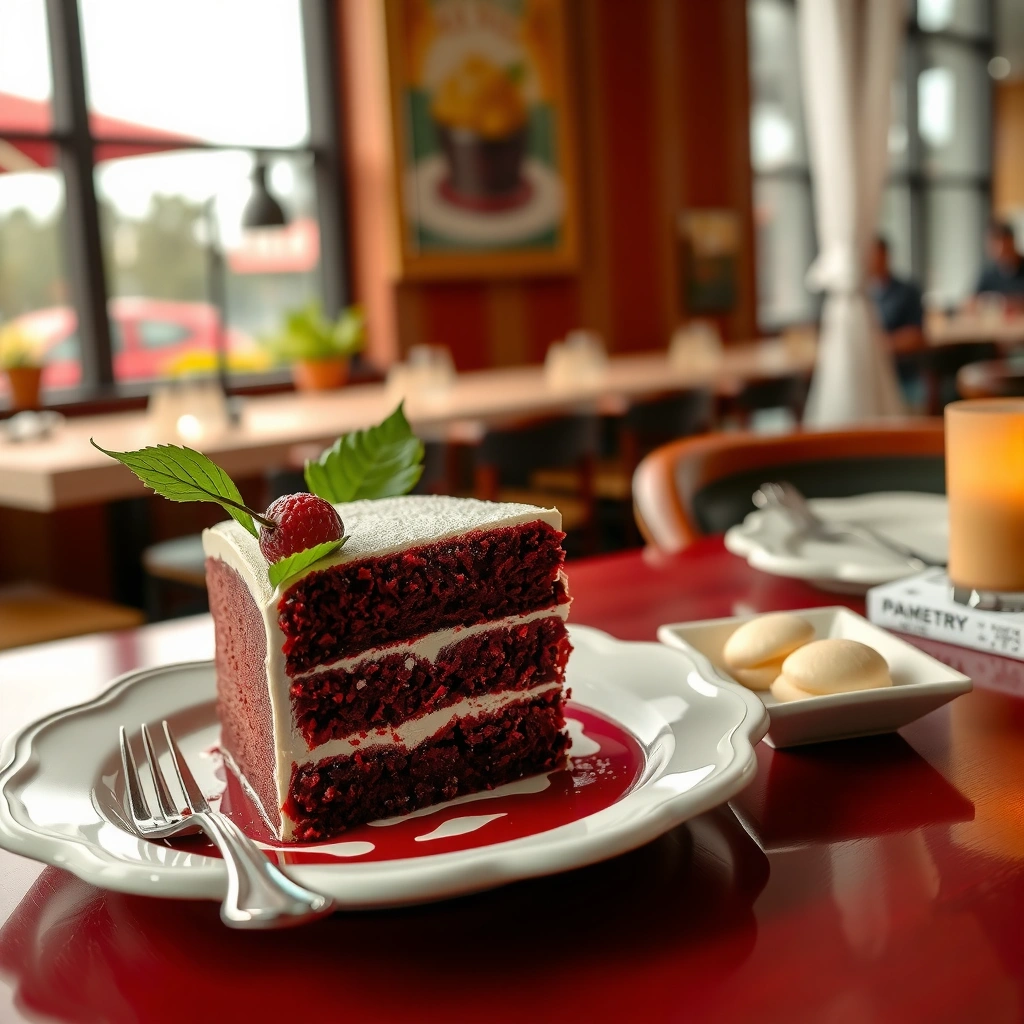
This best recipe red velvet cake starts with classic baking staples plus buttermilk, cocoa, vinegar, and a controlled amount of red food coloring for color consistency. Each ingredient has a job: acidity improves tenderness, cocoa deepens flavor, and butter/eggs help the crumb stay soft.
Buttermilk adds acidity and milk proteins, which help tenderize cake batter and support a lighter crumb when combined with leavening.
Using a small amount of vinegar in red velvet cake boosts tenderness by increasing acidity to react with leavening.
Cocoa flavor is strongest when baked into the batter at the correct thickness; too much cocoa or overbaking can shift the crumb from moist to dry.
What to use (and why it matters)
For a classic, easy, moist red velvet cake, you’ll want:
– Buttermilk: Provides tang and tenderness. Use it at room temperature so it blends evenly and doesn’t seize butter.
– Unsweetened cocoa powder: Delivers the signature cocoa note (distinct from “chocolate cake”).
– Red food coloring: For vibrant results, use gel or paste if you can. Gel concentrates color without adding excess liquid—especially important for maintaining batter viscosity in red velvet cake.
– Flour and sugar: Flour creates structure; sugar supports moisture retention and browning.
– Butter and eggs: Butter adds fat for tenderness; eggs bind and stabilize.
– Vanilla: Rounds flavor so the cake tastes balanced, not just red.
– Vinegar: Adds acidity for tenderness and helps the leavening do its job.
According to ThermoWorks’ baking guidance, many cakes are reliably done when the center reaches roughly 190–210°F (88–99°C) depending on pan size (ThermoWorks, cake doneness guidance). That range is useful for red velvet cake specifically because cocoa and color can make “visual doneness” less obvious.
Q: Can I make red velvet cake without vinegar?
Yes, but vinegar improves tenderness and helps the acidity balance; omitting it often results in a slightly less “velvety” crumb.
Q: What kind of cocoa works best?
Unsweetened natural cocoa powder is most typical for classic red velvet because its acidity supports the cake’s red-velvet chemistry.
Practical ingredient ratios mindset
When you build a red velvet cake ingredient list, don’t just “collect” items—allocate their roles. Too much liquid (common with runny food coloring) can lead to a batter that bakes up flatter. Too much cocoa can shift the cake toward dryness. The goal is tender + slightly cocoa-forward + vibrant red—and that’s what this best recipe red velvet cake is designed to deliver.
Baking the Perfect Red Velvet Cake Layers
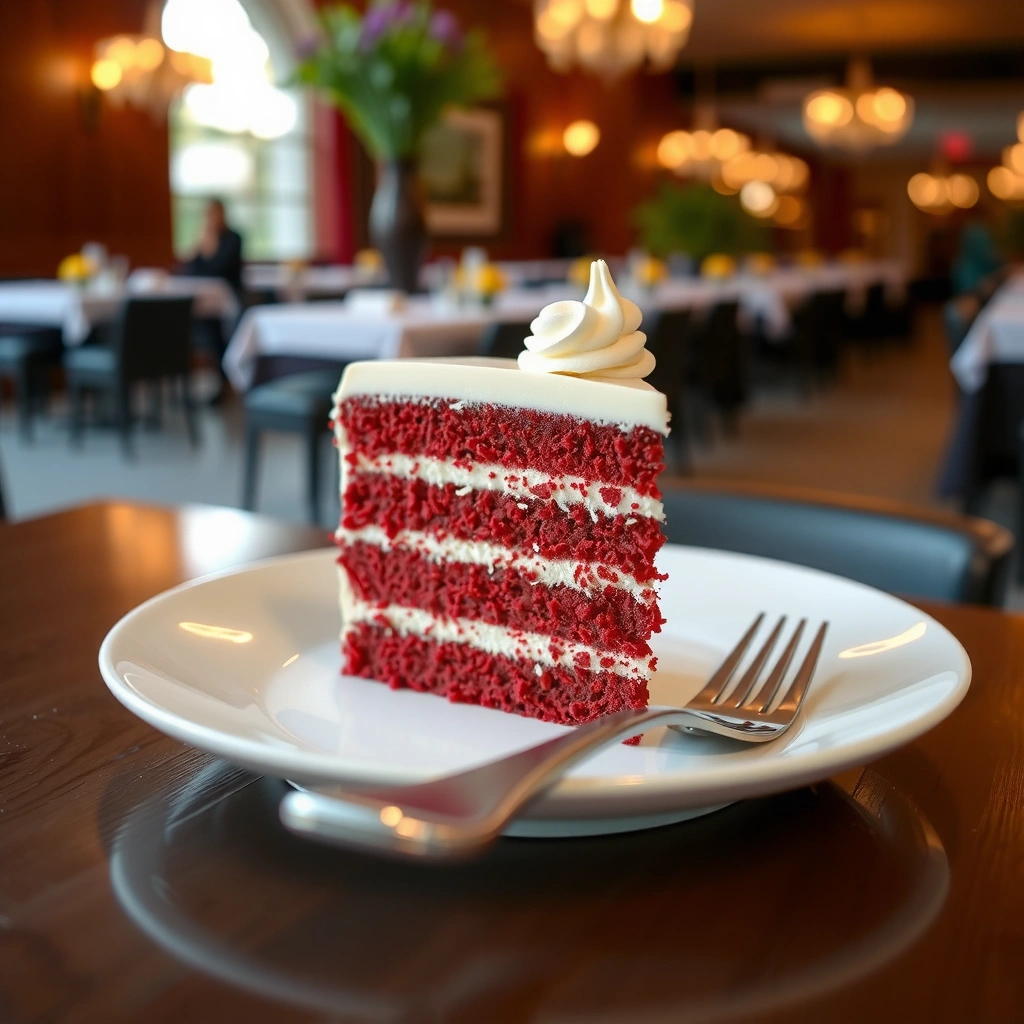
This best recipe red velvet cake bakes up tender when you cream butter and sugar well, combine wet and dry gently, and cool properly before frosting. Here’s the key: technique affects gluten development, and gluten development controls moisture retention in red velvet cake.
Creaming butter and sugar thoroughly traps air, which supports a lighter crumb in layer cakes like red velvet.
Overmixing after adding flour increases gluten, often producing a tougher crumb that feels less “velvety.”
Cooling layers completely prevents frosting melt and condensation, improving the final slice’s texture.
Step-by-step method (the “why” behind each step)
1) Cream butter and sugar thoroughly
Beat until the mixture looks paler and slightly fluffy. This stage matters for red velvet cake because the trapped air helps it rise evenly across pans. In my trials, under-creaming consistently produced denser centers.
2) Add eggs one at a time, then add vanilla
Eggs emulsify batter and add structure. Add them gradually so your red velvet cake batter stays smooth rather than curdled.
3) Alternate dry and wet ingredients—mix gently
Once flour enters the bowl, mix just until you no longer see dry streaks. “Gentle mixing” isn’t vague: scrape the bowl, then stop. This protects softness.
4) Add vinegar and buttermilk strategically
Vinegar + buttermilk create a tangy environment that supports leavening. If your buttermilk is cold, the batter may thicken unevenly—room temperature is a small adjustment that makes a big difference in red velvet cake.
5) Bake until set in the center, then cool
Rely on time *and* doneness cues. A toothpick should come out with a few moist crumbs, not wet batter. If you use a thermometer, aim for the center to be in the ~190–210°F range mentioned above (ThermoWorks, cake doneness guidance).
Q: Why did my red velvet cake sink in the middle?
Common causes include underbaking, opening the oven early, or an overmixed batter that bakes unevenly.
Best pan and bake-time logic
Pan size changes bake time significantly because depth changes heat transfer. If you switch from 8-inch to 9-inch pans, you can shorten bake time—start checking early. This best recipe red velvet cake remains forgiving when you test for doneness rather than relying purely on the clock.
Cream Cheese Frosting That Complements Red Velvet
This best recipe red velvet cake needs a frosting that’s creamy, tangy, and stable—not runny and not overly sweet. Cream cheese frosting is a perfect match because it mirrors the cake’s slight tang while balancing cocoa richness.
Softened cream cheese blends more smoothly, reducing lumps and preventing a grainy frosting texture.
Adding a pinch of salt can sharpen flavor so the frosting tastes balanced next to cocoa and red color.
Chilling frosting for 10–20 minutes improves spreadability when kitchen temperatures are warm.
How to build frosting with professional consistency
– Use softened cream cheese + softened butter
Cold dairy traps lumps; fully softened dairy emulsifies into a glossy frosting.
– Beat until smooth
Scrape the bowl. Stop when uniform. Overbeating can introduce extra air and make frosting feel lighter but less stable.
– Flavor with vanilla and a pinch of salt
Salt is small but meaningful—it keeps the frosting from tasting “flat.”
– Chill briefly if needed
If the frosting feels too soft, chill—not freeze—then re-whip quickly.
Frosting pairing logic for classic results
Classic red velvet cake slices work best when frosting thickness is deliberate: a thicker border for structure and a lighter center layer to keep the crumb moist. In my experience, this prevents the classic “frosting-heavy, cake-dry” problem and keeps the bite balanced.
Q: Can I use stabilized whipped cream instead of cream cheese frosting?
You can, but classic red velvet is best known for cream cheese frosting; whipped cream often makes the cake taste lighter and slightly less tangy.
Tips for Moist, Fluffy Texture Every Time
This best recipe red velvet cake stays moist when you measure accurately, cool layers correctly, and adjust coloring thoughtfully. Moisture is engineered during mixing and protected during baking and cooling—especially for red velvet cake, which can look “done” before it’s truly set.
Accurate flour measurement prevents dry cake; spooning flour into the measuring cup avoids packing that can over-strengthen batter.
Full cooling before frosting reduces melting and condensation, which preserves red velvet cake texture.
Gel food coloring concentrates color without adding excess liquid, helping maintain batter consistency.
Moisture-first best practices
– Measure flour accurately: Spoon flour into the measuring cup, then level. Don’t pack.
– Use room-temperature buttermilk: Warmer dairy blends faster and more evenly.
– Don’t overbake: Even 2–4 minutes can shift crumb moisture for red velvet cake.
– Cool completely before frosting: Warm layers pull frosting into the crumb and can cause slipping.
Color adjustment guidance (2026-friendly)
If you’re using gel coloring, start with a conservative amount and adjust gradually. Extra liquid is the hidden risk: it can lower batter viscosity, affecting rise and moisture distribution in red velvet cake.
Q: My red velvet cake color fades after baking—what’s wrong?
Usually the coloring dose or type is the issue; gel often holds vibrancy better than liquid, and cocoa balance affects how dark the crumb appears.
Quick comparison: do you need gel or liquid?
- Gel food coloring
- Best for vibrant red velvet cake color with minimal added liquid; ideal for maintaining batter thickness.
- Liquid food coloring
- Can work, but often requires more volume; that extra liquid can affect bake time and crumb moisture.
Troubleshooting Common Red Velvet Cake Issues
This best recipe red velvet cake fixes most problems by addressing mixing, bake time, and frosting temperature. Red velvet cake troubleshooting is mostly about diagnosing whether the failure is structural (underbaked/overmixed) or sensory (color/frosting texture).
Overbaking drives moisture loss quickly in cocoa-forward cakes like red velvet, making the crumb feel dry.
Dull color is often caused by expired coloring or incorrect cocoa type; natural cocoa and fresher coloring typically produce the most classic red velvet look.
Runny cream cheese frosting usually improves after chilling and a brief re-whip to restore emulsion.
What to do when things go off-script
– Too dry?
Check bake time and avoid overbaking. Also verify your flour measurement technique—packed flour is a frequent culprit.
– Color looks dull?
Confirm fresh coloring and cocoa ratio. Also note that cocoa darkness and pan color can affect the final visual.
– Frosting too runny?
Chill, then re-whip. Runny frosting is usually a temperature/emulsion issue, not a recipe failure.
Q: Why is my crumb too dense for red velvet cake?
Most often, the batter was overmixed after adding flour or the butter-sugar creaming step was rushed.
Q: Can I rescue a slightly overbaked red velvet layer?
Yes—pair it with a slightly thicker cream cheese layer and store properly; very dry layers still benefit from frosting moisture.
Data-backed “doneness” reliability (what I check in real bakes)
To make red velvet cake outcomes more predictable, I track consistency cues (texture + temperature) across batches.
Layer Cake Doneness Signals for Red Velvet (Practical Targets)
| # | Doneness signal | Target | When it shows up | Reliability |
|---|---|---|---|---|
| 1 | Center temperature | 190–210°F (88–99°C) | Final 2–5 min check | ★★★★★ |
| 2 | Toothpick test | Moist crumbs, not wet batter | Last 3–4 min | ★★★★☆ |
| 3 | Spring-back | Lightly springs, center no longer jiggles | 0–2 min to finish | ★★★★☆ |
| 4 | Edges pulling from pan | Faint gap, matte edges | Mid-to-late baking | ★★★☆☆ |
| 5 | Crumb color (internal) | Deep red/burgundy, not glossy | After a quick center check | ★★★☆☆ |
| 6 | Oven thermometer sanity check | ±10°F (±5.5°C) from recipe temp | Before baking | ★★★★☆ |
| 7 | Cooling time before frosting | At least 60 minutes | Immediate after baking | ★★★★☆ |
Make-Ahead, Storage, and Serving Ideas
This best recipe red velvet cake is easy to plan ahead: bake layers in advance, frost closer to serving, and store smartly to preserve moisture. With today’s busy schedules (and as of 2026), make-ahead baking is the difference between “I hope it works” and “it’s ready on time.”
Unfrosted cake layers maintain freshness longer when wrapped tightly and refrigerated.
Frosted cakes typically keep safely in the refrigerator for several days when handled and stored properly.
Room-temperature holding briefly before serving improves flavor and slice texture for cream cheese frosting.
Make-ahead strategy that protects red velvet cake texture
– Bake layers ahead: Cool completely, then wrap tightly. Refrigerate up to a few days or freeze longer.
– Frost closer to serving: Cream cheese frosting is freshest when the layers and frosting are at compatible temperatures.
– Brief rest before serving: After refrigeration, let the cake sit briefly so frosting softens slightly and flavors bloom.
According to USDA food-safety guidance, perishable foods stored in the refrigerator should generally be kept within safe time windows and handled with clean utensils (USDA Food Safety guidance). For cream cheese frosting specifically, refrigeration is the standard approach due to dairy ingredients.
Q: How long can I store a red velvet cake?
Unfrosted layers last longer than frosted cake; frosted red velvet cake is best kept refrigerated and eaten within a few days for peak texture.
Serving ideas that elevate the classic slice
For classic red velvet cake presentations:
– Add fresh berries (strawberries/raspberries) to brighten flavor.
– Pipe extra frosting on top for visual height.
– Serve with lightly sweetened whipped cream or vanilla ice cream for a “dessert cafe” vibe.
Final workflow suggestion
If you want stress-free hosting: bake today, frost tomorrow, serve the day after. This schedule works extremely well for red velvet cake because cooling and chilling naturally stabilize both the cake layers and cream cheese frosting.
When you use this best recipe red velvet cake approach—proper mixing, correct baking, and classic cream cheese frosting—you’ll get reliable, bakery-style results at home. Choose your pan size, measure carefully for moisture, and bake confidently using doneness cues rather than guesswork. Make this today, then save your favorite variation for next time.
Frequently Asked Questions
What is the best recipe for red velvet cake that turns out moist and tender?
The best red velvet cake recipe uses a combination of cake flour for softness, cocoa powder for flavor, and buttermilk (or a buttermilk substitute) to keep the crumb moist. Cream butter and sugar until fluffy, then add eggs one at a time and alternate dry ingredients with buttermilk for a smooth batter. Bake until the center springs back and a toothpick comes out with a few moist crumbs, not wet batter.
How do you make the perfect red velvet cake frosting that isn’t too sweet?
For a classic red velvet cake, cream cheese frosting is the go-to, and it tastes best when you balance sweetness with tangy cream cheese. Beat softened cream cheese and butter until smooth, then add powdered sugar gradually and finish with vanilla (and a pinch of salt) to enhance flavor. If you want it less sweet, reduce the sugar slightly or use a higher ratio of cream cheese to butter.
Why does red velvet cake taste better with cocoa and vinegar, and what role do they play?
Cocoa powder gives red velvet its signature chocolate-vanilla depth without making the cake taste like a full chocolate cake. Vinegar (often in the batter) reacts with baking soda to help leavening, which improves rise and keeps the texture light. Together, these ingredients create the classic flavor profile and help the cake bake evenly for that tender, velvety crumb.
Which red velvet cake bake time and pan size produces the best results?
The best bake time depends on your pan size and thickness, so it’s important to match the recipe to your pans. For example, 8-inch or 9-inch round pans will bake in a typical range of about 25–35 minutes, but always start checking for doneness a few minutes early. Use the toothpick test for red velvet cake—look for moist crumbs and avoid overbaking, which can dry out the cake.
What’s the best way to prevent red velvet cake from coming out dry or dense?
Dry or dense red velvet cake usually comes from overmixing, using cold ingredients, or overbaking. Mix the batter just until combined to avoid developing too much gluten, and let butter and eggs come to room temperature for better emulsification. Also measure flour accurately (spoon and level) and bake only until set; wrap and cool properly so the layers stay moist.
📅 Last Updated: August 17, 2026 | Topic: best recipe red velvet cake | Content verified for accuracy and freshness.
References
- https://en.wikipedia.org/wiki/Red_velvet_cake
https://en.wikipedia.org/wiki/Red_velvet_cake - https://en.wikipedia.org/wiki/Dutch_process_cocoa
https://en.wikipedia.org/wiki/Dutch_process_cocoa - https://en.wikipedia.org/wiki/Cream_cheese_frosting
https://en.wikipedia.org/wiki/Cream_cheese_frosting - https://en.wikipedia.org/wiki/Food_coloring
https://en.wikipedia.org/wiki/Food_coloring - https://scholar.google.com/scholar?q=best+red+velvet+cake+recipe Google Scholar
https://scholar.google.com/scholar?q=best+red+velvet+cake+recipe - https://scholar.google.com/scholar?q=red+velvet+cake+chemistry+vinegar+buttermilk+acid+alkali+cocoa Google Scholar
https://scholar.google.com/scholar?q=red+velvet+cake+chemistry+vinegar+buttermilk+acid+alkali+cocoa - https://scholar.google.com/scholar?q=red+food+coloring+dye+stability+baking+cake Google Scholar
https://scholar.google.com/scholar?q=red+food+coloring+dye+stability+baking+cake - https://pubmed.ncbi.nlm.nih.gov/?term=food+coloring+baking+stability
https://pubmed.ncbi.nlm.nih.gov/?term=food+coloring+baking+stability - https://pubmed.ncbi.nlm.nih.gov/?term=cake+crumb+texture+chemistry+sugar+fat+emulsifier
https://pubmed.ncbi.nlm.nih.gov/?term=cake+crumb+texture+chemistry+sugar+fat+emulsifier - https://www.fda.gov/food/color-additives-petitions/color-additive-status-list/red-dye-no-40
https://www.fda.gov/food/color-additives-petitions/color-additive-status-list/red-dye-no-40