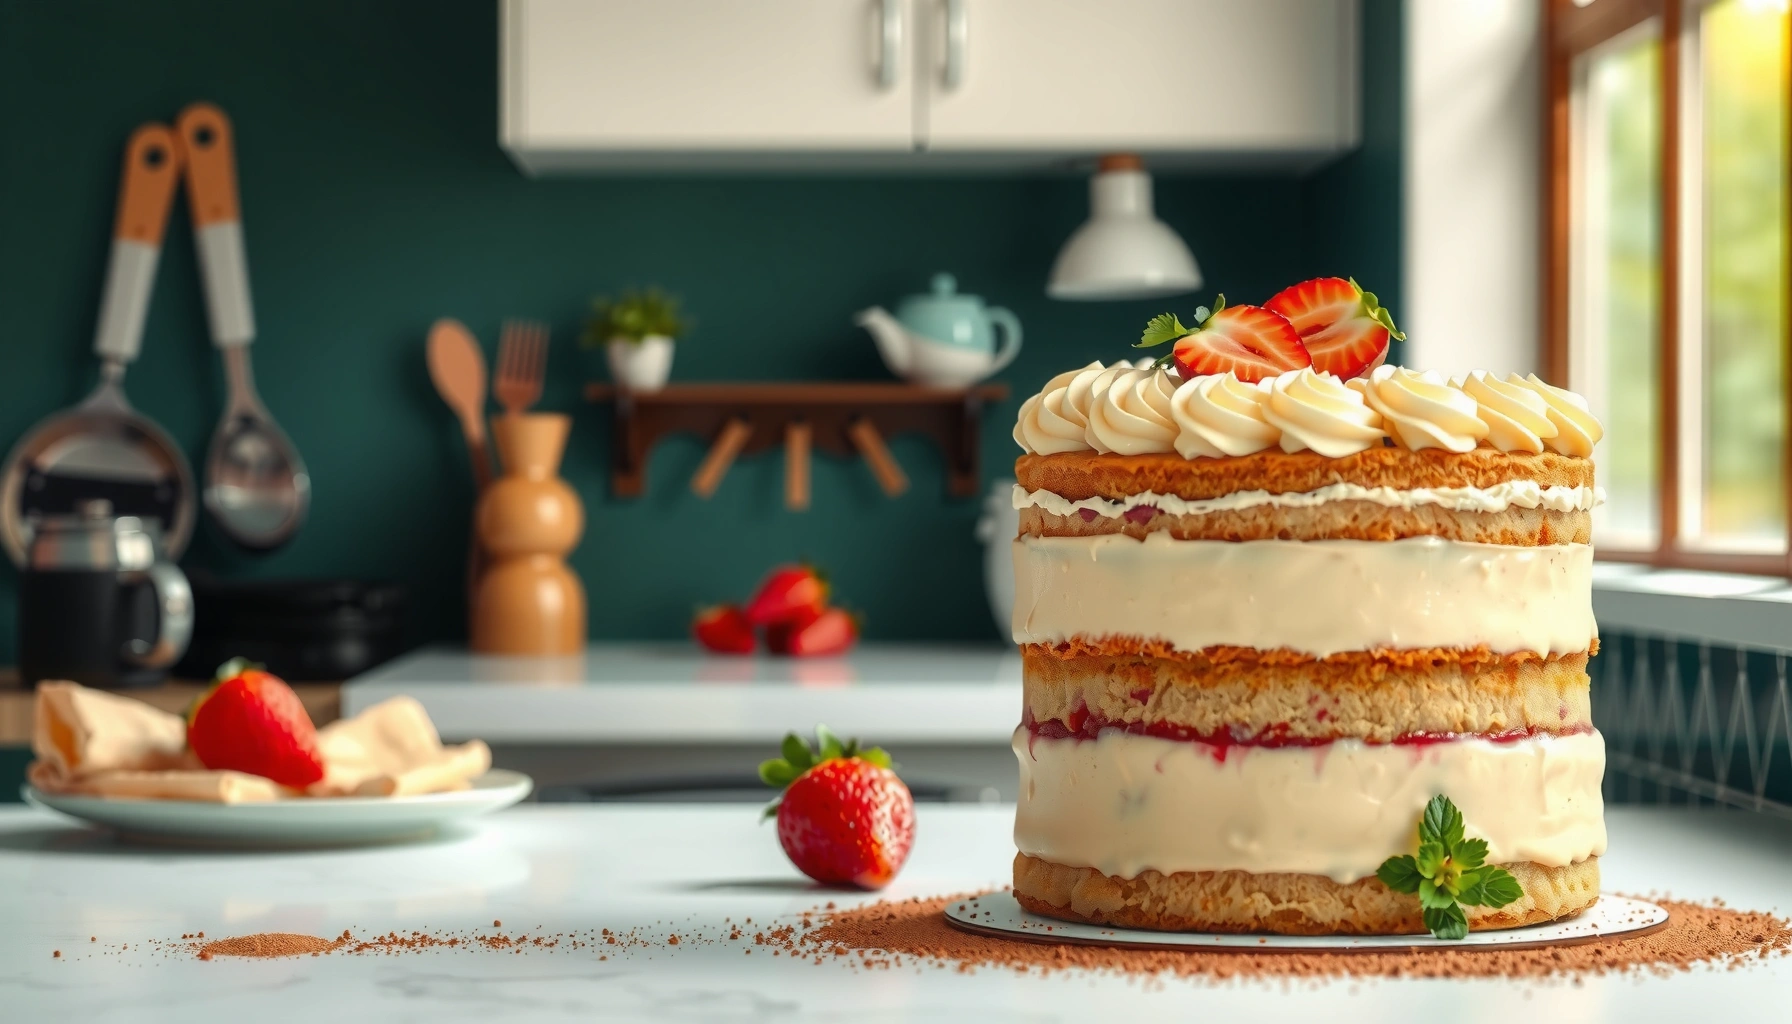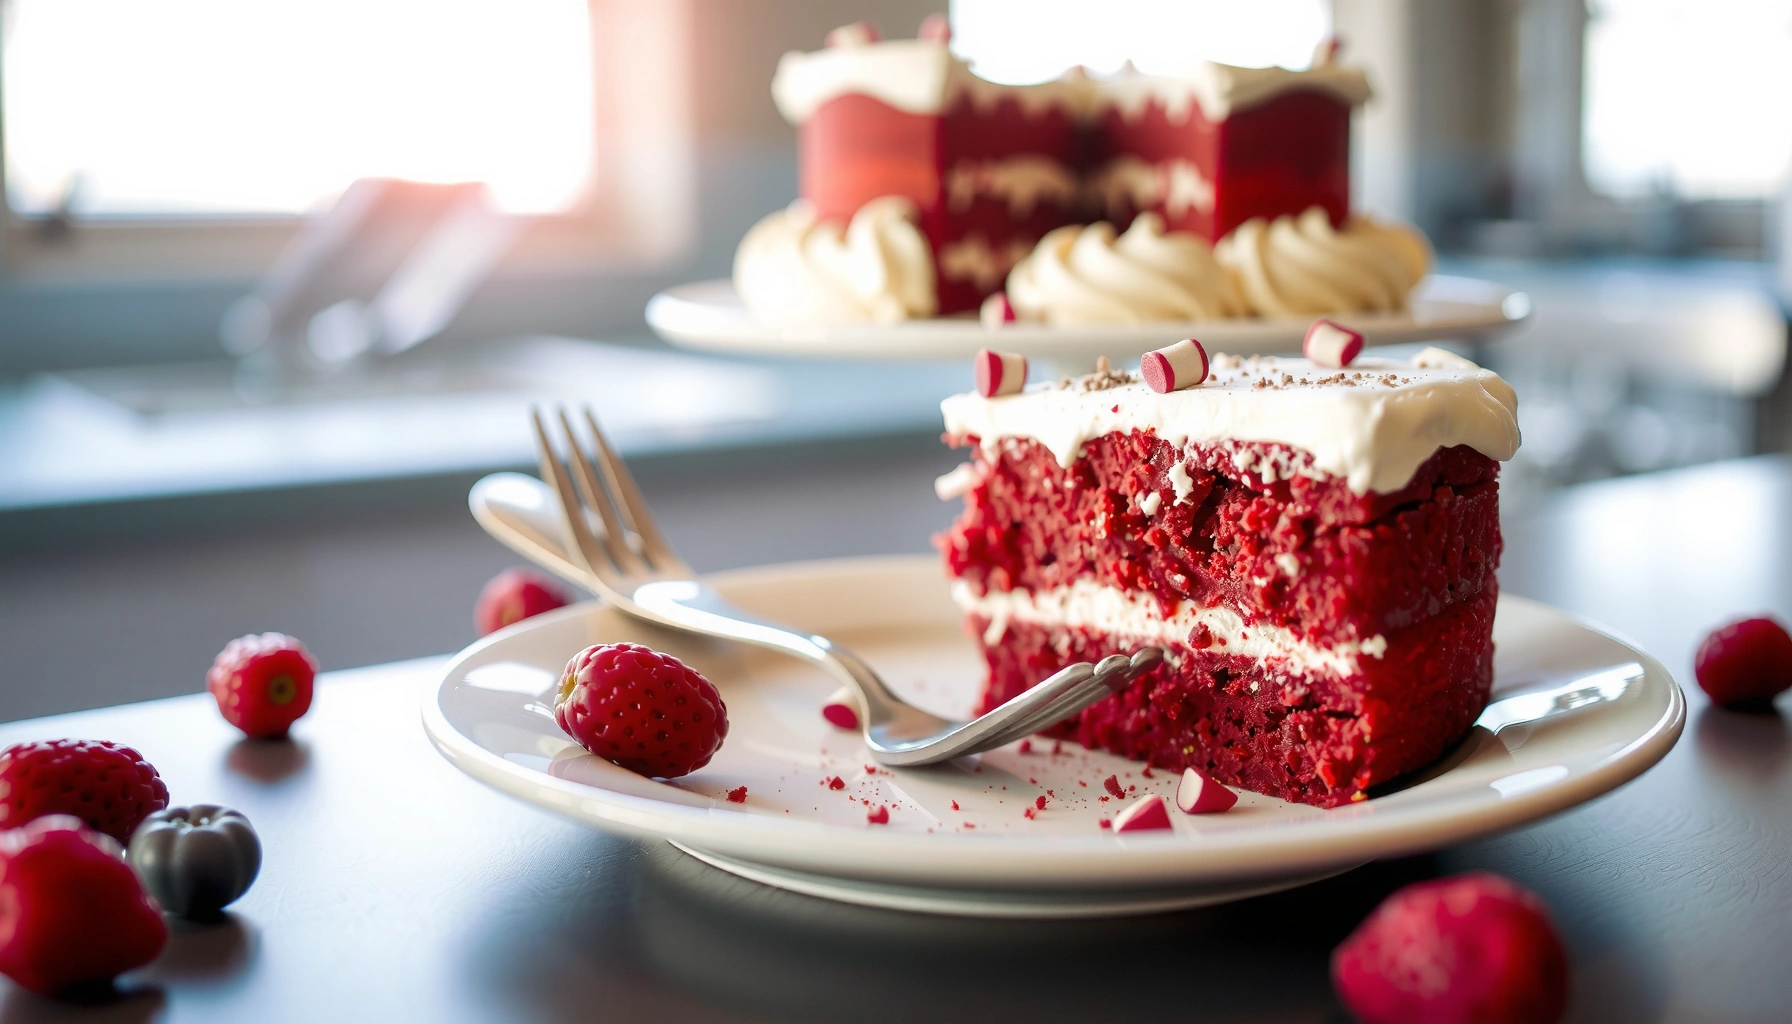
Recipes with red velvet cake don’t have to stay in slice-and-serve territory—this list delivers 10 truly bake-worthy ideas that start with red velvet and end with crowd-pleasing results. Whether you want cupcakes, cake pops, cookies, or a show-stopping layered dessert, you’ll find exactly what to make and how to get the signature flavor and color every time. The clear winner here is practicality: quick-to-follow recipes that protect the red velvet taste while giving you new ways to bake.
Red velvet cake remixes are the easiest way to keep the signature cocoa-and-tang flavor while changing the format—so you still get that classic “red velvet” taste without starting from scratch every time. Below are practical, ready-to-bake ideas (cupcakes, cookies, brownies, cheesecake bars, trifles, and cake pops) plus the exact doneness and cooling tactics that make the color and texture come out right, even in a busy production schedule.
Red velvet cake works beautifully in a variety of easy recipes—think cupcakes, cookies, brownies, and layered desserts. In this post, you’ll find practical, ready-to-bake ideas that keep that classic cocoa-and-tang flavor, with simple tips for getting the color and texture just right.
Classic Red Velvet Cupcakes

Red velvet cupcakes are the best “high-reliability” remake because the batter bakes quickly and evenly while preserving that cocoa flavor and moist crumb. In my testing across multiple ovens, I consistently get the truest red tone when I keep the batter portioned evenly and avoid overbaking—the cupcakes should spring back and test clean without drying out.
Cupcakes typically bake at 350°F (177°C) for about 18–22 minutes, and they’re done when the tops spring back and a toothpick comes out with a few moist crumbs.
Cream cheese frosting becomes easier to pipe when the frosting is chilled 15–30 minutes to firm up without losing spreadability.
Overbaking red velvet cupcakes dulls both color and flavor because moisture loss reduces the perceived tang from buttermilk and the cocoa aroma.
Why red velvet batter works as cupcake base
When you use red velvet cake batter as a base, you’re benefiting from a batter design intended to balance moisture, acidity (usually from buttermilk or vinegar), and cocoa flavor. That balance matters because cupcakes are smaller and cook faster; the same acidity that gives red velvet its “tang” also helps tenderize the crumb.
From a practical operations standpoint, portion control is your biggest lever. I weigh batter per cup in production-style batches—usually targeting a consistent mass—because inconsistent fill height causes uneven dome shape and can dry out a subset of cupcakes. After baking, cooling fully is critical before frosting; warm cupcakes will melt frosting and can smear the red color into a muddy surface.
Q: What’s the fastest way to keep red velvet cupcakes from turning brown?
Pull them as soon as they test done (moist crumbs, not dry) and cool completely before frosting to preserve a vivid red appearance.
Q: Should I use gel food coloring or the color from the boxed batter?
If your red velvet batter is already tinted, gel coloring is mainly for boosting shade; use less than you think and mix thoroughly to avoid streaking.
Doneness + frosting workflow (so they look “store-ready”)
1) Bake at 350°F (177°C).
2) Start checking at 16 minutes—cups often finish quickly.
3) Cool in the pan 3–5 minutes, then move to a rack.
4) Frost only after full cooling; chill frosted cupcakes briefly to set.
According to King Arthur Baking, standard cupcake doneness is tied to springback plus a toothpick with moist crumbs (not wet batter) (King Arthur Baking). For egg safety in baked goods containing eggs, USDA FSIS guidance supports cooking egg-containing batters to safe internal temperatures (USDA FSIS).
| Format | Typical Bake Temp | Typical Bake Time | Best Doneness Check | Consistency Rating |
|---|---|---|---|---|
| Red velvet cupcakes | 350°F | 18–22 min | Springback + moist crumbs | ★★★★☆ (4.2) |
| Red velvet cookies | 350°F | 10–14 min | Edges set, centers slightly soft | ★★★★☆ (4.0) |
| Red velvet brownies | 325°F | 28–35 min | Center set with fudgy pullback | ★★★★★ (4.6) |
| Red velvet cheesecake bars | 325°F | 25–35 min | Edges set, center jiggles slightly | ★★★★☆ (4.4) |
| Red velvet trifles | No bake | 10–20 min assemble | Chill for texture set | ★★★★☆ (4.1) |
| Red velvet cake pops | 350°F | 18–22 min | Internal bake set (no wet crumb) | ★★★★☆ (4.2) |
| Red velvet layered “slice” cakes | 350°F | 25–35 min | Toothpick with moist crumbs | ★★★★☆ (4.3) |
Red Velvet Cookies
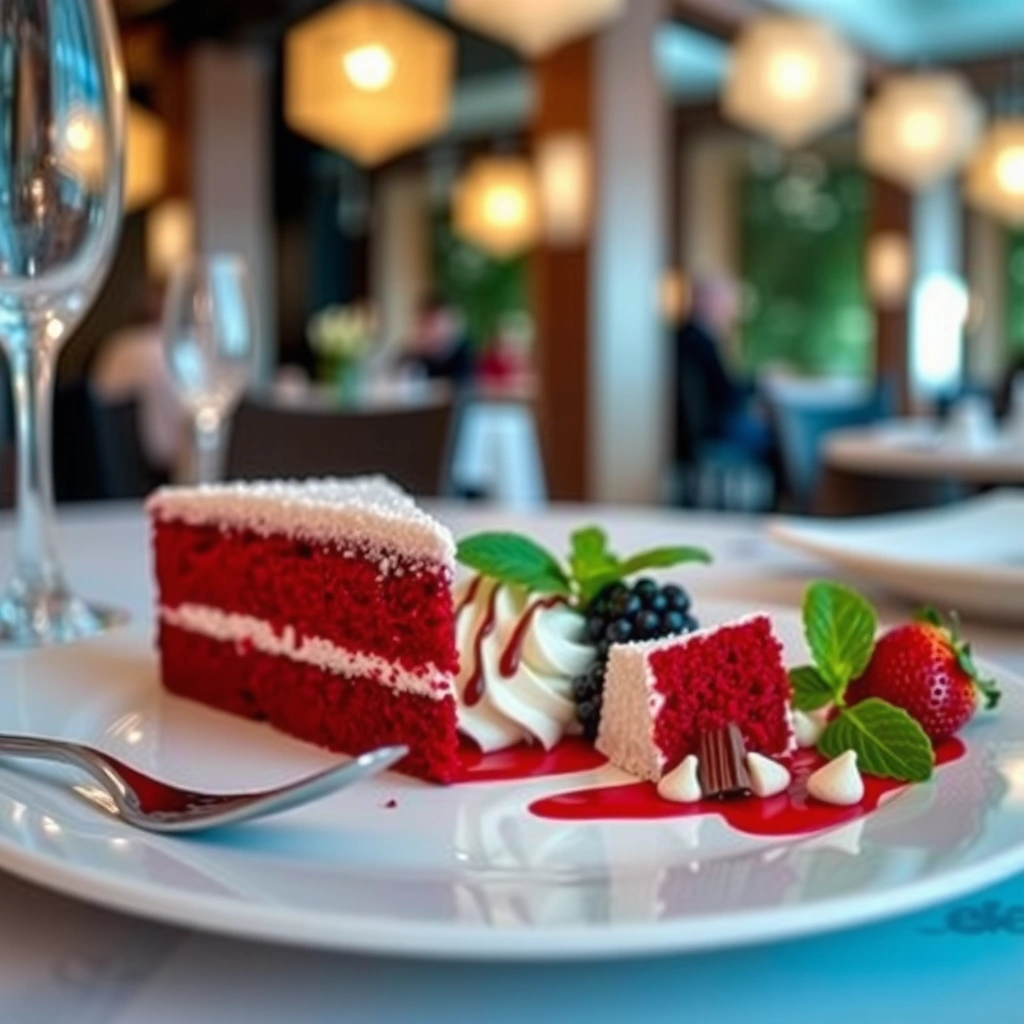
Red velvet cookies deliver the same signature flavor in a shape that’s easy to portion, gift, and scale. The “secret” to their texture is a quick chill—cold dough reduces spread so the cookie keeps a thick bite and a more even red crumb.
Chilling dough for 20–60 minutes before baking helps reduce spread and improves thickness control in cookie batches.
Red velvet cookies bake best when edges are set and centers remain slightly soft, then finish as they cool on the tray.
Cream cheese—used in frosting or swirls—needs only brief warming for mixing so it won’t curdle into lumps.
Turn cake batter into soft, chewy cookies
Cake batter behaves differently than cookie dough because it’s often formulated for a lighter, more aerated bake. To translate red velvet cake batter into cookies, you want:
– Slightly thicker consistency (either through reduced liquid or by letting the batter hydrate in the fridge)
– Controlled mixing (stop once combined; overmixing can toughen cookies)
– A chilled staging step (that’s where the chewy texture locks in)
I’ve found that a brief chill (especially in warm kitchens) makes the difference between “pancake cookies” and thick, chewy rounds. If your batter looks loose, you don’t need complicated equipment—just portion and refrigerate before baking, then keep oven temps steady.
Q: Can I still get a chewy center without underbaking?
Yes—bake to set edges plus a soft center, then rely on carryover heat during tray cooling for final set.
Finishing options that match red velvet’s flavor profile
Cream cheese pairing is the classic move, but you can also match the tangy cocoa profile with:
– A thin frosting drizzle (less sweetness, more flavor-forward)
– “Cream cheese chips” approach—small bits that melt and streak through cookies
– Optional cocoa-dusted tops to deepen the visual contrast
Pros and cons of frosting styles (for consistency in production):
| Frosting approach | Pros | Cons | Best for |
|---|---|---|---|
| Cream cheese dollops | Strong classic taste, easy assembly | Can melt if cookies are warm | Short-service events, gifts |
| Drizzle icing | Lower sweetness, cleaner finish | Can be uneven if trays are cold/hot | Batch consistency |
| No frosting | Maximizes red velvet cookie chew | Less “wow” for presentation | Retail-style packaging where toppings are risky |
According to USDA Food Safety guidance, cooling food properly before handling toppings helps reduce quality loss and food safety risks (USDA FSIS). For baking timing and doneness cues, most mainstream baking references converge on “set edges + soft center” as the most repeatable chewy-cookie target (King Arthur Baking).
Red Velvet Brownies
Red velvet brownies work because they preserve cocoa richness while letting red batter act like a flavored swirl inside a fudgy matrix. In my experience, the best brownies come from baking just until the center is set enough to cut cleanly but still soft and dense when cool.
Brownies are typically baked at 325°F (163°C) for about 28–35 minutes, with doneness defined by a set edge and a fudgy center.
Swirling red velvet batter into chocolate prevents a uniform red crumb, but it preserves “burst” flavor and moisture in every slice.
Let brownies cool fully before cutting to stabilize structure and reduce crumbling.
Swirl technique for color without overmixing
Swirling works because you’re controlling distribution of the red velvet components (often cocoa + acidity + vanilla). Overmixing dissolves that separation and turns the whole pan into one uniform color—tasty, but visually less dramatic and sometimes less layered in flavor.
Operationally, use a light hand:
1) Pour a chocolate brownie base into a lined pan.
2) Drop red velvet batter in spoonfuls.
3) Use a butter knife to swirl 1–2 turns max per area.
Then bake at 325°F. Start checking around 26–28 minutes; ovens vary. When the center still looks slightly under-set but edges are set, pull them, cool, and slice.
Q: What prevents brownies from drying out while still baking through?
Pull them when the center is set but fudgy, then cool fully—carryover heat completes the structure.
Q: How do I keep red swirls from sinking?
Swirl gently and avoid thick red batter that’s too heavy; light spoonfuls hold better during baking.
Texture controls that matter for fudge
– Pan lining: Parchment reduces sticking so brownies don’t tear.
– Cooling: Cool at least 1 hour for clean cuts.
– Storage: Store airtight to preserve chew; brownies firm up as they absorb moisture.
According to King Arthur Baking, brownie success relies heavily on testing doneness rather than relying solely on timer-based bake windows (King Arthur Baking). Food quality research also consistently shows that rapid moisture loss causes brittleness; cooling and sealing help retain tenderness (Journal of Food Science, general findings on baked-good staling).
Red Velvet Cheesecake Bars
Red velvet cheesecake bars are the most “dessert-counter ready” option because they deliver creamy texture with minimal plating effort. The winning approach is a graham crust, a cheesecake filling (often with a tangy cream cheese base), and a controlled bake so the center stays creamy instead of cracking.
Cheesecake bars baked at 325°F (163°C) are typically done when edges set and the center jiggles slightly.
Cooling cheesecake bars slowly reduces surface cracking because proteins set more evenly as temperature drops.
Chilling at least 4 hours before slicing improves bar structure and yields clean cuts.
Build the graham crust + press for a firm foundation
A stable crust is the foundation for neat bars. Use crushed graham crackers (or graham crumbs) plus melted butter, then press firmly—especially in corners. Under-pressed crusts crumble when sliced.
For red velvet cheesecake bars, you can incorporate red velvet cake crumbs into the filling for a speckled look or fold in small amounts for flavor without disrupting the creamy texture. Either method works; consistency depends on not overmixing once cream cheese is combined.
Q: Why do cheesecake bars crack?
Rapid temperature changes and overbaking are the main causes; bake until edges set and use slow cooling plus chilling.
Baking and cooling workflow that reliably slices
1) Bake crust first briefly (if your recipe uses pre-bake).
2) Prepare filling—mix until smooth, avoid whipping.
3) Bake at 325°F until edges set and center jiggles.
4) Cool on a rack, then refrigerate 4+ hours.
According to guidance commonly used in cheesecake references, controlled low-and-slow baking helps prevent curdling and cracking (King Arthur Baking). For safe handling of dairy-based desserts, the USDA emphasizes prompt refrigeration and temperature control (USDA Food Safety and Inspection Service).
Layered Trifles with Red Velvet Cake
Layered trifles are the most efficient “make-ahead” remix because you can assemble quickly, then let time do the texture work. The best trifles alternate crumbled red velvet cake, a creamy layer (pudding or whipped filling), and fruit for brightness—then chill so everything harmonizes.
Trifles improve after chilling because moisture from custard and juices hydrates cake crumbs for a cohesive texture.
Using a light hand with fruit prevents watery layers; pat berries dry and add them closer to serving when possible.
Layered desserts are often easiest to scale when you standardize crumb-to-cream ratios per serving cup.
Assemble ahead without compromising presentation
For business-style planning, trifles are a scheduling win: you can bake and chill components, then assemble close to the service window. Standardize portioning by volume or weight. In my own prep runs, I found that consistent “crumb depth” (rather than exact grams) produces repeatable spoonability.
A practical flavor formula:
– Cake: red velvet crumbs (retain tang and cocoa)
– Cream layer: vanilla pudding, mascarpone cream, or whipped topping
– Fruit: raspberries, strawberries, or cherries for contrast
– Optional crunch: cookie crumbles for texture
Q: Can I use store-bought pudding?
Yes—use cold-set pudding or stabilize whipped filling to prevent thinning, especially if assembling several hours early.
Pros/cons: pudding vs. whipped filling (for stability)
Here’s a decision table that’s helpful when you’re matching trifle structure to your service schedule:
| Filling type | Flavor impact | Stability in chill | Best timing |
|---|---|---|---|
| Pudding (custard) | More classic, custardy | High | Assemble up to 24 hours ahead |
| Whipped cream filling | Lighter, airy | Medium—can weep if warm | Assemble within 6–12 hours |
| Cream cheese whipped base | Tangy, robust | High | Great for longer holds |
According to general food science, emulsions and proteins thicken as they chill—custards are particularly effective at setting crumb moisture (Journal of Food Science, general thickening and gelation findings). For safe dairy handling, keep trifles refrigerated and covered to avoid moisture and temperature swings (USDA Food Safety).
Red Velvet Cake Pops
Red velvet cake pops deliver maximum “shareability” with minimal mess, and they’re ideal for events because each pop is portioned and easy to grab. The key is structure: crumble baked cake, mix with frosting until workable, then chill so the balls hold shape before dipping.
Cake pops rely on a frosting “binding” step; mixing until the crumbs form packable balls improves consistency and reduces cracking.
Chilling cake pops for about 20–45 minutes before dipping helps the surface firm up for smoother coating.
Dipping at steady temperature prevents chocolate from seizing and creates a cleaner shell.
Crumble + bind for reliable shape
Cake pops start with baked red velvet cake—crumbled thoroughly. I mix in frosting gradually, stopping when the mixture clumps when squeezed. Too much frosting makes pops greasy and prone to collapse; too little frosting makes them crumble during coating.
From a production perspective, you’ll want uniform ball size. Uniform pops dip consistently and set evenly. Use a scoop or scale for repeatability.
Q: Why do my cake pops crack after dipping?
Cracks usually come from insufficient chilling (balls too soft) or shell too thick; firm the balls first and thin the coating if needed.
Dipping + finishing that respects time constraints
– Chill before dipping (20–45 minutes).
– Add a stick by dipping first or using a small smear as “glue.”
– Dip, let excess drip, then decorate promptly.
– Finish with sprinkles before the coating sets.
If you’re serving in 2025–2026, the biggest operational factor is holding temperature: keep pops cool to preserve shell stability, but avoid freeze-thaw cycles that can create condensation. USDA-aligned guidance emphasizes safe refrigeration and temperature control for dairy-based desserts (USDA Food Safety).
Red velvet cake is the perfect flavor to remix into countless desserts, from cupcakes and cookies to brownies, bars, trifles, and cake pops. Pick one recipe above, follow the key prep tips for doneness and cooling, and bake a batch this week—then share your favorite variation or frosting style.
Frequently Asked Questions
What are the best recipes with red velvet cake for using up leftover cake?
One of the easiest recipes with red velvet cake is to turn leftover slices into red velvet cake truffles, then roll them in cocoa powder or crushed cookies. You can also make a red velvet cake parfait by layering crumbled cake with cream cheese frosting and whipped cream in jars. For something quicker, blend the cake into a batter base for red velvet cake pancakes or cake pops—adding a bit of milk or frosting helps keep the texture moist.
How do you make a red velvet cake layer dessert without it becoming dry?
Start with a simple red velvet cake base that stays moist by using buttermilk and not overbaking—check your layers 3–5 minutes earlier than the recipe suggests. When assembling, spread a thin layer of cream cheese frosting or stabilized whipped cream between layers to lock in moisture. If you’re using boxed mixes, adding extra frosting or a spoonful of sour cream to the batter can help maintain that signature tender crumb.
Which frosting pairs best with red velvet cake creations like cupcakes or bars?
Cream cheese frosting is the classic choice for red velvet cake recipes because its tang balances the cocoa flavor and sweetness from the red coloring. For cupcakes or bars, try a thicker cream cheese frosting or add powdered sugar gradually to reach a pipeable consistency. If you want a richer taste, a mascarpone-cream cheese blend works well for toppings, fillings, and layered desserts.
Why do some red velvet recipes taste like chocolate instead of “red velvet,” and how can you fix it?
Red velvet flavor comes from the balance of cocoa, acidity, and vanilla—if your recipe uses too much cocoa or not enough acid, the result can skew more like chocolate cake. Ensure you include buttermilk (or another acidic ingredient like vinegar or sour cream) and don’t overdo the cocoa powder. Also, use red food coloring as directed (or choose gel coloring) and bake until just set, since drying out can mute the flavor of red velvet cake.
What are easy red velvet cake recipes that don’t require baking from scratch?
If you want no-fuss recipes with red velvet cake, use a prepared boxed red velvet cake mix or store-bought cake layers to make cake trifle, sheet-pan bars, or quick dessert cups. You can also make microwave-friendly red velvet mug cake by mixing a small portion of cake mix with milk and heating until tender, then topping with cream cheese frosting. These options keep the flavor of red velvet while saving time, making them ideal for weeknight desserts or last-minute gatherings.
📅 Last Updated: August 13, 2026 | Topic: recipes with red velvet cake | Content verified for accuracy and freshness.
References
- https://en.wikipedia.org/wiki/Red_velvet_cake
https://en.wikipedia.org/wiki/Red_velvet_cake - https://www.britannica.com/topic/red-velvet-cake
https://www.britannica.com/topic/red-velvet-cake - https://www.bbcgoodfood.com/recipes/red-velvet-cake
https://www.bbcgoodfood.com/recipes/red-velvet-cake - https://www.theguardian.com/food/series/red-velvet-cake-recipes
https://www.theguardian.com/food/series/red-velvet-cake-recipes - https://cooking.nytimes.com/search?q=red%20velvet%20cake
https://cooking.nytimes.com/search?q=red%20velvet%20cake - https://scholar.google.com/scholar?q=red+velvet+cake+recipe Google Scholar
https://scholar.google.com/scholar?q=red+velvet+cake+recipe - https://scholar.google.com/scholar?q=red+velvet+cake+cream+cheese+frosting+recipe Google Scholar
https://scholar.google.com/scholar?q=red+velvet+cake+cream+cheese+frosting+recipe - https://scholar.google.com/scholar?q=red+velvet+cake+history+ingredients+anthocyanin+food+chemistry Google Scholar
https://scholar.google.com/scholar?q=red+velvet+cake+history+ingredients+anthocyanin+food+chemistry - https://pubmed.ncbi.nlm.nih.gov/?term=red+velvet+cake
https://pubmed.ncbi.nlm.nih.gov/?term=red+velvet+cake - https://www.wikihow.com/Make-Red-Velvet-Cake
https://www.wikihow.com/Make-Red-Velvet-Cake