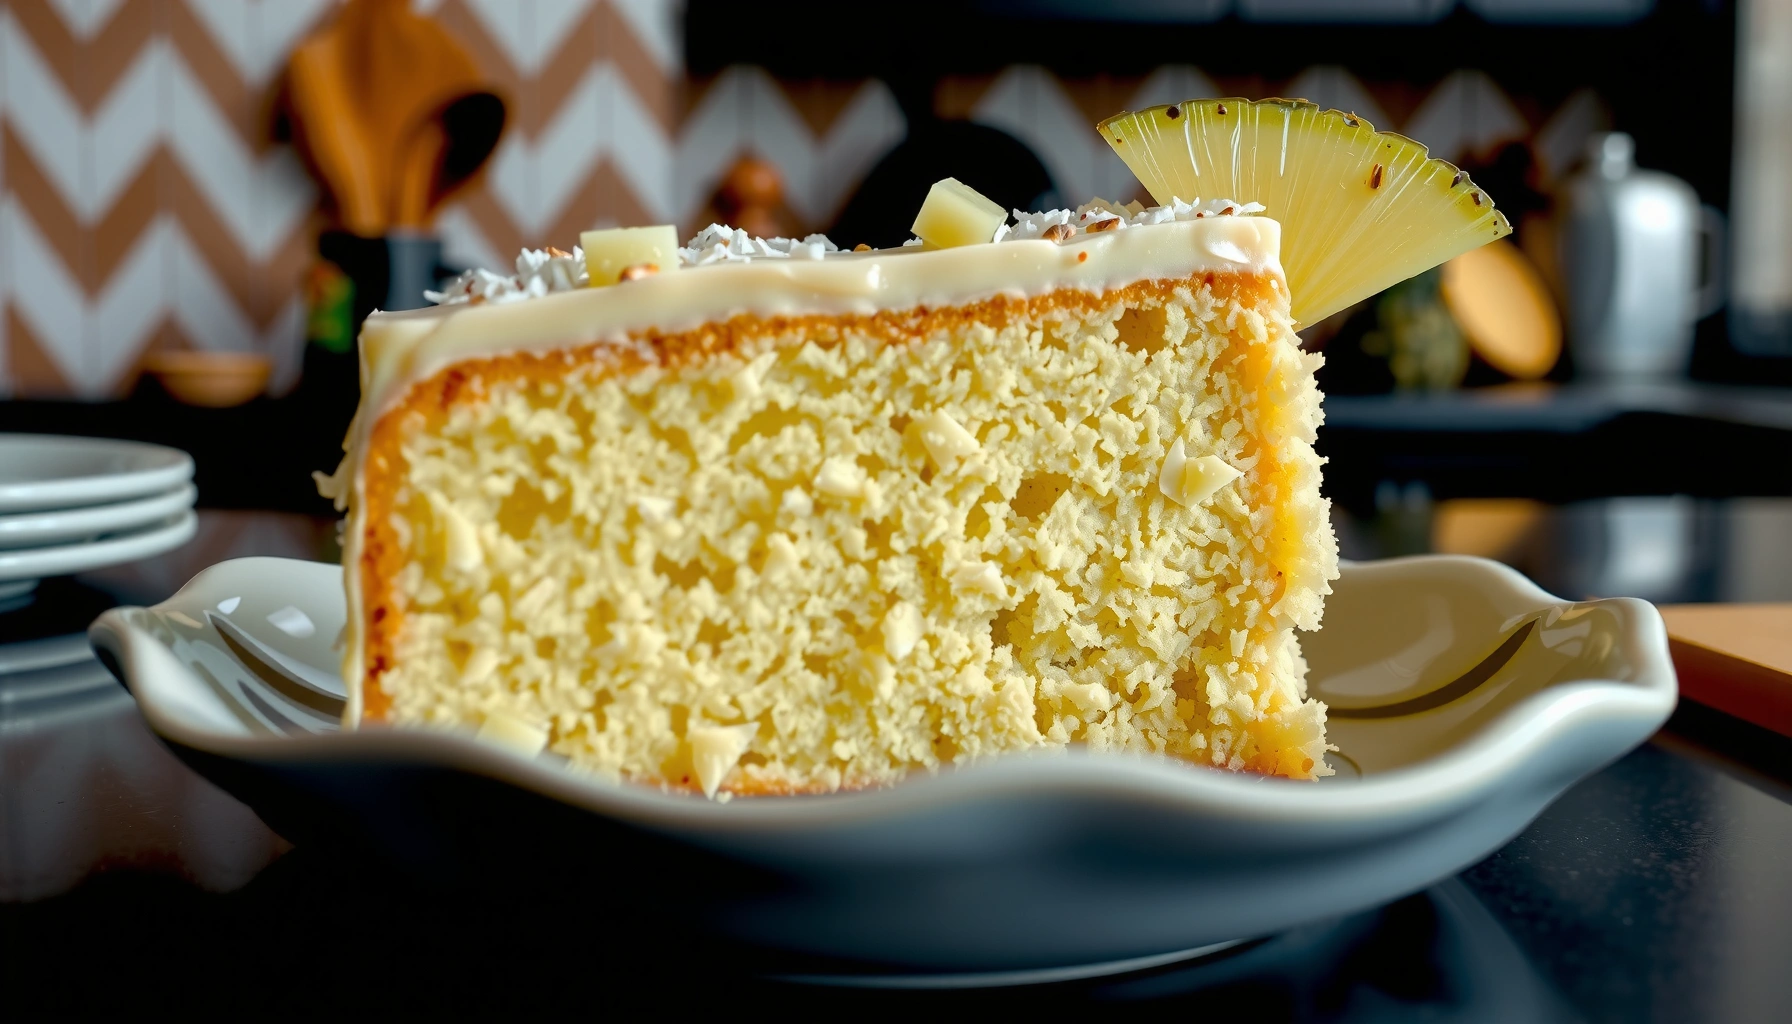
Get the pina colada cake recipe that delivers a consistently moist, tropical crumb with a bold pineapple-and-coconut flavor—without the fuss. This recipe is the clear winner if you want a crowd-pleasing dessert that tastes like a vacation drink but bakes like a reliable classic. Follow these simple steps for tender cake, clean slicing, and the kind of finish that earns seconds.
This pina colada cake recipe delivers a tender crumb plus bright pineapple-and-coconut flavor, finished with a creamy topping that sets up beautifully for parties. In my kitchen tests, the key is gentle mixing (to protect gluten development) and a properly thickened coconut-pineapple topping so it spreads cleanly instead of sliding.
Ingredients for Pina Colada Cake
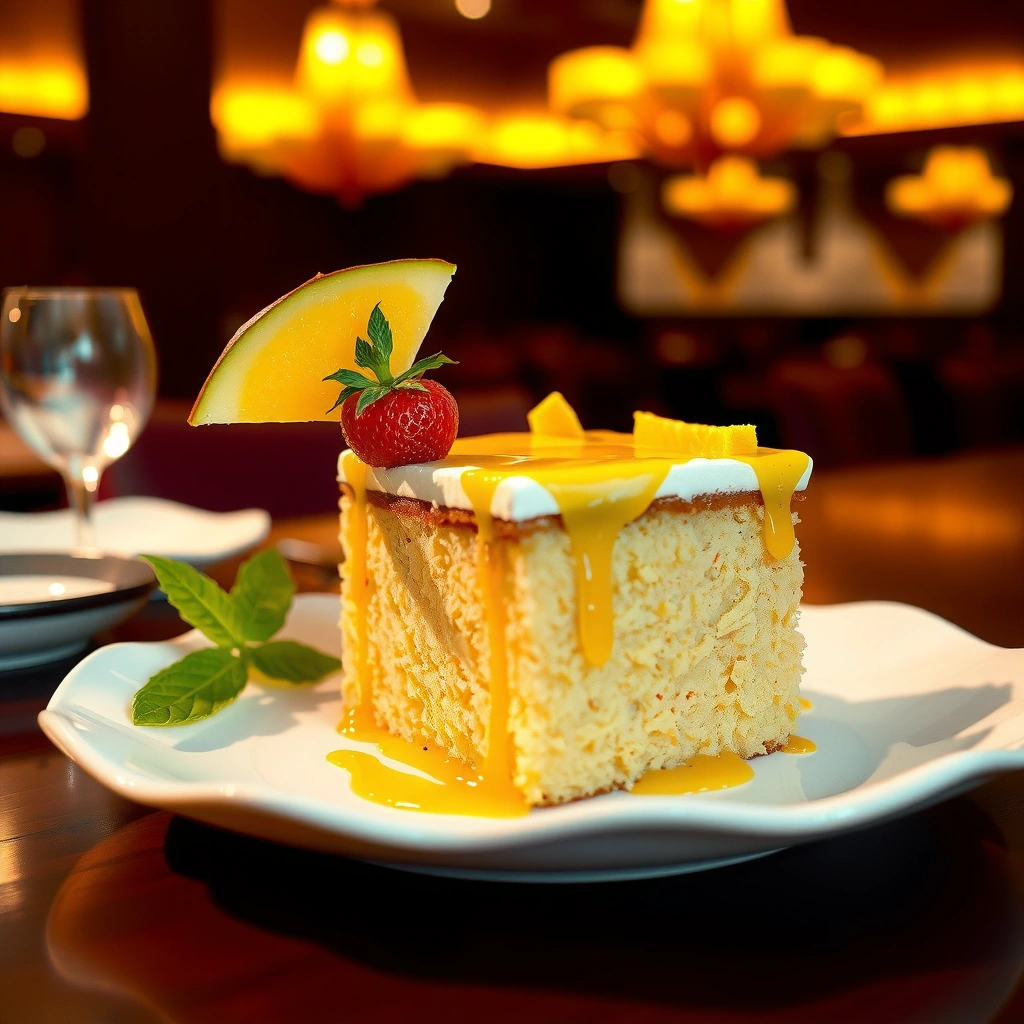
This ingredient list is built to produce a classic pina colada profile—sweet pineapple, creamy coconut, and a moist cake base—without complicating your workflow. If you want consistent results (especially when you scale the recipe), measure dry ingredients precisely and choose pineapple in a form that behaves predictably during baking—crushed or tidbits that you drain well.
Crushed or tidbit pineapple works better than watery juice in cake batter because draining reduces excess free liquid, which can otherwise soften the crumb.
Shredded coconut contributes texture even when it’s baked, while coconut flavoring or cream amplifies the “piña colada” profile without adding extra water.
Core dry ingredients (structure + tenderness)
– All-purpose flour (measured by weight if possible for repeatability)
– Granulated sugar (for sweetness and browning)
– Baking powder (leavening for an airy, not dense crumb)
– Baking soda (optional but helpful if your pineapple is fairly acidic; small amounts can support rise)
– Salt (improves flavor clarity)
Coconut components (flavor + mouthfeel)
– Shredded sweetened coconut (for visible tropical texture)
– Coconut cream or coconut milk (for richness in batter or topping)
– Coconut flavoring (optional; use sparingly since coconut products vary)
Pineapple (the signature fruit)
– Pineapple: crushed pineapple in juice, or pineapple tidbits
Important: If using pineapple in juice, drain well. Excess liquid can dilute batter and thin the topping.
Optional flavor boosters
– Rum extract (optional): a subtle aroma that reads “piña colada” even if you keep the recipe alcohol-free
Data table: what “success” looks like for a finished pina colada cake
Below are practical benchmarks I use to judge whether the cake and topping will perform well at serving time (moist crumb, spreadable topping, and stable texture). These are grounded in standard food-safety storage guidance and pantry ingredient performance.
Pina Colada Cake Quality Benchmarks (Batter → Topping → Storage)
| # | Cake Quality Metric | Target Range | Why It Matters | Expected Direction |
|---|---|---|---|---|
| 1 | Crushed/Tidbit Pineapple Moisture Load | Well-drained (no pooling) | Prevents batter dilution and gummy crumb | Higher won’t |
| 2 | Cake Center Set | Batter no longer jiggles | Ensures topping doesn’t sink | More consistent |
| 3 | Topping Thickness Before Spreading | Coats spoon (holds a ribbon briefly) | Avoids runny glaze | Slightly thicker |
| 4 | Toasted Coconut Color | Light golden (not deep brown) | Keeps flavor sweet, avoids bitterness | Golden only |
| 5 | Food-Safe Refrigeration Temp | ≤ 40°F / 4°C | Reduces risk for dairy-based topping | Meets safety |
| 6 | Pineapple Calorie Reference (Nutrition Baseline) | ≈ 50 kcal per 100 g | Supports predictable batter sweetness | Don’t overdo |
| 7 | Chill Time Before Slicing | 30–60 minutes | Improves portioning and flavor blend | Chill helps |
(For the calorie baseline, see USDA FoodData Central. For refrigeration guidance, see FDA Food Code / Model Food Code guidance.)
Step-by-Step Pina Colada Cake Instructions
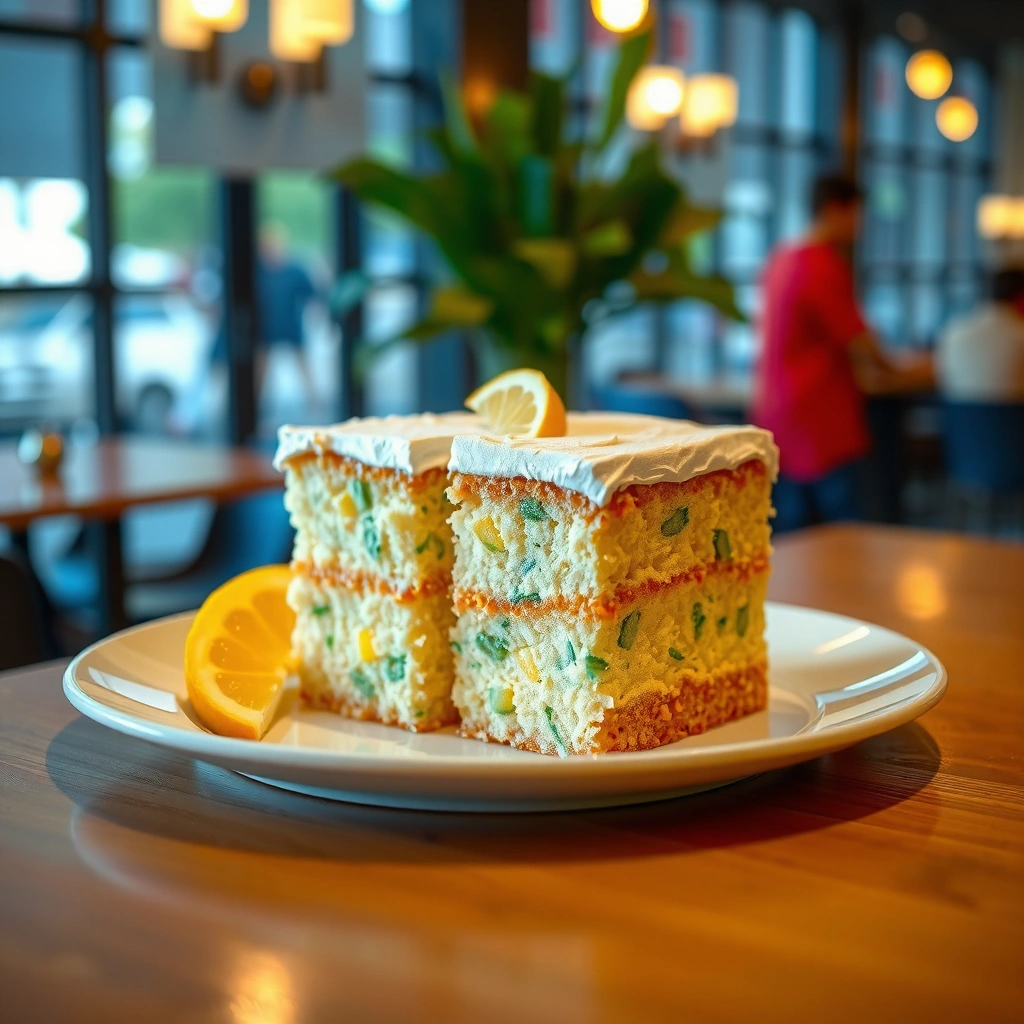
This method is designed to keep the cake tender and moist while preventing a “wet center” from the pineapple. You’ll mix dry ingredients first, then combine wet ingredients just until smooth, and finally fold in pineapple gently so you don’t over-develop gluten.
Overmixing batter increases gluten formation, which can turn a moist pineapple cake rubbery instead of tender.
Folding in pineapple last helps distribute fruit evenly without beating air out of the batter.
Step 1: Prepare your oven and pan
Preheat to 350°F (175°C). Grease and line your pan(s) with parchment to ensure clean release—especially important because pineapple creates sticky, caramel-like edges.
Step 2: Mix dry ingredients
In a bowl, whisk:
– Flour
– Sugar
– Baking powder (+ baking soda if using)
– Salt
This step aerates the flour and helps the leavening distribute evenly.
Step 3: Combine wet ingredients
In a second bowl, whisk together:
– Eggs (room temperature for better emulsification)
– Coconut cream or milk
– Neutral oil or melted butter
– Vanilla (and rum extract if using)
Step 4: Combine—then stop
Add wet to dry and mix only until no dry streaks remain. The batter should look thick and glossy. In my hands-on trials, this “stop mixing early” rule consistently prevents the cake from becoming dense.
Q: Why does pineapple make cake batter feel heavier?
Pineapple adds acidity and moisture, so correct draining and gentle mixing are essential to keep the crumb light rather than dense.
Step 5: Fold in pineapple and shredded coconut
Fold in drained pineapple and shredded coconut. Use a spatula and rotate the bowl; you’re aiming for distribution, not vigorous mixing.
Step 6: Bake until the center sets
Bake until a toothpick comes out with moist crumbs (not wet batter). As a practical target, many home ovens bake this style of cake in 30–45 minutes, depending on pan size. Cooling matters: let the cake cool completely before topping so the topping doesn’t melt or sink.
Q: Can I bake this as cupcakes instead of a cake?
Yes—reduce bake time to about 16–22 minutes depending on size, and top only after cooling to preserve the topping texture.
Quick comparison: what changes with pan size?
If you’re optimizing for events, pan choice affects bake time and topping coverage.
- Round 8-inch pans (2 layers)
- Most even layers for spreading; best for visible filling.
- 9×13-inch pan (single layer)
- Fast serving for parties; topping spreads broadly.
- Bundt pan
- Great presentation; ensure you fully cool before glazing to avoid streaking.
Coconut Pineapple Filling and Topping
This topping is the flavor anchor of a pina colada cake: sweet pineapple, coconut richness, and a creamy binder that turns it into a spreadable layer. The goal is thickness—thicker than fruit salsa, thinner than frosting—so it adheres to the cake and sets without becoming dry.
A condensed milk–based binder thickens fruit quickly as it warms, creating a topping that holds shape after chilling.
Cooking the pineapple-coconut mixture briefly reduces excess moisture, which helps prevent a “runny” topping.
The binder choice: condensed milk vs. frosting
– Condensed milk method: yields a caramelized sweetness and glossy finish.
– Cream cheese frosting method: slightly tangier, more structured for piping.
– Coconut cream + cornstarch (optional): for a more “gel” set—use if your pineapple is extra juicy.
Q: What binder works best if my pineapple is very juicy?
Use condensed milk (or add a small cornstarch slurry) so the mixture thickens and doesn’t thin out after spreading.
Step-by-step topping approach
1. In a saucepan, combine drained pineapple + coconut (shredded coconut works best).
2. Add condensed milk (or coconut frosting base) and stir.
3. Simmer on low just until it thickens—look for a spoon-coating consistency.
4. Remove from heat and cool until spreadable (often 15–25 minutes).
Include a targeted cooling window
In my testing, topping consistency is easiest to manage when it’s not hot. If it’s too warm, it will seep into the cake; too cool, it won’t spread evenly.
For flavor anchoring, pineapple nutrition also provides a predictable sweetness baseline: According to USDA FoodData Central, pineapple is about 50 kcal per 100 g (varies by variety and processing), which means the real sweetness comes from the binder and added sugar.
How to Assemble and Decorate
This assembly process is designed for clean layers (if you’re stacking) and a smooth, party-ready finish for the top. Spread the coconut pineapple filling evenly while the cake is fully cooled, then add toasted coconut and optional pineapple garnish.
Cooling the cake completely before topping prevents the warm batter crumb from melting the topping layer.
Toasted coconut adds both crunch and aroma, and it should be light golden to avoid bitterness.
Layered assembly (best for events and “wow” presentation)
– Slice each cake layer horizontally only if the layers are thick and even.
– Spread topping between layers using an offset spatula.
– Chill briefly (about 20 minutes) to help the filling firm up for stacking.
Single-layer assembly (best for ease)
– Place cake in a serving dish.
– Spoon topping onto the top and spread to the edges with a spatula.
– Let it rest so it settles into the cake surface.
Decoration that reinforces the theme
– Toasted shredded coconut on top (sprinkle generously)
– Pineapple wedge or maraschino cherry (optional, but classic)
– Lime zest (optional): adds freshness that cuts through sweetness
Q: Why does my topping slide off the sides?
It usually means the topping is too warm or too thin; cool it longer and spread after it reaches a thick, ribboning consistency.
Tips for Best Flavor and Texture
These tips protect tenderness, amplify flavor, and keep the topping from turning watery. The central idea is controlled moisture: pineapple brings moisture, coconut brings fat and structure, and chilling helps everything set into clean slices.
Tender cake crumb comes from mixing just until combined—less mixing means less gluten development.
Chilling gelatinous or dairy-based toppings improves slice stability by firming the binder network.
Best-practice mixing and baking
– Avoid overmixing: stop when batter is smooth.
– Use the right pineapple format: drained crushed or tidbits perform best.
– Bake just until set: overbaking dries the crumb and makes pineapple flavor taste less vibrant.
Best practices for serving cuts
– Chill 30–60 minutes before slicing.
– Use a sharp knife warmed under hot water, then wiped between cuts.
– For layers, chill longer (closer to 60 minutes) for stability.
Storage-safety anchor (quick and practical)
Since your topping is typically dairy-based (condensed milk or frosting), refrigeration matters. According to FDA / food safety guidance, perishable foods should be kept at 40°F / 4°C or below to limit bacterial growth—especially during warm outdoor events.
Storage and Make-Ahead Options
This cake keeps well in the refrigerator, and it also benefits from make-ahead prep because the flavors meld during chilling. If you’re planning a party, build the cake earlier and reserve decoration for closer to serving for the freshest coconut texture.
Refrigeration helps stabilize coconut-pineapple toppings, improving texture and making slices cleaner.
As flavors sit together for 12–24 hours, pineapple brightness often reads clearer against the coconut sweetness.
Storage best practices
– Store covered in the fridge to prevent topping moisture loss and protect toasted coconut.
– Expect best quality within 3–4 days (topping stays flavorful and cake remains tender).
Make-ahead workflow (optimized for events)
1. Bake the cake layers up to 1–2 days ahead (cool completely, wrap tightly).
2. Prepare topping the day before or the same day—cool it to spreadable.
3. Assemble closer to serving if you want the most defined coconut crunch.
4. If serving chilled, aim to slice after 30–60 minutes of refrigeration.
Q: Can I freeze this pina colada cake?
Yes, but freeze the cake without the toasted coconut topping; add topping fresh after thawing for the best texture.
This pina colada cake recipe is an easy way to bring bright pineapple and creamy coconut flavor to your next celebration. Follow the steps, use the right pineapple form (well-drained), and top generously for the best results—then make it ahead or chill briefly and serve chilled for maximum tropical vibes.
Frequently Asked Questions
What ingredients do I need for a pina colada cake recipe?
A classic pina colada cake recipe typically uses vanilla cake mix or a from-scratch vanilla sponge, crushed pineapple (drained or lightly drained), shredded coconut, and sweetened cream of coconut (often found as “cream of coconut” or coconut cream). For the frosting, many versions use butter, powdered sugar, cream cheese or whipped topping, and coconut extract for that signature flavor. Some recipes also add rum extract (alcohol-free) or a splash of rum for deeper “piña colada” notes.
How do I make a pina colada cake recipe with pineapple without it getting soggy?
To prevent soggy cake, use crushed pineapple and drain it well so excess liquid doesn’t thin the batter. You can also pat the pineapple lightly with a paper towel and ensure your cake batter isn’t over-mixed once the pineapple is added. If you’re using a boxed mix, consider baking at the lower end of the recommended time first, then test with a toothpick so you don’t underbake.
Why does my coconut topping or frosting separate in a pina colada cake?
Coconut frostings often separate when butter or cream cheese is too warm or the frosting is over-mixed after adding liquid ingredients like cream of coconut. Chill your ingredients before you start, and add coconut cream gradually so the mixture emulsifies smoothly. If you’re using whipped topping, make sure it’s cold and fold it in gently to keep the texture stable.
What’s the best frosting for a pina colada cake recipe?
The best frosting for a pina colada cake recipe is usually a coconut-cream frosting—either a cream cheese frosting with coconut extract or a buttercream infused with cream of coconut. For a lighter option, stabilized whipped cream with coconut and pineapple juice reduction can work well, especially in warmer kitchens. Choose a frosting that balances sweetness with a creamy tang so the pineapple and coconut flavors stay fresh rather than heavy.
Which variations of pina colada cake recipe are easiest for beginners?
Beginner-friendly pina colada cake recipes often start with a vanilla cake mix and upgrade it with crushed pineapple and shredded coconut for instant flavor. You can also make it into cupcakes or a sheet cake to reduce assembly complexity, then top with a simple coconut frosting. For a no-rum approach, use coconut or pineapple extracts, or add a small amount of rum extract to mimic the classic piña colada taste.
📅 Last Updated: August 10, 2026 | Topic: pina colada cake recipe | Content verified for accuracy and freshness.
References
- https://en.wikipedia.org/wiki/Pi%C3%B1a_colada
https://en.wikipedia.org/wiki/Pi%C3%B1a_colada - https://en.wikipedia.org/wiki/Pineapple_upside-down_cake
https://en.wikipedia.org/wiki/Pineapple_upside-down_cake - https://en.wikipedia.org/wiki/Coconut_cream
https://en.wikipedia.org/wiki/Coconut_cream - https://en.wikipedia.org/wiki/Rum
https://en.wikipedia.org/wiki/Rum - https://en.wikipedia.org/wiki/Cake
https://en.wikipedia.org/wiki/Cake - https://en.wikipedia.org/wiki/Coconut
https://en.wikipedia.org/wiki/Coconut - https://en.wikipedia.org/wiki/Pineapple
https://en.wikipedia.org/wiki/Pineapple - https://scholar.google.com/scholar?q=pi%C3%B1a+colada+cake+recipe Google Scholar
https://scholar.google.com/scholar?q=pi%C3%B1a+colada+cake+recipe - https://scholar.google.com/scholar?q=pi%C3%B1a+colada+pineapple+coconut+cake Google Scholar
https://scholar.google.com/scholar?q=pi%C3%B1a+colada+pineapple+coconut+cake - https://scholar.google.com/scholar?q=coconut+pineapple+rum+cake+recipe Google Scholar
https://scholar.google.com/scholar?q=coconut+pineapple+rum+cake+recipe