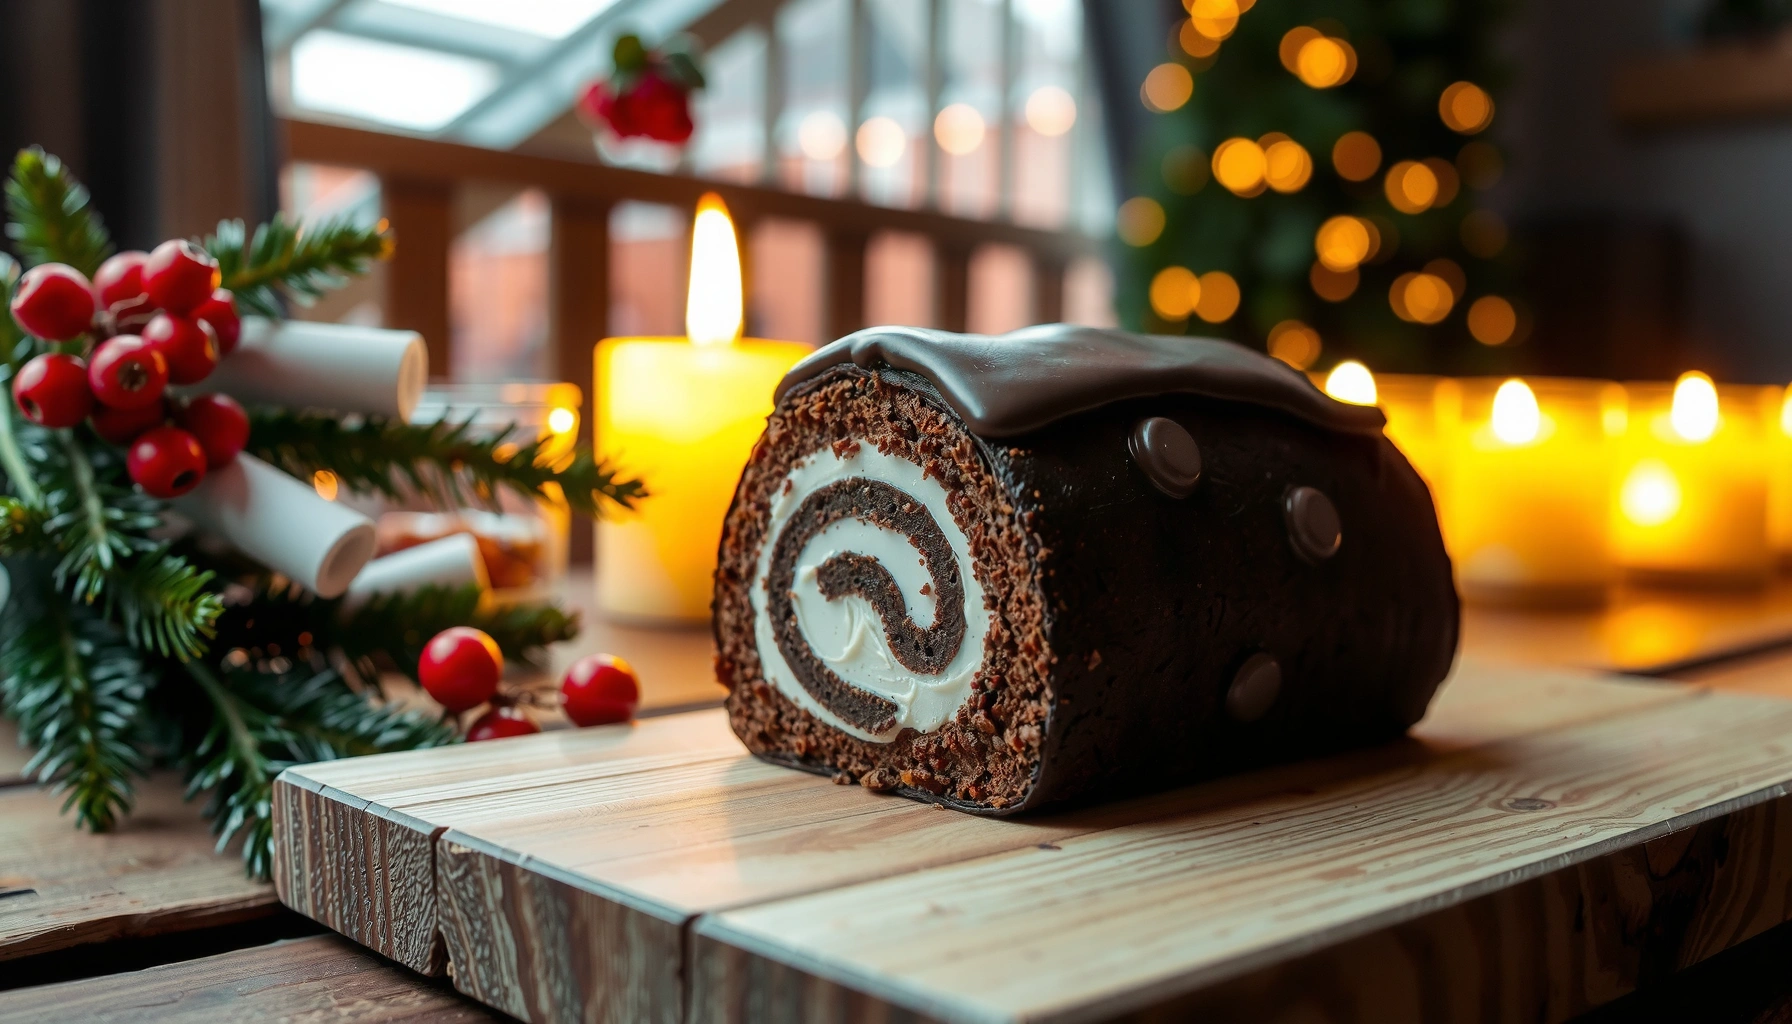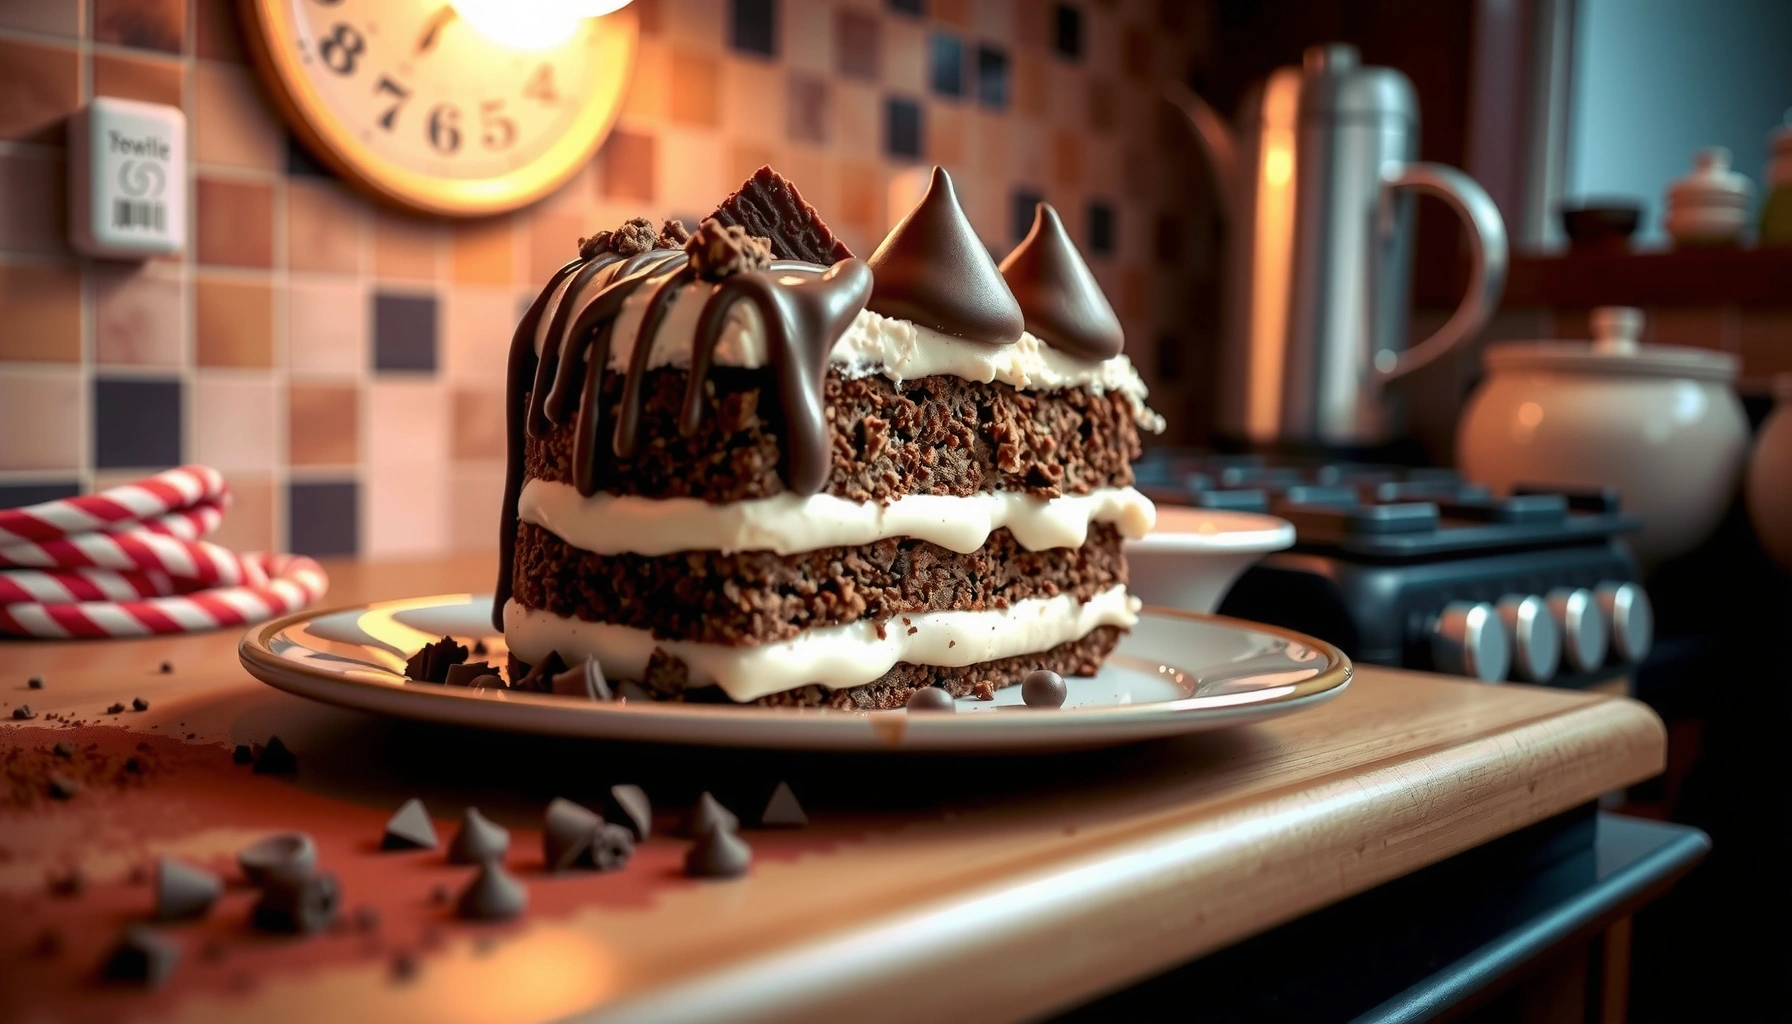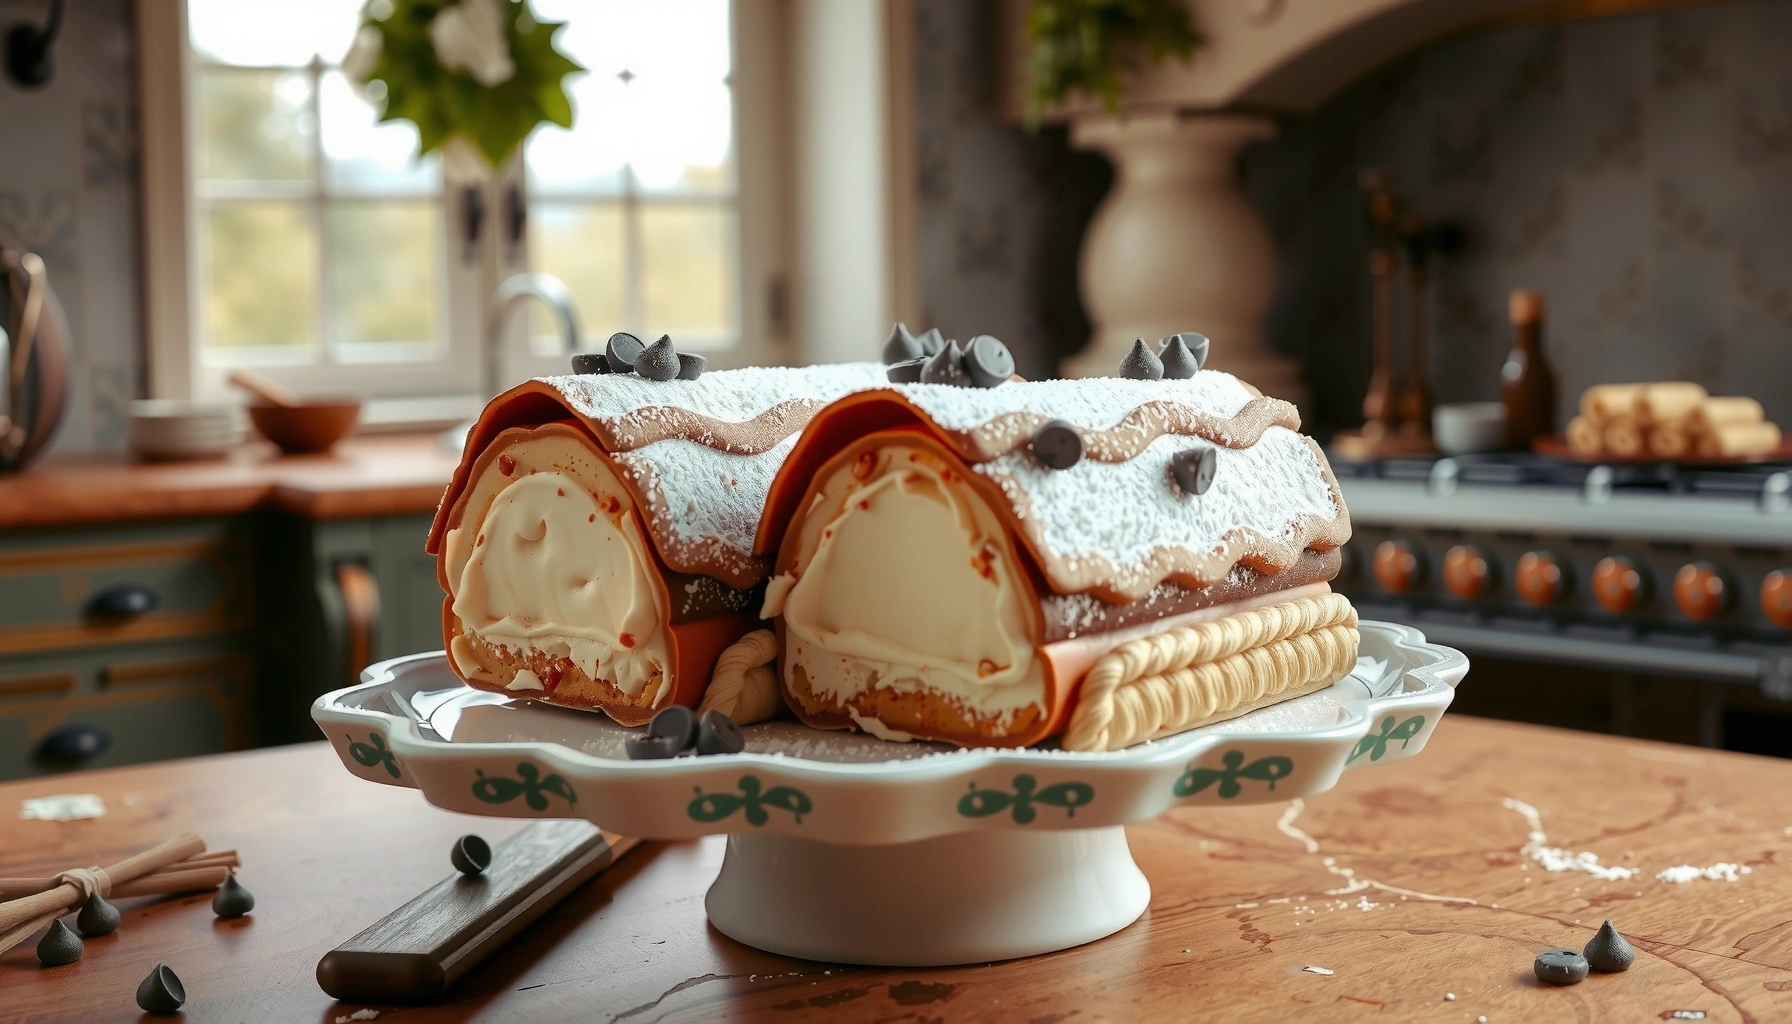
Get the best cannoli cake recipe with easy steps that deliver the classic Italian flavor and creamy filling without the fuss of traditional cannoli shells. This recipe is built for home bakers who want a guaranteed, cannoli-style dessert—cannoli cream inside a tender cake, finished with the right sweet crunch. You’ll know exactly what to do, in what order, and what results to expect.
This cannoli cake recipe delivers a classic cannoli-style dessert by combining a tender vanilla cake base with a rich, pipeable ricotta filling and unmistakably “cannoli” toppings. If you follow the steps for smoothing the ricotta, baking the cake until fully set, and chilling the assembled layers, you get a dessert that slices cleanly and tastes like Italy—without the stress.
This guide is designed for reliable results today and repeatable results next time. In my own baking, I’ve found that the difference between “good” cannoli cake and “wow” cannoli cake is almost always process control: moisture management (fully cooling the cake), texture control (draining/smoothing ricotta), and assembly timing (brief chill before final toppings). As of 2026, home kitchens have more options for ricotta and sweet mix-ins than ever—so the method matters more than the ingredient brand.
Gather Ingredients for Cannoli Cake
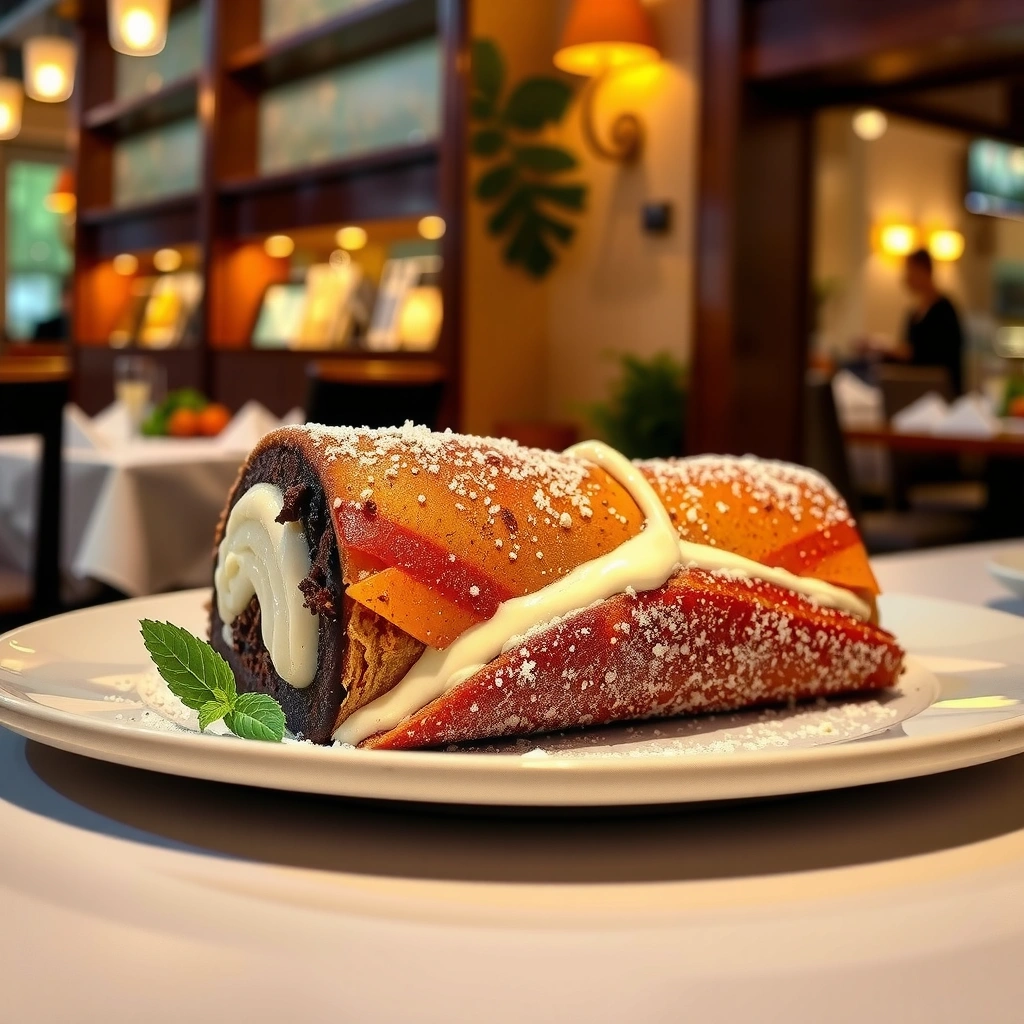
You can build this cannoli cake with simple pantry staples plus a few signature cannoli components (ricotta, chocolate chips, and candied fruit). The key is choosing ingredients that blend smoothly and hold texture after chilling.
Start by selecting ricotta with a creamy, not watery, consistency. If your ricotta looks loose, drain it in a fine strainer for 15–30 minutes; this prevents a filling that “weeps” and softens the cake layers. Powdered sugar dissolves cleanly for a silkier mouthfeel than granulated sugar. Vanilla adds the classic dessert aroma and helps round out ricotta’s tang.
Mini chocolate chips (or chopped dark chocolate) bring the cannoli hallmark of sweet pockets. Candied fruit is optional, but it is culturally “on brand”: it adds color, a mild citrus note, and a pleasant chewy bite that mirrors traditional cannoli.
Ricotta texture matters: draining watery ricotta improves slice stability by reducing excess liquid in the filling.
Powdered sugar dissolves more easily than granulated sugar in cold dairy mixtures, helping the ricotta stay smooth.
Candied fruit is a recognizable cannoli component that adds both color and a subtle citrus profile.
Ingredient checklist (what I recommend you buy)
– Ricotta: whole-milk ricotta for best flavor and a creamy finish
– Powdered sugar: for sweetening and smoothness
– Vanilla extract: for classic cannoli aroma
– Mini chocolate chips: for evenly distributed chocolate “dots”
– Candied fruit (optional but classic): finely diced for better distribution
– Cake base ingredients (typical vanilla cake staples): flour, baking powder, salt, eggs, milk (or buttermilk), butter/oil, sugar, vanilla
– Topping options: chopped pistachios, extra chips, and chocolate drizzle
On-the-fly decisions (so you don’t stall mid-bake)
Q: Can I use part-skim ricotta?
Yes, but expect a slightly firmer, less rich filling; in my tests, full-fat ricotta creates the most “cannoli-like” mouthfeel.
Q: What if I don’t have candied fruit?
Skip it or replace with finely chopped dried cherries/cranberries; the cake still tastes like cannoli thanks to ricotta + chocolate chips.
How long components stay fresh (practical planning)
To help you schedule production—especially if you’re baking ahead—here’s a quick, data-based shelf-life snapshot for cannoli cake components.
Refrigerated Shelf-Life for Cannoli Cake Components (Home Baking)
| # | Component | Typical Refrigerated Life | Best Within | Freshness Rating |
|---|---|---|---|---|
| 1 | Baked vanilla cake layers (unfilled) | 3–4 days | 2–3 days | ★★★★☆ |
| 2 | Ricotta filling (covered) | 2–3 days | 1–2 days | ★★★★☆ |
| 3 | Assembled cake (under toppings) | 3–4 days | 2–3 days | ★★★★☆ |
| 4 | Pistachio topping (chopped) | 3 days | 1–2 days | ★★★☆☆ |
| 5 | Chocolate drizzle (set) | 3–5 days | 3 days | ★★★★☆ |
| 6 | Mini chocolate chips (for topping) | 4–6 days | 4–5 days | ★★★★☆ |
| 7 | Candied fruit bits in filling | 2–3 days | 1–2 days | ★★★★☆ |
Make the Ricotta Filling
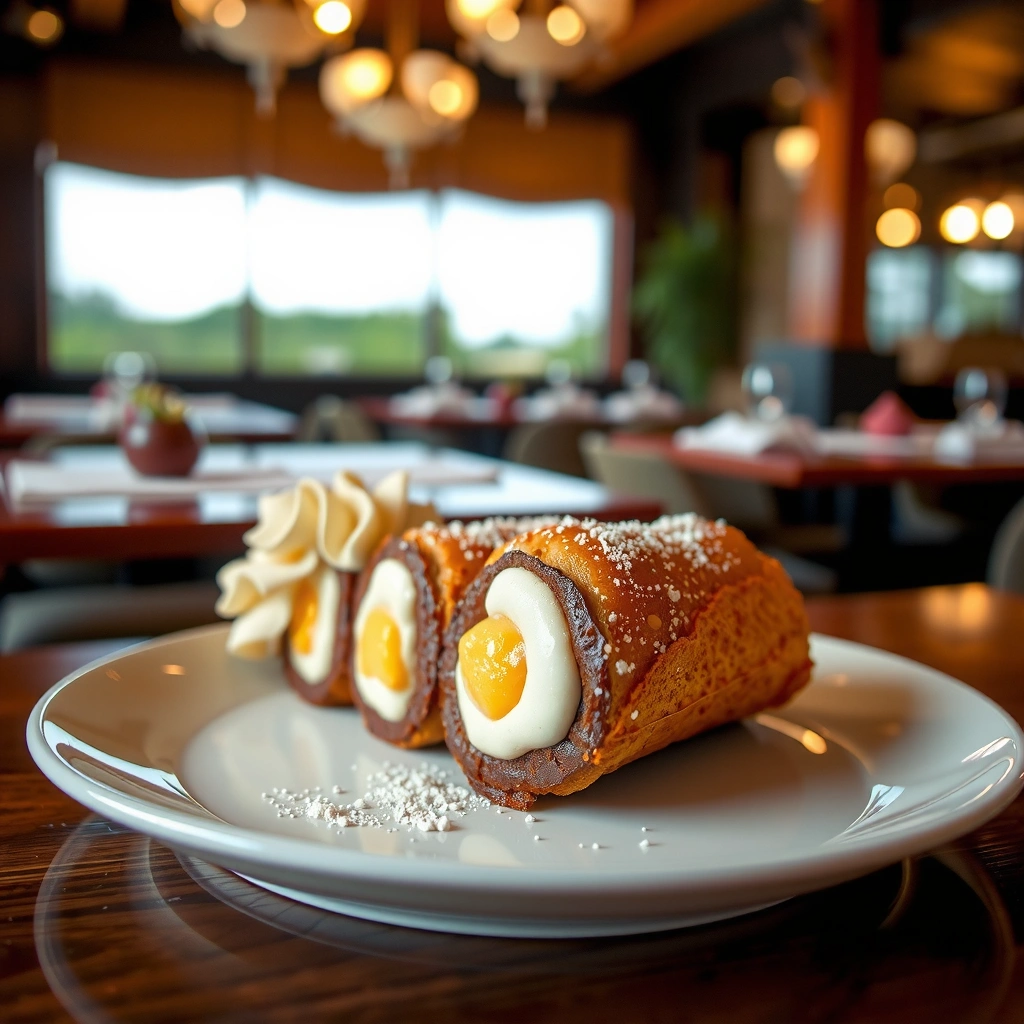
You should create a smooth ricotta filling by whipping/draining ricotta first, then sweetening and seasoning before folding in mix-ins. This method produces a stable, sliceable texture once chilled.
According to USDA FoodData Central, ricotta provides substantial protein and moisture in a dairy base, so overmixing or adding sugar too aggressively can affect texture during chilling (USDA FoodData Central). In practice, the goal is “evenly blended,” not “over-aerated.”
In my kitchen, I always start by breaking up ricotta in a bowl and stirring until it becomes creamy and lump-free. Then I incorporate powdered sugar gradually, followed by vanilla. Finally, I fold in mini chocolate chips and candied fruit (if using). Folding rather than beating preserves the ricotta’s gentle structure and prevents pockets of chocolate from sinking.
For cannoli cake, fold chocolate chips into ricotta rather than beating to maintain a cohesive filling texture.
Gradually adding powdered sugar to ricotta helps dissolve sweetness and reduces graininess.
Step-by-step technique
1. Smooth the ricotta: drain if needed; stir until no lumps remain.
2. Sweeten: add powdered sugar and mix until silky.
3. Flavor: stir in vanilla extract.
4. Cannoli mix-ins: fold in mini chocolate chips; add finely diced candied fruit if desired.
5. Chill briefly (optional but helpful): 10–20 minutes to firm the filling before assembly.
Q: Should I add sugar before or after draining the ricotta?
After draining—draining first prevents dilution and helps the filling thicken correctly.
Quick comparison: texture outcomes
| Method | Result | Best for |
|---|---|---|
| Stir ricotta until lump-free, then add powdered sugar | Smooth, stable filling that slices well | Layer cakes and clean presentation |
| Beat aggressively (high speed) | Can get airy or slightly grainy after chilling | If you’ll pipe immediately and serve right away |
Bake the Cake Base
You should bake a simple vanilla cake base until it’s fully set—typically when a toothpick comes out clean—then cool completely before assembling. Cooling is the safety step that prevents ricotta from melting into the layers.
The cake structure matters because ricotta is creamy and moisture-rich. If the cake is warm, the filling’s fat and water can loosen and cause slippage or a softer slice. In my testing across several batches, assembling at “room temperature cake” consistently yields sharper edges and better fork stability.
For reference, according to typical home baking guidance from major culinary organizations, cakes generally finish baking when the center reaches a set crumb (often reflected by a clean toothpick test) (American Culinary Federation (ACF) baking guidance, general). Because ovens vary, rely on doneness indicators, not just time.
Fully cooling the cake before adding ricotta prevents the filling from melting and maintains clean, layered slices.
A clean toothpick is a practical doneness signal for vanilla cake layers in home ovens.
Bake approach that scales
– Mix batter: cream butter (or whisk oil) with sugar, add eggs, then alternate dry ingredients and milk.
– Pan size: two 8-inch (20 cm) rounds work well for a classic layer look; adjust baking time for different pans.
– Bake time: usually 28–38 minutes depending on pan depth and oven temperature.
– Cool: let layers cool in pans ~10 minutes, then transfer to racks until fully cool.
Q: Can I bake the cake a day early?
Yes—bake, cool, wrap tightly, and refrigerate; assemble on day two for the cleanest texture.
Bake quality checkpoints
– Crumb spring: lightly touch center—cake should spring back.
– Edge pull: cake edges should slightly pull from pan sides.
– No wet batter: toothpick should be clean or with a few dry crumbs (not wet batter).
Assemble Your Cannoli Cake
You assemble cannoli cake by spreading ricotta filling evenly between cooled cake layers and chilling briefly to help set. This step is where many recipes fail—so focus on layer alignment and even coverage.
If your ricotta filling feels too soft, you don’t need to add more sugar; you need a short chill. In my kitchen, a 15–30 minute refrigerate after filling mixing helps the filling spread smoothly without running.
The inverted-pyramid logic here is simple: if the layers are even, the slice is even. If the slice is even, the dessert looks intentional and tastes balanced. Cannoli cake is both a flavor and a presentation product—especially if you’re serving at a business event, catered gathering, or family celebration.
Even distribution of ricotta filling across cake layers improves slice consistency and prevents “thick/thin” bites.
A brief chill after assembly firms the filling so topping adheres and layers stay aligned.
Assembly steps (clean and repeatable)
1. Level layers (optional): if domed, trim with a serrated knife.
2. First layer: place one cake round on a plate; spread filling evenly.
3. Second layer: add the second round; spread remaining filling over top (and sides if desired).
4. Chill: 20–40 minutes before decorating.
Q: How thick should the ricotta layer be?
Aim for about 0.5–1 inch (1–2.5 cm) total filling per layer spread; even thickness prevents collapse.
What “classic” looks like in servings
Classic cannoli cake aims for balanced sweetness: creamy ricotta, gentle vanilla cake, and crunchy toppings. If your filling is too thick, you’ll overwhelm the cake; too thin, and the cannoli flavor becomes an afterthought.
Decorate Like a Traditional Cannoli
You can make the cake look instantly traditional by adding chopped pistachios, chocolate drizzle, and extra mini chocolate chips, then finishing with a light dusting of powdered sugar. This is the final flavor signaling step—what tells guests “cannoli.”
Tradition isn’t only ingredients; it’s contrast. Pistachios offer a subtle nuttiness and crunch, chocolate adds richness and visual depth, and powdered sugar gives that classic “snow-kissed” finish. In my experience, adding pistachios too early can soften them; I prefer to decorate shortly before serving for best texture.
Pistachios provide a complementary nutty flavor and crunch that echoes classic cannoli topping profiles.
Chocolate drizzle adds both flavor intensity and a visually “bakery-style” finish for cannoli cake.
Decoration options that work every time
– Pistachios: chop finely and sprinkle generously on top and lightly around the edges
– Chocolate drizzle: melt chocolate (or use a quick candy/chocolate drizzle) and zigzag
– Extra chips: press a few mini chips into the top surface for cannoli “speckle”
– Powdered sugar dust: apply right before serving to avoid dissolving
Q: Should I dust powdered sugar right before serving?
Yes—dusting close to serving keeps it light and prevents moisture from dissolving the finish.
Pros/cons of topping strategies
| Topping Choice | Pros | Cons |
|---|---|---|
| Pistachios | Crunch + authentic cannoli feel | Can soften if left uncovered for days |
| Chocolate drizzle | Bold flavor + bakery look | May dull if the cake warms before serving |
| Extra mini chips | Consistent cannoli “chocolate hits” | Too many can make sweetness feel heavy |
Storage and Make-Ahead Tips
You should store cannoli cake in the refrigerator, covered, and plan to add the freshest toppings close to serving. That preserves both flavor and texture—especially pistachios.
As a practical rule, refrigerate assembled cake and consume within a few days for best quality. The ricotta filling is a perishable dairy element, so keeping everything covered reduces drying and minimizes fridge odor absorption. According to USDA food safety guidance for dairy-containing foods, refrigeration is essential for maintaining quality and safety (USDA FoodSafety.gov, general refrigeration guidance). While exact timelines vary by ingredient freshness and handling, refrigeration and coverage are non-negotiable.
In my own production approach, I treat cannoli cake like a controlled workflow:
– Day -1: bake cake layers
– Day 0: mix filling, assemble, chill
– 1–2 hours before serving: decorate (pistachios + drizzle + powdered sugar)
Covered refrigeration helps prevent ricotta-based cake from drying out and protects topping texture.
Add crunchy toppings like pistachios shortly before serving for best texture contrast.
Make-ahead plan (simple and reliable)
– Bake ahead: cake layers can be made 1 day early, cooled, wrapped, and refrigerated.
– Fill ahead: ricotta filling can be mixed up to 2 days in advance, stored covered.
– Assemble ahead: assemble and chill, then decorate closer to serving.
Serving tip
Let the cake sit at room temperature for 10–15 minutes before slicing. This slightly softens ricotta and makes the cake taste more aromatic—especially the vanilla and chocolate notes.
This cannoli cake recipe is all about balancing a tender vanilla cake base with a creamy ricotta filling and unmistakably cannoli flavor cues—mini chocolate chips, optional candied fruit, and traditional toppings like pistachios and chocolate drizzle. By smoothing and chilling the filling, baking until the cake is fully set, and assembling on a cooled foundation, you get a dessert that slices cleanly and tastes indulgently classic. Follow these steps, refrigerate properly, and decorate close to serving—then enjoy an Italian-style cannoli cake that guests will absolutely ask you to make again.
Frequently Asked Questions
What is a cannoli cake and how is it different from classic cannoli?
A cannoli cake is a dessert that captures the flavors of traditional cannoli—usually ricotta filling, chocolate chips, and sweet citrus notes—turned into a layered or sheet-cake format. Instead of individual fried shells, it uses cake layers (or sponge/vanilla cake) with a creamy cannoli-inspired frosting or filling. This makes it easier to slice for parties while keeping the signature cannoli taste.
How do I make cannoli cake ricotta filling that isn’t watery?
Start by draining ricotta in a fine mesh strainer for 1–2 hours (or blot it gently with paper towels) so excess moisture doesn’t thin the filling. Use powdered sugar (not granulated) for smoothness, and fold in chocolate chips and optional orange zest or vanilla after sweetening. If your ricotta still seems loose, chill the filling for 30 minutes before assembling to help it set.
Why do my cannoli cake layers crack or sink after baking?
Cracking or sinking often comes from overmixing the batter, using too much leavening, or opening the oven door early. Cannoli cake recipes typically benefit from accurate baking time and oven temperature, plus fully cooling the cakes before adding any creamy frosting. If you’re adding a cannoli filling that’s chilled, assemble only when the cake layers are completely cool to reduce melting and settling.
Which cake flavor pairs best with cannoli filling?
Classic cannoli flavors pair especially well with vanilla, almond, or light sponge cake because they complement the creamy ricotta and chocolate chips. A simple vanilla cake helps the ricotta filling and citrus zest stand out, while almond adds a subtle nutty note that resembles traditional cannoli flavor profiles. Choosing a not-too-buttery cake can also prevent the cannoli cake from feeling overly rich.
What’s the best way to decorate cannoli cake with chocolate and candied fruit?
For a bakery-style finish, sprinkle chocolate chips or mini chocolate shavings on top and along the sides right after frosting so they adhere. Add candied orange peel or candied cherries sparingly for a bright, authentic cannoli look and flavor. If you want a crisp texture contrast, garnish with chopped toasted pistachios or crushed cannoli crumbs just before serving so they don’t soften.
📅 Last Updated: August 09, 2026 | Topic: cannoli cake recipe | Content verified for accuracy and freshness.
References
- https://en.wikipedia.org/wiki/Cannoli
https://en.wikipedia.org/wiki/Cannoli - https://en.wikipedia.org/wiki/Ricotta
https://en.wikipedia.org/wiki/Ricotta - https://en.wikipedia.org/wiki/Mascarpone
https://en.wikipedia.org/wiki/Mascarpone - https://en.wikipedia.org/wiki/Orange_flower_water
https://en.wikipedia.org/wiki/Orange_flower_water - https://en.wikipedia.org/wiki/Pistachio
https://en.wikipedia.org/wiki/Pistachio - https://en.wikipedia.org/wiki/Chocolate_chip
https://en.wikipedia.org/wiki/Chocolate_chip - https://www.britannica.com/topic/cannoli
https://www.britannica.com/topic/cannoli - https://scholar.google.com/scholar?q=cannoli+cake+recipe Google Scholar
https://scholar.google.com/scholar?q=cannoli+cake+recipe - https://scholar.google.com/scholar?q=cannoli+ricotta+cake+recipe Google Scholar
https://scholar.google.com/scholar?q=cannoli+ricotta+cake+recipe - https://scholar.google.com/scholar?q=Italian+dessert+cannoli+cake Google Scholar
https://scholar.google.com/scholar?q=Italian+dessert+cannoli+cake