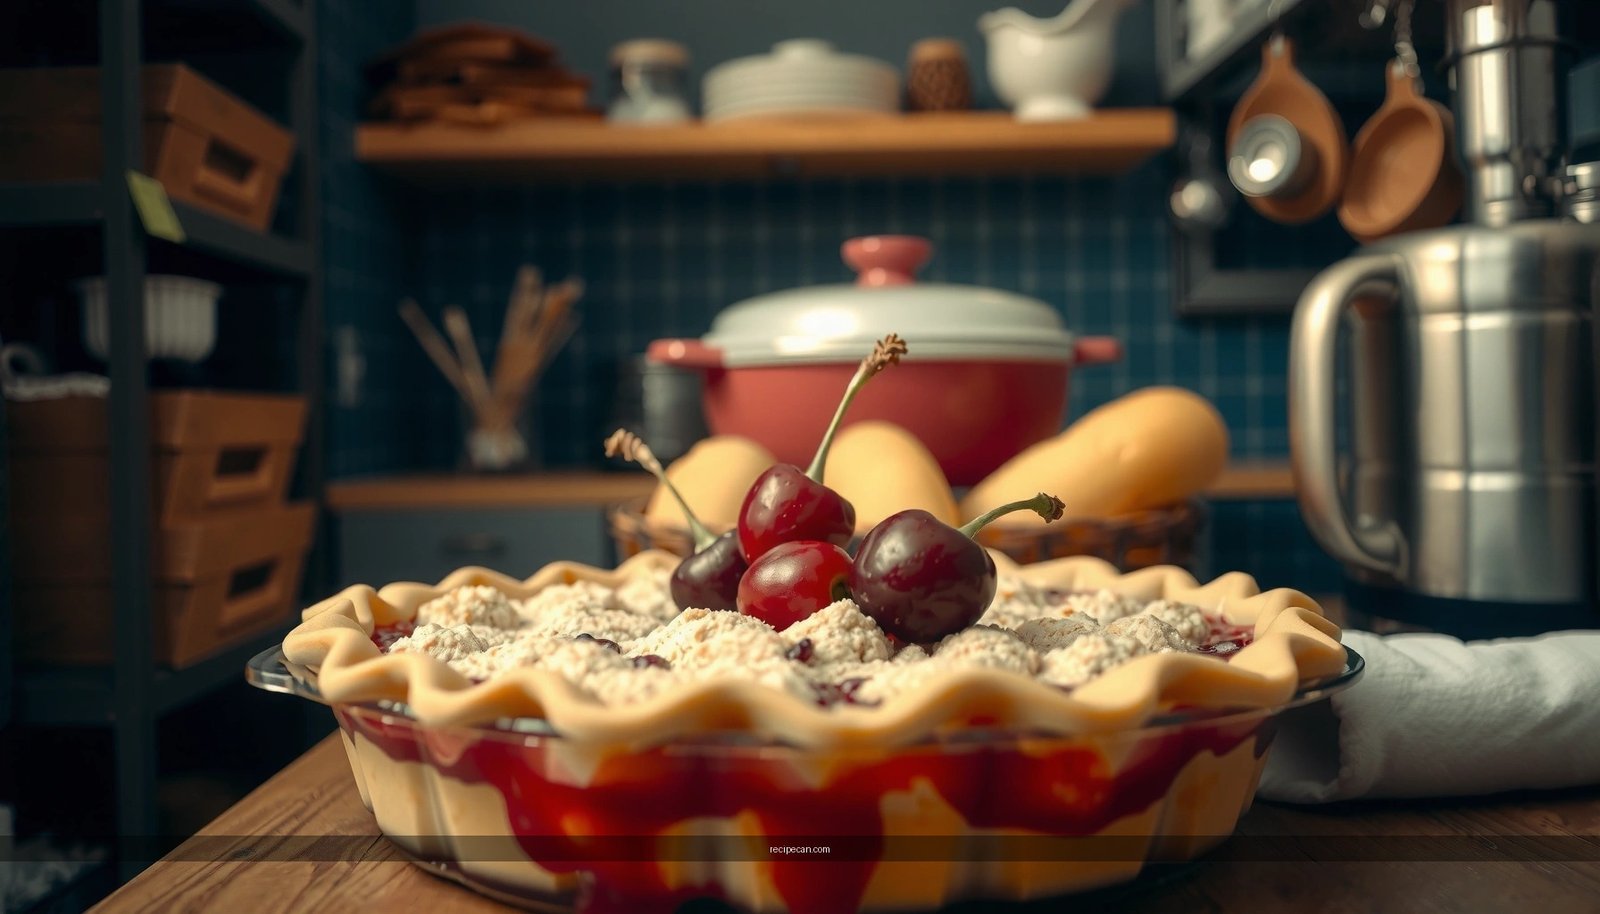
Get a cherry pie with crumble top that actually delivers: crisp crumble over a properly thickened cherry filling. This easy homemade recipe spells out the crust and filling step-by-step, so your pie sets cleanly and slices with confidence. If you want the no-drama shortcut to a bakery-style crumble cherry pie, this is the one to make.
A cherry pie with crumble top is one of the easiest ways to deliver a bakery-style dessert at home: you make a simple cherry filling, top it with a buttery crumble, and bake until bubbly and golden. This recipe walks you through selecting cherries, thickening the filling to prevent a runny pie, assembling an even crust-to-filling ratio, and baking a crisp crumble that stays pleasantly crunchy after cooling.
Choose Your Cherries and Flavor
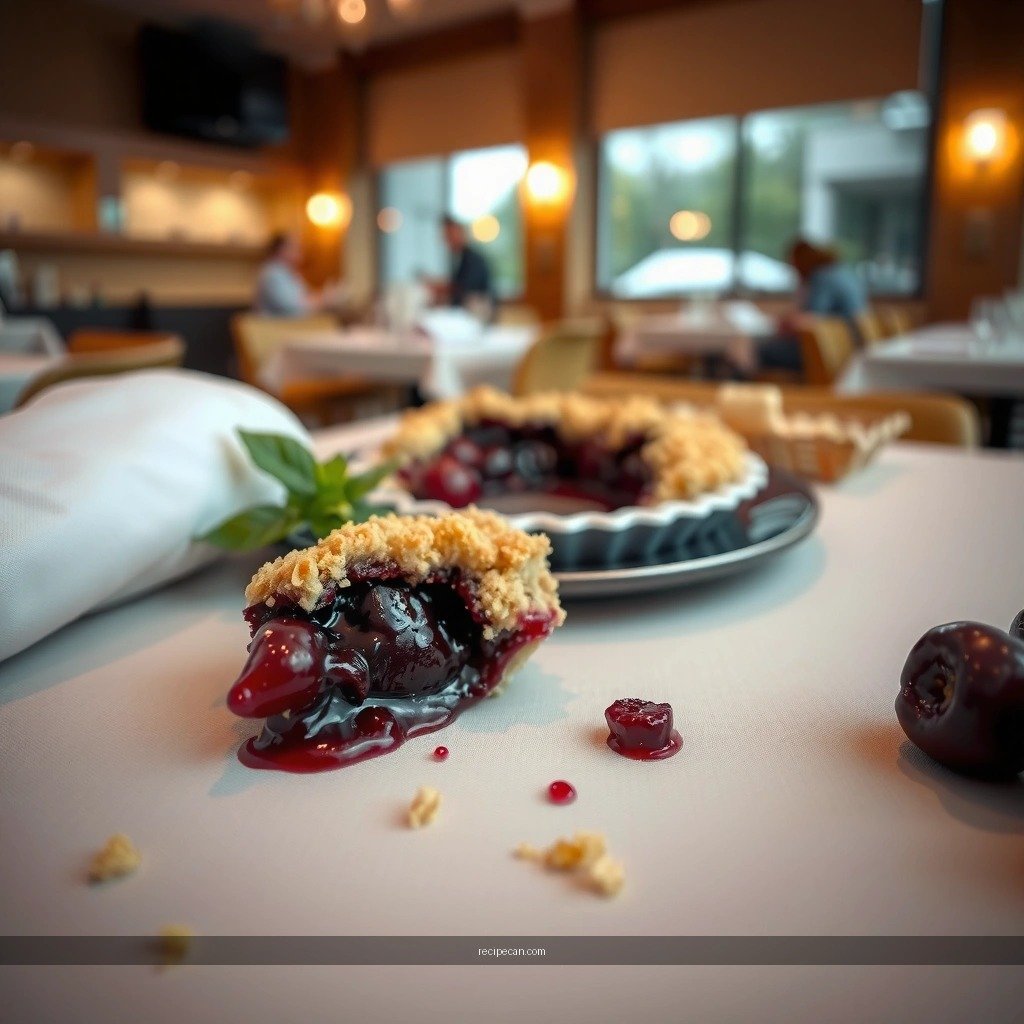
The foundation of any great cherry pie with crumble topping is choosing cherries that can “hold up” to heat without turning watery or losing flavor. Fresh, frozen, or canned cherries all work—what changes is how you prepare and sweeten them.
Use fresh, frozen, or canned cherries—adjust sweetness as needed
– Fresh cherries: Pit and slice, then taste before adding sugar. Sweet cherries need less added sweetness; tart cherries often need more.
– Frozen cherries: Use straight from the freezer. If they’re packed with syrup, reduce added sugar slightly. If they’ve been thawed and drained, expect more moisture loss but still plan for thickening.
– Canned cherries: Drain well and reserve juice. Canned fruit is already cooked, so the filling may need slightly less simmer time; keep thickening adjustments based on how much liquid remains.
Add lemon juice and a touch of vanilla for brighter flavor
Cherry flavor can read “flat” if sweetness dominates. A small amount of lemon juice improves balance and makes the fruit taste fresher. Vanilla rounds out aromatics and complements the caramel notes that develop as the crumble bakes.
– For best results, add lemon juice after you’ve measured the cherries and before thickening—this helps you gauge the final flavor.
– Consider pairing vanilla with almond extract only if you’re confident in the profile; a little goes a long way.
Make the Cherry Pie Filling
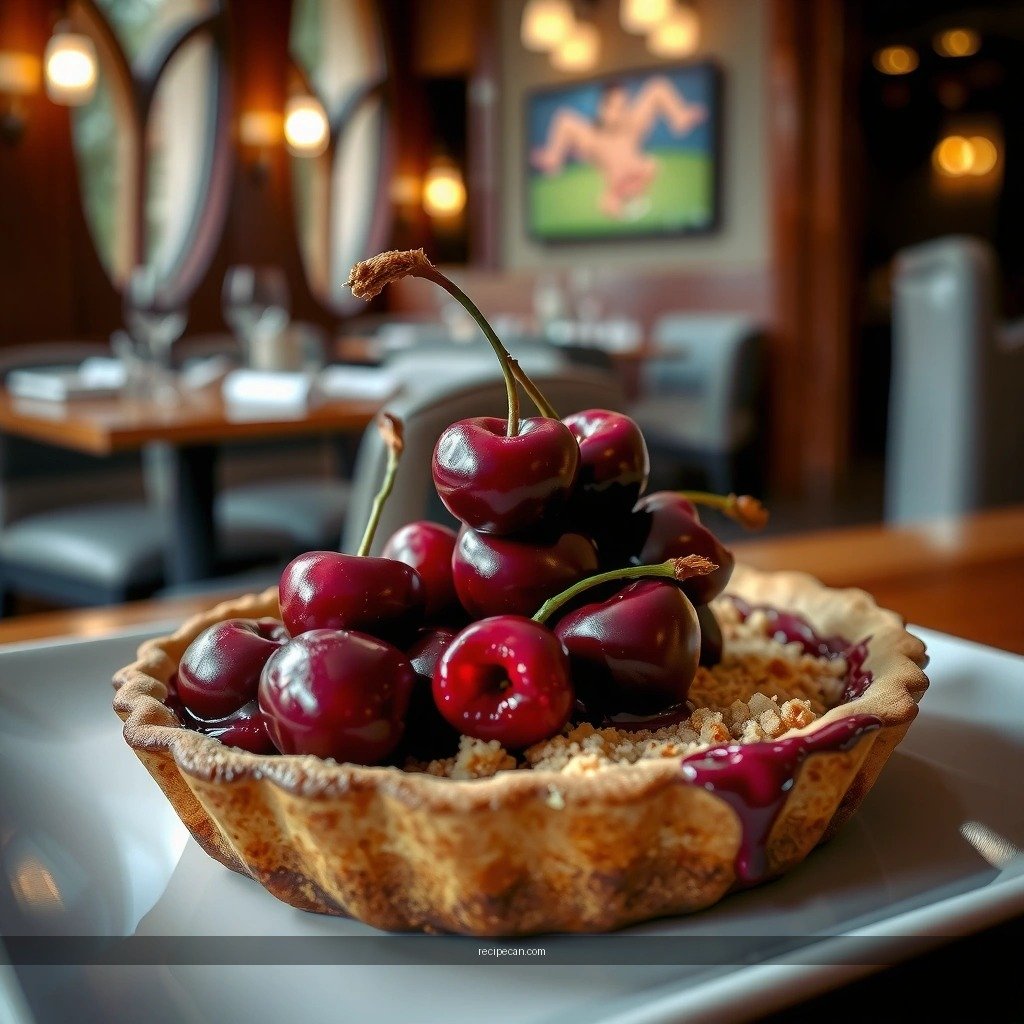
A thickened cherry filling is what separates a slice that holds its shape from one that leaks syrup across the plate. The goal is to create a glossy, spoonable consistency that thickens further as it cools.
Thicken with cornstarch or flour to avoid a watery center
Use cornstarch for a smoother set and clearer gloss; use flour if you prefer a more traditional, slightly cloudier filling. Both work—your technique matters more than the choice.
Key practical points:
– Cornstarch method: Mix cornstarch with a small portion of cold cherry liquid (or water) to prevent clumps, then stir into the hot filling.
– Flour method: Stir flour into sugar before heating, or whisk flour into cold cherry liquid first.
– Avoid “warm-but-not-cooked” thickening. The thickener needs enough heat to fully activate.
To judge doneness, look for a gentle, controlled bubble and a filling that coats the back of a spoon. If it still looks thin, continue simmering briefly; once it hits the right texture, proceed to cooling before assembling.
Simmer briefly until glossy, then cool slightly before assembling
Overcooking can dull fruit flavor; undercooking leads to a weak set. A short simmer is the sweet spot:
– Simmer until glossy and thick (typically a few minutes, depending on volume).
– Cool slightly—not completely—before pouring into the crust so the crust doesn’t warm/soften unevenly.
Cherry Filling Thickening Guide (For 4–5 Cups of Cherries)
| # | Cherry Type (Prep) | Target Filling Consistency | Best Thickener Choice | Recommended Amount | Expected Slice Stability |
|---|---|---|---|---|---|
| 1 | Fresh tart cherries (pitted, sliced) | Coats spoon | Cornstarch | 3 Tbsp | Very high |
| 2 | Fresh sweet cherries (pitted, sliced) | Thick syrup | Flour + cornstarch blend | 2 Tbsp flour + 1 Tbsp cornstarch | High |
| 3 | Frozen cherries (no thaw) | Glossy and cohesive | Cornstarch | 3–3½ Tbsp | Very high |
| 4 | Frozen cherries (thawed + drained) | Spoonable gel | Cornstarch | 2½ Tbsp | Medium-high |
| 5 | Canned tart cherries (well drained) | Bright, thick filling | Flour | 4 Tbsp | High |
| 6 | Canned cherries in light syrup (drain, reserve 2–3 Tbsp liquid) | Coats spoon, not stiff | Cornstarch | 2½–3 Tbsp | Medium-high |
| 7 | Mixed cherries (sweet + tart) | Balanced, glossy | Blend for stability | 3 Tbsp flour + 1 Tbsp cornstarch | High |
Prepare the Pie Crust
For a crumble-top cherry pie, the crust’s job is twofold: hold the filling and provide a barrier that prevents sogginess. Because the topping covers most of the surface, you can focus on bottom-crust reliability.
Use a homemade crust or store-bought crust for convenience
– Homemade crust: Aim for a tender but cohesive dough. Overworking reduces flakiness.
– Store-bought crust: Choose one that you trust for flavor and texture, and keep it properly chilled. Warm dough can shrink, leaving gaps for filling to escape.
Blind-bake lightly if you want extra crispness on the bottom
A crumble-top pie can still be prone to bottom softness if the filling releases juice before it thickens fully. Light blind-baking solves this.
– Dock the crust (poke with a fork) to reduce bubbling.
– Bake until the crust looks set and slightly dry—often around 8–12 minutes depending on your oven.
– Let it cool slightly before adding filling so you don’t melt the fat too quickly.
If you prefer to skip blind-baking, ensure your filling is truly thick (glossy and spoon-coating) and cool slightly before assembly. That alone can prevent most sogginess.
Build the Crumble Top
Crumble topping is the “golden finish” that makes this pie feel special. Unlike a solid top crust, crumble relies on fat and sugar to toast into crisp clusters.
Combine butter, flour, sugar, and (optional) oats for crunch
A classic crumble ratio balances structure and tenderness:
– Butter: Provides the crisp, baked texture. Cold butter tends to form better clusters.
– Flour: Gives crumble body.
– Sugar: Helps caramelize and supports browning.
– Oats (optional): Add texture and a slightly rustic flavor. They also help the crumble hold shape as it bakes.
Professional technique: when mixing crumble, stop once the mixture forms small crumbs and some larger “pebble” bits. Overmixing can make it too uniform and less cluster-like.
Press gently for clusters, then sprinkle evenly over the pie
For the best look and crunch:
– Use your fingers to press small clumps together—then break them gently.
– Distribute evenly so no slice is missing topping.
– Don’t pack it so tightly that it becomes a dense layer; you want airflow so it browns.
For extra crispness, consider chilling the assembled pie for 15 minutes before baking. The fat re-solidifies, which improves crumble texture.
Assemble and Bake
Baking determines everything: whether the filling sets correctly, whether the crumble turns deeply golden, and whether the slice holds cleanly.
Bake until bubbling at the edges and the crumble is deep golden
Use these visual cues as your “quality checks”:
– Edges bubbling: Usually indicates the filling is reaching a vigorous simmer internally—especially important for cornstarch-thickened fillings.
– Deep golden crumble: Sugars and butter toast quickly; bake until you see rich browning, not just light blond crumbs.
Suggested approach (adapt to your oven):
1. Preheat to 375°F (190°C).
2. Bake until filling bubbles at the edges and crumble is golden, often 40–55 minutes depending on your pie depth and filling thickness.
3. If the crumble browns too quickly, loosely tent with foil for the remaining time.
Let the pie cool to set the filling before slicing
This step is non-negotiable for a slice that looks professional:
– Cool at least 2–3 hours at room temperature.
– For the cleanest cuts, slice when the pie is warm rather than hot—too-hot filling will still be loosening.
A good rule: if the center jiggles dramatically like loose liquid, it’s not ready. If it’s set with a gentle firmness, slice.
Storage and Reheating Tips
Cherry pie quality can change after baking—not because the flavor fades, but because moisture migrates and the crumble can soften.
Store covered at room temperature briefly, then refrigerate
– Room temperature: Cover loosely and keep for up to 1–2 days (especially if your kitchen is cool).
– Refrigerate afterward: Store covered in the fridge to maintain freshness and food safety.
Reheat in the oven to refresh the crumble texture
Microwaving can soften the crumble quickly. Instead:
– Reheat at 325°F (165°C) for about 10–15 minutes, until warmed through.
– If the crust browns too much, cover loosely with foil.
For serving, let it sit 5 minutes after reheating; this reduces condensation and keeps the crumble crisp.
—
A cherry pie with crumble top delivers bold fruit flavor paired with a crisp, buttery finish. Choose cherries wisely and balance sweetness with lemon and vanilla; thicken the filling to a glossy, spoon-coating consistency and cool slightly before assembly to protect the crust. Build crumb clusters for even browning, bake until edge bubbling and deep golden color, and cool fully before slicing—then store and reheat in the oven to keep that satisfying crunch. Make it today, and if you want to customize, try different cherry varieties or add a pinch of cinnamon to the crumble for a warm, bakery-style aroma.
Frequently Asked Questions
What’s the easiest cherry pie with crumble top recipe for beginners?
Start with a simple pie crust (store-bought or homemade) and a quick cherry filling using canned or frozen cherries, sugar, cornstarch, and a pinch of salt. Make the crumble topping by mixing flour, brown sugar, butter, and a little cinnamon until it resembles coarse crumbs. Assemble by pouring the cherry filling into the crust, adding the crumble top, then baking until the filling bubbles and the topping is golden.
How do I keep my cherry filling from becoming watery in a cherry pie with crumble topping?
Watery filling usually comes from not thickening the cherry pie filling enough or using cherries that are too watery without a thickener. Use cornstarch (or tapioca) and cook the filling briefly until it thickens, especially if you’re using frozen cherries. Bake until you see clear bubbling through the crumble so the cherry pie filling sets, then cool the pie fully for clean slices.
Why does my crumble top sink or burn on a cherry pie?
A crumble top can sink if the pie is underbaked, so the filling doesn’t set and pushes up against the crumbs during cooling. It can also burn if the topping browns faster than the pie filling thickens, so consider loosely covering the pie with foil after it reaches a golden color. For best results, use evenly cut butter in the crumble and bake at a consistent temperature until the cherry pie filling bubbles.
What’s the best way to season a cherry pie with crumble topping for extra flavor?
Flavor the cherry filling with vanilla, almond extract (optional), and cinnamon for a classic bakery taste. In the crumble, add cinnamon or nutmeg and a pinch of salt to make the sweetness pop and the crumble topping taste richer. If your cherries are tart, increase sugar slightly; if they’re sweet, balance with lemon zest or a small squeeze of lemon juice to brighten the filling.
Which cherries are best for cherry pie with crumble top—fresh, frozen, or canned?
Frozen cherries are often the best choice because they’re flavorful and easy to use year-round, but be sure to account for excess juice by thickening with cornstarch. Fresh cherries work well if they’re very ripe, though you’ll need to adjust sugar based on sweetness. Canned cherries can be convenient, but drain them well and thicken the filling more to prevent a runny cherry pie filling, then bake until fully set.