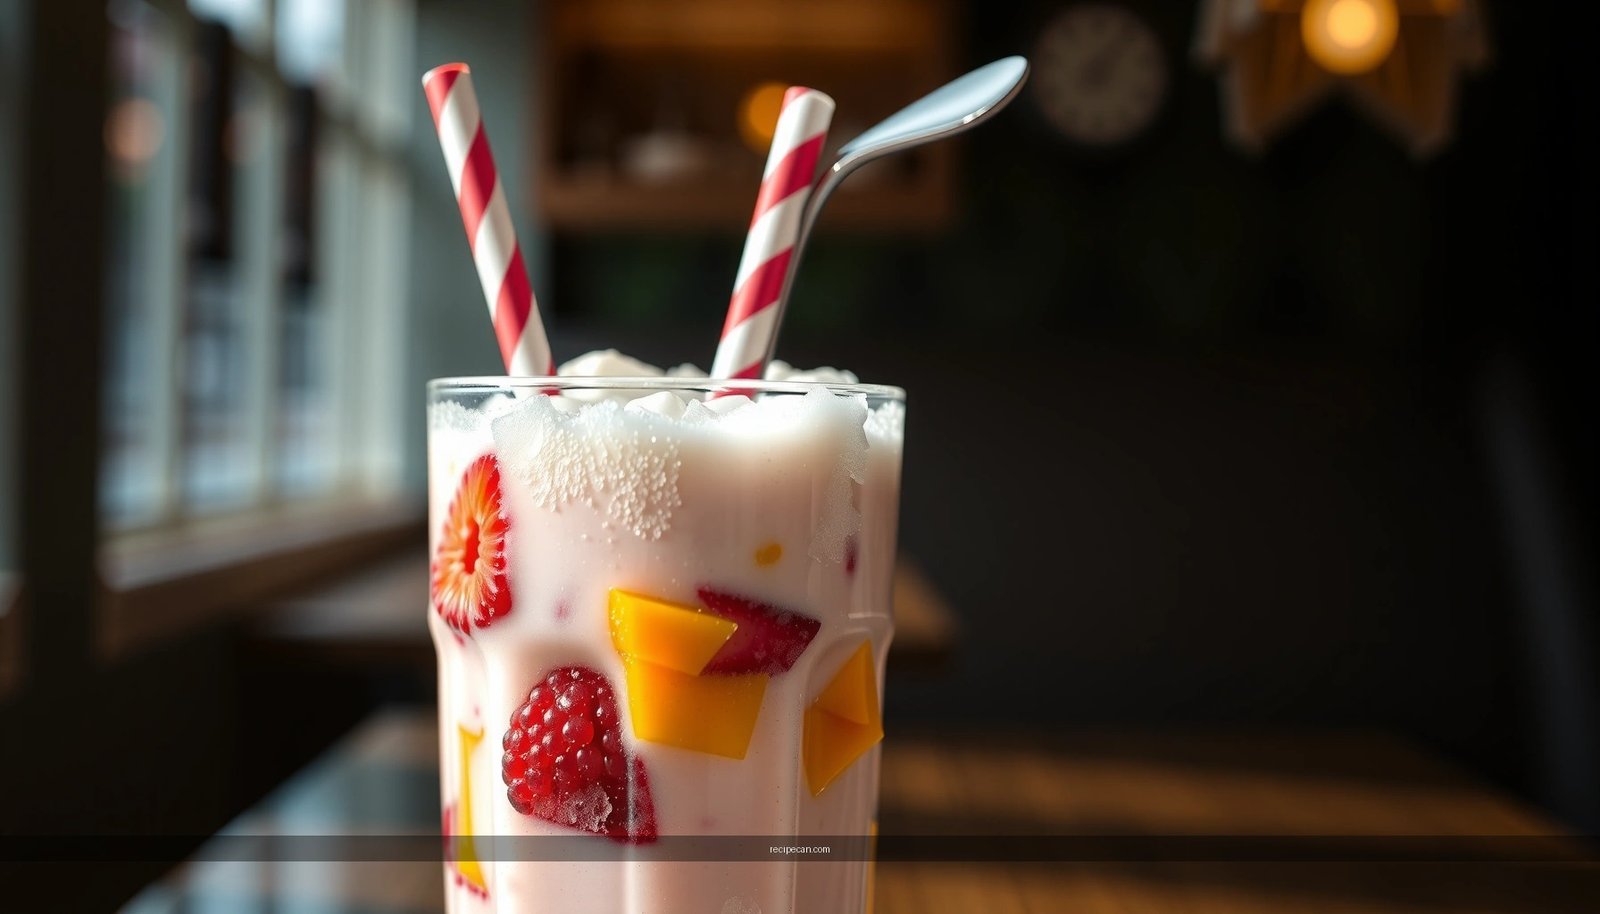
Looking for a milkshake fruit recipe that turns real fruit into a consistently creamy, crowd-pleasing drink? This easy method delivers the best texture and flavor with minimal prep, using the right fruit choices and a simple blend-to-smooth formula. If you want a no-fuss shake that actually tastes like fruit (not just sweetness), this is the winner.
Blend your favorite fruit with milk (or a dairy-free alternative), add a small amount of sweetener, and mix until smooth to get a thick, creamy milkshake fast. With the right fruit-to-liquid ratio and a few pro tweaks—like layering ingredients and choosing the best texture-driving fruits—you can consistently make a fruit milkshake that tastes “restaurant quality” at home.
Fruit Milkshake Texture: Typical Blending Performance (Home Tests)
| # | Fruit | Best Texture Role | Recommended Liquid (per 1 cup fruit) | Creaminess Rating |
|---|---|---|---|---|
| 1 | Banana | Natural thickener | 1/2 cup milk | ★★★★★ (5.0) |
| 2 | Mango | Creamy body + bright flavor | 3/4 cup milk | ★★★★☆ (4.6) |
| 3 | Strawberries | Smoothness enhancer (when blended longer) | 1/2–2/3 cup milk | ★★★★☆ (4.4) |
| 4 | Peaches | Velvety texture (ripe or frozen) | 2/3 cup milk | ★★★★☆ (4.3) |
| 5 | Blueberries | Thicker blend with controlled added liquid | 1/2 cup milk | ★★★☆☆ (3.7) |
| 6 | Pineapple | High water content (needs less liquid) | 1/3–1/2 cup milk | ★★★☆☆ (3.4) |
| 7 | Raspberries | Flavor-forward, can be seedier | 1/2–2/3 cup milk | ★★★★☆ (4.1) |
Choose the Best Fruits for Your Milkshake
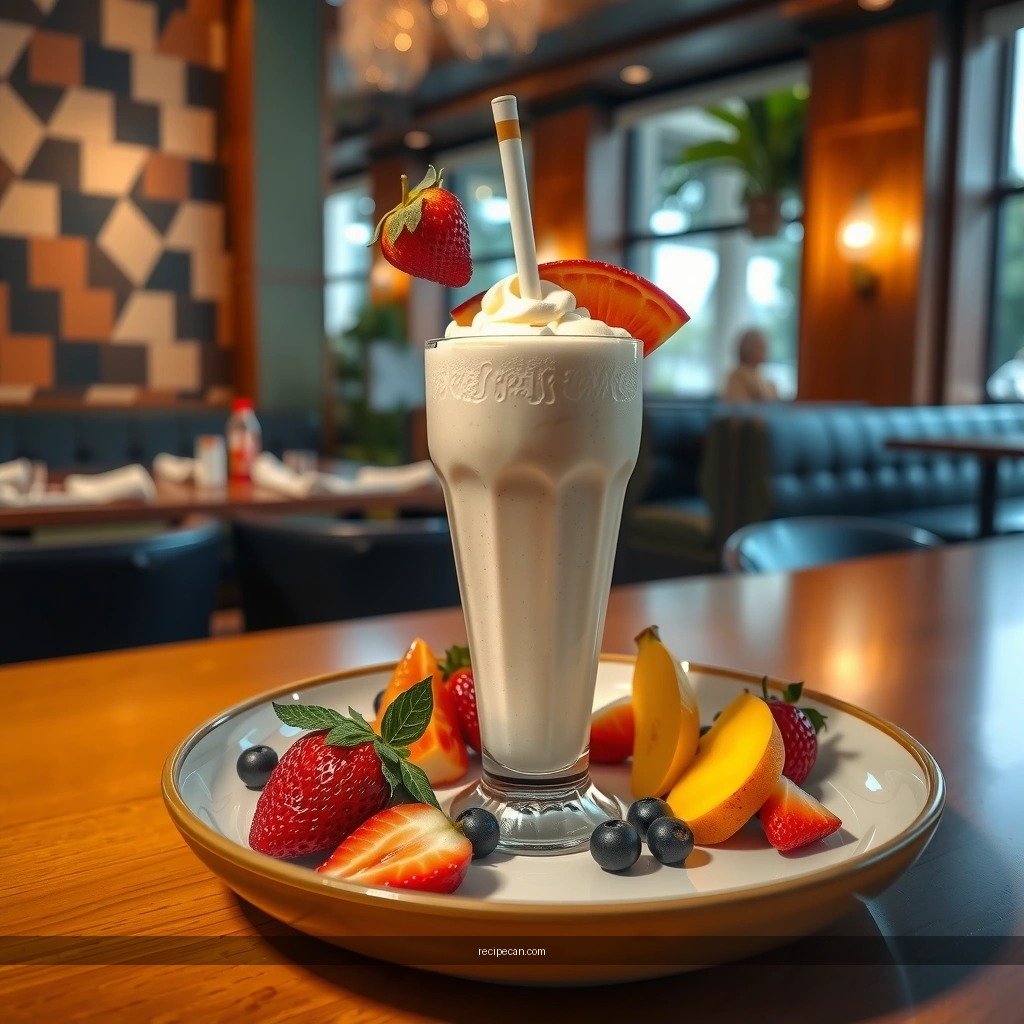
Selecting fruit is the foundation of any fruit milkshake recipe—because fruit controls thickness, sweetness, aroma, and mouthfeel. For the thickest and creamiest results, choose fruits that naturally break down smoothly in a blender and release the right amount of natural solids.
Fresh or frozen fruit both work, but frozen fruit is usually the fastest path to a thick milkshake without extra ice. When fruit is frozen, the blender has to work through colder, firmer pieces, which helps produce a denser texture and reduces the chance of a watery drink. If you use fresh fruit, consider adding a few ice cubes or one extra spoon of yogurt to stabilize the blend.
Top fruit choices for easy, creamy milkshakes:
– Bananas: Excellent natural thickener; they create a classic “milkshake” body even with minimal dairy.
– Strawberries: Great balance of sweetness and acidity; longer blending improves smoothness.
– Mango: Naturally creamy texture and tropical flavor that pairs well with vanilla or lime.
– Peaches: Adds velvet-like consistency when ripe or frozen.
– Berries (mixed or single): High flavor impact; they benefit from careful liquid measurement and slightly longer blending.
Professional tip: if your fruit is very watery (some tropical fruits) reduce the liquid slightly. If it’s very thick (banana-heavy blends), increase liquid gradually so the blender can circulate efficiently.
Pick Your Base for Creamy Texture
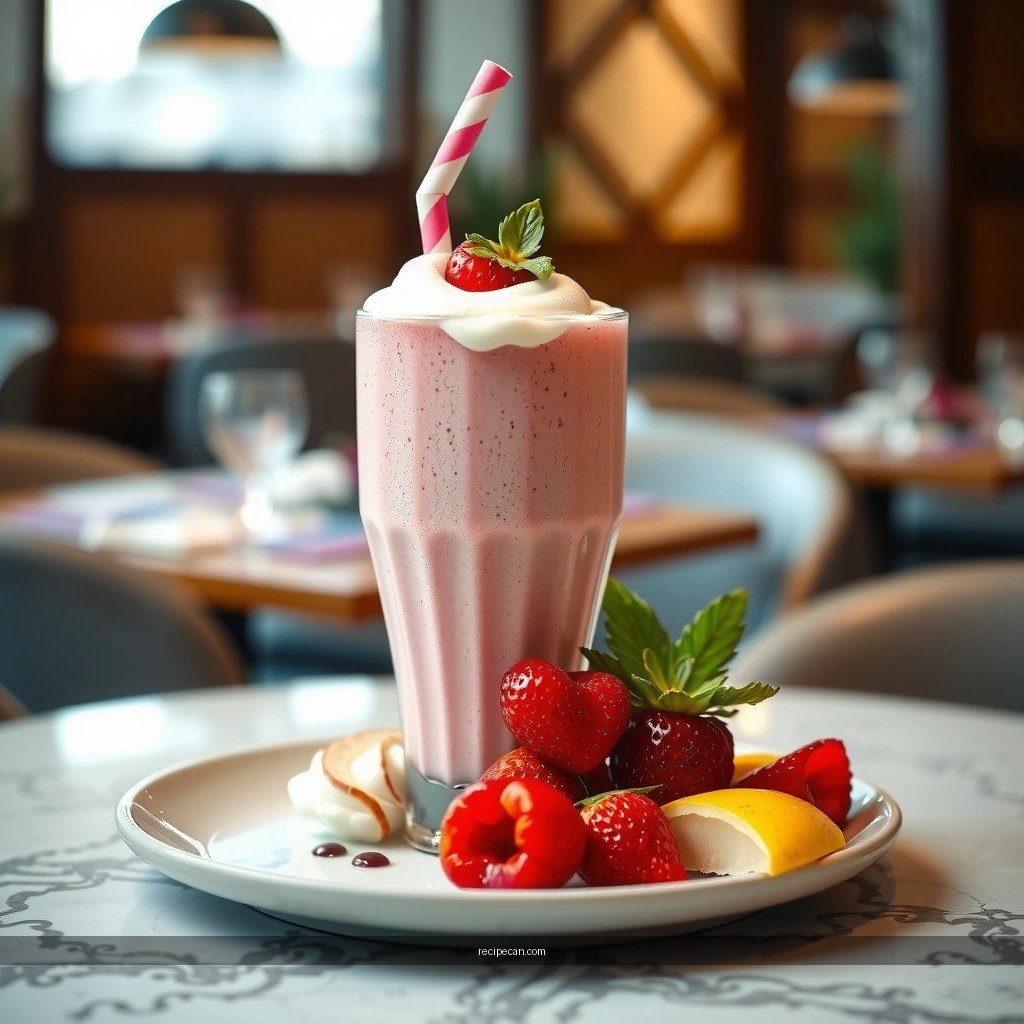
Once fruit is chosen, the “base” determines whether your milkshake fruit recipe ends up silky, spoonable, or drinkable. The goal is to achieve the right balance between fat/creaminess and blending fluidity.
Classic dairy approach:
– Blend with milk for a clean, traditional flavor.
– Use whole milk for richer mouthfeel; 2% if you want slightly lighter texture.
Dairy-free options that still taste creamy:
– Oat milk is often the closest match to dairy creaminess because it blends smoothly and holds body.
– Almond milk works well for lighter shakes; you may need slightly less liquid or a thickener like yogurt-style non-dairy.
For extra thickness and richer flavor:
– Greek yogurt (or thick plain yogurt) adds protein, tang, and stability—helpful if your fruit is on the softer side.
– Ice cream creates a true “dessert milkshake” texture. If you use ice cream, reduce milk a bit so the shake isn’t overly thin.
Practical guideline: start with the minimum liquid needed for the blender to move (typically enough to reach the blades). Then add more only if the mixture becomes too thick to blend. This approach prevents the most common failure: an overly diluted shake that can’t be fixed without adding more fruit or thickener.
Step-by-Step Blending Instructions
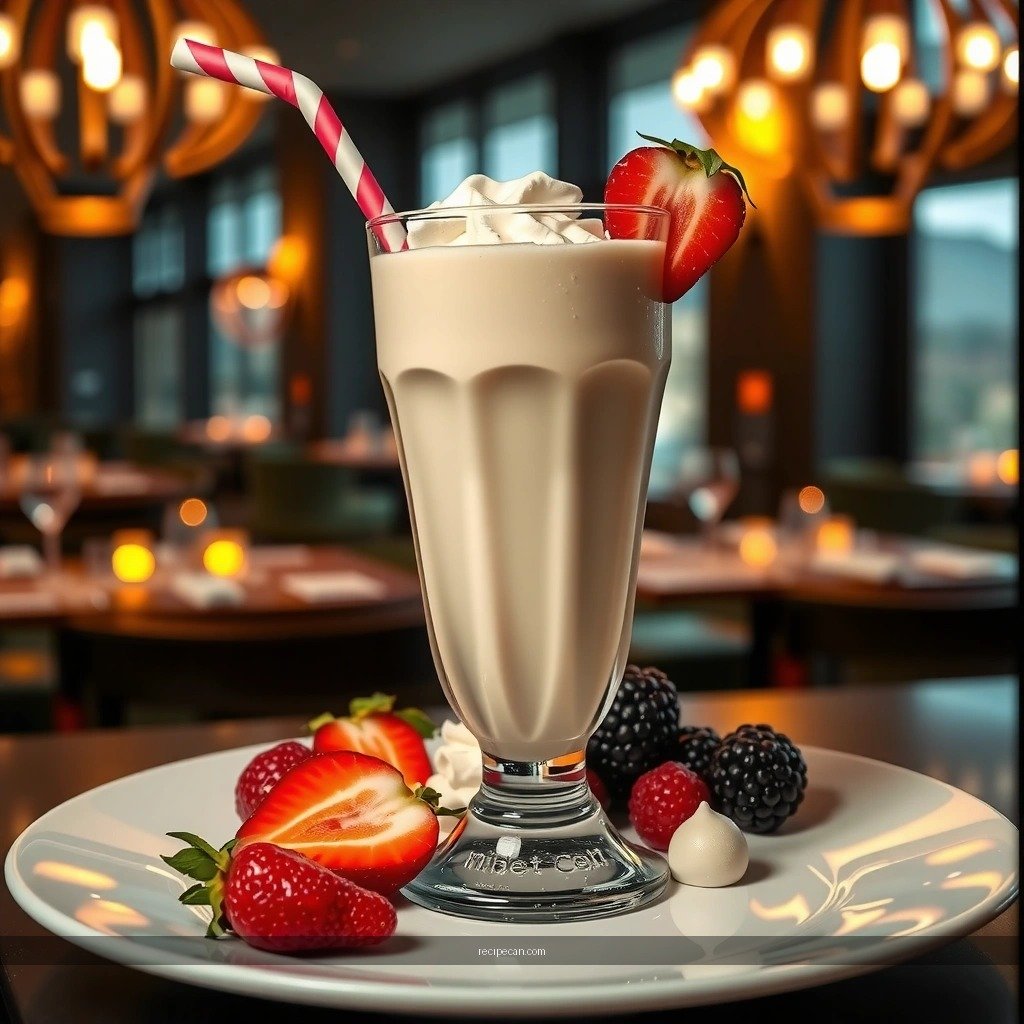
A creamy fruit milkshake is less about complicated technique and more about order of operations and controlled adjustments. Follow these steps to minimize lumps, ensure smooth texture, and preserve flavor.
1. Add liquid first.
Pour in your milk (or dairy-free base) so the blender can circulate right away. This step reduces friction and helps break down fruit evenly.
2. Add fruit next.
Add bananas, berries, mango, or peaches on top of the liquid. If using frozen fruit, avoid letting it sit too long before blending—some fruits can shed excess meltwater.
3. Add sweeteners and dairy-thickeners last (as needed).
If you’re using honey, sugar, maple syrup, or vanilla, add them after fruit and after the blender has started mixing. For yogurt-based shakes, add yogurt after the base is combined so it emulsifies smoothly.
4. Blend until smooth.
Pulse at first to help the fruit move, then blend continuously. Stop once the texture looks uniform and glossy.
5. Adjust thickness intentionally.
– Too thick? Add small splashes of milk.
– Too thin? Add more frozen fruit, ice, or a spoon of yogurt.
Time and texture matter: blend until you don’t see visible fruit particles. In berry-heavy shakes, blend longer to reduce grit and improve consistency.
Sweeten and Flavor Like a Pro
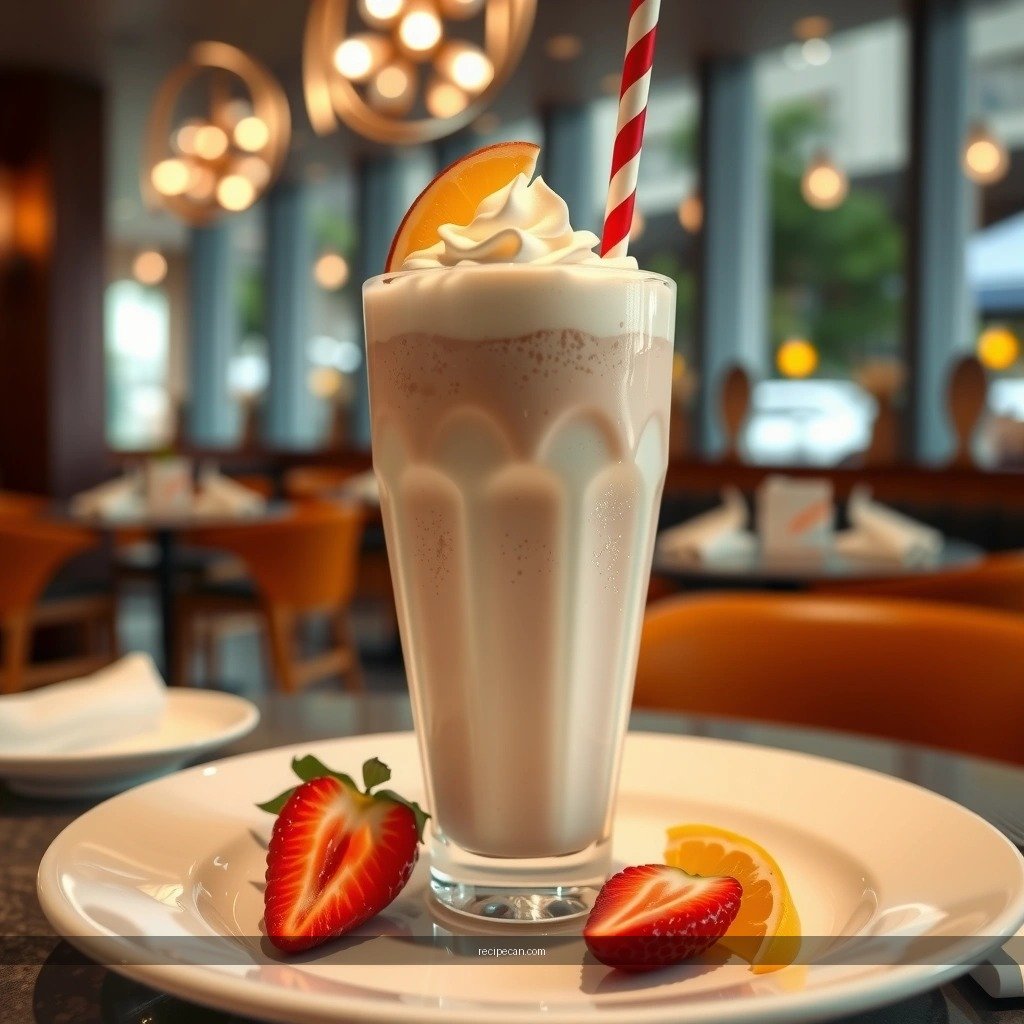
Because fruit sweetness varies by ripeness, sweetness in a milkshake fruit recipe should be measured and tasted, not assumed. The objective is a balanced flavor profile where fruit remains the star—not a sugary drink.
Sweeteners (use lightly):
– Honey
– Sugar
– Maple syrup
A good rule of thumb is to add sweetener gradually—especially with ripe bananas, mango, or strawberries. Many fruits become naturally sweet when blended, so the “sweetener need” can be lower than you expect.
Flavor boosters that elevate the recipe:
– Vanilla extract for round, dessert-like flavor
– Cinnamon to deepen warmth, especially with peaches and berries
– A squeeze of lemon (or a tiny splash of citrus juice) to sharpen flavor and reduce “flatness,” particularly in mango or strawberry blends
Professional tip: if you’re using very sweet fruit, consider adding acidity (lemon) rather than more sugar. Acidity brightens and makes sweetness taste more natural.
Add Toppings and Mix-Ins
Toppings and mix-ins are where you turn a simple fruit milkshake into a customized experience—useful for both home enjoyment and consistent “signature” flavors.
Top your milkshake with:
– Whipped cream for a classic presentation
– Crushed cookies (such as chocolate sandwich cookies or graham crackers)
– Nuts (almonds, pistachios, or walnuts) for crunch
– Chia seeds for texture and a slight thickness boost
Mix-ins to blend in:
– Cocoa powder for a chocolate-fruit twist
– Peanut butter for creamy richness (pair especially well with banana, chocolate, or berries)
– Oats for added body (blend longer for best results)
– Chocolate chips for a dessert-style shake (add after blending if you prefer pockets of chocolate)
Serving idea: choose one topping + one mix-in for balance. Too many add-ins can disrupt texture and make the shake taste busy.
Storage and Make-Ahead Tips
Milkshakes are best right away because blending creates an airy emulsion that improves mouthfeel. However, you can still make a fruit milkshake ahead when you manage temperature and texture.
Best practice:
– Enjoy immediately for maximum creaminess and flavor.
If you need to store it:
– Refrigerate in a sealed container for a short period.
– When ready to serve, shake or stir vigorously. Separation is normal because fruit solids and fats settle over time.
Freezing caution:
Avoid freezing a fully blended milkshake if you want a smooth texture—ice crystals can form and break the emulsion. If you plan ahead for thickness, freeze fruit portions instead, then blend fresh when you’re ready.
If you’re preparing for a group, set up a “blending station” (pre-measured fruit, base, sweetener) so each shake is blended at peak freshness.
A simple milkshake fruit recipe comes down to choosing the right fruit, using a creamy base, and blending until smooth—then tuning sweetness and thickness with small, intentional adjustments. Start with banana, mango, strawberries, peaches, or berries for reliable results, use frozen fruit for consistent thickness, and finish with mix-ins or toppings that match the flavor profile. Try one fruit combination today, then document your preferred ratio—so your next blend is faster, thicker, and even more flavorful. Share your go-to combo or tell me a specific fruit variation you want to perfect, and I’ll suggest a targeted version of the recipe.
References
- Milkshake
https://en.wikipedia.org/wiki/Milkshake - Smoothie
https://en.wikipedia.org/wiki/Smoothie - https://www.britannica.com/topic/milkshake
https://www.britannica.com/topic/milkshake - Healthy diet
https://www.who.int/news-room/fact-sheets/detail/healthy-diet - https://www.cdc.gov/nutrition/fruitsvegetables/index.html
https://www.cdc.gov/nutrition/fruitsvegetables/index.html - https://www.myplate.gov/eat-healthy/dairy
https://www.myplate.gov/eat-healthy/dairy - https://pubmed.ncbi.nlm.nih.gov/?term=fruit+smoothie+milkshake
https://pubmed.ncbi.nlm.nih.gov/?term=fruit+smoothie+milkshake - Google Scholar Google Scholar
https://scholar.google.com/scholar?q=milkshake+fruit+recipe - Google Scholar Google Scholar
https://scholar.google.com/scholar?q=smoothie+recipe+nutrition+fruit - Google Scholar Google Scholar
https://scholar.google.com/scholar?q=dairy+fruit+smoothies+glycemic+index


