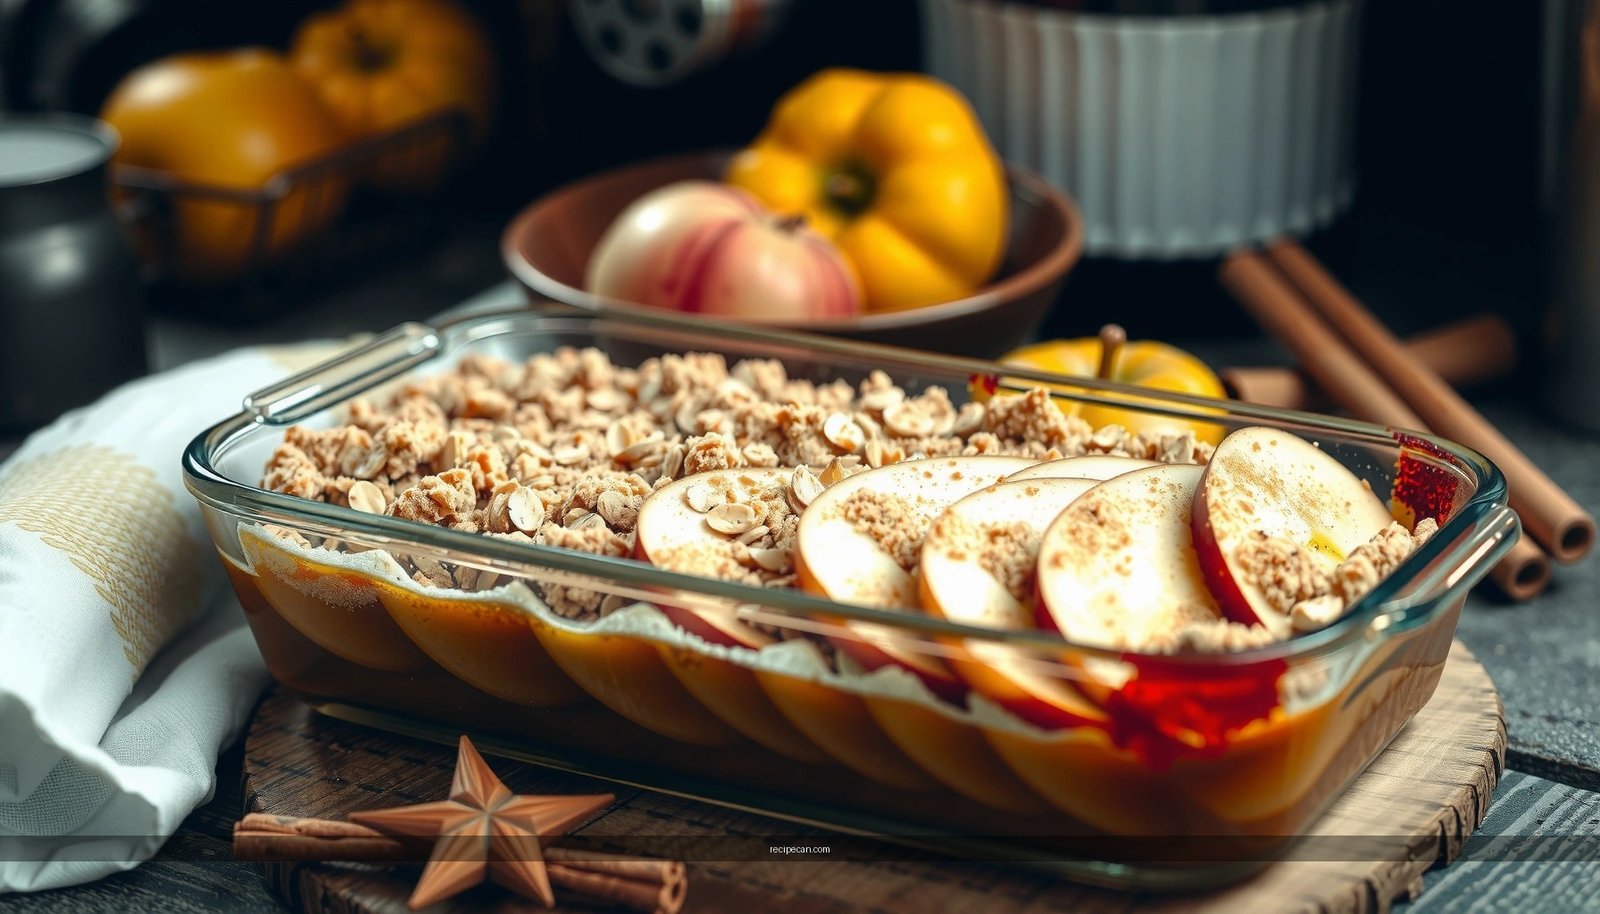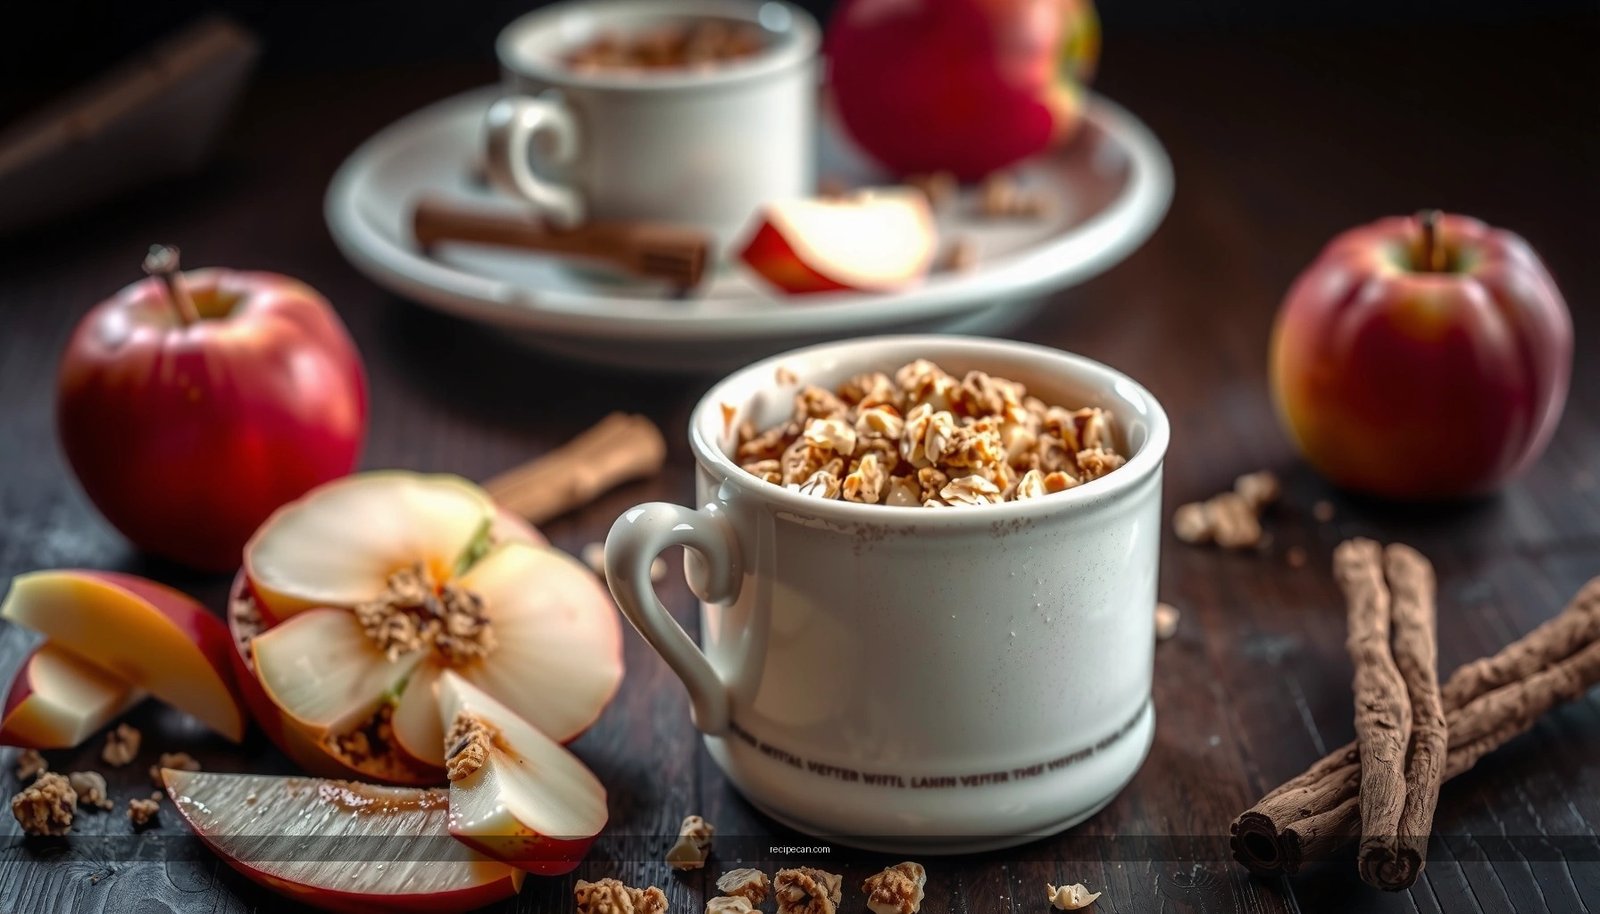
Searching for an apple crumble recipe in microwave form that you can make fast without sacrificing comfort-food flavor? This method delivers a crisp-topped crumble and tender apples in minutes, using simple pantry ingredients and a straightforward microwave-first bake. If you want the quickest way to satisfy a sweet craving, this is the clear winning approach.
Apple crumble in the microwave is the fastest way to get warm, bubbling apple filling and a lightly crisp topping—without preheating an oven. Cook the apples first to thicken their juices, then add a buttery crumble topping and microwave in short bursts until set.
This guide breaks down the process with practical timing and texture checkpoints so you can reliably replicate a “baked” style crumble using only a microwave-safe dish. Whether you’re making a midweek treat, feeding unexpected guests, or portioning dessert for the week, this microwave crumble approach is built for consistency: soften and concentrate the fruit, then add structure with a crumb topping that sets instead of turning soggy.
Microwave Apple Crumble Performance by Apple Type (Typical Results)
| # | Apple variety | Microwave softening time (per 1-inch slices) | Filling thickness (after resting) | Best for crumble texture | Result rating |
|---|---|---|---|---|---|
| 1 | Honeycrisp | 5–7 min | High | Juicy + holds shape | ★★★★★ |
| 2 | Granny Smith | 6–8 min | Medium-High | Tart balance + structured bite | ★★★★☆ |
| 3 | Braeburn | 5–7 min | Medium | Soft but not mushy | ★★★★☆ |
| 4 | Cortland | 6–9 min | Medium | Classic “compote” style | ★★★☆☆ |
| 5 | Empire | 5–8 min | Medium-High | Reliable for beginners | ★★★★☆ |
| 6 | Jazz | 6–8 min | Medium | Sweet filling with clean texture | ★★★★☆ |
| 7 | Fuji | 6–9 min | Medium-Low | Can get softer; reduce microwave time | ★★★☆☆ |
What You Need (Ingredients + Optional Swaps)
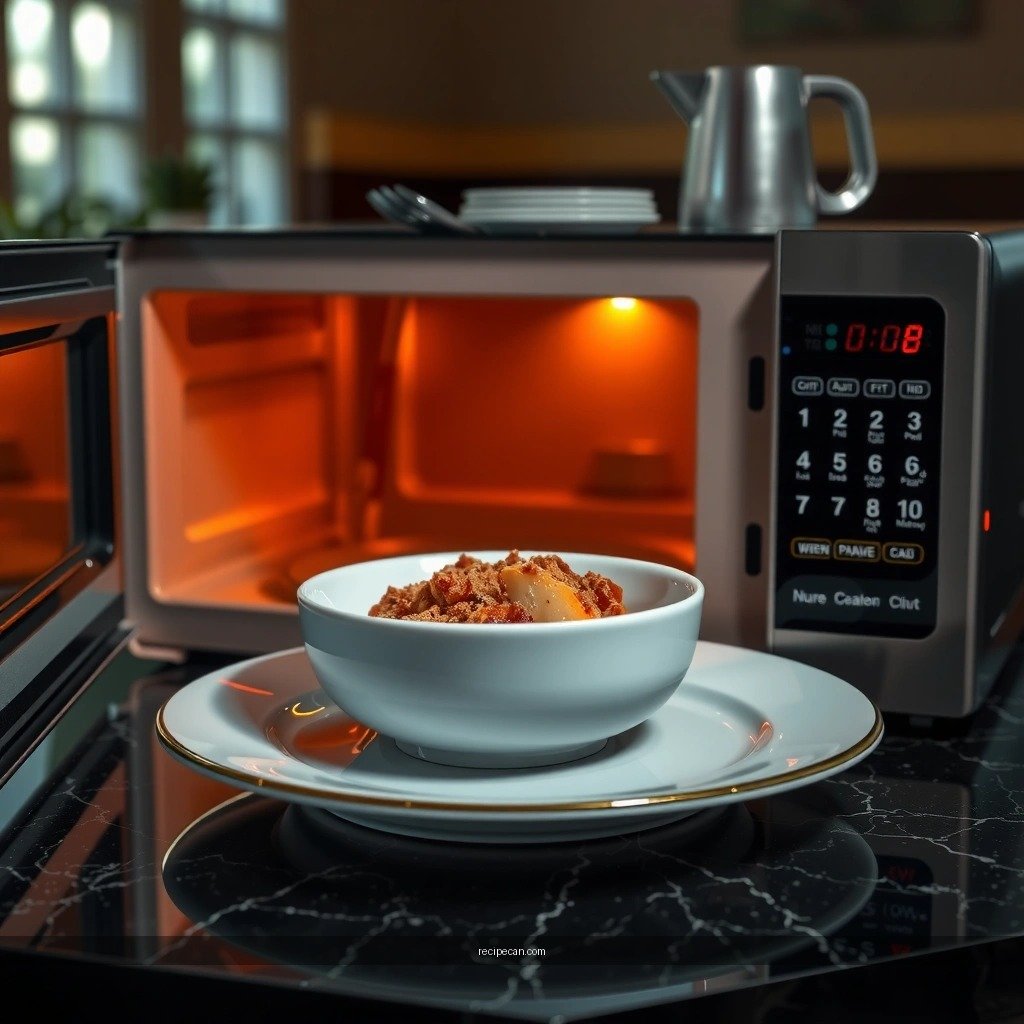
A microwave crumble is essentially two components—a thickened apple filling and a settable crumble topping—so the ingredient list is designed to support both.
Apples (main filling)
– Use 2 large apples (about 3–4 cups sliced). Firm varieties hold better under microwaving.
– Optional mix: tart + sweet (e.g., Granny Smith + Honeycrisp) for more depth.
Sweetener
– 2–3 tablespoons sugar, or to taste.
– Swap options:
– Honey (use slightly less than sugar and add a touch later if you want less browning risk).
– Brown sugar for a caramel-leaning flavor.
Flavorings
– 1 teaspoon ground cinnamon
– 1–2 teaspoons lemon juice (brightens flavor and slows oxidation)
– Optional but recommended: 1/8 teaspoon nutmeg or a pinch of salt in the filling.
Crumble topping
– 3 tablespoons butter, melted or softened (or use neutral oil like canola/vegetable)
– 1/3 cup flour (all-purpose works best)
– 1/3 cup rolled oats (optional, but strongly improves “crisp” character in microwave cooking)
– Pinch of salt
– Optional: 1 tablespoon sugar mixed into the topping for extra crunch-like sweetness.
Microwave-friendly equipment
– A medium microwave-safe glass or ceramic dish (wide surface area helps evaporation and reduces sogginess).
– A cover (microwave lid or vented plastic wrap) for the apple-softening stage.
– Spoon for stirring and measuring.
Why oats matter (microwave perspective): Oats add structure and absorb some apple liquid, helping the topping set into a more crumble-like texture rather than melting into a soft paste.
Prep the Apples for Microwave Crumble
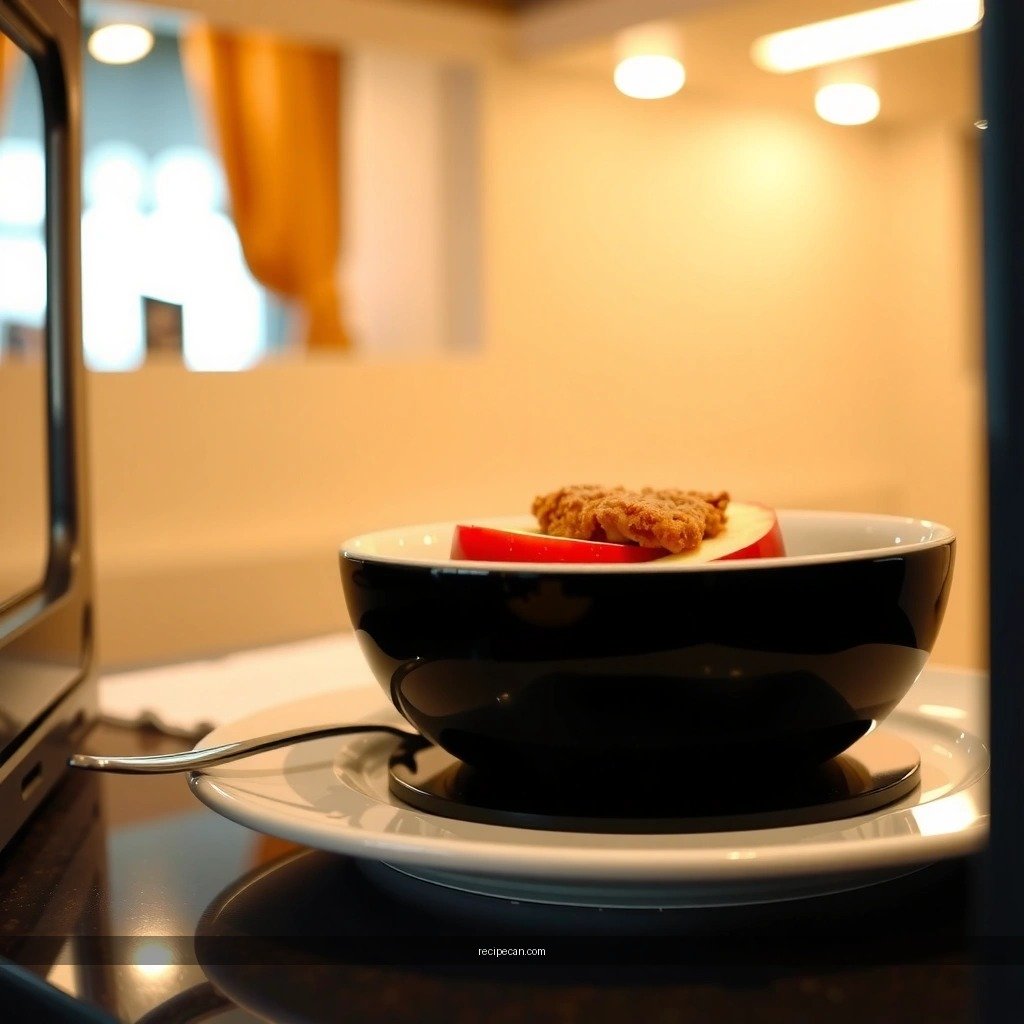
Microwaving apples is not just “cooking”—it’s concentrating. You want them softened enough to eat immediately, but not watery, because excess moisture prevents the topping from setting.
1. Slice evenly
– Peel and cut apples into 1/2-inch slices (or small chunks).
– Aim for uniform size so timing stays predictable.
2. Toss with flavor
– Combine apples with:
– sugar (or honey),
– cinnamon,
– lemon juice,
– and a small pinch of salt if desired.
– Toss until the pieces look evenly coated.
3. Microwave in controlled bursts
– Spread apples in an even layer in a microwave-safe dish.
– Cover loosely (or use a vented cover).
– Microwave until apples are softened and juices look slightly thickened.
Practical timing guidance (typical microwave):
– 1000W: 6–8 minutes for 2 large apples, stirring once halfway.
– 800W: 8–10 minutes with an extra stir.
What to look for
– The apples should yield when pressed with a spoon.
– The syrup should be glossy and thicker than straight apple juice.
– You should see less liquid pooling—this is your future “bubbly filling” base.
Professional-quality control tip: Stir at least once. Microwaves heat unevenly, and stirring helps prevent overcooked edges with undercooked centers.
Make the Crumble Topping Fast
The crumble topping must be crumbly—not wet—so it can set during microwaving. The goal is to create small coated bits that can hydrate partially from apple juices without collapsing.
1. Rub butter into dry ingredients
– In a bowl, combine flour, oats (if using), salt, and butter.
– Use fingertips to rub butter into the dry mix until you get uneven crumbs (some pea-sized, some smaller).
2. Add sweet-spice
– Mix in an optional tablespoon of sugar for flavor.
– Add extra cinnamon if you want a stronger aromatic finish.
3. Texture checkpoint
– If the mixture feels sticky like dough, add 1–2 teaspoons extra flour.
– If it’s too dry to clump at all, add 1 teaspoon melted butter or oil.
Oven-free crumble logic: In a conventional oven, heat drives moisture off and browns the topping. In a microwave, you compensate by (a) thickening apples first and (b) using oats/flour to provide structure that holds once warmed and rested.
Microwave Apple Crumble: Step-by-Step Cooking
Once the apples are softened and syrupy, assembly and microwaving are straightforward. The key is short intervals and visual texture checks.
1. Assemble
– Remove the apple dish from the microwave.
– Spoon the apples into a flat, even layer.
– Sprinkle crumble topping across the top, covering as evenly as possible.
2. Microwave in intervals
– Microwave uncovered or with minimal venting (to prevent the topping from steaming).
– Start with:
– 1 minute on high, then check.
– Continue in 30-second bursts until:
– the filling is bubbling around the edges, and
– the top looks set (not wet or glossy).
3. Use the right total time
– Typical range: 2–4 minutes depending on dish size and microwave power.
– Larger or deeper dishes need more time; wider dishes need less.
4. Rest immediately
– Let it sit 1–2 minutes after microwaving.
– The topping firms as the crumb cools slightly and absorbed liquid redistributes.
Common failure mode and fix
– Problem: Top is pale and still soft after cooking.
– Fix: Microwave longer in 15–30 second increments, and consider adding oats next time.
– Problem: Crumble is wet or gummy.
– Fix: Reduce apple-softening time next time, or cook apples until juices thicken before topping. A wider dish also helps.
Best Timing + Texture Tips
Microwave crumbles require a “stop early, rest, reassess” mindset—because microwaves can push desserts from tender to over-soft quickly.
Use these checkpoints:
– Bubbling stage: Stop when you see active bubbling at the edges and occasional bubbles through the filling.
– Top set stage: The crumble should look firm and dry-ish on top, not shiny and soaked.
– Avoid overcooking apples: Apple pieces can break down further even while the dish rests.
Power variability matters
– 900–1000W microwaves often need 2–3 minutes after topping.
– 700–800W microwaves may need 3–5 minutes total after topping.
Resting is not optional
– Rest helps stabilize the filling’s temperature and sets the crumb.
– If you cut or spoon immediately, the topping may appear looser because steam and syrup are still mobile.
Dish choice for best results
– Use a wider dish instead of a deep one—more surface area allows moisture to escape.
– If your dish is narrow/deep, you may need slightly longer cooking and a slightly lower apple amount to avoid pooling.
Make it “enterprise consistent” (repeatable method)
– Keep slice size consistent.
– Keep apple amount consistent (e.g., 3–4 cups sliced).
– Always undercook apples slightly at first and finish by thickening juices, not by dumping more time at the end.
Serving Ideas and Storage
Microwave apple crumble is best served warm, when the filling is at its most fragrant and the topping is most satisfying.
Serve with:
– Vanilla ice cream for classic contrast to warm cinnamon apples
– Greek yogurt or thick skyr for a lighter, tangy option
– Optional garnish: chopped toasted walnuts or a drizzle of extra honey for texture
Portion strategy
– For single servings, divide apples and topping into two smaller ramekins. Smaller portions heat faster and can produce more even crumb setting.
Storage
– Cool to room temperature, then refrigerate in an airtight container.
– Expect best texture within 2–3 days.
Reheating (important for microwave desserts)
– Re-microwave for 20–45 seconds (from fridge temp).
– If the topping softens too much, cover loosely and shorten time; the goal is to warm the filling without steaming the crumble.
Food safety note
– Refrigerated leftovers should be reheated to piping warm, especially if stored for a couple of days.
Apple crumble in the microwave is a fast way to get a cozy dessert with minimal effort—just soften the apples first, then microwave the crumble in short bursts. You’ll get a soft, warm filling with a topping that sets into a quick-crisp crumble, without the hassle of oven timing or cleanup. Make it tonight: start with thickened apple juices, assemble evenly, cook in controlled intervals, and rest before serving for the best texture.
Frequently Asked Questions
What is the best microwave apple crumble recipe for a quick dessert?
A simple microwave apple crumble recipe uses sliced apples tossed with sugar, cinnamon, and a little lemon juice, topped with a quick crumble made from oats, flour (or crushed biscuits), butter, and sugar. Microwave in short bursts (usually 4–8 minutes depending on your microwave and apple thickness) until the apples are tender and bubbling. Finish by letting it rest for 2 minutes so the topping slightly sets instead of staying wet.
How do you make apple crumble in the microwave without a soggy top?
Use thicker crumble topping and avoid over-soaking the apples—microwave the apple filling separately for a couple minutes first, then add the crumble. Cook in shorter intervals and stop as soon as the fruit is bubbling, because extra time can steam the topping. Let it stand uncovered for a few minutes after cooking to firm up the crumble in the microwave.
Why does microwaving apple crumble sometimes cook unevenly, and how can I fix it?
Uneven cooking usually happens when apple slices are uneven in thickness or when the dish isn’t heated evenly. Cut apples into similar-size pieces and spread them in a single layer for more consistent microwave cooking. If your crumble has both hot and cool spots, stir or rotate the dish halfway through and continue in 30–60 second increments.
Which apples are best for microwave apple crumble?
Choose apples that stay flavorful and tender during quick cooking, such as Granny Smith for tartness or Honeycrisp for a naturally sweet crumble base. If you prefer a softer filling, use Gala or Fuji; for a firmer bite, stick to Granny Smith or Braeburn. Toss the apples with a little lemon juice and sugar so they release just enough moisture without turning the crumble watery.
How long should you microwave apple crumble for the right texture?
Most single-serving microwave apple crumble recipes take about 6–10 minutes total, but the exact time depends on your microwave wattage and the size of your apple pieces. Start with 4 minutes for smaller portions, then check for bubbling fruit and tender apples; add 1-minute increments until ready. For best results, rest the dish 2–3 minutes before eating so the microwave apple crumble topping sets and thickens.