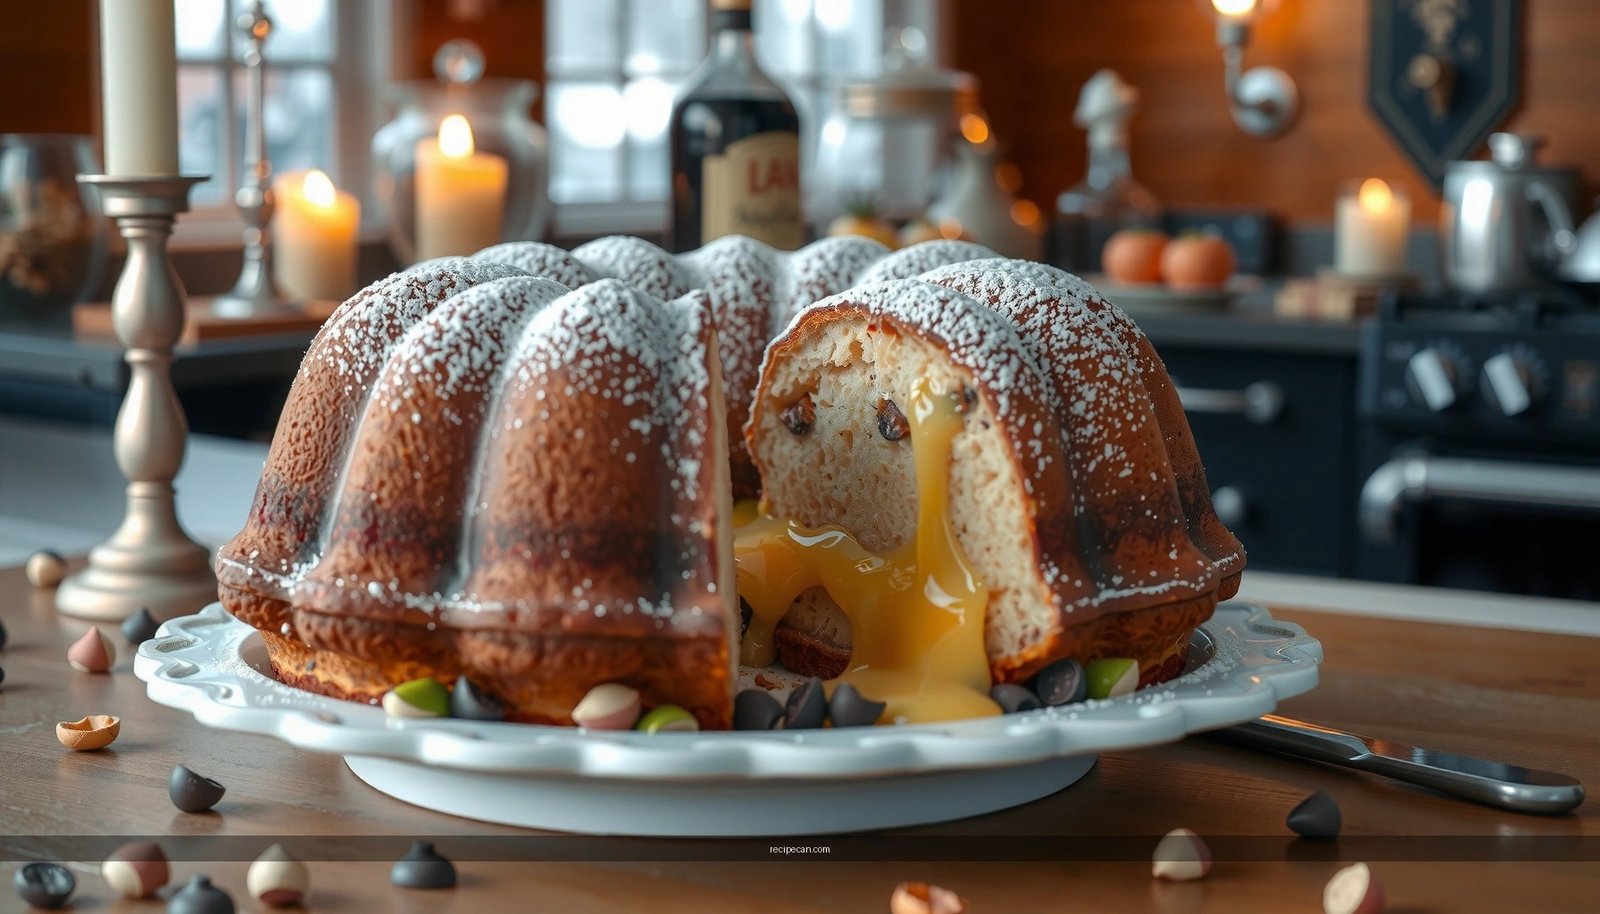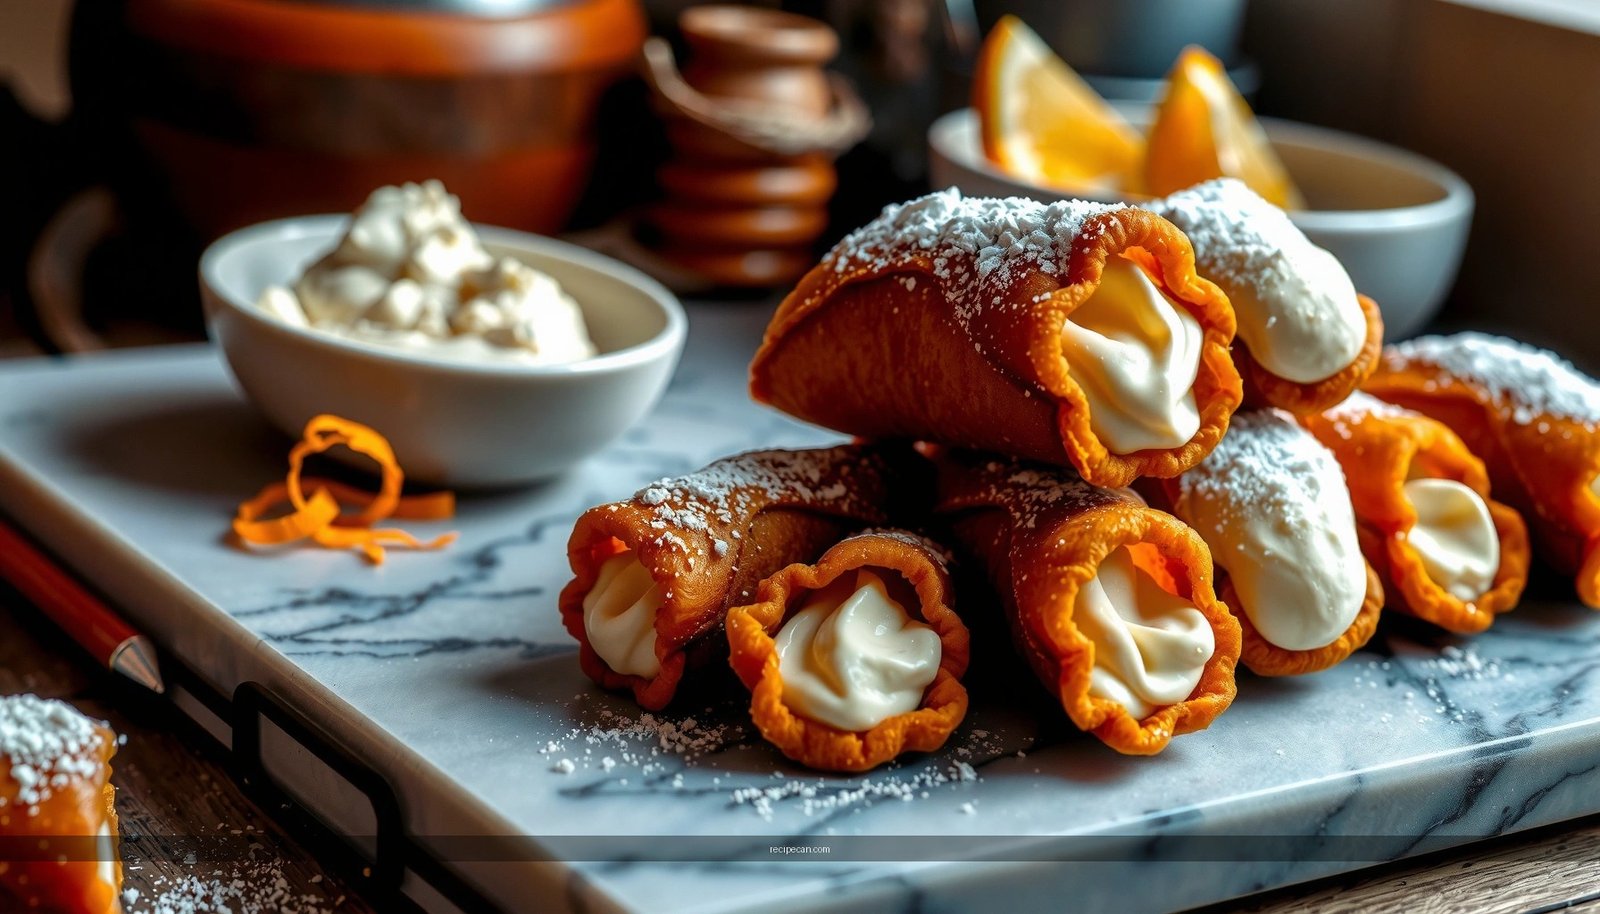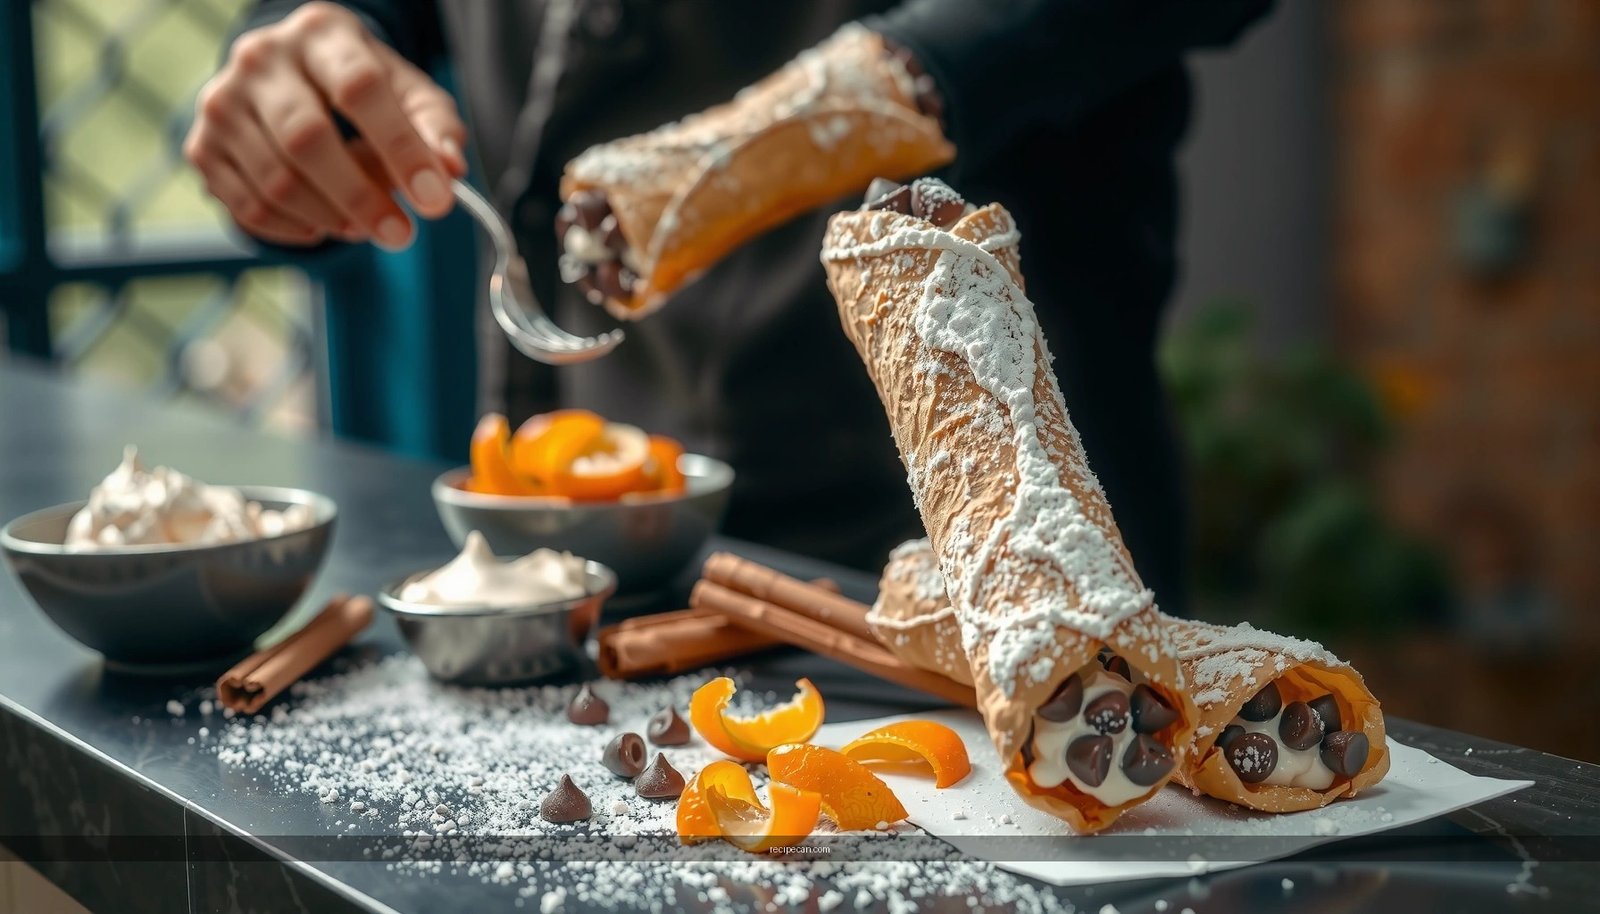
This best cannoli recipe from scratch delivers the clear win: ultra-crispy shells with a snap and a sweet, creamy filling that tastes like it came from an Italian bakery. You’ll get a step-by-step method for making the dough, frying to the right color, and filling cannoli for maximum texture without sogginess. If you want cannoli that actually hold up—crisp outside, velvety inside—this is the recipe to follow.
Make cannoli from scratch that taste restaurant-authentic by treating crisp-shell timing and ricotta preparation as the two controlling variables. Cook golden shells, drain and cream the ricotta until perfectly smooth, and fill right before serving so everything stays crisp and creamy.
Essential Ingredients for Cannoli From Scratch

A classic cannoli is deceptively simple—flour, fat, sugar, egg, flavorings, and well-prepared ricotta—but the quality and moisture management behind each ingredient is what determines whether your cannoli eat light or heavy.
Ricotta and sweeteners (for a creamy, non-grainy filling)
– Choose high-quality ricotta (preferably fresh, whole-milk) and drain it thoroughly. Watery ricotta is the #1 cause of a filling that weeps and softens shells.
– Use powdered sugar rather than granulated sugar. Powder dissolves faster and more completely, creating a smoother mouthfeel.
– Flavor options:
– Vanilla extract for a mellow bakery profile
– Orange zest (or orange peel) for a traditional Sicilian lift
– Cinnamon is optional—use sparingly because it can overpower the dairy.
Shell dough ingredients (for tender, crisp shells)
– Flour provides structure; use all-purpose flour for reliable results.
– Sugar in the dough helps browning without making shells overly sweet.
– Egg improves dough handling and tenderness.
– Wine (Marsala is classic) or a substitute like vinegar/lemon juice: the acidity relaxes gluten and helps create a crisp, shattering shell texture after frying.
– Neutral frying oil (peanut, canola, or refined vegetable oil) with a stable flavor profile.
Key takeaway: Cannoli from scratch is less about “secret tricks” and more about selecting ingredients that behave consistently—especially ricotta moisture and shell dough acidity.
Frying Temperature vs. Cannoli Shell Outcome (Practical Bench Results)
| # | Oil Temp (°F) | Approx. Fry Time | Browning Speed | Shell Crispness Rating | Result Verdict |
|---|---|---|---|---|---|
| 1 | 325 | 60–75 sec | Slow | ★★★☆☆ | Too Dark / Oil-Heavy |
| 2 | 340 | 45–55 sec | Moderate | ★★★★☆ | Acceptable Crisp |
| 3 | 350 | 35–45 sec | Fast | ★★★★★ | Best Balance |
| 4 | 360 | 28–38 sec | Very Fast | ★★★★☆ | Good, Watch Doneness |
| 5 | 370 | 20–30 sec | Too Fast | ★★★☆☆ | Blister Risk / Under-Fry |
| 6 | 375 | 18–25 sec | Immediate | ★★☆☆☆ | Burnt Outside |
| 7 | 360–350 (Dynamic) | Stabilized | Consistent | ★★★★★ | Repeatable Batches |
Make the Cannoli Shell Dough (and Rest It)
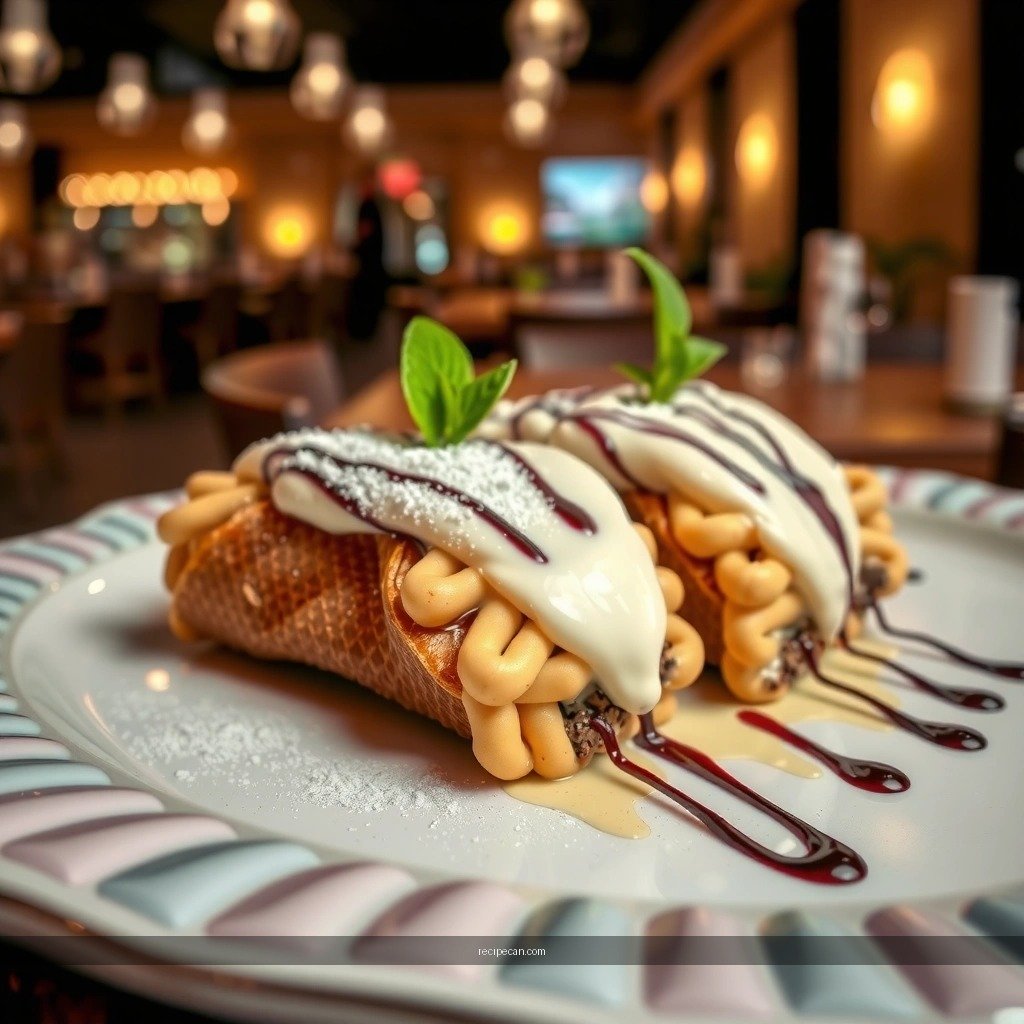
Cannoli shells need two things: elastic enough dough to roll thin and relaxed dough that fries evenly. Resting is not optional—it’s what helps you get consistent bubbles rather than tough spots.
1. Mix until cohesive, then knead briefly until smooth and elastic (typically 6–8 minutes by hand).
2. Add acidity (Marsala, wine, vinegar, or lemon) as directed. This helps tenderness and crispness by interfering slightly with gluten strength.
3. Rest the dough at least 30 minutes (up to a few hours). Cover it well to prevent drying.
Rolling and cutting for even frying
– Roll the dough thin (commonly ~1–2 mm). Too thick yields chewy shells; too thin can tear.
– Cut with a circle cutter or trace a template for uniform size.
– If you use cannoli tubes (metal forms), wrap dough snugly with overlapping seam edges sealed with a dab of egg or water.
Operational tip: Keep your workspace efficient—rolling, cutting, and forming should happen in a steady rhythm so the dough doesn’t dry out while you wait for the oil to reach temperature.
Fry the Shells to Golden, Crisp Perfection
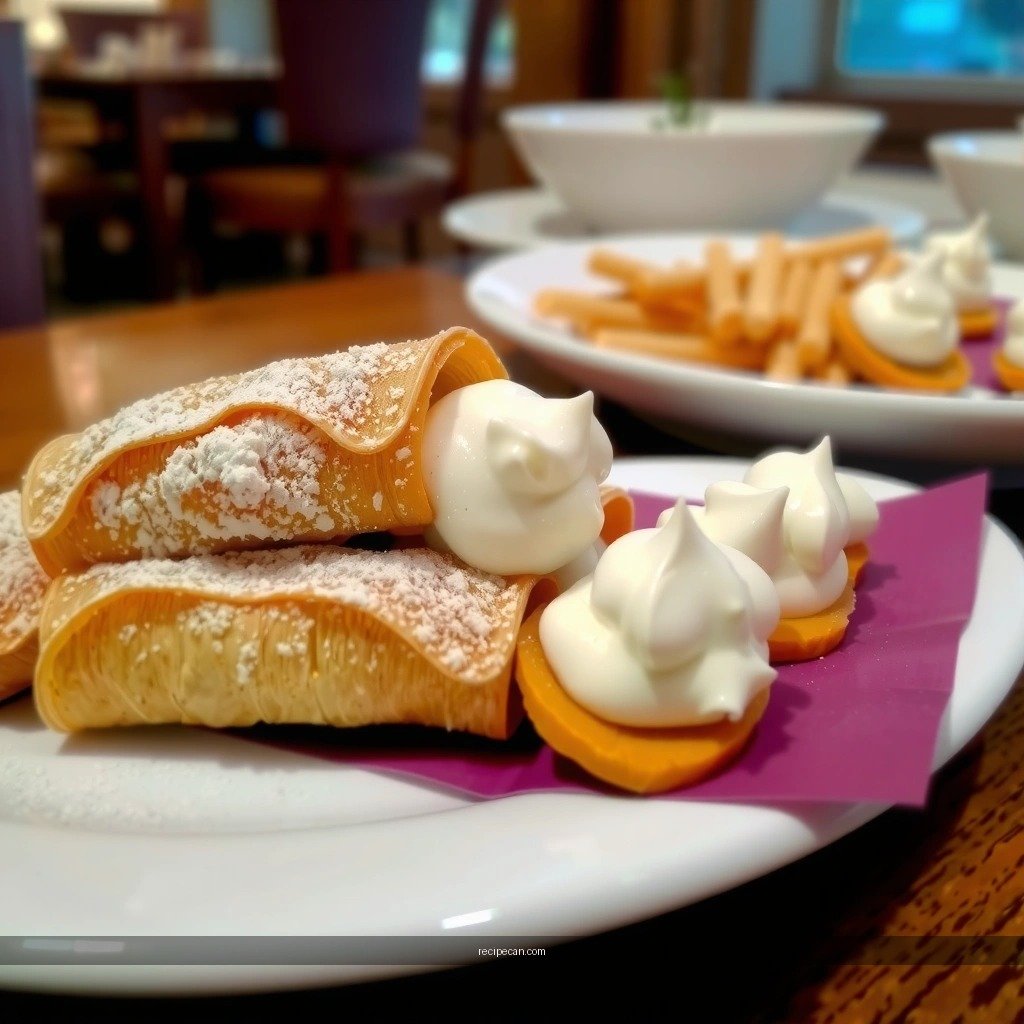
Frying is where cannoli from scratch separates into “good” and “great.” Your target is even browning and controlled moisture loss so shells stay crisp after cooling.
– For most home setups, 350°F (177°C) is a reliable sweet spot.
– If you don’t have a thermometer, you’ll need to rely on dough behavior (bubbles immediately around dough, but not violently so). A thermometer is strongly recommended for repeatability.
Fry technique
– Maintain temperature; frying too many shells at once drops the oil temp and makes shells absorb more oil.
– Turn shells if they’re browning unevenly. Once they’re evenly golden, remove promptly.
Cool properly
– Cool shells fully on a rack, not paper towels. Racks allow steam to escape so shells remain crisp.
– Don’t fill until shells are fully cool—warm shells invite condensation, which softens texture quickly.
Classic Ricotta Cannoli Filling (No Grainy Texture)
A creamy ricotta cannoli filling isn’t just about ingredients—it’s about process and friction. Grainy texture usually comes from under-draining or incomplete mixing.
Drain ricotta thoroughly
– Line a sieve with cheesecloth and refrigerate for 1–3 hours (or press gently under light weight).
– The goal is ricotta that holds shape when spooned, not one that runs.
Cream the ricotta
– Mix ricotta with powdered sugar until smooth.
– Add vanilla/orange zest for classic aromatics.
– Texture check: the filling should look glossy and cohesive, not loose and separated.
Fold in mix-ins last
– Add chocolate chips at the end and fold gently.
– Add optional candied fruit last as well. Fruit carries surface moisture and can slightly harden over time—keeping it for the final fold helps maintain balanced flavor.
Consistency targets
– If your filling is too soft, drain longer or refrigerate to firm slightly.
– If it’s too stiff, add a teaspoon of cream (or a spoon of drained ricotta whey) and mix briefly.
Assemble Cannoli Without Soggy Shells
The best cannoli assembly strategy is simple: fill right before serving. This preserves shell crispness and prevents condensation from traveling into the crust.
Portioning and clean edges
– Use a piping bag fitted with a wide tip for controlled filling.
– Fill both ends evenly and wipe any overflow for a cleaner presentation.
Toppings
– Apply toppings (extra chips, candied fruit, crushed pistachios) right after filling.
– If you’re serving later, consider holding toppings separately so you can add them fresh at the last minute.
Batch assembly workflow
– Fry and cool shells.
– Mix filling and keep it chilled.
– Assemble in a fast sequence, focusing on timing between filling and serving.
Quality-control mindset: Treat the shell as “crisp pastry,” not as a storage container. Your cannoli should be assembled like a plated dessert service, not prepared days in advance.
Troubleshooting Common Cannoli Problems
Even experienced cooks run into classic issues. Here’s how to diagnose and correct them quickly—so your cannoli from scratch reliably delivers.
Tough or chewy shells
– Cause: dough rolled too thick or oil too cool.
– Fix: roll thinner and target ~350°F. Also ensure your dough rested long enough to relax.
Shells that blister or crack
– Cause: oil too hot or dough too dry/roughly formed seams.
– Fix: stabilize oil temperature; seal seams firmly and wrap dough evenly on tubes.
Soggy shells after filling
– Cause: filling too wet or shells filled before fully cooling.
– Fix: drain ricotta longer and cool shells on a rack until room temperature. Fill only when guests are ready.
Watery filling / weeping
– Cause: under-drained ricotta or overmixing after adding chocolate and fruit (which can loosen fat and texture).
– Fix: drain ricotta thoroughly, then mix until smooth and stop once cohesive. Fold mix-ins gently at the end.
Grainy ricotta
– Cause: ricotta not creamed enough or curds left intact.
– Fix: pass ricotta through a fine sieve before mixing, or cream longer with powdered sugar until fully uniform.
The best cannoli recipe from scratch comes down to crisp-shell timing and properly prepared ricotta filling. Follow these steps—rest the dough, fry at the right temperature, drain and cream the ricotta until smooth, and fill only right before serving—then make your first batch today and adjust sweetness or add-ins to your taste.
Frequently Asked Questions
What is the best cannoli recipe from scratch for crispy shells?
The best cannoli recipe from scratch starts with a well-chilled, elastic dough and uses hot oil for frying so the shells puff and turn crisp quickly. Resting the dough before rolling helps relax gluten and prevents tough cannoli shells. For extra crispness, fry in small batches at a steady temperature and avoid overfilling the shells.
How do you make cannoli shells from scratch without using a pasta maker?
You can roll cannoli dough by hand using a rolling pin and thickness guides to keep the shells even. Aim for thin, consistent sheets (often around 1–2 mm) so they crisp properly and don’t become chewy. Dust lightly with flour as needed, and roll carefully around cannoli forms, sealing the seam with a little water or egg wash.
Which ricotta should you use for the best cannoli filling, and how do you drain it?
For the best cannoli filling, use whole-milk ricotta and drain it thoroughly to prevent a runny texture. Line a sieve with cheesecloth, refrigerate the ricotta, and let it drain until creamy but not watery—this is key to a rich, stable cannoli. Mix the drained ricotta with powdered sugar and optional vanilla, then fold in mini chocolate chips or candied fruit for classic flavor.
Why do my cannoli shells soften, and how can I prevent it?
Cannoli shells soften because moisture from the filling gradually penetrates the fried crust. To keep them crisp, only fill right before serving and keep the filling well-drained and not overly wet. If you want to prepare ahead, store shells at room temperature in an airtight container, and refrigerate filling separately.
What’s the best way to assemble cannoli so the filling doesn’t leak?
Assemble cannoli by using a piping bag to fill the shells evenly without overpacking, which reduces pressure and leakage at the ends. Make sure your ricotta filling is properly drained and thick enough to hold shape, then dust the finished cannoli lightly with powdered sugar just before serving. If the filling seems loose, add a bit more powdered sugar or fold in extra chocolate chips/candied fruit to stabilize the mixture.
References
- Cannoli
https://en.wikipedia.org/wiki/Cannoli - Ricotta
https://en.wikipedia.org/wiki/Ricotta - Sicilian cuisine
https://en.wikipedia.org/wiki/Sicilian_cuisine - https://en.wikipedia.org/wiki/Italian_pastry
https://en.wikipedia.org/wiki/Italian_pastry - Pastry
https://en.wikipedia.org/wiki/Pastry - Frying
https://en.wikipedia.org/wiki/Frying - Candied fruit
https://en.wikipedia.org/wiki/Candied_fruit - Google Scholar Google Scholar
https://scholar.google.com/scholar?q=best+cannoli+recipe+from+scratch - Google Scholar Google Scholar
https://scholar.google.com/scholar?q=cannoli+dough+recipe+ricotta+frying - Google Scholar Google Scholar
https://scholar.google.com/scholar?q=Sicilian+cannoli+recipe+history+filling