Get a reliable Italian dessert cannoli recipe with crispy shells and a sweet ricotta filling that holds its shape—this is the one you can bake and fill without sogginess. You’ll learn the exact shell dough approach for blistered, crunchy tubes and the precise ricotta sweetening and draining so every bite is creamy, not watery. If you want the classic cannoli texture at home, this step-by-step method is your best bet.
If you want authentic cannoli at home, focus on two variables: crisp, fully cooled shells and a well-drained (thick) ricotta filling. This recipe walks you through making golden shells, seasoning and thickening the ricotta correctly, filling with even pressure, and assembling right before serving so every bite stays crunchy.
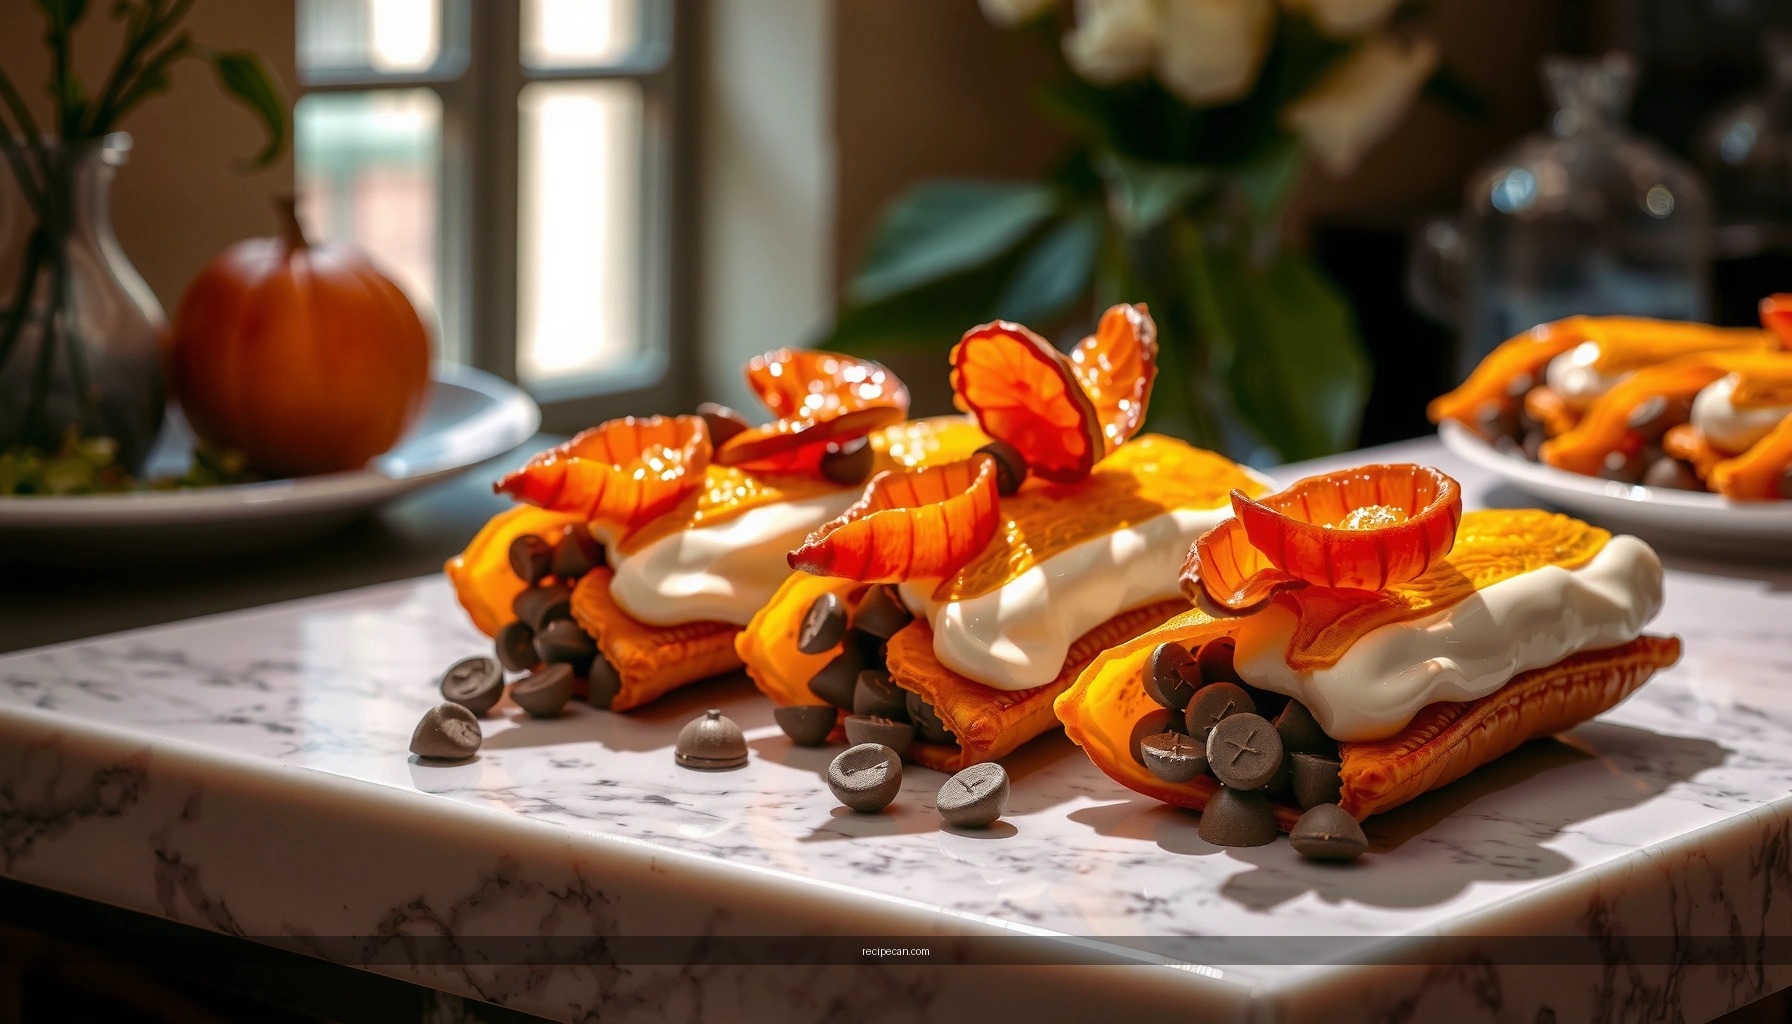
Essential Ingredients for Italian Dessert Cannoli

Cannoli are deceptively simple—dough, fat, heat, and ricotta—yet small ingredient choices determine whether you get classic crispness or disappointing softness. Use this list as a practical “working specification” for Italian dessert cannoli, not just a shopping checklist.
Shell fundamentals (crisp texture comes from dough structure):
– All-purpose flour (gives dough elasticity and browning)
– Powdered sugar (tenderizes dough and helps browning)
– Unsalted butter or lard (some classic styles use lard; butter works well for home cooks)
– Egg + egg white (binds and improves dough strength)
– White wine or dry Marsala (common in traditional dough for mild flavor and tender texture)
– Pinch of salt
– Neutral frying oil (for deep-frying; avoid strong flavors)
Filling fundamentals (thick ricotta is non-negotiable):
– Ricotta (preferably whole-milk): choose fresh, not whipped
– Powdered sugar (dissolves smoothly)
– Lemon or orange zest (citrus zest is a classic flavor booster)
– Ground cinnamon (optional) for warmth
– Chocolate chips / mini chocolate chunks (optional but popular)
– Candied citrus peel (optional) or finely chopped candied fruit
Quality control tip: If you’re buying ricotta, avoid “ricotta-style” spreads in tubs. For cannoli filling, you want ricotta that can be drained and folded into a thick, spoonable mixture.
Oil Temperature Guidance for Crisp Cannoli Shells
| # | Oil Temp (°C) | Typical Fry Time | Color Target | Shell Crispness |
|---|---|---|---|---|
| 1 | 165 | 1:00–1:20 | Light golden | ★★★☆☆ |
| 2 | 170 | 0:55–1:10 | Golden | ★★★☆☆ |
| 3 | 175 | 0:45–1:00 | Deep golden | ★★★★☆ |
| 4 | 180 | 0:40–0:55 | Classic amber-gold | ★★★★★ |
| 5 | 185 | 0:35–0:50 | Golden with crisp edges | ★★★★☆ |
| 6 | 190 | 0:30–0:45 | Can brown too fast | ★★★☆☆ |
| 7 | 195 | 0:25–0:40 | Dark before crisp | ★★☆☆☆ |
Making the Cannoli Shells (Crispy and Golden)

Crisp shells are the backbone of cannoli. They’re only “crisp” when the dough is fried quickly enough to dehydrate while forming a stable, golden structure—and when they cool fully before filling.
1) Create a dough that fries thin without tearing
– Roll the dough very thin (aim for a near-translucent sheet).
– Keep the dough rested if it resists rolling—relaxation improves thinness and prevents uneven bubbles.
2) Shape and fry for structure
– Wrap dough around cannoli forms/tubes (or fry in tube molds).
– Fry until the shell reaches a deep golden color. A pale shell may look done but can soften faster when filled.
3) Temperature matters operationally
– Maintain a steady oil temperature. If it drops, the shell absorbs oil and becomes greasy/soft; if it runs too hot, the shell can brown before it crispifies.
4) Cool completely—non-negotiable
– Once fried, set shells on a rack or absorbent paper, but do not fill warm shells.
– Heat trapped in the shell accelerates moisture migration from the ricotta and softens the shell from the inside out.
Practical workflow: fry → cool entirely → prepare filling → fill right before serving.
Sweet Ricotta Filling for Cannoli

The ricotta filling should be smooth, thick, and spoonable, not runny. If it’s watery, it will dissolve into the shell and collapse the crispness.
1) Drain ricotta for thickness
– Fresh ricotta contains whey. Drain it by placing it in a fine sieve or cheesecloth and refrigerating briefly.
– Stop draining when the ricotta becomes thick enough to hold soft peaks when stirred, not when it’s still loose like yogurt.
2) Sweeten with powdered sugar
– Powdered sugar dissolves quickly and avoids a grainy texture.
– Add sugar gradually and mix until smooth.
3) Flavor build: vanilla + citrus zest
– Vanilla rounds out sweetness.
– Lemon or orange zest adds brightness that balances the richness of ricotta—this is a defining characteristic of classic cannoli flavor profiles.
4) Fold in add-ins without deflating
– Chocolate chips and candied fruit add contrast, but overmixing can loosen the filling.
– Fold gently so the filling stays thick and holds texture after piping.
5) Optional thickness lever
If your filling still looks loose, you can:
– Drain a bit longer, or
– Stir in a small amount of extra powdered sugar (it can slightly help bind), or
– Use a hand mixer briefly only after draining—stop as soon as texture turns creamy and thick.
How to Fill Cannoli Like a Pro
Filling is where many homemade cannoli lose their “restaurant finish.” The goal is even distribution, clean edges, and minimal delay between assembly and serving.
1) Use a piping bag for consistent filling
– Fit a piping bag with a wide tip.
– Pipe filling into each shell end, then pipe again from the other side for symmetrical distribution.
2) Don’t overfill
Overfilled shells can split at the seams or leak filling when moved. Fill until you see the shell just start to plump evenly, then stop.
3) Assemble just before serving
Even with perfectly drained ricotta, cannoli shells will soften over time because moisture gradually migrates. For best crunch:
– Fill batches in waves (e.g., 10–15 cannoli at a time),
– Keep filled cannoli chilled briefly if needed, but serve promptly for texture.
4) Clean presentation
– Wipe excess filling from the shell openings with a small spatula or paper towel.
– If using candied fruit or chocolate chunks at the surface, press lightly so they adhere without smearing.
Serving Tips and Storage for Fresh Cannoli
Cannoli are a “freshness-forward” dessert: the sensory experience depends on timing.
Serve immediately
– For the most authentic crisp shell texture, fill and plate at the last moment.
– If you’re hosting, prep everything (shells cooled, filling ready, piping bag filled) but only assemble close to serving time.
Storage reality (what changes and why)
– Unfilled shells: keep crisp best when stored airtight at room temperature.
– Filled cannoli: store in the refrigerator in a sealed container, but expect softening. Even properly thick ricotta will eventually dampen the shell.
A sensible storage plan for events
– Day-of schedule: fry and cool shells earlier the same day; drain ricotta and mix filling shortly before filling.
– Fill in batches right before guests arrive.
Common Mistakes to Avoid
These are the errors most likely to ruin the cannoli structure, flavor balance, or texture consistency:
– Don’t skip draining ricotta. Watery filling makes shells limp and causes pooling at the ends.
– Avoid filling warm shells. Heat accelerates moisture transfer and softens the crust rapidly.
– Don’t roll dough too thick. Thick shells remain under-crisp and can taste doughy.
– Don’t fry without temperature control. Low oil temperature leads to oil absorption; high temperature can brown quickly while leaving the interior less crisp.
– Overmix add-ins. Vigorous mixing can loosen the filling and affect piping stability.
Enjoy your homemade Italian dessert cannoli by following the shell-crisping and ricotta-draining tips for the best results. Make a batch, fill right before serving, and share them—or try experimenting with chocolate chips and citrus zest in the filling next.
A final takeaway: treat cannoli as a timing-sensitive process. Crisp shells come from thin dough, correct frying temperature, and full cooling; the classic ricotta filling comes from careful draining and gentle mixing; and the authentic experience is locked in when you fill immediately before serving.
Frequently Asked Questions
What is the classic Italian cannoli recipe filling and shell ratio?
A classic cannoli recipe balances crisp shells with a lightly sweet ricotta filling. Many traditional versions use about 1 cup of ricotta filling for every 6–8 cannoli shells, depending on shell size. The filling should be creamy but thick enough to pipe without running, so draining ricotta well and mixing to the right consistency is key. For authenticity, use ricotta (often combined with mascarpone) and fold in chocolate chips and candied fruit.
How do I make cannoli shells crispy and not soggy?
To keep cannoli shells crispy, fry or bake them until deep golden and let them cool completely before filling. Use a dry, well-drained filling—extra moisture is the main reason cannoli shells soften too fast. Pipe the filling just before serving and store filled cannoli briefly in the refrigerator, ideally in a single layer. If your shells are browning unevenly, keep the oil temperature steady and avoid overcrowding the pan.
Why does my cannoli filling taste grainy, and how can I fix it?
Grainy cannoli filling is usually caused by ricotta that wasn’t drained enough or wasn’t mixed smoothly. For a smoother Italian dessert cannoli recipe, drain ricotta thoroughly (and consider pressing it) and then beat it until creamy before adding sugar. If you’ve already made the filling, stir in a small amount of fresh ricotta or mascarpone and mix longer to restore a smooth texture. Chill the filling briefly, then re-check consistency before piping.
Which ingredients are best for an authentic Italian dessert cannoli recipe?
For authenticity, choose good-quality whole-milk ricotta for the filling and use high-heat neutral oil for frying shells. Traditional flavor comes from vanilla, powdered sugar, and often a touch of cinnamon, plus chocolate chips and candied orange or citron. For the shells, use flour, a bit of sugar, and a small amount of fat like lard or butter if you want a classic texture. Fresh, high-quality ingredients make a noticeable difference in both the cannoli shells and the cannoli filling flavor.
Best way to store cannoli and prevent the shells from losing crunch?
The best practice is to store shells and filling separately, which keeps the fried cannoli crisp. Keep shells in an airtight container at room temperature and refrigerate the filling in a sealed bowl. Assemble cannoli close to serving time—ideally within a few hours—to preserve crunch and reduce sogginess. If you must assemble ahead, pack them carefully and minimize refrigeration time until serving for the best Italian dessert cannoli experience.
References
- Cannoli
https://en.wikipedia.org/wiki/Cannoli - https://www.britannica.com/topic/cannoli
https://www.britannica.com/topic/cannoli - Treccani, il portale del sapere – Treccani
https://www.treccani.it/enciclopedia/cannoli/ - Google Scholar Google Scholar
https://scholar.google.com/scholar?q=italian+cannoli+recipe - Google Scholar Google Scholar
https://scholar.google.com/scholar?q=cannoli+filling+ricotta+sugar+recipe - Google Scholar Google Scholar
https://scholar.google.com/scholar?q=sicilian+cannoli+recipe+shell+fried+pastry - https://pubmed.ncbi.nlm.nih.gov/?term=cannoli
https://pubmed.ncbi.nlm.nih.gov/?term=cannoli - cagnoli – Books – NCBI
https://www.ncbi.nlm.nih.gov/books/?term=cannoli - https://www.sciencedirect.com/search?qs=cannoli%20recipe
https://www.sciencedirect.com/search?qs=cannoli%20recipe - Google Scholar Google Scholar
https://scholar.google.com/scholar?q=italian+dessert+cannoli+recipe


