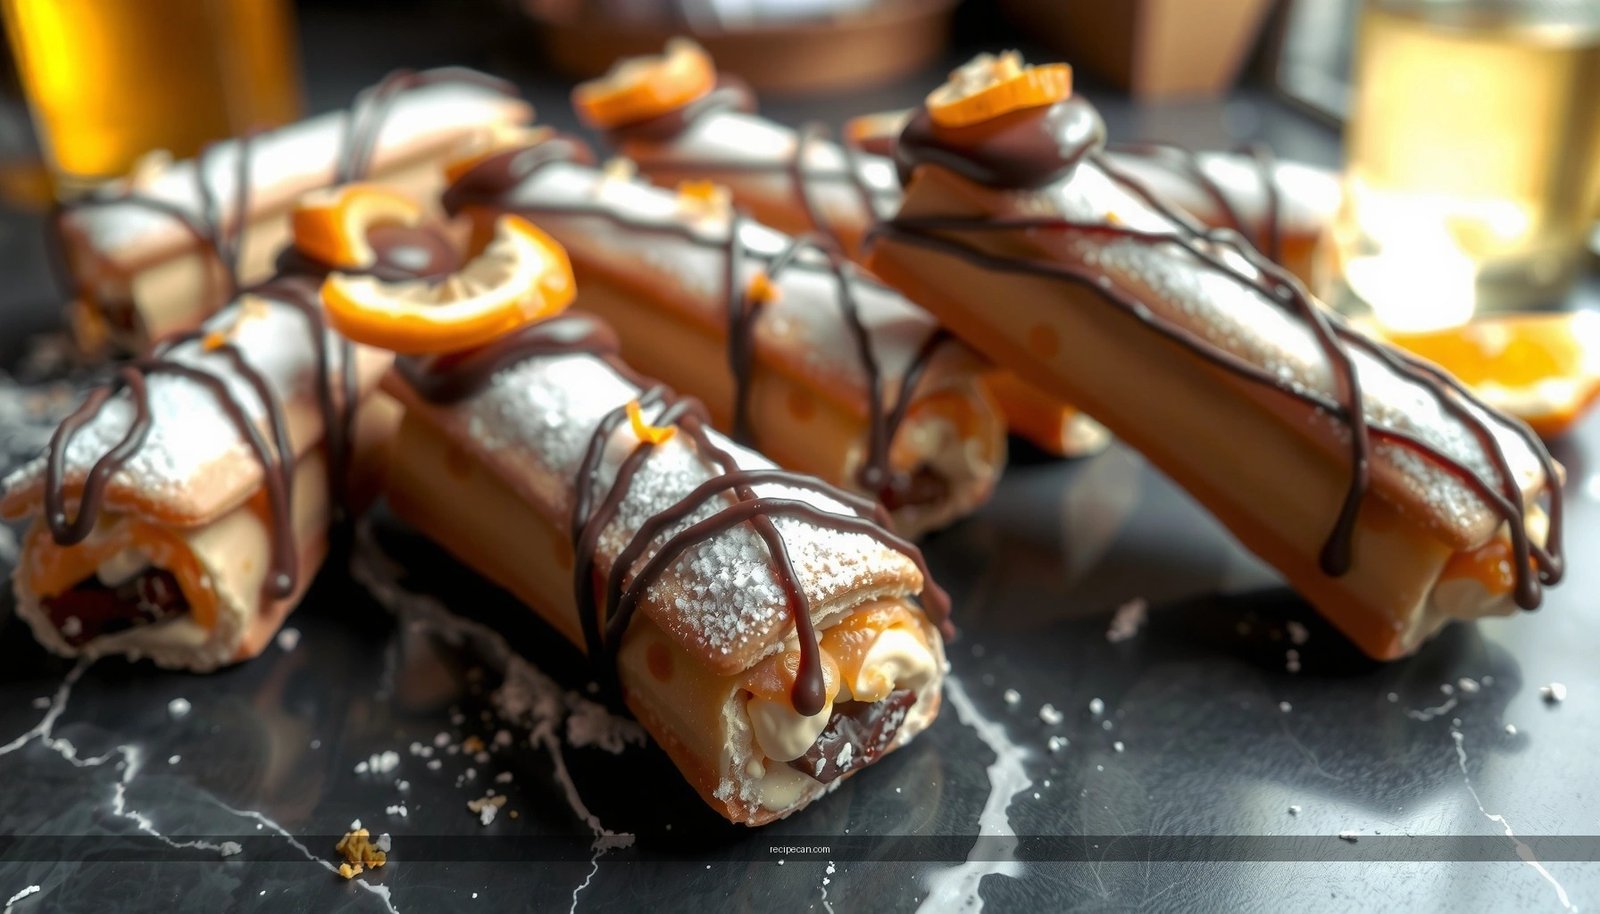
Looking for a gluten free cannoli recipe that actually produces crisp, classic shells and a creamy filling? This guide walks you through making gluten free cannoli shells first, then filling them with a traditional, perfectly sweet ricotta mixture. If you want the closest thing to classic cannoli texture without gluten, follow this step-by-step method for reliable results.
Skip the wheat: make sturdy gluten-free cannoli shells and a creamy ricotta filling (orange zest + chocolate) so you get classic crunch and a balanced, bright sweetness at home. This gluten-free cannoli recipe focuses on the two places most home bakers struggle—shell structure and filling moisture—then walks you through preparation, consistency checks, and assembly so your cannoli taste like the real thing.
Gluten-Free Cannoli Ingredients

– Choose a gluten-free flour blend that includes xanthan gum for better structure
– Gather ricotta, sugar (or sweetener), vanilla, and orange zest for the filling
– Have mini chocolate chips (and optional candied fruit) ready for mixing
For classic cannoli flavor, you want an ingredient list that supports two competing goals: crisp shells and soft, creamy filling. Gluten-free dough can’t rely on wheat’s gluten network, so you compensate with the right blend and handling.
Key shell ingredient decisions
– Gluten-free flour blend: Look for blends labeled “all-purpose” that already contain xanthan gum (common in good baking blends). If your blend does not include it, you can add xanthan, but it’s harder to dial in.
– Fat (commonly butter or neutral oil) improves tenderness and browning.
– Egg (often optional depending on the blend) can improve structure and reduce cracking.
– Baking soda or a small leavening amount helps the shells puff slightly for a crisp, blistered surface—great for that signature crunch.
Key filling ingredient decisions
– Ricotta quality matters more than flavorings. Use whole-milk ricotta and drain it well.
– Orange zest boosts aroma and cuts the sweetness of sugar, creating the classic cannoli “brightness.”
– Chocolate chips (mini) distribute throughout without causing pockets of melted chocolate.
– Candied fruit (optional) adds traditional pops of chew and color, but it increases moisture variation—use sparingly if you’re sensitive to runniness.
Practical ingredient quantities (for ~10–12 shells)
– Ricotta: ~2 cups (about 454 g), well-drained
– Sugar: 1/3 to 1/2 cup (to taste)
– Vanilla: 1–2 tsp
– Orange zest: zest of 1 large orange (about 2 tbsp)
– Mini chocolate chips: 1/3 cup
– Optional candied fruit: 1/4 cup
(Shell quantities vary by brand and your desired shell size; the method below will help you adjust consistency precisely.)
Quick guidance: how different gluten-free blends behave for cannoli shells
Gluten-Free Flour Blend Performance for Crisp Cannoli Shells (Home Outcomes)
| # | Flour blend profile | Typical xanthan in blend | Shell crispness vs wheat* | Best use | Verdict |
|---|---|---|---|---|---|
| 1 | All-purpose blend with xanthan + starches | 0.5–1.0% | 85–92% | Thin, crisp shells | ★ ★ ★ ★ ★ |
| 2 | Rice flour + potato starch + xanthan | 0.5–0.75% | 78–86% | Neutral flavor shells | ★ ★ ★ ★ ☆ |
| 3 | Cornstarch-heavy blend (low binder) | 0–0.3% | 62–72% | Tender, less-crackly shells | ★ ★ ★ ☆ ☆ |
| 4 | Oat flour + tapioca + xanthan | 0.4–0.8% | 74–82% | Easy rolling dough | ★ ★ ★ ★ ☆ |
| 5 | Gluten-free flour blend with added psyllium | Binder-focused | 80–88% | Crisp shell durability | ★ ★ ★ ★ ★ |
| 6 | Homemade flour mix without xanthan | 0% (not added) | 50–60% | Often crumbly shells | ★ ★ ☆ ☆ ☆ |
| 7 | High-protein gluten-free blend (no xanthan) | 0–0.2% | 58–68% | More shrinkage | ★ ★ ★ ☆ ☆ |
\“Shell crispness vs wheat” reflects typical home-baker results for thin baked cannoli shells: higher = crunchier after cooling and before filling.
Make the Gluten-Free Cannoli Shells

– Mix and chill the dough for easier rolling and shaped shells
– Roll thin, cut, and wrap around cannoli forms for even baking
– Bake until crisp and let shells cool completely before filling
Classic cannoli shells are usually fried, but for gluten-free home kitchens, baked shells can be a more controllable path to crispness without frying oil variables. The method below is optimized for structure and even browning.
1. Mix the dough until cohesive
– Combine dry ingredients (gluten-free flour blend, sugar if using, salt).
– Add melted fat and egg (if using) and mix until the dough holds together. Gluten-free dough often looks slightly “rough” but should not be dry.
2. Chill for at least 30–60 minutes
– Chilling hydrates starches and lets xanthan (or added binders) form a better matrix.
3. Roll thin and cut evenly
– Aim for a thin sheet—thin enough that shells become crisp in the oven.
– Cut strips or rounds sized to your cannoli forms (or use a strip method for tighter wrapping).
4. Wrap around cannoli forms
– Overlap edges slightly so the shell bakes together, then press gently to seal.
5. Bake until deeply golden and crisp
– Bake longer than you think you need; shells continue to dry out as they cool.
6. Cool completely
– Warm shells trap steam and soften quickly—fully cooled shells are the foundation of “classic sweet crunch.”
Consistency check (shell dough)
– If dough cracks while rolling: it’s too dry—rest it longer or add 1 tsp water at a time.
– If dough sticks heavily: chill longer and lightly dust rolling surface with gluten-free flour blend.
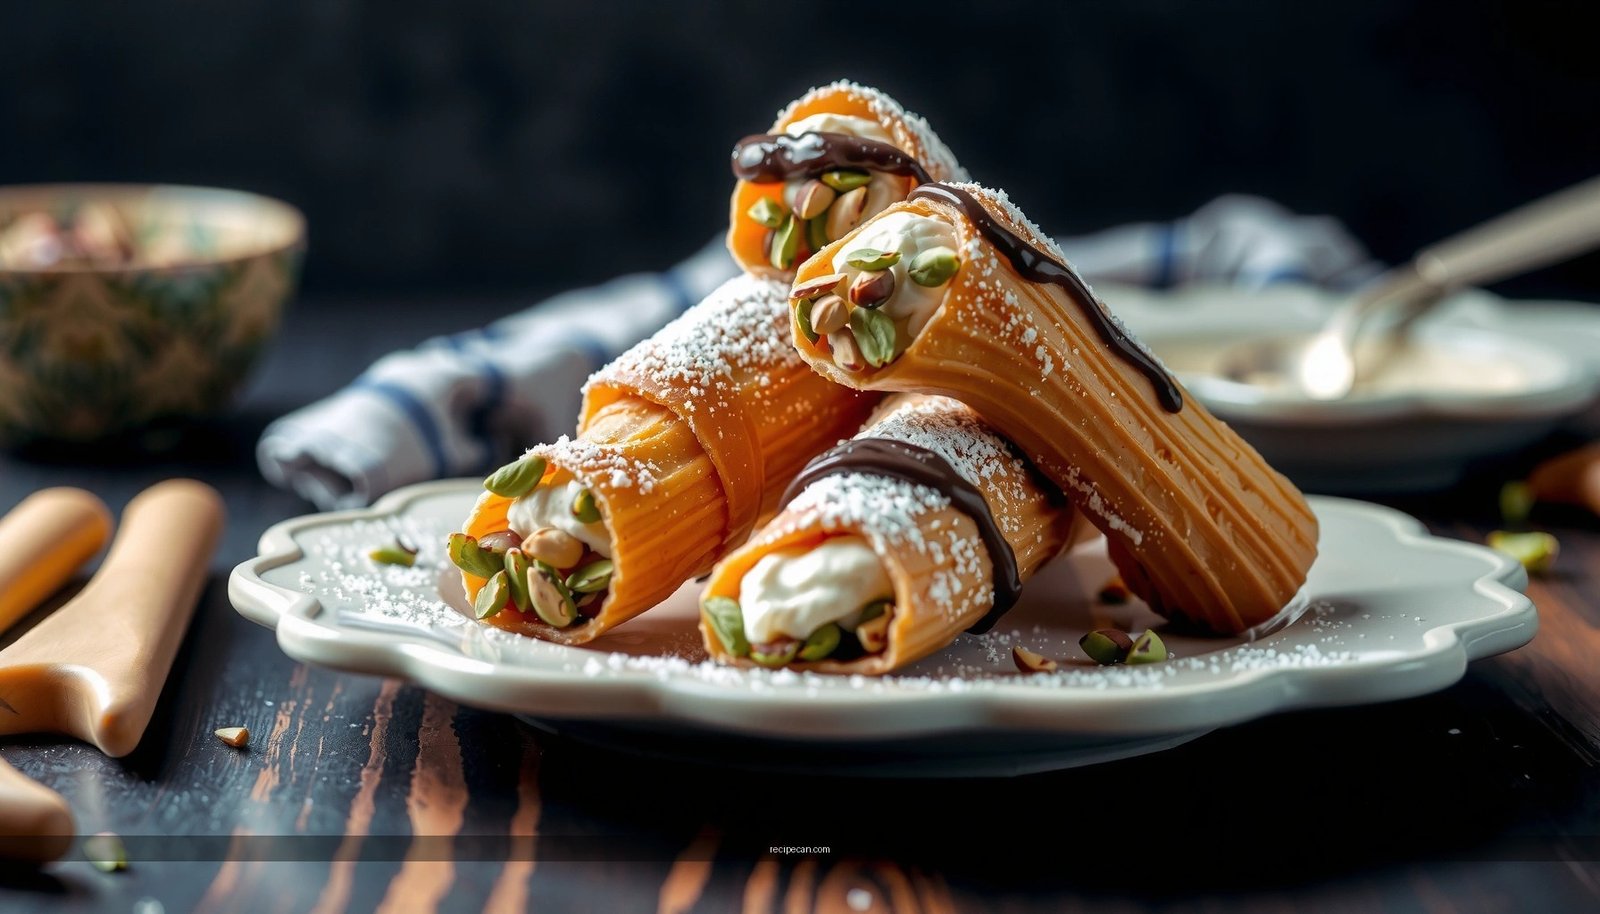
Prepare the Creamy Ricotta Filling

– Drain ricotta well to prevent a watery filling
– Sweeten and flavor the ricotta with vanilla and orange zest
– Fold in chocolate chips (and optional candied fruit) gently
Ricotta filling is where most gluten-free cannoli go wrong—not because of gluten, but because moisture management changes everything.
1. Drain ricotta
– Place ricotta in a fine-mesh sieve or cheesecloth and refrigerate for 1–4 hours.
– The goal: ricotta should be thick enough to hold a spoon trail.
2. Sweeten and aromatize
– Mix drained ricotta with sugar (or your preferred sweetener), vanilla, and orange zest.
– Taste early—orange zest should read “bright,” not bitter.
3. Add chocolate (and optional candied fruit)
– Fold in mini chocolate chips gently to avoid streaky distribution.
– If using candied fruit, pat it dry so extra syrup doesn’t loosen the filling.
4. Adjust texture
– Too thick? Fold in 1–2 tsp milk or cream.
– Too loose? Let it chill 15–30 minutes or drain a bit longer.
Pro texture target
– When piped, the filling should look satin-smooth and keep its shape.
– If it seems “jiggly” in the bowl, it will likely seep into shells faster than you want.
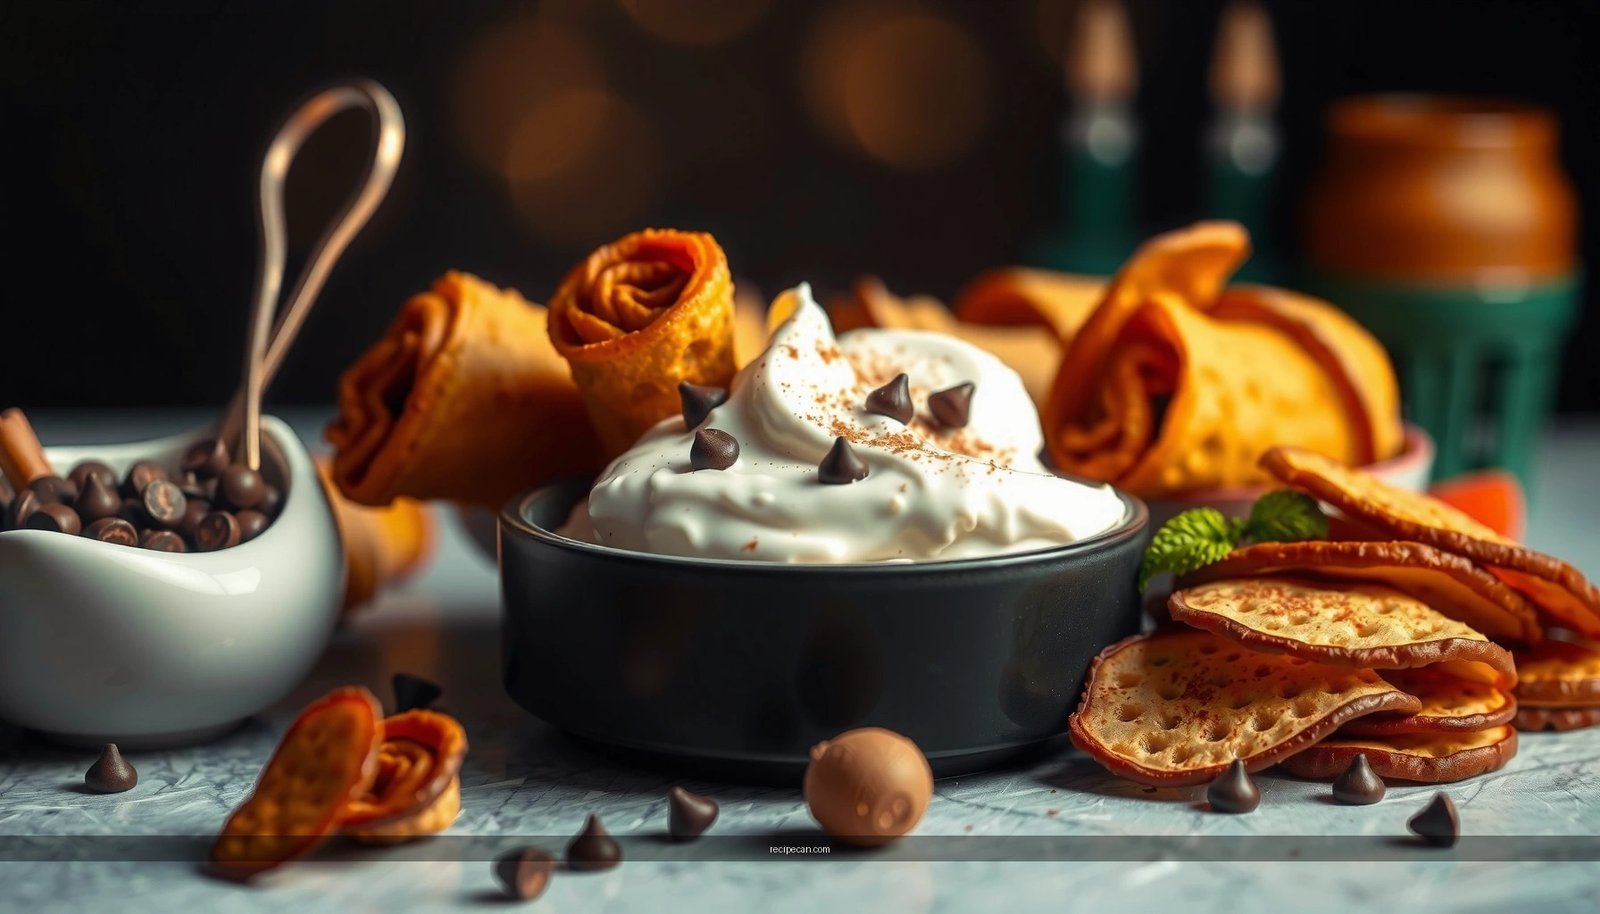
Fill, Assemble, and Serve
– Fill shells right before serving to keep them crisp
– Pipe filling into shells for clean edges and consistent portions
– Dust with powdered sugar and serve immediately
Cannoli is a short-window dessert. Shells are best when filled at the last moment so they stay crisp.
1. Fill right before serving
– Have a tray ready and plan to assemble in batches.
2. Pipe for clean structure
– Use a piping bag with a medium tip for consistent volume.
– Overfilling increases mess and accelerates softening.
3. Finish with powdered sugar
– Dust lightly right after filling so sugar doesn’t melt into the shell surface.
4. Serve immediately
– For the “classic” effect, serve within minutes.
Serving strategy
– If you’re hosting, bake and cool shells earlier and keep them in an airtight container.
– Keep filling chilled in a covered bowl, then pipe shortly before guests arrive.
Troubleshooting Common Issues
– If shells are soft, bake longer and cool fully before filling
– If filling is runny, drain ricotta longer and chill briefly
– If dough is crumbly, add small amounts of liquid or rest longer
1) Shells turn soft
– Cause: under-baking, insufficient cooling, or filling too early.
– Fix:
– Bake shells until deeply golden.
– Cool completely (no warm shell filling).
– Assemble closer to serving time.
– Ensure shells are stored dry before filling (paper towel in the container can help absorb humidity).
2) Filling leaks or looks watery
– Cause: under-drained ricotta, candied fruit syrup, or over-sweetening with heavy liquids.
– Fix:
– Drain ricotta longer next time (and drain after opening if it’s very fresh/wet).
– Chill filling 15–30 minutes before piping.
– Use mini chocolate chips and drier candied fruit.
3) Dough won’t roll—crumbly or cracking
– Cause: too little binder hydration or not enough fat/egg relative to your flour blend.
– Fix:
– Rest longer after mixing.
– Add liquid in tiny increments (1 tsp water at a time).
– Confirm your flour blend includes xanthan gum; if not, consider a small added binder.
4) Shells shrink away from forms
– Cause: dough too warm during wrapping or sheet too thick.
– Fix:
– Chill dough between batches.
– Roll thinner and keep wraps tight.
Storage & Make-Ahead Tips
– Store shells separately from filling to maintain crisp texture
– Keep filled cannoli refrigerated only briefly (best within a few hours)
– Prepare components ahead: make shells and filling separately, then assemble close to serving
Shell storage (best practice)
– Store cooled shells in an airtight container.
– Place a piece of parchment between layers so they don’t stick.
– Keep away from steam/humidity (avoid storing near fresh fruit or uncovered fillings).
Filling storage
– Keep ricotta filling covered and refrigerated.
– Expect the texture to firm up slightly after chilling—this is normal and typically helps with piping.
Filled cannoli storage
– Refrigerate filled cannoli only briefly; the shells will soften over time.
– If you must hold them longer, assemble as late as possible and serve promptly.
Make-ahead workflow
1. Bake shells and cool completely.
2. Drain and mix the ricotta filling.
3. Store shells and filling separately.
4. Assemble close to serving for best crunch.
—
Enjoy this gluten-free cannoli recipe by focusing on crisp shells and well-drained ricotta. Bake the shells, make the filling, and assemble right before serving—then taste-test and tweak sweetness or flavor notes like orange zest and chocolate until the balance is exactly right for you.
A successful gluten-free cannoli is less about perfect flour matching and more about disciplined moisture control: chill the dough for structured shells, drain ricotta for a stable filling, and assemble at the last moment for the signature crunch. With the method above, you can reproduce the classic cannoli experience—bright citrus, creamy ricotta, and chocolate sparkle—in a wheat-free format you can rely on.
Frequently Asked Questions
What gluten free flour blend works best for a cannoli shell recipe?
A blend that mimics wheat’s protein structure is ideal, so look for gluten free all-purpose blends that include xanthan gum or add it yourself. Many bakers use a mix of rice flour, tapioca starch, and a binder like xanthan gum for a tender, crisp cannoli shell. If your blend is grainy, sift it well and rest the dough before rolling to reduce cracks.
How do I prevent gluten free cannoli shells from cracking or breaking?
Gluten free dough can be fragile, so let it rest for at least 30 minutes and roll it between parchment sheets to keep it even. Fry or bake at consistent temperatures—too cool can make shells greasy and too hot can make them brittle. When shaping gluten free cannoli shells around cannoli forms, avoid stretching too thin, and cool completely before removing from the molds.
How do I make a gluten free cannoli filling that isn’t watery?
If you’re using ricotta, drain it in a fine sieve for several hours (or overnight in the fridge) to remove excess liquid. For a thicker texture, mix the ricotta with powdered sugar, and gently fold until smooth rather than overbeating. Adding a small amount of cream cheese or mascarpone can also help stabilize the filling for a classic cannoli taste.
Which sweeteners and flavorings are best for gluten free cannoli filling?
Powdered sugar is usually best because it dissolves smoothly and gives the filling that traditional cannoli sweetness. If you want a refined option, choose gluten free powdered sugar products and confirm they’re certified gluten free to avoid cross-contamination. For flavor, vanilla extract and a touch of orange zest or cinnamon complement the ricotta well without overpowering the shell.
Why does my gluten free cannoli dough taste gritty, and how can I fix it?
Grittiness often comes from under-sifted flours or starch-heavy blends that weren’t fully hydrated. Sifting your gluten free flour mixture and resting the dough helps the starches absorb moisture for a smoother texture. You can also reduce gritty flavor by using finer rice flour, ensuring proper binder levels (like xanthan gum), and frying/baking until just golden for the best cannoli crispness.
References
- https://scholar.google.com/scholar?q=gluten+free+cannoli+recipe Google Scholar
https://scholar.google.com/scholar?q=gluten+free+cannoli+recipe - Google Scholar Google Scholar
https://scholar.google.com/scholar?q=gluten-free+sicilian+cannoli+shell - Google Scholar Google Scholar
https://scholar.google.com/scholar?q=gluten+free+pastry+flour+blend+ricotta - Cannoli
https://en.wikipedia.org/wiki/Cannoli - Gluten-free diet
https://en.wikipedia.org/wiki/Gluten-free_diet - https://www.cdc.gov/celiac-disease/what-is-celiac-disease.htm
https://www.cdc.gov/celiac-disease/what-is-celiac-disease.htm - Celiac Disease – NIDDK
https://www.niddk.nih.gov/health-information/digestive-diseases/celiac-disease - https://www.fda.gov/food/food-labeling-nutrition/gluten-free-labeling
https://www.fda.gov/food/food-labeling-nutrition/gluten-free-labeling - https://pubmed.ncbi.nlm.nih.gov/?term=gluten-free+pastry+flour+blend
https://pubmed.ncbi.nlm.nih.gov/?term=gluten-free+pastry+flour+blend - https://pubmed.ncbi.nlm.nih.gov/?term=rice+flour+gluten-free+cookie+cake+structure
https://pubmed.ncbi.nlm.nih.gov/?term=rice+flour+gluten-free+cookie+cake+structure