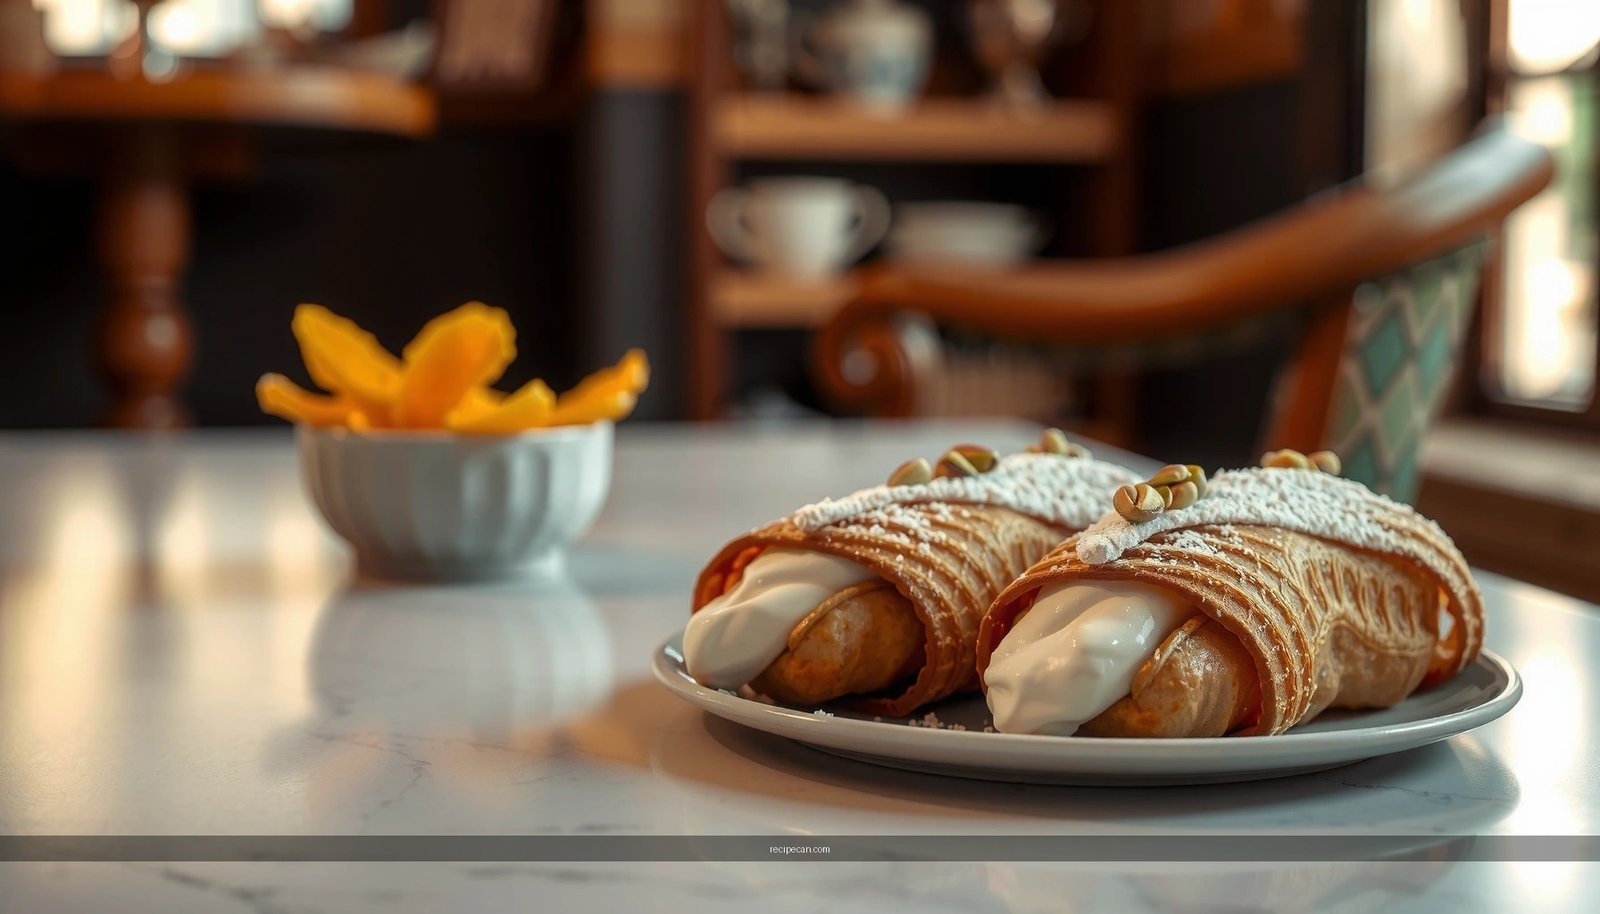
If you want a cannoli pie recipe that delivers a creamy, ricotta-rich filling inside a flaky, golden crust, this version is the clear winner. It answers whether you can get classic cannoli flavor in pie form—without soggy pastry or bland filling. Expect a sweet finish that tastes like the real thing, but comes together as an easy, sliceable dessert.
Make a cannoli pie by baking (or chilling) a flaky pie crust and filling it with a smooth ricotta mixture boosted by classic cannoli flavors—vanilla, chocolate, and optional candied fruit. The result is a creamy, sliceable dessert that tastes like cannoli, but is far easier to serve for parties, holidays, and weeknight cravings.
Ingredients for Cannoli Pie

This cannoli pie recipe balances three things: a sturdy, flaky crust; a creamy ricotta filling with the right sweetness; and cannoli-style mix-ins that create texture and “signature” flavor.
Key crust and filling ingredients
– Pie crust: 1 (9-inch) pre-made pie crust (or homemade pâte/brisée)
– Ricotta cheese: 2 pounds (whole milk ricotta gives the richest texture)
– Granulated sugar: 3/4 cup (adjust for taste; ricotta brands vary)
– Vanilla extract: 2 teaspoons
– Eggs (optional, for structure): 2 large eggs (use if you want a baked, set custard-like filling)
– Salt: 1/4 teaspoon (tightens sweetness and enhances dairy flavor)
Classic cannoli flavors & mix-ins
– Mini chocolate chips: 1/2 to 3/4 cup (more = more cannoli vibe)
– Ground cinnamon: 1/4 teaspoon (optional, but classic and aromatic)
– Orange zest: 1 teaspoon (optional; adds bright cannoli “candied citrus” notes)
– Candied fruit (optional): 1/3 to 1/2 cup, finely chopped (often a mix of citron and/or candied orange peel)
Substitutions and dietary options
– Low-fat ricotta: Works, but expect a slightly thinner mouthfeel—use an extra 1–2 tablespoons sugar or add eggs if baking.
– Part-skim + egg option: If your filling seems loose, baking with eggs can help it set cleanly.
– Dairy-free approach: Use a dairy-free ricotta-style substitute (or a well-drained blended tofu ricotta). Keep in mind texture varies; choose a product labeled “firm” or “cream cheese style” for better sliceability.
– Gluten-free crust: Swap in a gluten-free pie crust. For a crispy bottom, pre-bake (and consider brushing the crust with a thin layer of melted chocolate before filling).
—
Make the Pie Crust

Your crust is the structural foundation of this cannoli pie, so it’s worth dialing it in to prevent sogginess and ensure clean wedges.
Store-bought vs. homemade pâte
– Store-bought crust: The fastest and typically the most consistent. Choose a crust meant for single pies (not just for par-baking tarts).
– Homemade pâte (pâte brisée or pâte sablée): Provides superior flavor. Sablée has more sweetness and tenderness—brisée is more neutral and works especially well with a very sweet ricotta filling.
Pre-bake to prevent sogginess
If you’re baking the pie (or if your filling is only lightly thickened), pre-bake the crust is a near-universal upgrade:
1. Preheat the oven to 375°F / 190°C.
2. Fit the crust into the pie plate and crimp the edges.
3. Line with parchment and pie weights (or dried beans).
4. Bake 10–12 minutes, then remove weights and bake another 5–7 minutes until lightly golden.
Prick or line properly
– Docking (pricking): If you’re not using weights, prick the bottom with a fork a few times to prevent bubbles.
– Using weights: Best for a crust that bakes evenly and holds its shape—especially important with homemade dough.
Crisp-bottom optional technique
For extra insurance, brush the warm crust with:
– Melted chocolate (white or dark) or
– A thin layer of egg wash (lightly beaten egg)
This creates a barrier so the ricotta filling doesn’t soften the crust as quickly.
Key ingredient handling tip
Ricotta can be watery. If yours is loose, drain it in a fine-mesh sieve for 10–15 minutes before mixing. For the smoothest cannoli pie filling, you want creaminess without excess liquid.
—
Mix the Cannoli Filling

A classic cannoli filling is silky, sweet, and studded with chocolate (and sometimes candied citrus). For a pie, your goal is the same flavor—but with sliceable thickness and minimal graininess.
Blend ricotta for a creamy texture
1. Add ricotta to a mixing bowl.
2. Blend with a hand mixer or transfer to a food processor for 30–60 seconds.
3. Scrape down the bowl once so everything is uniformly smooth.
This step matters: if the ricotta remains lumpy, the pie will taste “cottage-cheesy” rather than cannoli-like.
Balance sweetness with vanilla and flavor boosters
– Whisk in sugar until dissolved.
– Add vanilla extract, plus optional cinnamon and orange zest for a cannoli-inspired fragrance.
– Mix until smooth—avoid overmixing if your ricotta is already very airy, since that can introduce bubbles that show up as small craters.
Fold in chocolate chips and candied fruit gently
– Fold in mini chocolate chips and chopped candied fruit with a spatula.
– Gentle folding preserves a pleasant distribution and helps prevent chocolate from bleeding color.
When to add eggs
– For baked cannoli pie: Add 2 beaten eggs to help the filling set and slice cleanly.
– For no-bake or chilled-only version: Usually skip eggs. Instead, concentrate the ricotta (drain) and consider thickening with a small amount of powdered sugar or a stabilizer like gelatin (if you prefer a firmer slice).
Filling texture reality check
– If the filling seems too loose: drain ricotta longer, chill briefly, or add eggs and bake.
– If it seems too thick: stir in 1–2 tablespoons milk (or cream substitute) to loosen.
—
Assemble and Fill the Pie
Assembling is where you lock in presentation and ensure even texture from the first to the last slice.
Pour or spoon the filling evenly
– Place the pre-baked crust on a stable baking sheet (if baking) or countertop (if chilling).
– Spoon the filling in gradually and smooth as you go. Even distribution reduces “soft spots” and improves slicing.
Smooth the top for a classic presentation
– Use an offset spatula to level the surface.
– Tap the pie plate gently on the counter to release trapped air bubbles.
Cannoli-like finishing touches
– Sprinkle extra mini chocolate chips across the top right before baking or serving.
– Optional: add a small amount of candied fruit to the center to mimic cannoli filling presentation.
One practical slicing tip
For the cleanest wedges, chill the pie (even if baked) for at least 2–4 hours. The flavors meld, and the filling firms up so it cuts without collapsing.
Cannoli Pie Texture Targets (What to Aim For)
| # | Stage | Goal Consistency | Recommended Time | Texture Score |
|---|---|---|---|---|
| 1 | Ricotta smoothing | No visible curds | 30–60 sec blending | ★★★★★ |
| 2 | Post-crust pre-bake | Light golden & set | 15–19 min total | ★★★★☆ |
| 3 | Pre-chill (optional) | Filling holds a peak | 20–30 min | ★★★★☆ |
| 4 | Baked set (edges) | Edges set; center jiggles | 35–45 min | ★★★★☆ |
| 5 | Baked set (carryover) | Wiggle settles as it cools | 15–20 min cooling | ★★★★☆ |
| 6 | Final chill for slicing | Firm, spoonable slice | 2–4 hours | ★★★★★ |
| 7 | Overbake warning | No jiggle anywhere | 45+ min (risk) | ★★★☆☆ |
—
Bake (or Chill) to Set
Cannoli pie can be baked briefly for sliceable custard structure or chilled for a softer, spoonable consistency. Choose based on how you want it to feel on the plate.
Baked version (recommended for clean slices)
1. Bake at 325–350°F / 165–175°C after filling.
2. Bake until the edges are set and the center jiggles slightly when you gently move the pan.
3. Avoid overbaking: if the center fully stops jiggling, the filling can become rubbery.
How to check doneness (simple cues)
– Good bake: edges puff slightly; center jiggles like set custard.
– Overbaked: the filling looks dry and has minimal wobble; chocolate chips can seem embedded in a firmer, less creamy matrix.
No-bake or chilled version
If you skip eggs and rely on chilled ricotta:
– Stir until fully smooth, then refrigerate at least 4–6 hours (overnight is best).
– Doneness is judged by firmness: the pie should hold shape when sliced, but still feel creamy.
Chill time tips for clean, neat wedges
– Chill fully before slicing—even baked pies benefit from additional firming in the refrigerator.
– Wipe the knife between cuts for clean lines.
– If the pie is very cold, let it sit 5–10 minutes before serving for better flavor and easier cutting.
—
Serving and Storage Tips
This dessert shines served slightly cold, allowing the ricotta to taste rich without feeling icy.
Serving temperature
– Chilled: Most consistent for neat wedges; best for baked versions.
– Room temperature (briefly): If you prefer a softer, more cannoli-like mouthfeel, pull from the fridge 10–15 minutes before serving.
Garnish like a pro
– Add extra mini chocolate chips on top (most visually “cannoli”).
– Dust lightly with powdered sugar right before serving.
– Optional: a few drops of orange zest (or finely chopped candied fruit) for bright contrast.
Storage for best freshness
– Refrigerate leftovers in an airtight container or cover tightly with plastic wrap.
– Eat within 3–4 days for optimal texture and flavor.
– For longer storage, texture may soften due to the dairy content; if you freeze, thaw in the refrigerator and expect a slightly looser slice.
—
Cannoli pie is at its best when you treat it like a system: a properly baked (or at least protected) crust, a smoothly blended ricotta filling, and careful setting through baking or chilling. Follow the crust-prep and doneness cues, fold in chocolate chips and optional candied fruit gently, and give the pie enough time to firm up—then you’ll get the creamy, flaky, sweet-finish dessert that tastes unmistakably like cannoli in an easy-to-slice form.
Frequently Asked Questions
What is a cannoli pie recipe, and how is it different from traditional cannoli?
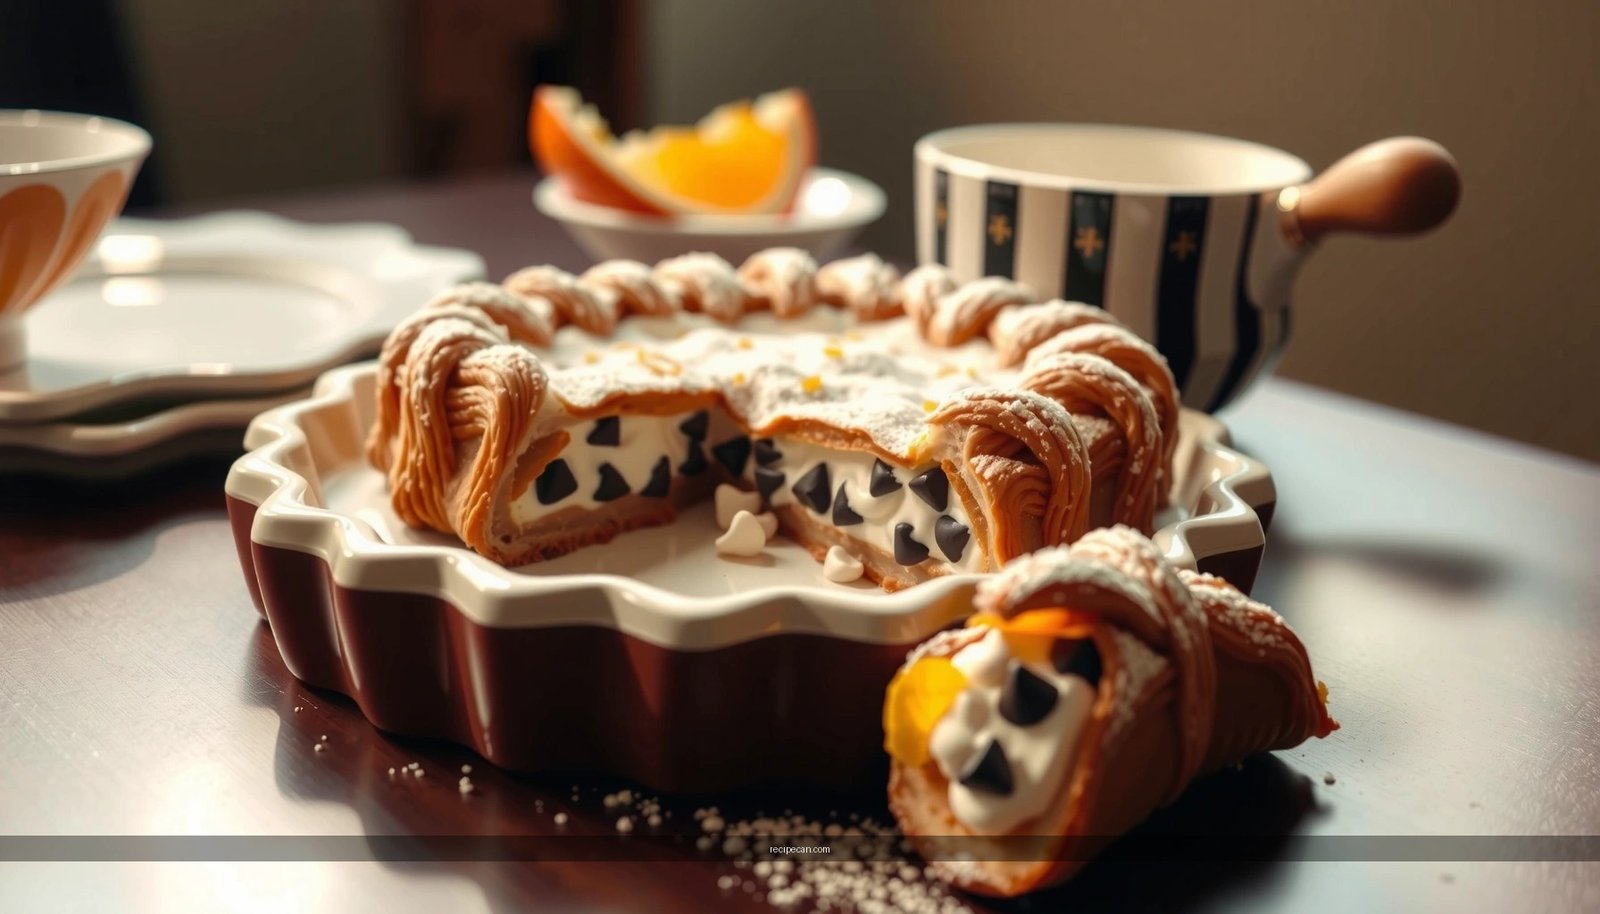
A cannoli pie recipe is a dessert that captures the classic cannoli flavors—sweet ricotta filling, chocolate chips, and citrus zest—inside a pie or tart shell instead of crisp cannoli shells. Traditional cannoli are assembled with tube-shaped shells and filled right before serving, while a cannoli pie bakes as one cohesive dessert. The result is easier to slice, share, and serve at parties, with less fuss than filling individual cannoli.
How do you make a cannoli pie recipe filling that doesn’t turn watery?
To prevent a watery cannoli pie filling, drain ricotta well and use well-chilled ricotta for better thickness. If your ricotta is especially wet, line a strainer with cheesecloth and let it drain in the fridge for a few hours before mixing. Combine ricotta with powdered sugar and fold in chocolate chips last, avoiding overmixing to keep the texture creamy.
Why do I need to temper the eggs (or bake carefully) in a baked cannoli pie?
In a baked cannoli pie recipe, eggs help the filling set, but improper temperature can cause curdling or an uneven texture. If your recipe includes eggs, add them gradually and mix just until combined, then bake until the center is set but still slightly jiggly. Let the pie cool fully and chill before slicing so the cannoli-style filling firms up without becoming grainy.
Which crust works best for a cannoli pie recipe—store-bought or homemade?
The best crust for a cannoli pie recipe depends on the texture you want, but both options can work well. A homemade sweet pastry or graham-cracker crust adds a buttery, dessert-like flavor that complements ricotta, while a store-bought pie crust or cookie crust is faster and still delicious. If you want a more “bakery-style” cannoli pie, consider blind-baking the crust briefly so it doesn’t get soggy from the ricotta filling.
What’s the best way to serve and store cannoli pie so it stays creamy?
For the best results, chill your cannoli pie recipe for several hours (or overnight) so the filling sets and slices cleanly. Serve cold with extra chocolate chips or mini cannoli topping ideas like chopped pistachios, candied orange peel, or a light dusting of powdered sugar. Store leftovers in an airtight container in the refrigerator for up to 3–4 days; avoid freezing because ricotta-based fillings can become grainy after thawing.
References
- Cannoli
https://en.wikipedia.org/wiki/Cannoli - Ricotta
https://en.wikipedia.org/wiki/Ricotta - https://www.britannica.com/topic/cannoli
https://www.britannica.com/topic/cannoli - Google Scholar Google Scholar
https://scholar.google.com/scholar?q=cannoli+pie+recipe - Google Scholar Google Scholar
https://scholar.google.com/scholar?q=cannoli+filling+ricotta+sugar+chocolate+chips - Google Scholar Google Scholar
https://scholar.google.com/scholar?q=Italian+pastry+dough+frying+canoli+cannoli - https://www.nytimes.com/search?query=cannoli%20pie%20recipe
https://www.nytimes.com/search?query=cannoli%20pie%20recipe - https://www.theguardian.com/food/search?q=cannoli%20pie%20recipe
https://www.theguardian.com/food/search?q=cannoli%20pie%20recipe - https://www.google.com/search?q=cannoli+pie+recipe+site%3Awikipedia.org
https://www.google.com/search?q=cannoli+pie+recipe+site%3Awikipedia.org - https://www.google.com/search?q=cannoli+pie+recipe+site%3Abritannica.com
https://www.google.com/search?q=cannoli+pie+recipe+site%3Abritannica.com