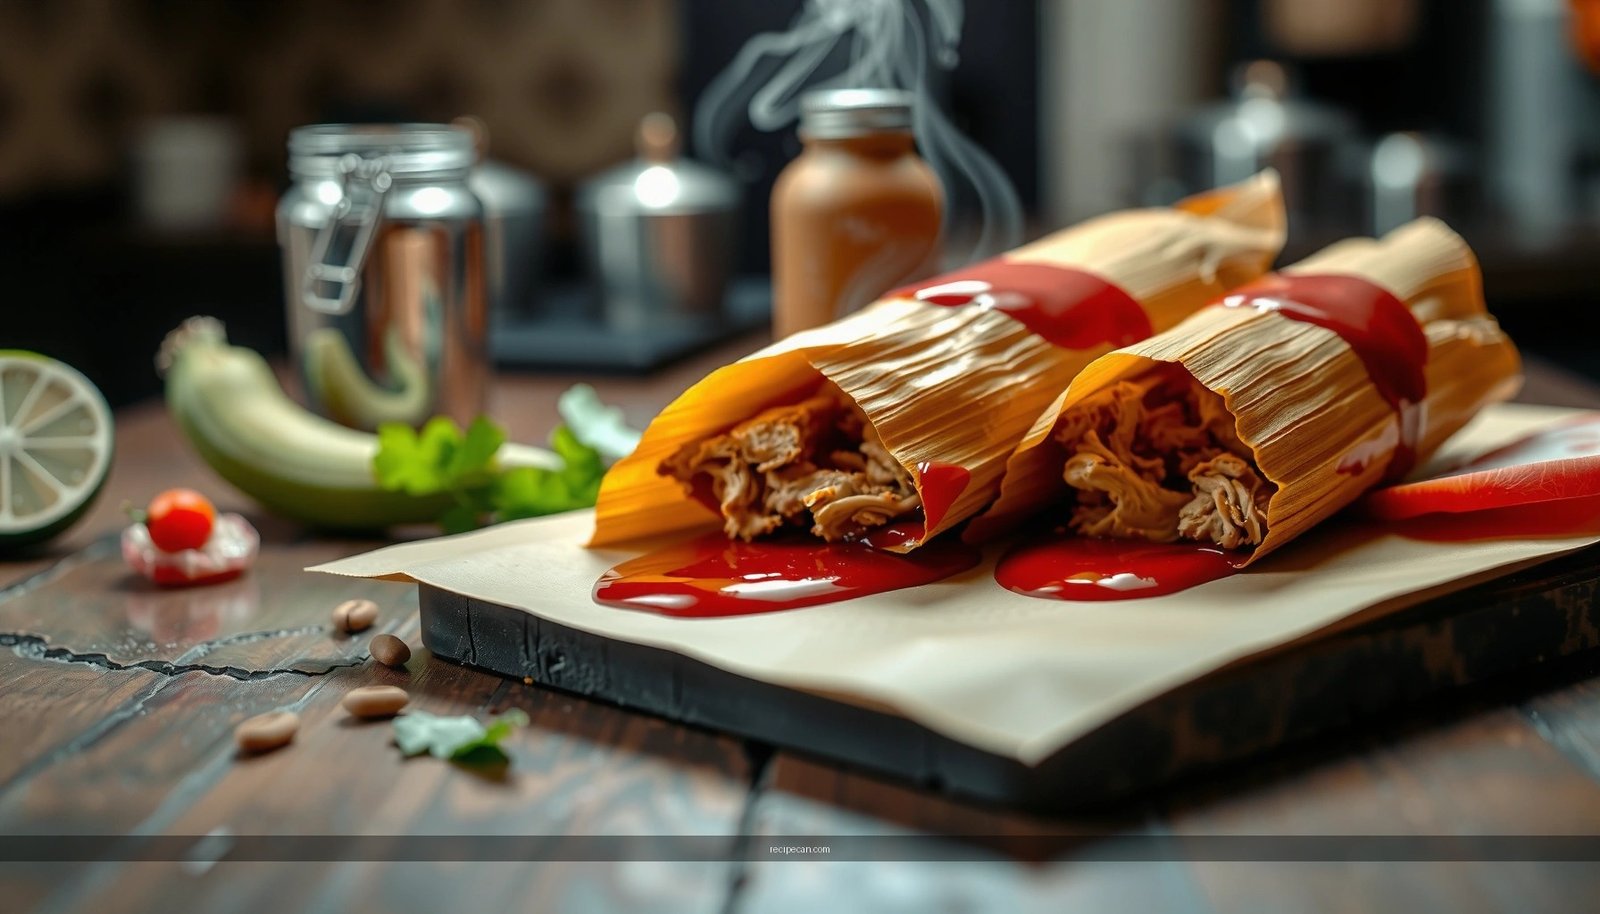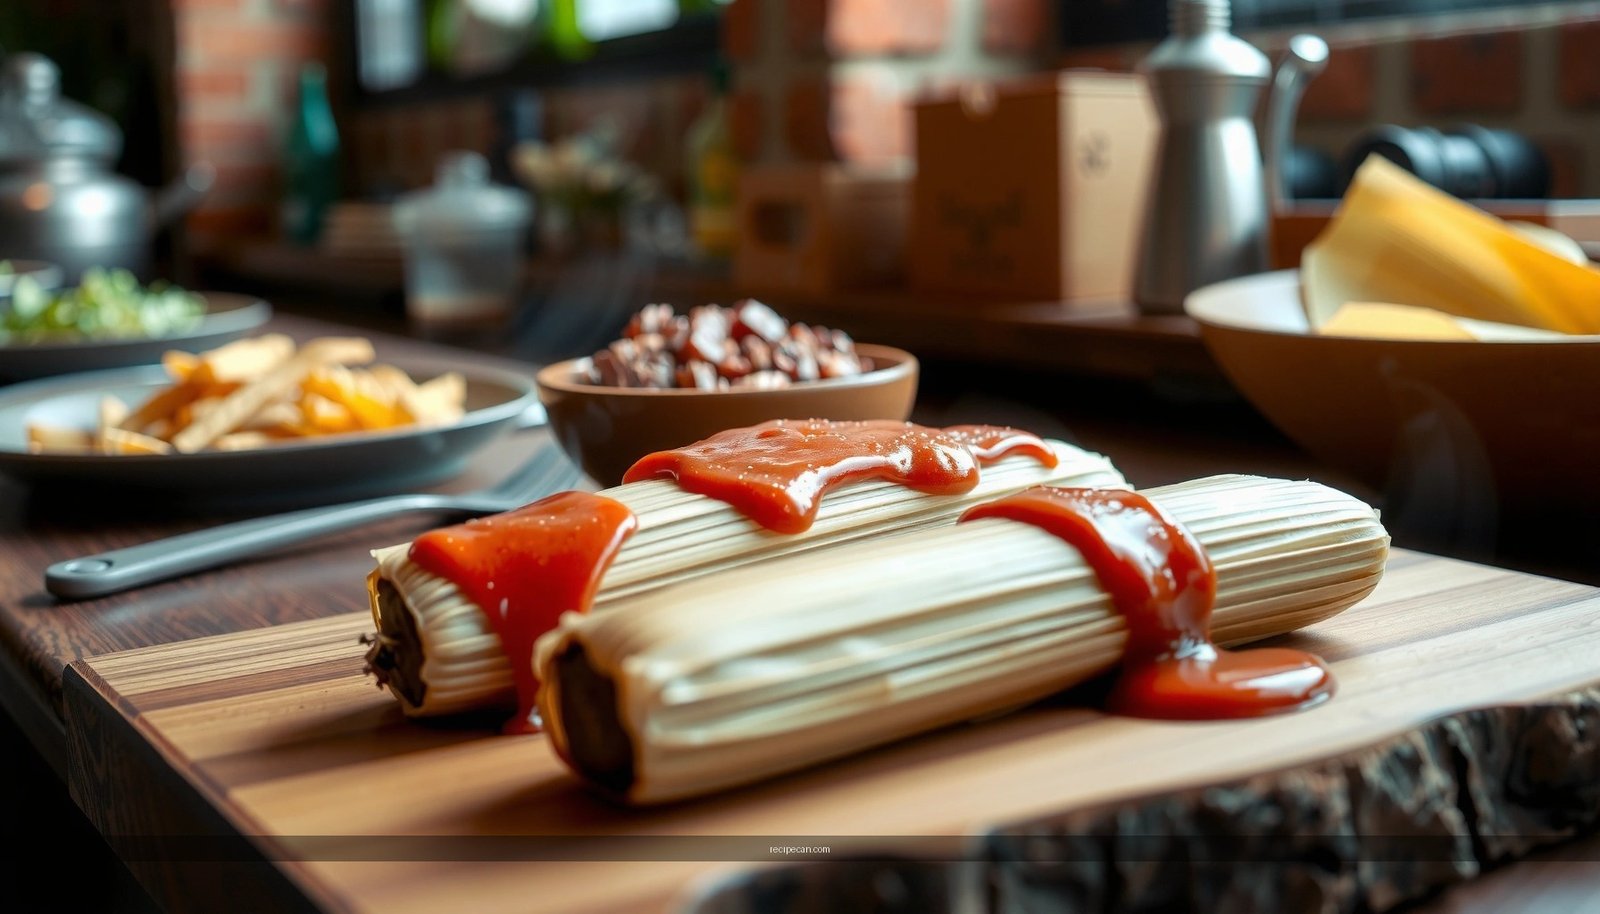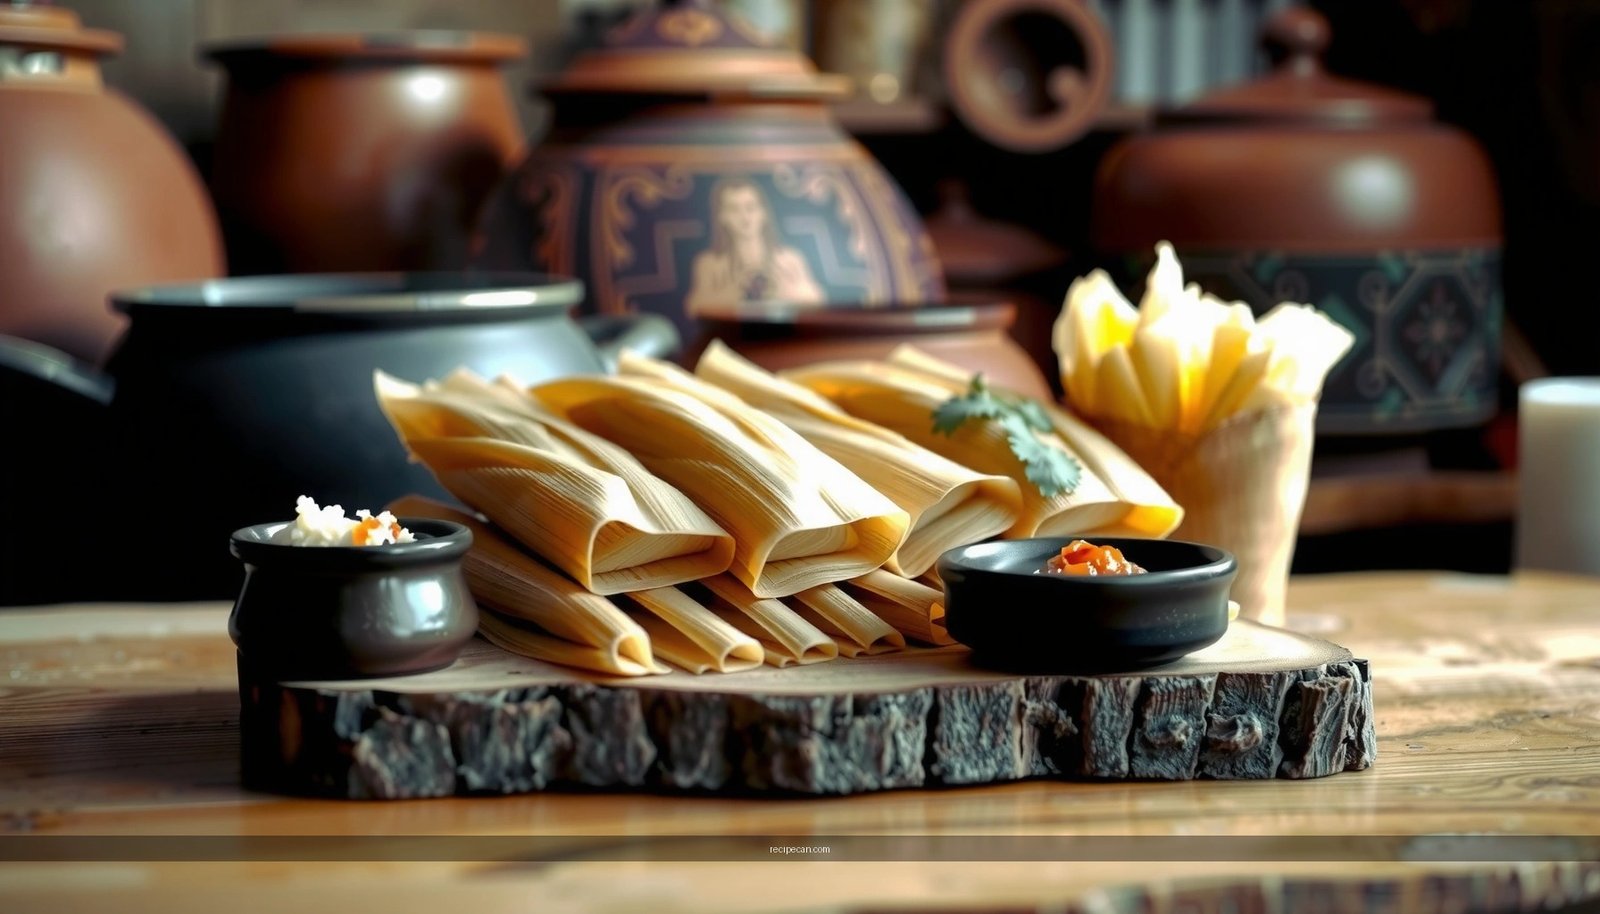
This step-by-step recipe for homemade tamales tells you exactly how to make tender, flavorful masa and a filling that cooks through—without guesswork. You’ll get clear instructions from preparing the corn husks and steaming timeline to assembling, wrapping, and checking doneness. Follow it closely and you’ll end up with tamales that hold their shape, taste homemade, and are ready to serve hot.
Homemade tamales are easier than they seem—this recipe will take you from masa to filling to steaming with clear, repeatable steps so your tamales cook evenly and unwrap cleanly. By focusing on the three control points (masa consistency, filling moisture, and steady steam), you’ll get tender, flavorful results without guesswork.
Tamales are more than a meal: they’re a process that rewards attention to detail. The technique matters because corn masa (masa harina dough) cooks in a sealed wrap under steam, so small errors—too thin masa, dry filling, or inconsistent steaming—show up immediately as gaps, uneven texture, or tough bites. The good news is that once you master the workflow, you can scale the recipe for any protein, chile level, or regional twist you want.
What Steaming Looks Like for Tamales (Practical Targets)
| # | Tamale Size | Typical Cook Time | Recommended Steam Style | Moisture Risk |
|---|---|---|---|---|
| 1 | Small (3–3.5 in, ~35–45 g masa) | 50–65 min | Keep a steady simmer; re-fill water | Low ★★★★☆ |
| 2 | Medium (4–4.5 in, ~45–60 g masa) | 70–85 min | Avoid lifting lid often | Moderate ★★★★☆ |
| 3 | Large (5–5.5 in, ~60–75 g masa) | 90–110 min | Use a rack and add water mid-cook | Higher ★★★☆☆ |
| 4 | Thicker masa layer | +10–20 min | Steam longer, don’t boil off water | Higher ★★★☆☆ |
| 5 | Filled with wetter adobo/sauce | +5–10 min | Wrap tightly to prevent leakage | Moderate ★★★★☆ |
| 6 | Beans (less oily, thicker) | 70–95 min | Ensure filling is hot before assembly | Low ★★★★☆ |
| 7 | First-time batch (smaller wraps) | 60–90 min | Test 1 tamale early; adjust timing | Moderate ★★★☆☆ |
Gather Ingredients for Homemade Tamales
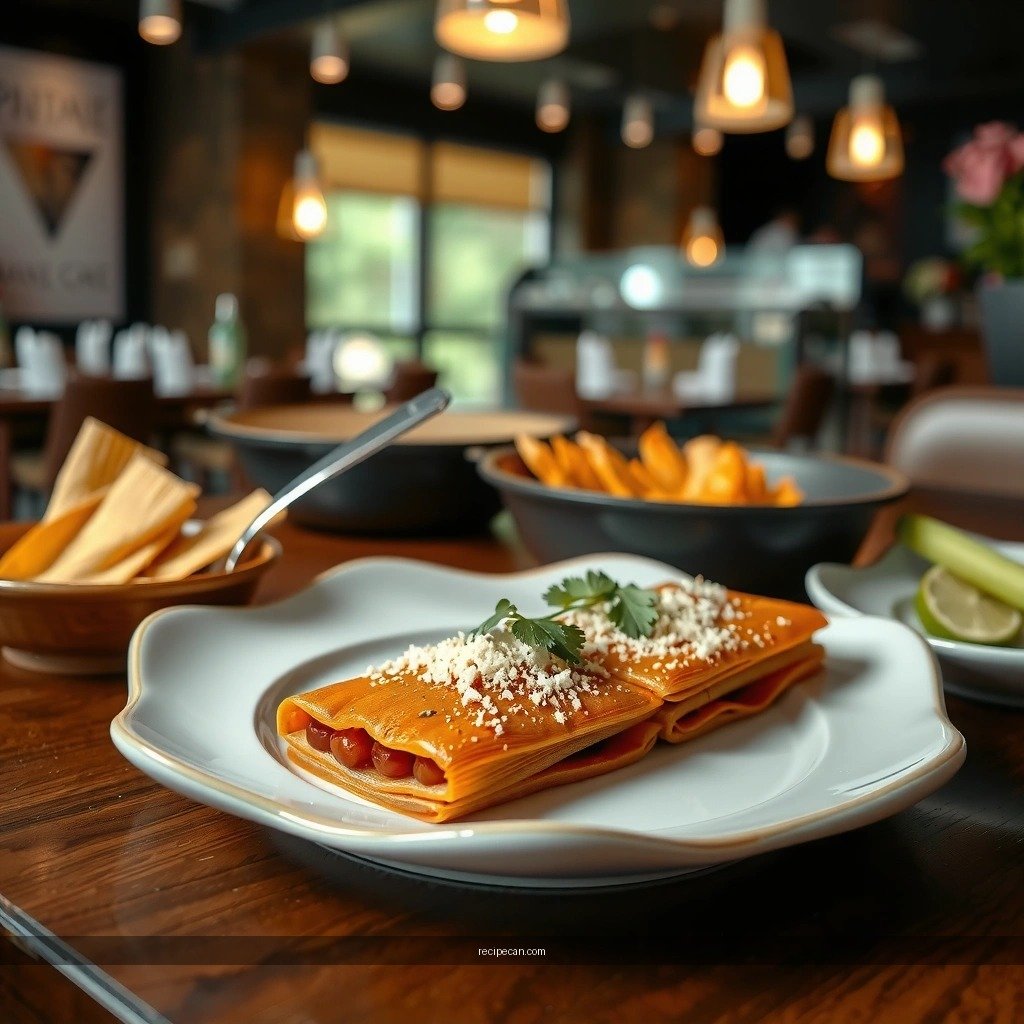
Start with ingredients that match your preferred style of tamales—then build from there. For the masa, you’ll need masa harina (corn flour made for tamales), warm broth (commonly chicken or vegetable), fat (traditional lard or a neutral oil), and salt. The goal is a masa dough that spreads smoothly yet holds its shape when wrapped and steamed.
Next, choose your filling and decide how bold you want it. Tamales are flexible: chicken, pork, and beans are classic, but you can also go with mushrooms, cheese-based fillings, or roasted chile rajas. For depth, incorporate chiles, tomato-based sauce, garlic, onion, and spices. If you’re aiming for restaurant-style flavor, use a filling that tastes complete on its own—tamales amplify whatever seasoning you pack into the center.
Finally, prepare the wrapping material. Corn husks are traditional, and banana leaves are common in some regions and cuisines. Either way, ensure your husks/leaf material can withstand steam without tearing. If husks are old and brittle, soaking them longer will reduce ripping during assembly.
Pro tip: Plan for leftovers of both masa and filling. It’s better to have extra than to run short mid-assembly.
Prepare the Corn Husks for Steaming
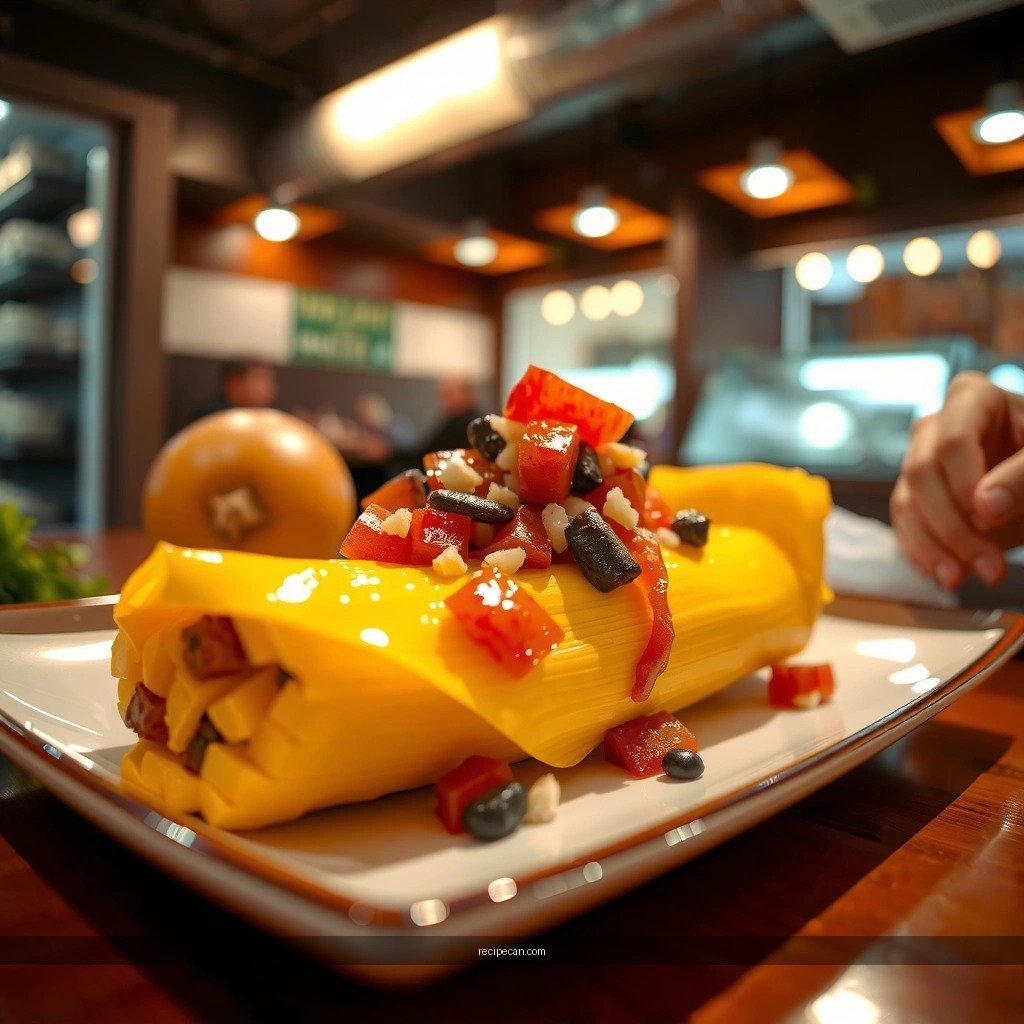
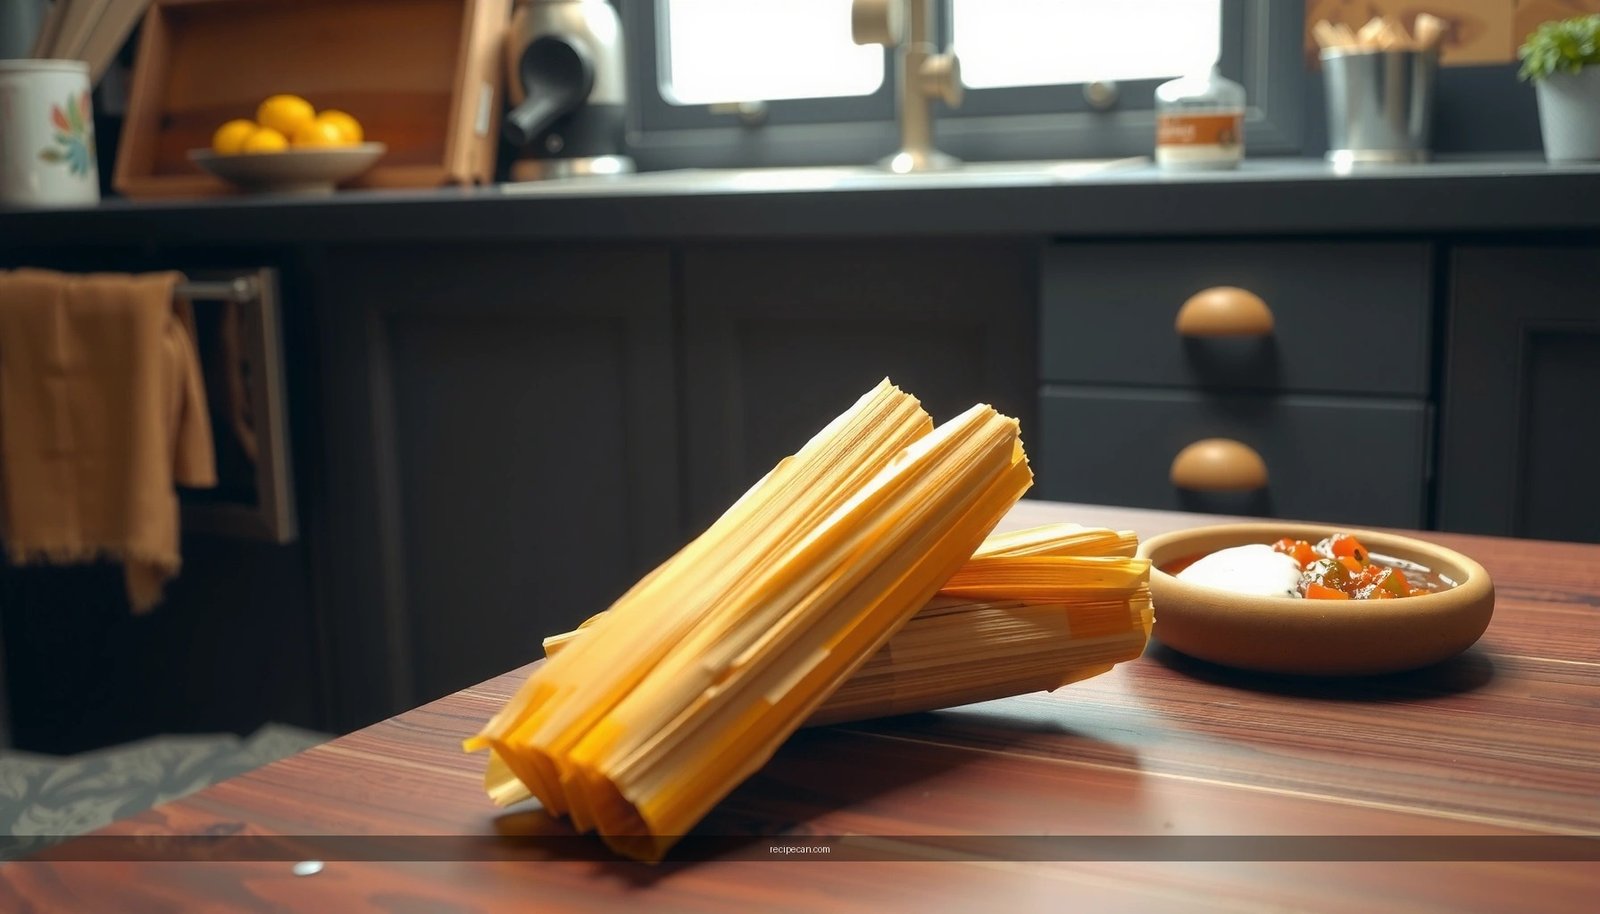
Corn husks are both packaging and quality control: if they’re too dry, they crack; if they’re soaked too long without draining, they become slippery and won’t form a clean seal. Soak husks in warm water until pliable—typically 30–60 minutes, depending on how dry they are—then drain and keep them slightly damp.
As you prep, inspect each husk for damage. Remove thick, hard segments if needed, and separate husks that stick together. The goal is consistent folding, especially along the seam where masa edges meet. If you want an even seal, trim uneven ends so folded tamales sit neatly in the steamer.
Set up an assembly-friendly workspace before mixing masa. You’ll move faster when everything is within reach: husks, a small bowl of water (to help smooth sticky masa), your filling spoon, and a tray to hold wrapped tamales. This reduces handling time and prevents husks from drying out before they’re wrapped.
Quality check: A good husk should bend without tearing and should remain flexible enough to close around the masa-filling sandwich.
Make the Masa for Tamales
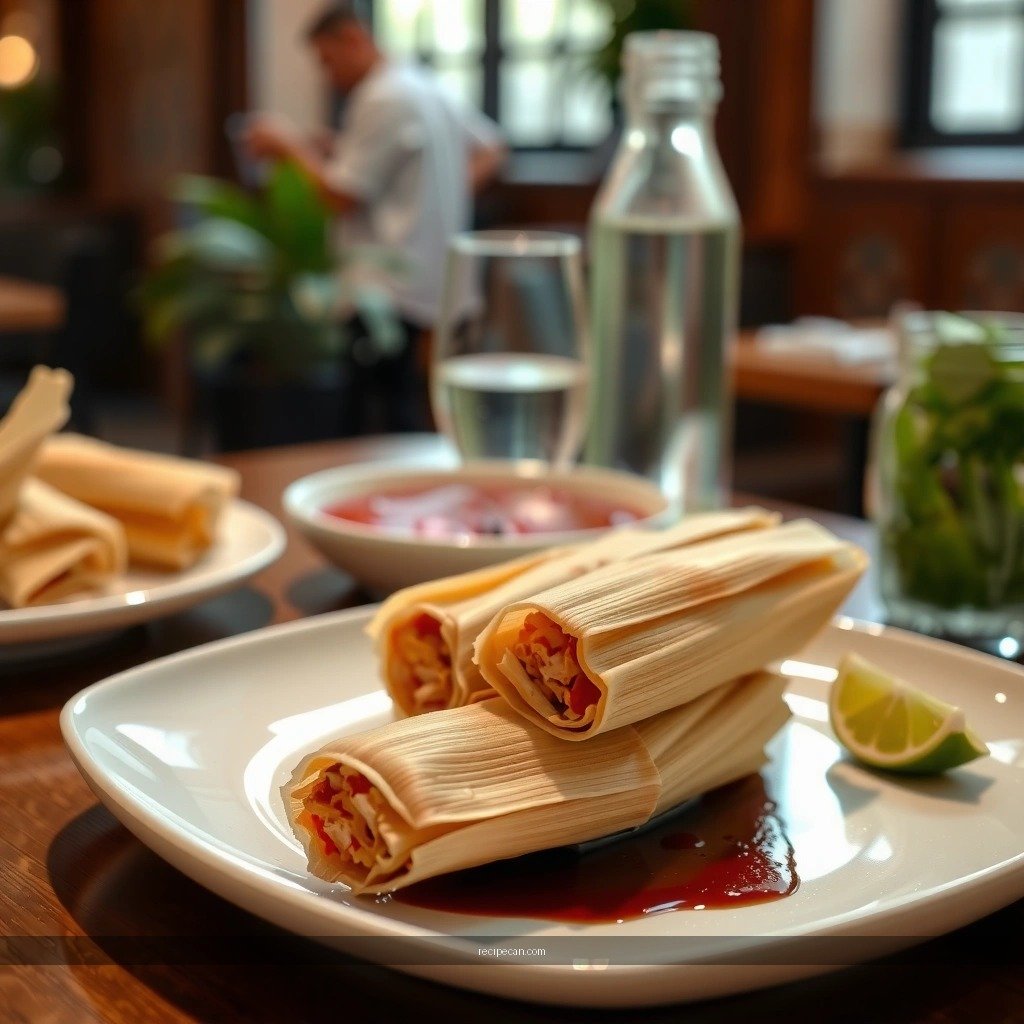
Masa is the heart of homemade tamales, and the right technique creates tender texture rather than gummy dough. Combine masa harina with warm broth and fat (lard or oil), then mix until smooth and spreadable. Using warm broth helps the masa hydrate evenly and supports a consistent steam cook.
Seasoning is equally important. Add salt and taste the masa before you assemble. While tamales often feature strongly seasoned fillings, the masa itself should be pleasantly seasoned—think “balanced,” not bland. If your masa tastes flat, the finished tamales will too, even if your filling is excellent.Consistency is the difference between easy assembly and messy, uneven results:
– Thicker masa spreads less easily but holds shape better in the wrap.
– Slightly thinner masa spreads faster but can lead to tears, gaps, or leaks if you don’t wrap tightly.
If you’re aiming for precision, do a quick practice spread on one husk. You want a layer that covers the surface without becoming so thick that tamales take longer to cook.
Benchmarks you can use: When spooned, masa should mound and settle slowly; when spread, it should form an even layer with soft ridges that flatten under gentle pressure.
Prepare the Tamale Filling
Your filling must be fully cooked and flavorful, but it also needs the right moisture level. Cook your protein thoroughly—chicken until tender and shreddable, pork until easy to pull apart, or beans until creamy and thick. Then cool it slightly before assembly so it doesn’t melt or loosen the masa.
Seasoning should be deliberate. Salt, chiles, garlic, and spices (like cumin, oregano, or smoked paprika) should all be present in a way that reads clearly when you taste the filling. If you rely on only mild seasoning, the steamed masa can dilute flavor, leaving tamales tasting “muted.”
Moisture control is the hidden variable that determines texture inside the wrap. A filling that’s too dry may never fully reheat in the steamer, resulting in underwhelming centers. A filling that’s too wet can seep, cause weak seams, or prevent masa from setting properly. Aim for “saucy but scoopable”—the mixture should cling to a spoon, not run freely.
Practical approach: If your sauce is watery, simmer longer or reduce it. If it’s too thick, loosen with a splash of broth or water—just enough to spread evenly.
Assemble Tamales the Right Way
Assembly is where accuracy becomes visible. Lay out a softened corn husk with the wider end facing you. Spread masa in an even layer—don’t overfill, because too much masa makes sealing hard and increases cook time.
Add filling to the center, leaving a border so you can close the tamale. Overfilling is a common reason tamales leak, especially with saucier fillings. Keep the filling mound compact so it stays inside when you fold.Fold the husk to wrap the masa and filling. Secure with tie strips or natural folding seams if that’s your usual method. If you’re tying, use consistent tension—tight enough to hold shape during steaming, but not so tight that you squeeze out filling.
Placement in the steamer also matters. Arrange tamales upright or seam-side down to prevent gaps. When tamales sit with seams facing upward, steam can force filling into the masa edges, leading to uneven texture and potential leaks.
Assembly tip for beginners: Wrap one tamale first as a “test run.” That lets you dial in your masa thickness and filling amount before committing to the entire batch.
Steam Homemade Tamales Until Tender
Steaming is a controlled, time-and-temperature process—not a boil. Use enough water to generate steady heat and steam throughout the cook. If your steamer runs dry or water boils away, you’ll end up with uneven cooking and tough masa edges.
Start with a steady simmer, then maintain it. Check periodically and add water as needed so the water level stays consistent. Avoid lifting the lid frequently, because every lift releases steam and extends cook time unpredictably.
How do you know tamales are done? Look for signs of set masa: the masa should feel firm yet tender, and it should pull away from the husk more easily. For extra confidence, test one tamale early in the process—especially on your first attempt—then adjust time in 5–10 minute increments.
Cook times vary based on tamale size, masa thickness, and the moisture content of the filling. As a general rule, smaller tamales cook faster, and thicker wraps require longer steam. If you’re scaling up to a large batch, allow extra time for the steamer to fully reheat after you add tamales.
Once steamed, let tamales rest briefly before serving. This helps the masa set further and makes unwrapping cleaner.
Freshly steamed tamales should be tender, flavorful, and easy to unwrap—follow the masa consistency, proper wrapping, and steady steaming time for best results. Make this recipe once, note what you’d like more or less of (spice, filling, sauce), and then try a new filling variation for your next batch.
If you want the fastest path to repeat success, keep a simple “batch log” (masa thickness, filling reduction level, and steam duration). Tamales become easier each time you refine these three controls—until your homemade tamales consistently come out tender, structured, and delicious.
Frequently Asked Questions
How do you make homemade tamales from scratch step by step?
Start by preparing the masa (corn dough) with masa harina, fat like lard or vegetable shortening, baking powder, and broth for a smooth, spreadable consistency. Make a flavorful filling (commonly pork in red or green chile sauce), then assemble by spreading masa on soaked corn husks, adding filling, and folding into a tidy package. Steam the tamales until the masa firms and separates slightly from the husk, typically 60–90 minutes depending on size. Let them rest so they set fully before serving.
What’s the best masa consistency for homemade tamales, and how do you test it?
The best masa for tamales is creamy and spreadable, not runny, and it should hold its shape when you spread it on the husk. A common test is the “float test”: a small pinch of masa should float in cool water, indicating adequate fat and hydration. If it’s too thick, mix in a little warm broth; if it’s too soft, add a bit more masa harina until it thickens. Getting the texture right is key for tamales that steam evenly and taste rich.
Which corn husks should you use for tamales, and how do you soak them?
Use fresh or dried corn husks that are pliable and free of mold or strong sour odors. For dried husks, soak in warm water 1–2 hours (or until flexible) so they don’t tear when you fold the tamales. You can weigh them down with a plate to keep them submerged, then drain and pat them lightly so excess water doesn’t affect assembly. Well-soaked husks make it much easier to wrap and help the tamales steam properly.
Why do my homemade tamales fall apart or have dense masa, and how can I fix it?
Tamales often fall apart when the masa is too wet or the filling is overpacked, preventing the masa from setting during steaming. Dense tamales usually come from under-whipped masa, insufficient leavening (like baking powder), or steaming too briefly. Use a consistent broth-to-masa ratio, whip the masa until light and fluffy, and steam at a steady boil with enough water in the pot throughout cooking. If you’re unsure doneness, check for firms sets around the edges and that the masa pulls away slightly from the husk.
How long do you steam tamales for, and how do you know they’re done?
Steam homemade tamales for about 60–90 minutes, maintaining a steady simmer or boil in the steamer pot. Start checking after the first hour by unwrapping one tamal: the masa should look fully cooked and feel firm, not sticky or doughy. If needed, continue steaming in 10–15 minute intervals, adding water as required so you don’t interrupt steam. Proper steaming ensures the corn masa is cooked through and the tamales hold together when sliced or served.
References
- Tamale
https://en.wikipedia.org/wiki/Tamale - https://www.britannica.com/topic/tamale
https://www.britannica.com/topic/tamale - Moon Shot
https://www.smithsonianmag.com/arts-culture/how-to-make-tamales-180965582/ - https://www.bbc.co.uk/food/recipes/tamales_79631
https://www.bbc.co.uk/food/recipes/tamales_79631 - https://www.theguardian.com/food/2013/dec/03/tamales-recipe
https://www.theguardian.com/food/2013/dec/03/tamales-recipe - https://cooking.nytimes.com/recipes/1019120-tamales
https://cooking.nytimes.com/recipes/1019120-tamales - Google Scholar Google Scholar
https://scholar.google.com/scholar?q=homemade+tamales+recipe+masa+harina - Google Scholar Google Scholar
https://scholar.google.com/scholar?q=tamales+corn+dough+nixtamalization+study - Google Scholar Google Scholar
https://scholar.google.com/scholar?q=tamales+cooking+process+steaming+corn+husks - tamales masa nixtamalization – Search Results – PMC
https://www.ncbi.nlm.nih.gov/pmc/?term=tamales+masa+nixtamalization