If you want an easy green chile cheese tamales recipe with step-by-step instructions, this is the fast path to tamales that actually hold together and taste like the ones you crave. You’ll get clear directions for prepping the masa, filling each tamale with melty cheese and green chile, and steaming until they’re perfectly tender. The result is simple enough for weeknights, but reliable enough to serve to guests without surprises.
Green chile cheese tamales are easiest when you nail the masa texture, prep pliable corn husks, and assemble consistently before steaming for even doneness. This step-by-step recipe walks you through everything—from seasoned masa to a hearty green chile-and-cheese filling—so you end up with tender tamales and a gooey, savory center every time.
Gather Ingredients and Tools
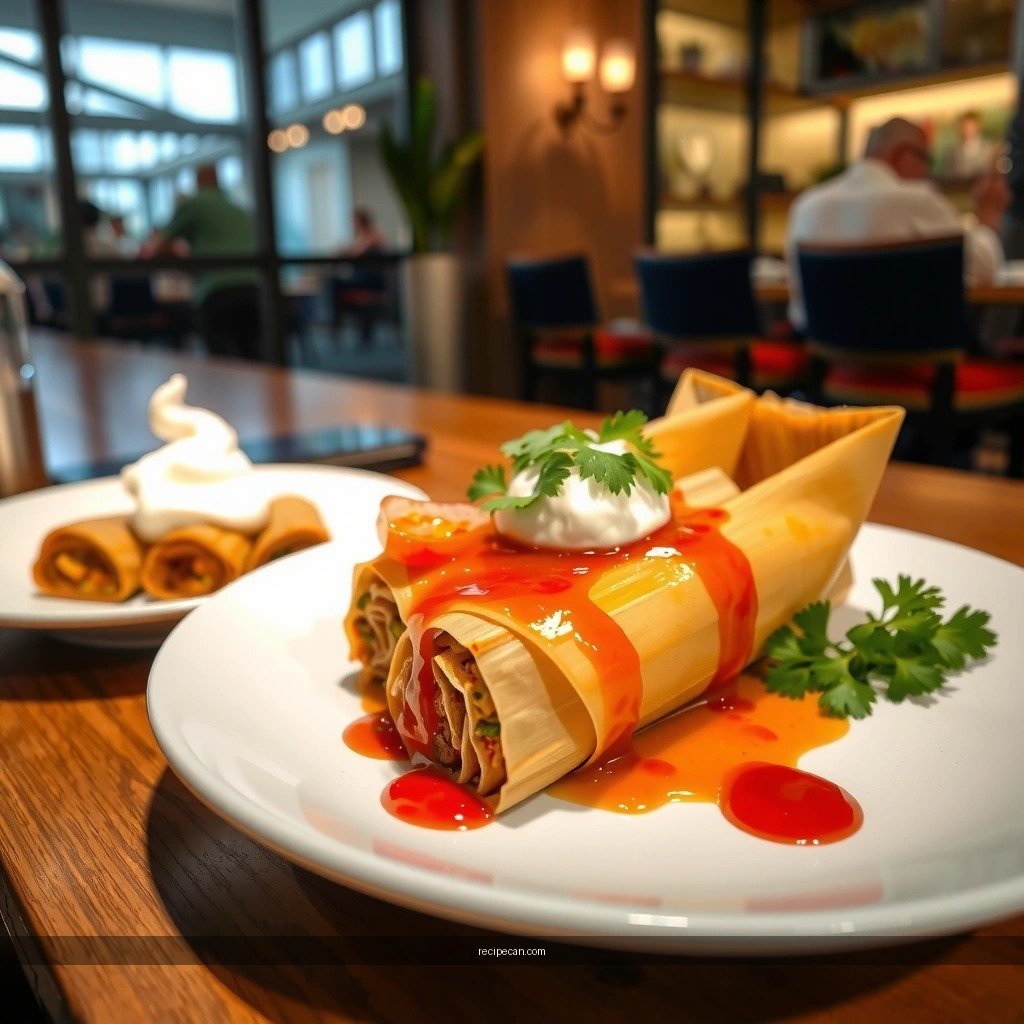
Before you start, treat tamale-making like a production process: gather everything so you can focus on technique. The good news is that green chile cheese tamales rely on a short ingredient list, and most “special” items are pantry staples.
– Masa harina (corn flour for tamales)
– Broth (chicken or vegetable; warm for mixing)
– Green chiles (roasted or canned, depending on what you have)
– Cheese (shredded—choose melt-friendly options)
– Corn husks (dried; the classic wrapping)
Optional add-ins for more depth
– Garlic (minced or garlic powder)
– Cumin (a pinch in the masa or filling)
– Chopped peppers (jalapeño or poblano for extra heat)
– Dried oregano (light touch; works well with roasted chiles)
Recommended cheese choices
– Monterey Jack and Asadero are common because they melt smoothly.
– If you want a sharper flavor, mix in queso fresco (use sparingly so it doesn’t get crumbly).
Tools that make the process efficient
– Large steamer or steamer insert that fits inside a big pot
– Large pot for steaming liquid
– Tongs or heat-safe gloves
– Kitchen twine or tamale ties (optional but helpful for consistent folding)
– Clean towel or sheet pan for holding assembled tamales upright
If you’re scaling for a crowd, decide early how many tamales your steamer holds comfortably—overcrowding is one of the most common causes of uneven steaming.
Reference: ingredient-to-output planning
Typical Masa & Assembly Yields per Amount of Masa Harina
| # | Masa harina (cups) | Approx. tamales | Ideal husk size | Steaming time | Consistency score |
|---|---|---|---|---|---|
| 1 | 2 cups | 10–12 | Medium | 70–85 min | ★★★★☆ |
| 2 | 3 cups | 15–18 | Medium–large | 75–95 min | ★★★★★ |
| 3 | 4 cups | 20–24 | Large | 85–105 min | ★★★★☆ |
| 4 | 5 cups | 25–30 | Large | 95–115 min | ★★★★☆ |
| 5 | 6 cups | 30–36 | Extra-large | 105–130 min | ★★★☆☆ |
| 6 | 7 cups | 35–42 | Extra-large | 115–145 min | ★★★☆☆ |
| 7 | 8 cups | 40–48 | Extra-large / multiple batches | 130–160 min | ★★☆☆☆ |
Prepare the Corn Husks
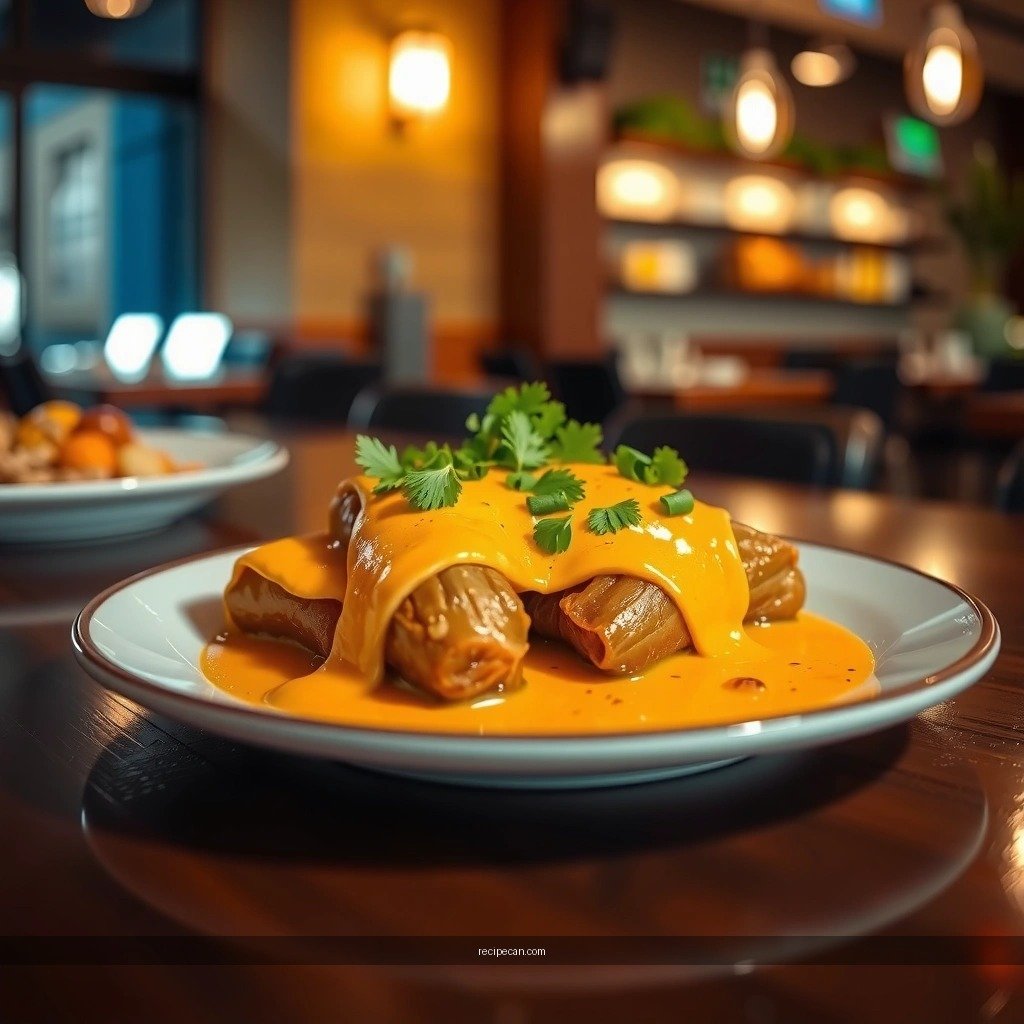
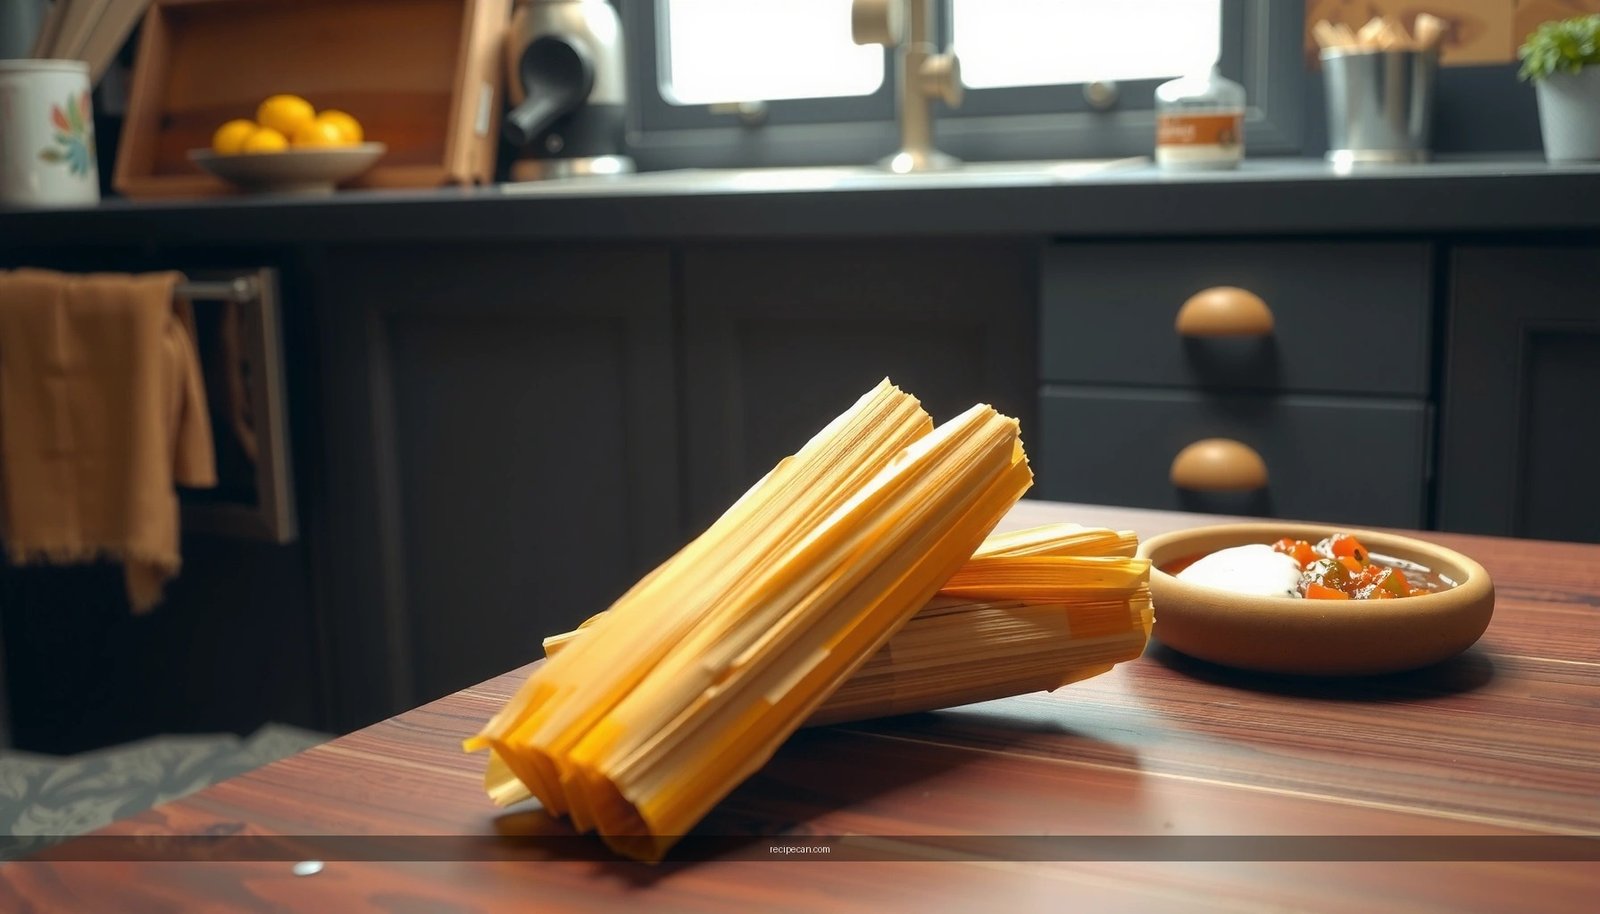
Corn husks are more than packaging—they’re part of the cooking performance. If they’re not pliable, you’ll get rips, leaks, and uneven steaming.
Soak until flexible
– Submerge dried husks in warm water for 30–60 minutes (or until they bend without cracking).
– If husks are very dry, soak longer and refresh the water to avoid discoloration.
Trim and flatten
– Remove any hard stem ends and tear off the very brittle sections.
– Spread husks on a towel so you can quickly identify which ones are best for folding.
Drain briefly
– After soaking, drain for 5–10 minutes so excess water doesn’t make the masa watery.
– Target: husks should be moist enough to fold, not dripping.
Practical technique
Lay a husk flat and press gently with your palms. A good husk should flex with minimal resistance.
Make the Green Chile Cheese Filling
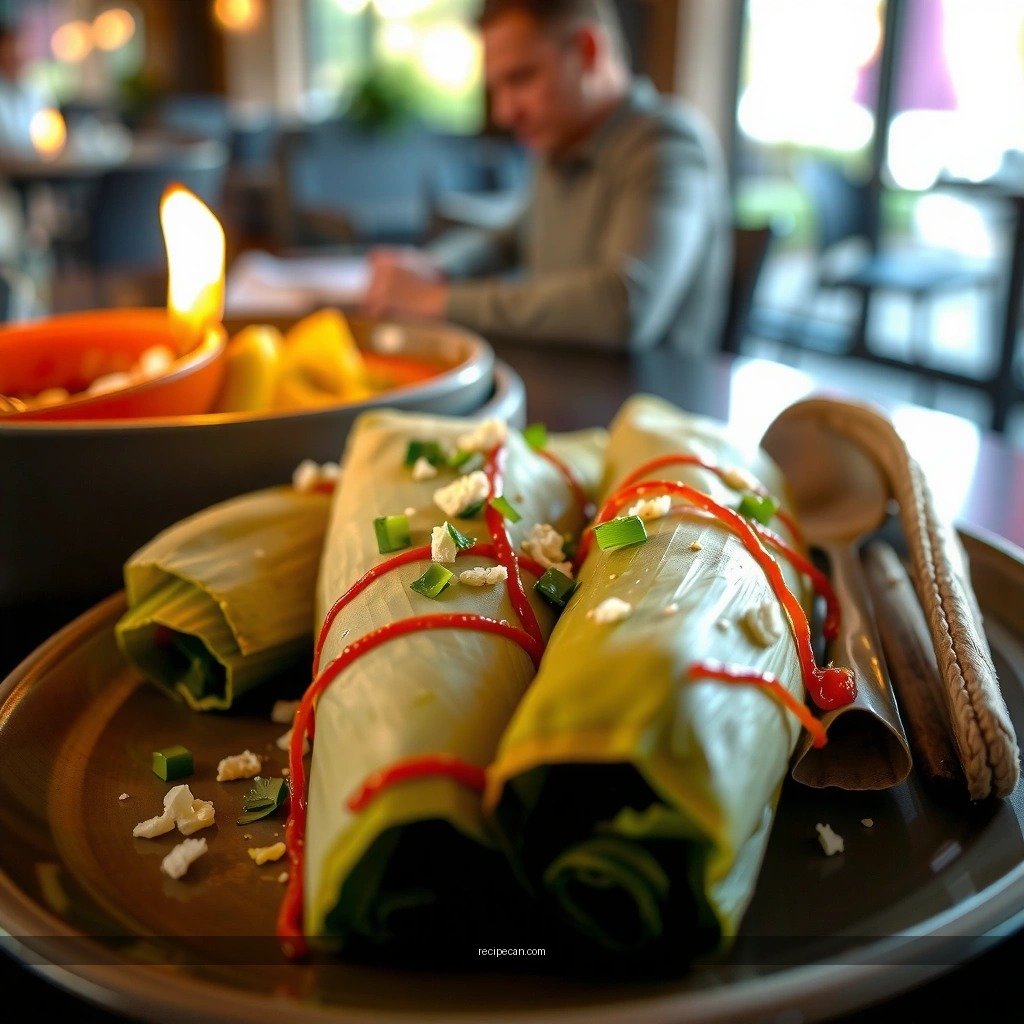
A strong green chile cheese filling is thick, seasoned, and ready to bind with melted cheese. This is where “easy tamales” become “restaurant-quality tamales.”
Choose your green chiles
– Canned/roasted green chiles: faster and consistent.
– Fresh roasted: deeper smokiness and a more complex chile profile.
Build the filling
– Chop roasted or canned green chiles (including some juices for flavor).
– Combine with shredded cheese until it looks evenly distributed.
– Season with salt and black pepper; add cumin if you enjoy a warm, earthy note.
Key consistency rule
You want filling thick enough that it stays in the center and doesn’t dissolve into a watery layer. If it seems loose, warm it briefly and stir until excess moisture reduces, or add a bit more cheese.
Flavor balancing
If your chiles are mild, compensate with:
– a pinch of garlic powder
– a touch of cumin
– extra salt
If your chiles are already very salty, reduce added salt and let the cheese carry the richness.
Mix and Season the Tamales Masa
Masa consistency is the make-or-break variable for any tamales recipe. The goal is spreadable, thick, and cohesive—able to hold a filling without running.
Mix masa harina with warm broth
– In a bowl, combine masa harina with warm chicken or vegetable broth.
– Mix until smooth and free of dry lumps.
– Add salt and spices while mixing so seasoning distributes evenly.
Adjust texture deliberately
– Too dry: add broth 1 tablespoon at a time.
– Too wet: add masa harina 1–2 tablespoons at a time.
You’re aiming for a spreadable texture—like soft cookie dough—rather than runny batter.
Optional fat for richer masa
– Add lard or neutral oil (a small amount) for a tender, richer mouthfeel.
– Fat also improves texture during steaming, making masa feel less dense.
Quality check
If you can spread masa on a husk without it sagging into a puddle, you’re ready to assemble.
Assemble the Tamales
Assembly is where speed meets precision. The simplest fold methods still work perfectly when portions are consistent.
Spread, fill, fold
– Spread a thin layer of masa on the center of the husk.
– Add a line of green chile cheese filling down the middle.
– Fold the husk to enclose the filling—press lightly so the seam sticks.
Seal with ties (optional but helpful)
Tying helps prevent leaks, especially for first-time tamale makers or when the filling is extra cheesy.
Consistency for even steaming
Portion control matters:– Use a similar amount of masa each time.
– Keep filling portions uniform so some tamales don’t overcook while others remain underdone.
Common mistake to avoid
Don’t overfill. If the filling pushes out, it will create mess in the steamer and can leave masa edges unevenly cooked.
Steam Until Tender
Steaming is both the cooking method and the quality control step. Done well, you get tender masa that pulls cleanly from the husk (without being dry).
Set up your steamer
– Add water to the bottom of your steamer pot and bring to a steady simmer.
– Arrange tamales upright or layered depending on your steamer design.
– Avoid letting water touch the tamales directly.
Steam time and doneness cues
– Steam until tamales feel firm and the masa pulls away from the husk.
– Typical time range is 75–120 minutes, depending on masa thickness, husk size, and steamer capacity.
Rest before serving
Let tamales rest 10–20 minutes after steaming. This improves slice-ability and prevents the filling from running when you cut.
Best practice for steady results
Check water level during long sessions. If the pot runs low, steaming temperature can drop, leading to inconsistent doneness.
Green chile cheese tamales come out best when you focus on masa consistency, a hearty filling, and steady steaming time. Taste-adjust the filling to match your preferred heat level, serve warm, and plan for leftovers—tamales reheat exceptionally well and often taste even better the next day as flavors meld. If you want, tell me whether you’re using fresh roasted or canned green chiles and I’ll tailor the filling seasoning and thickness notes to match your exact chile profile.
Frequently Asked Questions
What is the best way to make green chile cheese tamales from scratch?
Start by preparing your masa dough and then mixing green chile with cheese so the filling stays flavorful in every bite. Use dried corn husks that have been soaked until pliable, then spread a thin, even layer of masa, add the green chile cheese filling, and fold tightly. Steam the tamales until the masa pulls away slightly from the husk and feels set throughout, which usually takes about 60–90 minutes depending on size.
How do you prevent green chile cheese tamales from falling apart or becoming dry?
Use well-hydrated masa and avoid overworking it—proper consistency helps the tamales hold their structure during steaming. Don’t overfill; too much green chile cheese can cause the tamales to leak and break. Steam consistently with enough water and keep the lid closed to maintain steady heat, and remove them when the masa is fully cooked so they don’t dry out.
Why is the corn husk soaking step important for green chile cheese tamales?
Soaking the husks softens them so they can be folded without tearing, which helps seal in the masa and filling. If husks are not soaked enough, the tamales may open during steaming or the masa may stick and tear when you unwrap. Aim for husks that are flexible but not mushy, so they fold cleanly and steam evenly.
Which cheese works best for green chile cheese tamales, and how do you keep it melty?
Creamy cheeses like queso fresco, Oaxaca, or Monterey Jack melt beautifully and pair well with roasted green chiles without overpowering the flavor. For extra melty results, shred the cheese and mix a portion into the filling while keeping some cheese to top or distribute in the center. Avoid very oily cheeses that can separate during steaming; shredding and portion control help the green chile cheese tamales stay cohesive.
What’s the easiest green chile cheese tamales recipe if you’re short on time?
Choose a reliable masa mix and pre-roasted or canned green chiles to cut down prep time while still getting authentic flavor. You can also use pre-soaked or packaged corn husks if available, then assemble tamales quickly by using a consistent spreading technique. Steam in batches and plan ahead—most people can finish a batch within a couple of hours with careful setup and steady steaming for fully cooked masa.
References
- Google Scholar Google Scholar
https://scholar.google.com/scholar?q=green+chile+cheese+tamales+recipe - Google Scholar Google Scholar
https://scholar.google.com/scholar?q=tamales+masa+harina+preparation+recipe - Google Scholar Google Scholar
https://scholar.google.com/scholar?q=green+chile+tamales+cooking+time+homemade - Tamale
https://en.wikipedia.org/wiki/Tamale - New Mexico chile
https://en.wikipedia.org/wiki/Hatch_chile - Chili pepper
https://en.wikipedia.org/wiki/Chile_pepper - Masa
https://en.wikipedia.org/wiki/Masa_harina - Nixtamalization
https://en.wikipedia.org/wiki/Nixtamalization - https://www.britannica.com/topic/tamale
https://www.britannica.com/topic/tamale - https://www.britannica.com/topic/chile-pepper
https://www.britannica.com/topic/chile-pepper