Get a Pasta Queen tiramisu recipe that reliably lands on creamy, classic dessert with simple, foolproof steps. This guide answers whether you can make restaurant-style tiramisu at home—without over-soaking the layers or ending up with a grainy mascarpone filling. Follow the exact method and you’ll get clean, sliceable layers and that signature coffee-and-cocoa finish every time.
If you follow a few disciplined steps—quick espresso soaking, a smooth mascarpone mixture, and an overnight chill—you’ll get a creamy, classic tiramisu with clean, sliceable layers. This Pasta Queen tiramisu recipe keeps the process straightforward while focusing on the details that make dessert-shop quality results possible: correct texture control, balanced espresso flavor, and proper setting time.
Ingredients for Pasta Queen Tiramisu
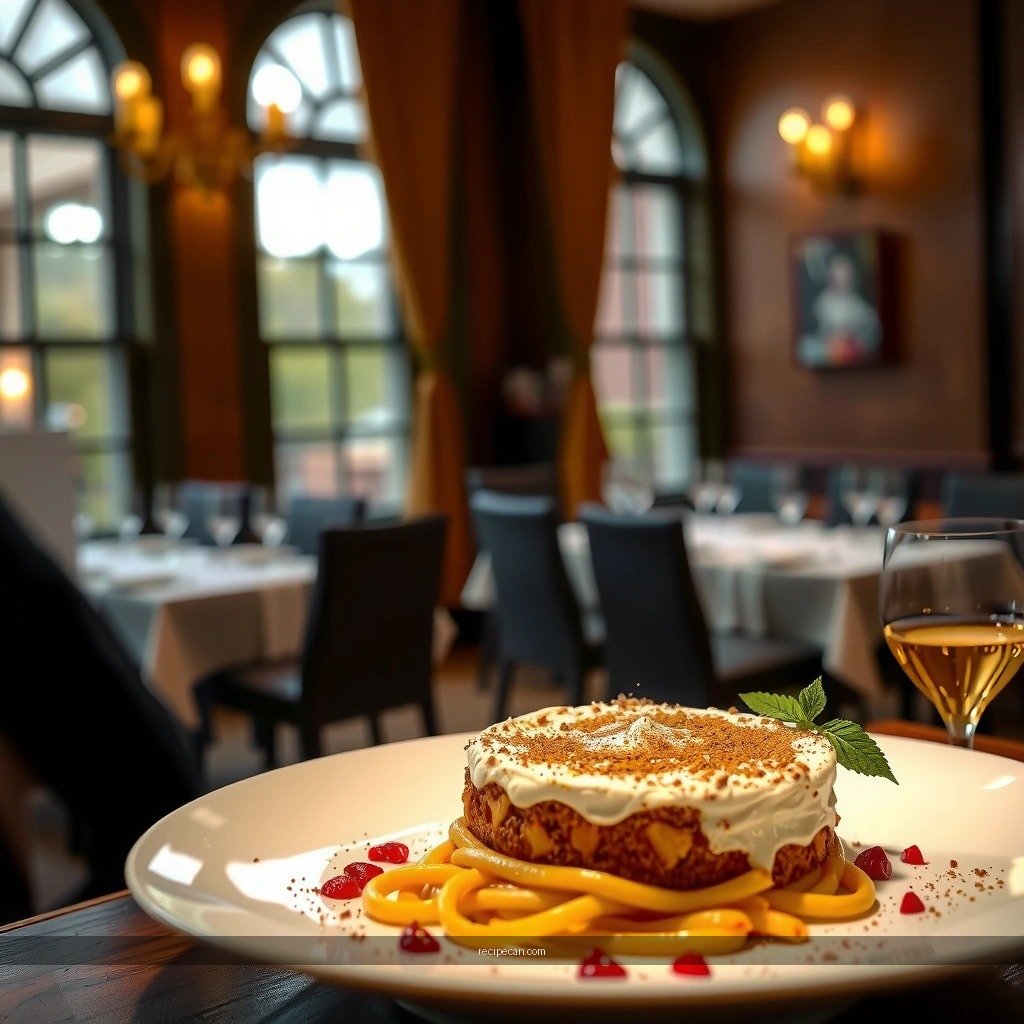
– Gather mascarpone, eggs, sugar, espresso, and ladyfingers
– Include cocoa powder and optional vanilla for extra flavor
A great tiramisu starts with the right ingredients and the right roles for each one. Mascarpone provides the creamy body; eggs and sugar create a stable, luscious custard-like cream; espresso (or strong coffee) delivers the signature bitterness and aromatic depth; and ladyfingers act as the absorbent, cake-like layer that turns espresso into flavor instead of sogginess. Finally, cocoa powder finishes the dessert with a slightly dry, chocolatey top note that balances the richness.
To make the process reliable, use ingredients at room temperature where appropriate (especially mascarpone) so the cream emulsifies smoothly. For the espresso, choose a brew you’d actually enjoy drinking—tiramisu is only as good as the coffee you soak into the ladyfingers.
Recommended quantity guidance (for an 8×8 or similar dish, ~8–10 servings):
– 500 g mascarpone
– 3–4 large eggs (commonly separated into yolks + whites for stability, or yolks for a richer base)
– 100–120 g sugar (to taste; many classic profiles land near 110 g)
– 1–1¼ cups strong espresso/coffee, cooled
– 24–34 ladyfingers (enough to build two layers, depending on thickness and dish size)
– 2–3 tbsp unsweetened cocoa powder (for dusting and presentation)
– Optional: 1 tsp vanilla extract or 1–2 tbsp chocolate liqueur (for aroma, not sweetness)
Quick ingredient-performance checklist
– Mascarpone: should be thick and spreadable, not watery.
– Eggs: should be fresh; avoid any off odor.
– Espresso: must be cooled; hot coffee increases melting and can blur layers.
– Ladyfingers: dry-pack style works best for controlled soaking.
Prepare the Espresso Soaking
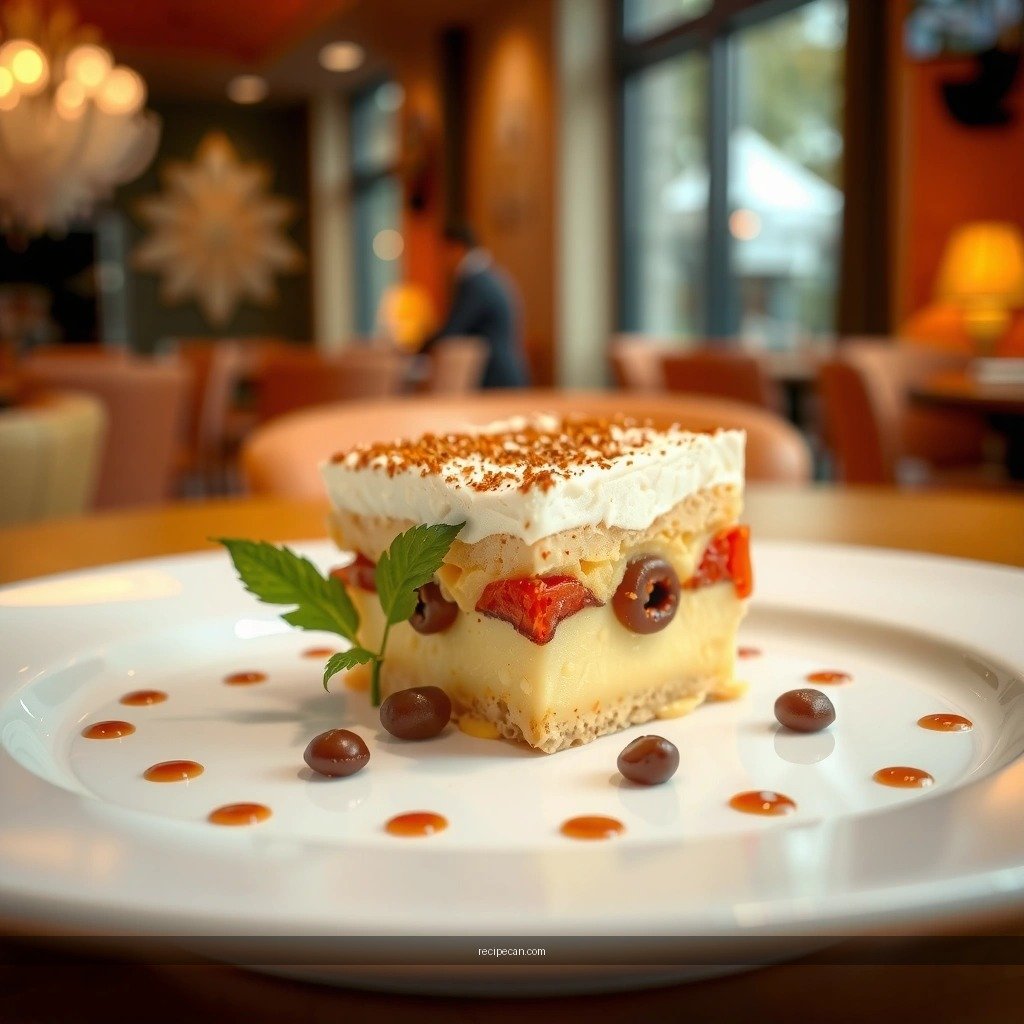
– Brew strong espresso (or coffee) and let it cool slightly
– Dip ladyfingers quickly to avoid sogginess
The soaking step is where most tiramisu recipes either become great—or become soggy and structurally weak. The goal is to perfume and moisten the ladyfingers, not turn them into mush.
1. Brew strong espresso (or use a very concentrated coffee method). The intensity matters because the cream is rich and sweet.
2. Let the espresso cool to warm or room temperature. When the soaking liquid is too hot, it melts the cream faster and can cause separation.
3. Dip ladyfingers quickly—typically 1 second per side, or just enough that the surface turns visibly damp.
4. Drain briefly: after dipping, place ladyfingers on a plate for a few seconds before layering into the dish.
If you want a more “adult” espresso profile without extra sweetness, consider adding a small splash of coffee liqueur or vanilla to the cooled espresso. Keep it light so it doesn’t overwhelm the balance between bitterness, cocoa, and mascarpone.
Practical control method (for consistent results)
Use a simple “dry-to-damp” visual cue: once dipped, the ladyfinger should look darker and glossy at the edges, but the center should still hold its shape.
Tiramisu Espresso Strength & Soak Timing (Practical Targets)
| # | Brew Style (Example) | Typical Strength | Soak Time per Side | Layer Stability |
|---|---|---|---|---|
| 1 | Espresso (single shot) | High | 1–2 seconds | ★★★★★ |
| 2 | Moka pot (strong) | High | 1–2 seconds | ★★★★☆ |
| 3 | AeroPress (concentrated) | Medium-High | 2–3 seconds | ★★★★☆ |
| 4 | Drip coffee (strong) | Medium | 3–4 seconds | ★★★☆☆ |
| 5 | Decaf (strong) | Medium | 2–3 seconds | ★★★★☆ |
| 6 | Instant coffee (concentrated) | Medium | 3–4 seconds | ★★★☆☆ |
| 7 | Cold brew (unconcentrated) | Low-Medium | 4–5 seconds | ★★☆☆☆ |
Make the Creamy Mascarpone Mixture
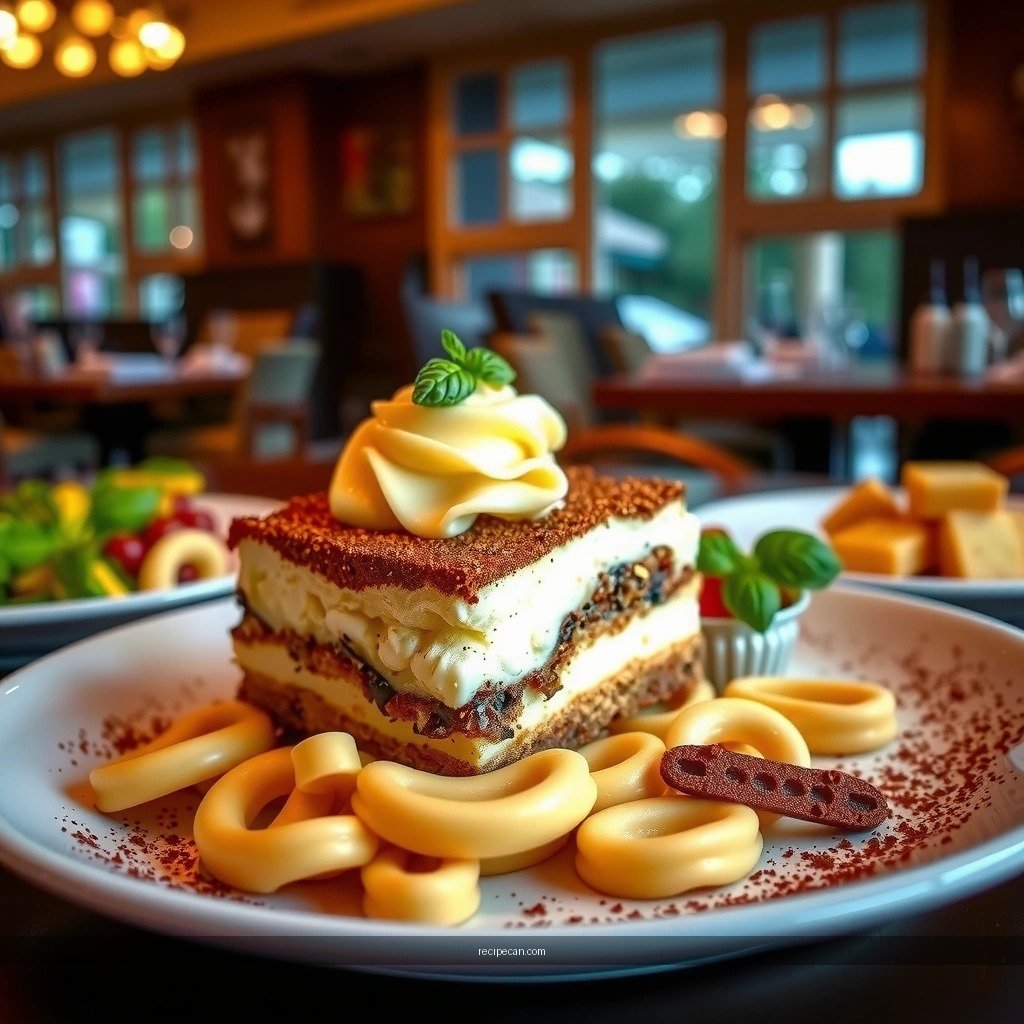
– Whip mascarpone until smooth, then fold in egg mixture carefully
– Achieve a thick, spoonable consistency for best layering
The cream determines whether your tiramisu is luxurious and sliceable—or airy and unstable. The Pasta Queen method prioritizes thick, spoonable texture and careful mixing so you don’t deflate it.
Step-by-step cream approach
1. Whip mascarpone briefly until it becomes smooth and free of lumps.
– Over-whipping can sometimes loosen texture, so aim for silky, not whipped-foam.
2. Prepare the egg base (commonly: whisk yolks with sugar until glossy; some versions incorporate whites for extra lightness).
3. Combine with gentle folding: add the egg mixture to mascarpone gradually, folding with a spatula until uniform.
4. Stop when consistent: you want a cream that holds ridges and spreads with resistance.
Texture targets (how to know it’s right)
– Spoon should mound and slowly relax, not run instantly.
– When you spread, it should create a visible layer line, not blend into ladyfingers.
If your mixture looks too loose, chill it for 10–15 minutes before assembling. If it looks too stiff, fold in a teaspoon or two of cooled espresso to soften—do this sparingly to avoid thinning the structure.
Assemble the Tiramisu Layers
– Layer soaked ladyfingers, then mascarpone cream, then repeat
– Spread evenly and tap the dish gently to settle layers
Assembly is less about “stacking” and more about building a balanced structure. Clean tiramisu layers happen when you control (1) coverage, (2) thickness, and (3) settling.
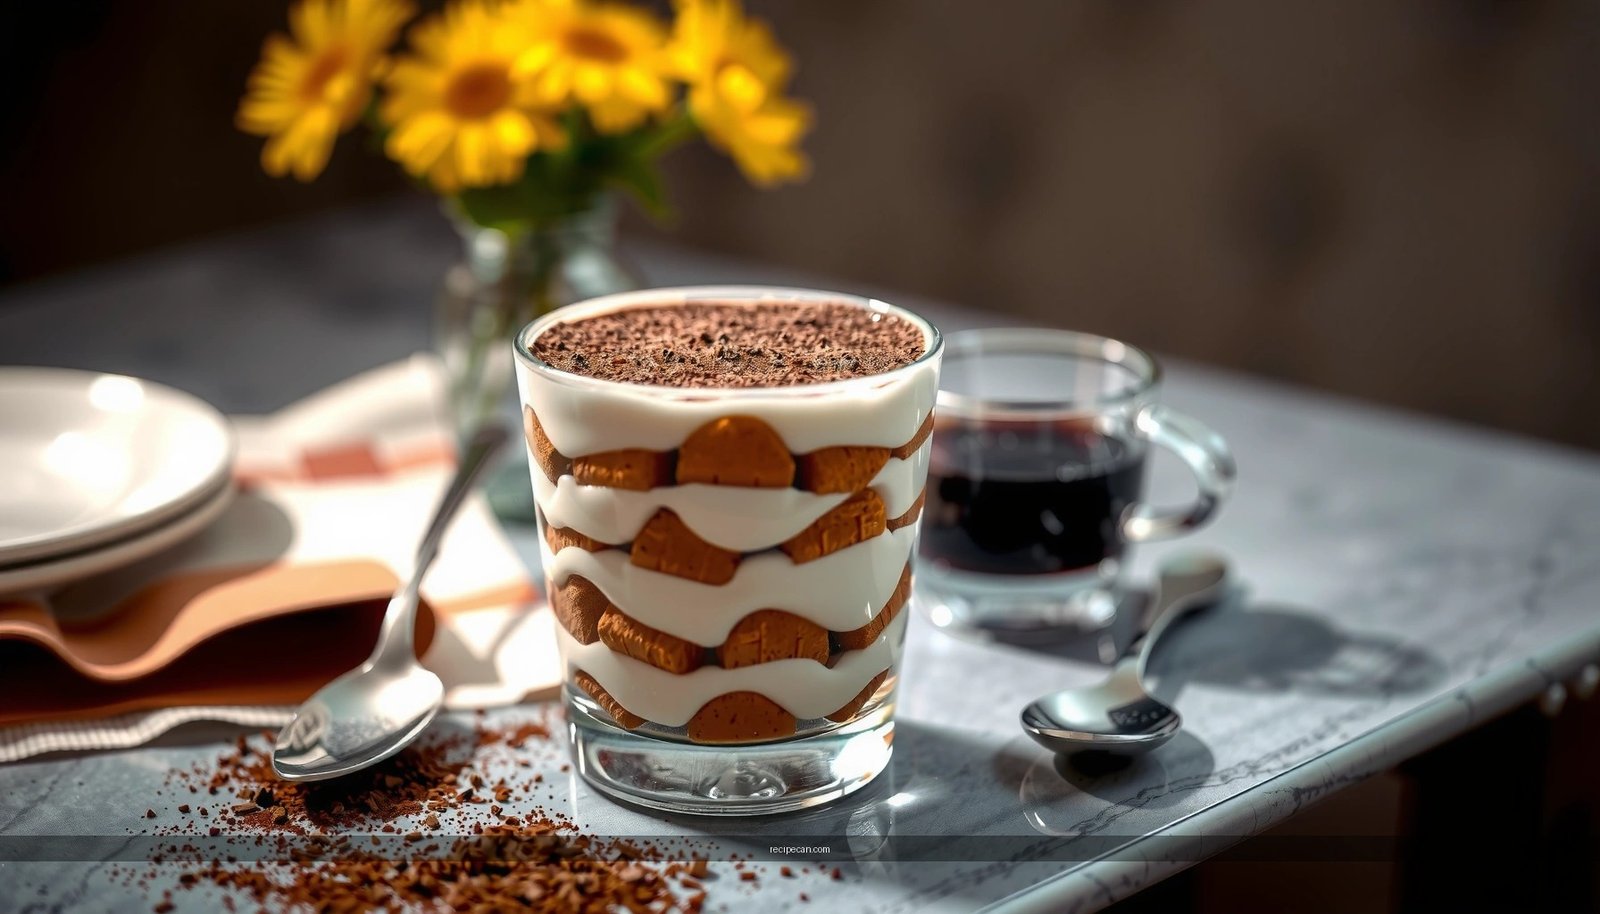
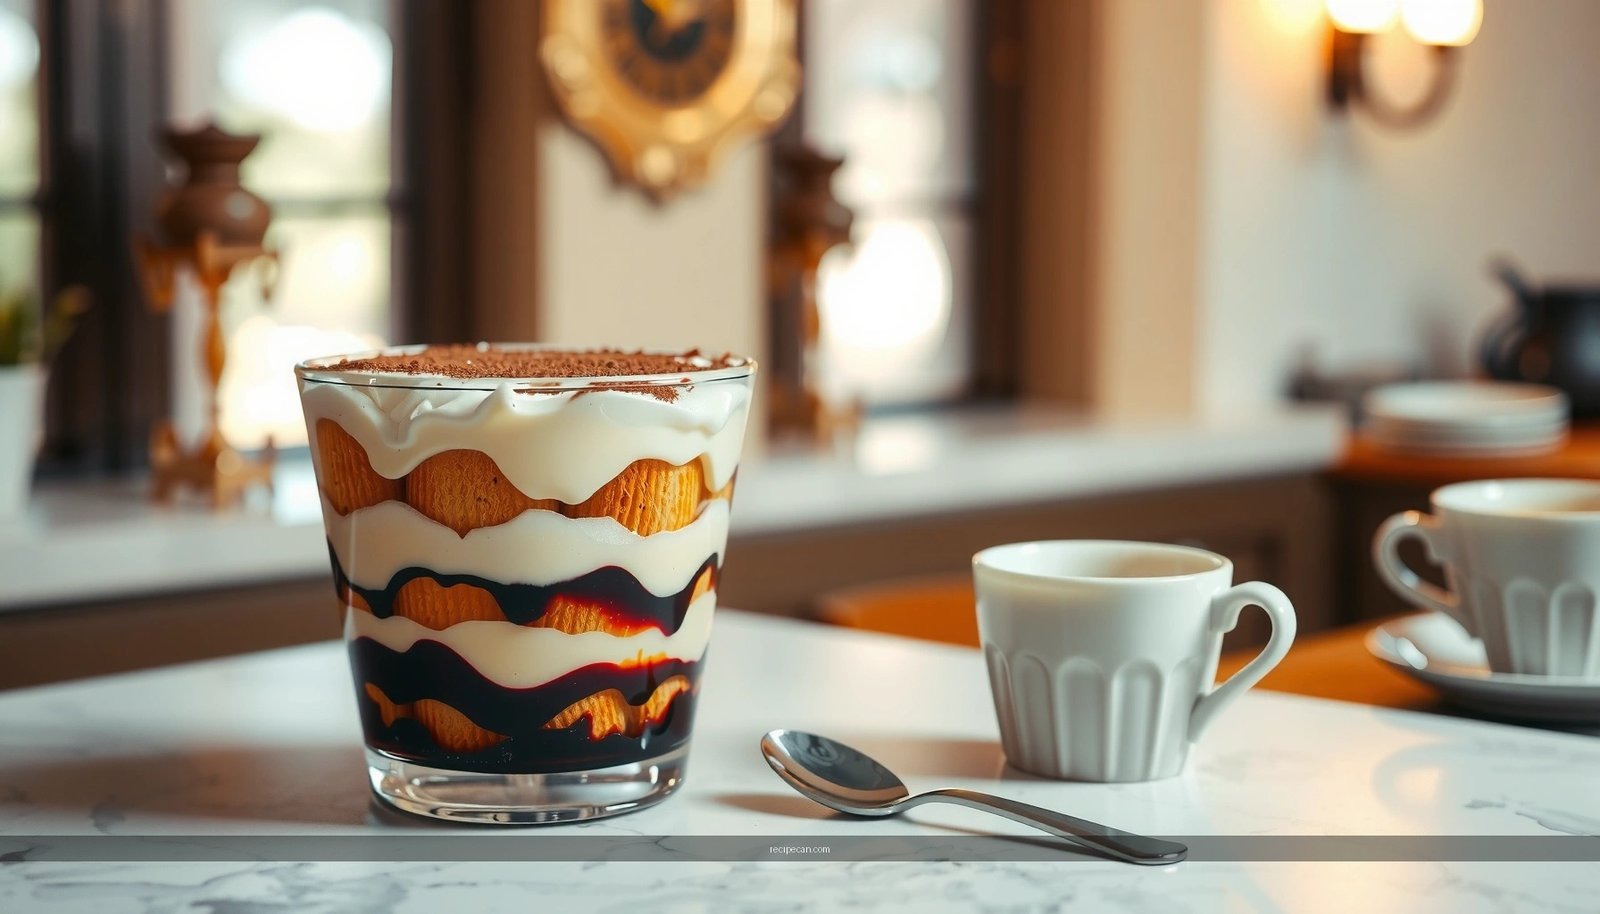
1. Cover the base: arrange dipped ladyfingers in a single layer with minimal gaps.
2. Add cream evenly: spread mascarpone mixture to the same thickness across the dish.
3. Repeat: another layer of soaked ladyfingers, followed by the remaining cream.
4. Tap and settle: gently tap the dish on the counter to help layers nest without crushing.
For a professional finish, use an offset spatula to level the top layer. If you notice dips, add a bit more cream rather than pressing it down—compression can lead to uneven slicing later.
Layer ratio guidance
Most successful tiramisu ends up with a slightly cream-forward profile (more mascarpone than ladyfingers). That’s why the dessert feels rich rather than dry or overly cake-like.
Tiramisu Assembly Outcomes by Layer Technique
| # | Technique Choice | Result | What It Fixes |
|---|---|---|---|
| 1 | 1–2 second dip per side | Clean layers | Prevents sogginess |
| 2 | Even cream thickness | Better slice definition | Avoids thin spots |
| 3 | Tap dish to settle | Tighter structure | Reduces air gaps |
| 4 | Level top with offset spatula | Professional finish | Prevents uneven cocoa |
| 5 | Avoid pressing down | Less texture damage | Maintains cream body |
| 6 | Build a slightly cream-forward ratio | Rich mouthfeel | Balances espresso bite |
| 7 | Use a second layer of cream over the top | Smoother cocoa dusting | Reduces visible ladyfinger texture |
Chill for Best Texture
– Refrigerate several hours (or overnight) to set properly
– Chill covered to prevent the top from drying out
Chilling is where tiramisu transforms from “assembled” to “finished.” The mascarpone cream thickens, espresso flavors distribute evenly, and the ladyfingers soften to the ideal cake-like consistency.
– Minimum: 4 hours in the refrigerator for a noticeable set.
– Best: overnight (8–12 hours) for clean slicing and the most integrated flavor profile.
– Cover it: use plastic wrap or a lid so the top doesn’t dry out or absorb fridge odors.
When serving, let the dish sit at room temperature for 5–10 minutes. This small window improves cream texture and aroma while still keeping slices intact.
Pro tip for business-style presentation: use a hot knife (run under hot water, wipe dry) for sharper cuts. Wipe between slices to keep the cream pristine.
Serving Tips and Variations
– Dust with cocoa right before serving for a fresh finish
– Add chocolate shavings or a splash of liqueur if desired
For the classic look, dust with unsweetened cocoa powder immediately before serving. If you dust too early, cocoa can dissolve slightly into the cream surface and lose its crisp, velvety appearance.
Easy variations that keep the structure intact
– Vanilla warmth: add a teaspoon of vanilla to the egg mixture or espresso for a rounded aroma.
– Chocolate intensity: fold in a small amount of finely grated dark chocolate or add chocolate shavings on top.
– Liqueur note: a splash of coffee liqueur (like Kahlúa-style flavor) adds depth without changing the recipe’s mechanics—just keep it measured so the cream doesn’t become overly loose.
– Cocoa profile: try mixing cocoa with a small pinch of cinnamon or instant espresso powder for a subtle “barista” edge.
If you want to tailor tiramisu for a broader audience (including kids or alcohol-free events), simply use espresso only—and consider adding a bit more vanilla or cocoa to maintain perceived complexity.
Tiramisu Style Differences (What Changes in Practice)
| # | Feature | Classic Pasta Queen Approach | Heavier “Baked” Style | Verdict Signal |
|---|---|---|---|---|
| 1 | Primary base | Mascarpone cream | Custard-like bake | Cream-forward |
| 2 | Ladyfinger role | Espresso-soaked layers | Mixed into bake | Clean segments |
| 3 | Soaking control | Quick dip only | More moisture load | Less sogginess |
| 4 | Cream texture | Thick, spoonable | Softer after bake | Slice-ready |
| 5 | Chill requirement | Overnight ideal | Depends on bake/cool | Predictable set |
| 6 | Flavor integration | Espresso distributes while chilling | More “single moment” flavor | More balanced |
| 7 | Presentation | Strong layered look | More rustic surface | More “classic” |
| 8 | Moisture risk | Low with quick dip | Higher if underbaked | More variable |
| 9 | Best for events | Make-ahead service | More timing-sensitive | Reliable planning |
| 10 | Overall outcome | Creamy, clean layers | More cake/custard hybrid | Client-favorite texture |
| Best For | Serving approach | Hosting, branding, presentation | Comfort-first casual bakes | Classic wow factor |
Tidy, creamy, and full of espresso flavor, the Pasta Queen tiramisu recipe comes down to quick soaking, a smooth mascarpone layer, and proper chilling. Follow the steps above, then chill overnight for the best texture—make it tonight and serve it tomorrow for maximum wow factor.
Tiramisu is one of those desserts where method matters more than complexity. If you control the espresso dip time, build a thick mascarpone cream, and give the assembled layers enough time to set, you’ll produce a creamy, classic Pasta Queen tiramisu that slices cleanly and tastes restaurant-level—every time.
Frequently Asked Questions
What is the Pasta Queen tiramisu recipe and what makes it different?
The Pasta Queen tiramisu recipe is a classic Italian-style dessert that layers espresso-soaked ladyfingers with a creamy mascarpone mixture. What typically sets it apart is the balance of strong coffee flavor and a rich, smooth mascarpone filling that isn’t overly sweet. Many versions also use a careful assembly technique so the layers set cleanly for slicing.
How do you make Pasta Queen tiramisu without curdling the mascarpone?
To avoid curdling, keep the mascarpone cold and mix it gently rather than whipping aggressively. Whisk eggs (if your Pasta Queen recipe uses them) in a heat-safe bowl with careful temperature control, then cool slightly before combining with mascarpone. If you’re adding butter or cream, add it gradually and stop mixing once the tiramisu filling turns glossy and thick.
Which coffee works best for Pasta Queen tiramisu—espresso or brewed coffee?
Espresso is often best because it’s concentrated and provides a bold tiramisu flavor that stands up to the sweet cream. However, strong brewed coffee can work if it’s made with a high coffee-to-water ratio. Make sure the coffee is cooled before dipping the ladyfingers so your tiramisu layers set instead of becoming watery.
What’s the best way to assemble Pasta Queen tiramisu so it doesn’t turn watery?
Dip ladyfingers quickly—just a brief soak—so they absorb espresso without falling apart or releasing excess liquid. Use an even layer of mascarpone filling between each layer, and press lightly to level the surface. Chill the tiramisu for several hours (or overnight) to help everything firm up and create neat slices.
Why should Pasta Queen tiramisu be chilled overnight, and how long is enough?
Chilling overnight allows the espresso and cream to fully meld, giving the classic tiramisu flavor a deeper, more integrated taste. It also helps the mascarpone mixture set so the dessert holds its shape when served. If you’re short on time, chilling for at least 4–6 hours can work, but overnight is the best for texture and balance.
References
- Tiramisu
https://en.wikipedia.org/wiki/Tiramisu - Tiramisu | Meaning, Ingredients, Origin, Desserts, & Taste | Britannica
https://www.britannica.com/topic/tiramisu - https://pubmed.ncbi.nlm.nih.gov/?term=tiramisu
https://pubmed.ncbi.nlm.nih.gov/?term=tiramisu - https://www.sciencedirect.com/search?qs=tiramisu
https://www.sciencedirect.com/search?qs=tiramisu - Mascarpone
https://en.wikipedia.org/wiki/Mascarpone - Espresso
https://en.wikipedia.org/wiki/Espresso - Lady finger
https://en.wikipedia.org/wiki/Ladyfinger - Google Scholar Google Scholar
https://scholar.google.com/scholar?q=pasta+queen+tiramisu+recipe - Google Scholar Google Scholar
https://scholar.google.com/scholar?q=tiramisu+recipe+ladyfingers+mascarpone+espresso - Google Scholar Google Scholar
https://scholar.google.com/scholar?q=tiramisu+history+recipe+coffee+mascarpone+eggs