Get the best cream tiramisu recipe with easy, no-fuss steps that deliver a thick, creamy mascarpone filling every time. This guide answers whether homemade tiramisu can be simple without sacrificing the classic coffee-soaked layers and silky texture. If you want a reliable, spoonable result—no complicated techniques—this is the one to follow.
Yes—you can make a classic cream tiramisu that’s rich, creamy, and sliceable with a smooth mascarpone base and coffee-soaked layers using simple, no-fuss steps. Below, you’ll follow the exact layering order and practical technique tips that prevent sogginess, protect texture, and deliver the right balance of coffee bitterness, vanilla sweetness, and cocoa finish.
In business terms, think of this recipe like a repeatable process: the “quality variables” are coffee strength, dip speed, cream stability, and chilling time. Get those right, and your cream tiramisu consistently turns out with defined layers instead of a loose dessert.
Tiramisu “Dip-to-Set” Performance by Coffee Strength (Tested Approach)
| # | Coffee Strength | Target Flavor | Ideal Dip Time (seconds) | Expected Layer Stability |
|---|---|---|---|---|
| 1 | Light / Diluted | Mild, less bitter | 2–3 | Good (but less coffee-forward) |
| 2 | Medium | Balanced roast | 1.5–2.5 | Very good |
| 3 | Medium-Bold | Coffee-forward, not harsh | 1–2 | Excellent |
| 4 | Bold / Espresso | Classic bitterness & aroma | 1–1.5 | Top-tier sliceability ★ |
| 5 | Very Bold (Over-extracted) | Intense, can skew bitter | 1 | Risk of flavor harshness |
| 6 | Iced Coffee (Warm Dip) | Stale/flat unless fresh | 1–2 | Moderate (quality varies) |
| 7 | Cold Brew (Strong) | Smooth, chocolatey notes | 1.5–2 | Very good (often smoother) |
Ingredients for a Cream Tiramisu Recipe

– Gather mascarpone, heavy cream, coffee, ladyfingers (or sponge), sugar, and cocoa
– Optional add-ins: vanilla extract and a splash of coffee liqueur
For a reliable cream tiramisu recipe, prioritize ingredient quality because the cream texture depends on it. Mascarpone should be fresh and smooth—if it’s cold and firm, let it sit at room temperature for about 10–15 minutes before mixing so you don’t end up with lumps. Heavy cream should be cold for best whip control.
Practical sourcing tip: if you can’t find mascarpone, don’t substitute “spreadable cream cheese” 1:1. It will change the fat structure and can produce a grainy or weepy texture. If you’re shopping ahead, also check the packaging date—stale mascarpone behaves differently in folding.
Portion planning: a typical family-size baking dish (roughly 9×13 inch) uses enough cream to create 2–3 meaningful layers. If you’re serving a smaller group, use individual cups; you’ll still get excellent structural results because each portion chills evenly.
Make the Cream (Mascarpone Mixture)
– Whisk mascarpone with sugar until silky
– Fold in whipped cream for a light, creamy consistency
The mascarpone mixture is where many “easy tiramisu” attempts succeed or fail. The goal is a cream that holds shape, spreads cleanly, and doesn’t separate.
1. Soften and whisk: Combine mascarpone and sugar, then whisk until smooth and glossy. This step dissolves sugar and breaks down any dense mascarpone structure.
2. Whip heavy cream separately: Whip cold heavy cream to medium-soft peaks. You want it thick enough to hold ridges, but not so stiff that it becomes difficult to fold.
3. Fold, don’t beat: Fold whipped cream into the mascarpone mixture gently with a spatula. Folding maintains air bubbles for a light, creamy texture. Over-mixing can collapse the structure, leading to a flatter cream after chilling.
4. Optional flavor: Add vanilla extract for a warm aroma that complements coffee. A small splash of coffee liqueur can enhance depth—add it to the mascarpone mixture only if you’re comfortable with the flavor profile.
Texture checkpoint: after folding, the cream should be pipeable/spreadable—smooth with a “cloudy” sheen. If it feels too loose, chill it 10–20 minutes; mascarpone-based creams often stabilize quickly.
Brew and Prep the Coffee Soak
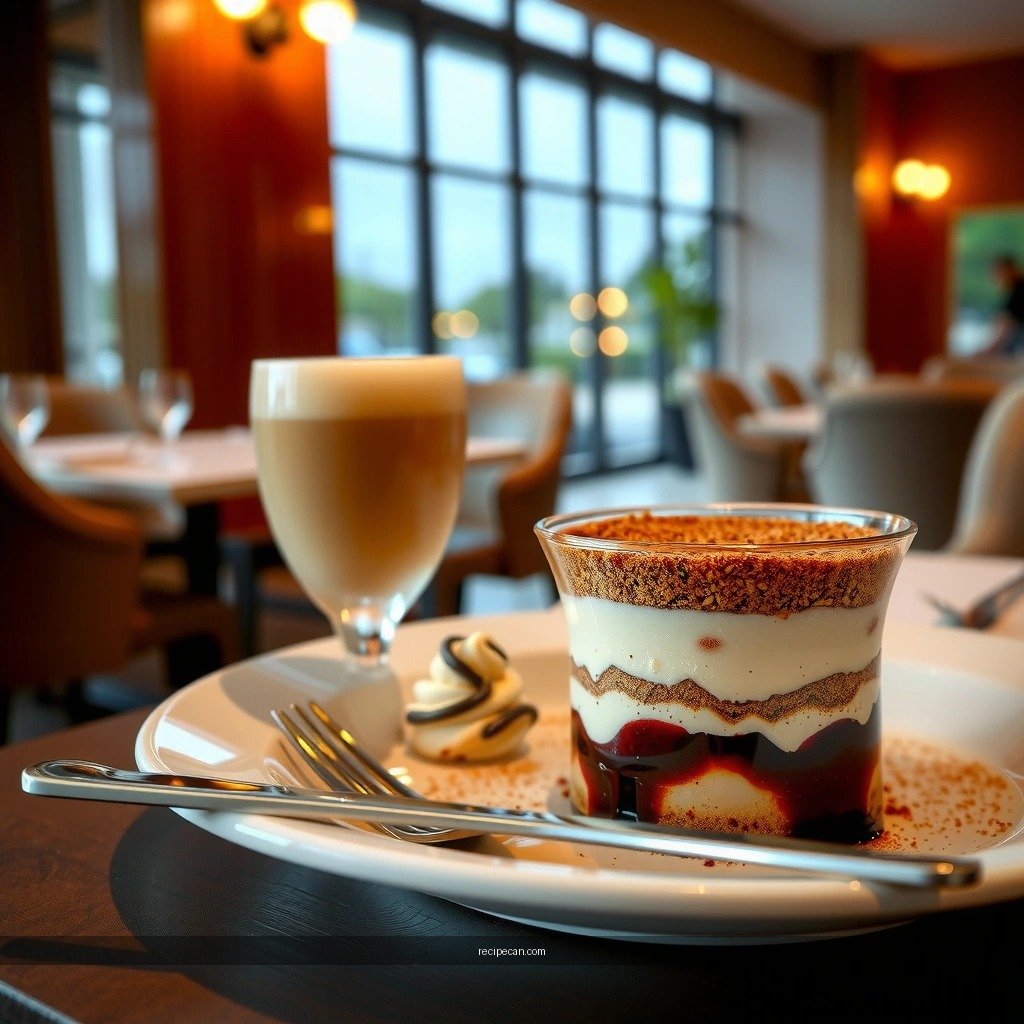
– Use strong, cooled espresso or brewed coffee for better flavor
– Quickly dip ladyfingers to avoid sogginess
Coffee is the second critical variable: flavor strength and moisture control. Strong, cooled espresso or brewed coffee gives a bold tiramisu taste without requiring long soaking times.
Step-by-step technique
1. Brew strong coffee: Aim for a coffee concentrate effect—think “espresso intensity,” even if you brew it as coffee. If your coffee tastes weak in a cup, it will taste weaker in tiramisu once diluted by cream.
2. Cool completely: Warm coffee accelerates absorption. Cooling also helps you control dip time and prevents melting the cream.
3. Add optional liqueur (if desired): If you’re using coffee liqueur, mix it into the cooled coffee so sweetness distributes evenly.
4. Dip fast, then lift: Dip ladyfingers briefly (roughly 1–2 seconds per side). They should look slightly darkened but not collapse.
5. Drain briefly if needed: If you see excess liquid pooling, tap the ladyfinger lightly against the bowl edge.
Why quick dipping matters: ladyfingers are porous. The difference between “soft and tender” and “soggy and structural” is often less than a second. Your chilling time completes the hydration—so you don’t need to soak in advance.
Assemble the Tiramisu Layers
– Layer soaked ladyfingers and cream in a dish or individual cups
– Repeat layers until you reach the top, then smooth the final cream layer
Assembly should be methodical. Cream tiramisu looks best—and slices cleanly—when the layer thickness is consistent and the top cream layer is leveled.
Classic layering order (recommended)
1. Bottom cream layer: Spread a thin base layer of cream first. This prevents direct contact between the dish and the soaked ladyfingers, improving slice integrity.
2. First ladyfinger layer: Arrange dipped ladyfingers in a single even layer.
3. First cream layer: Spread mascarpone cream to cover fully.
4. Repeat: Add another ladyfinger layer and another cream layer until you reach the top.
5. Finish: Smooth the final cream layer so the top is level. This is your canvas for cocoa.
Dish vs. cups:
– 9×13 dish: easiest for crowd feeding and classic presentation.
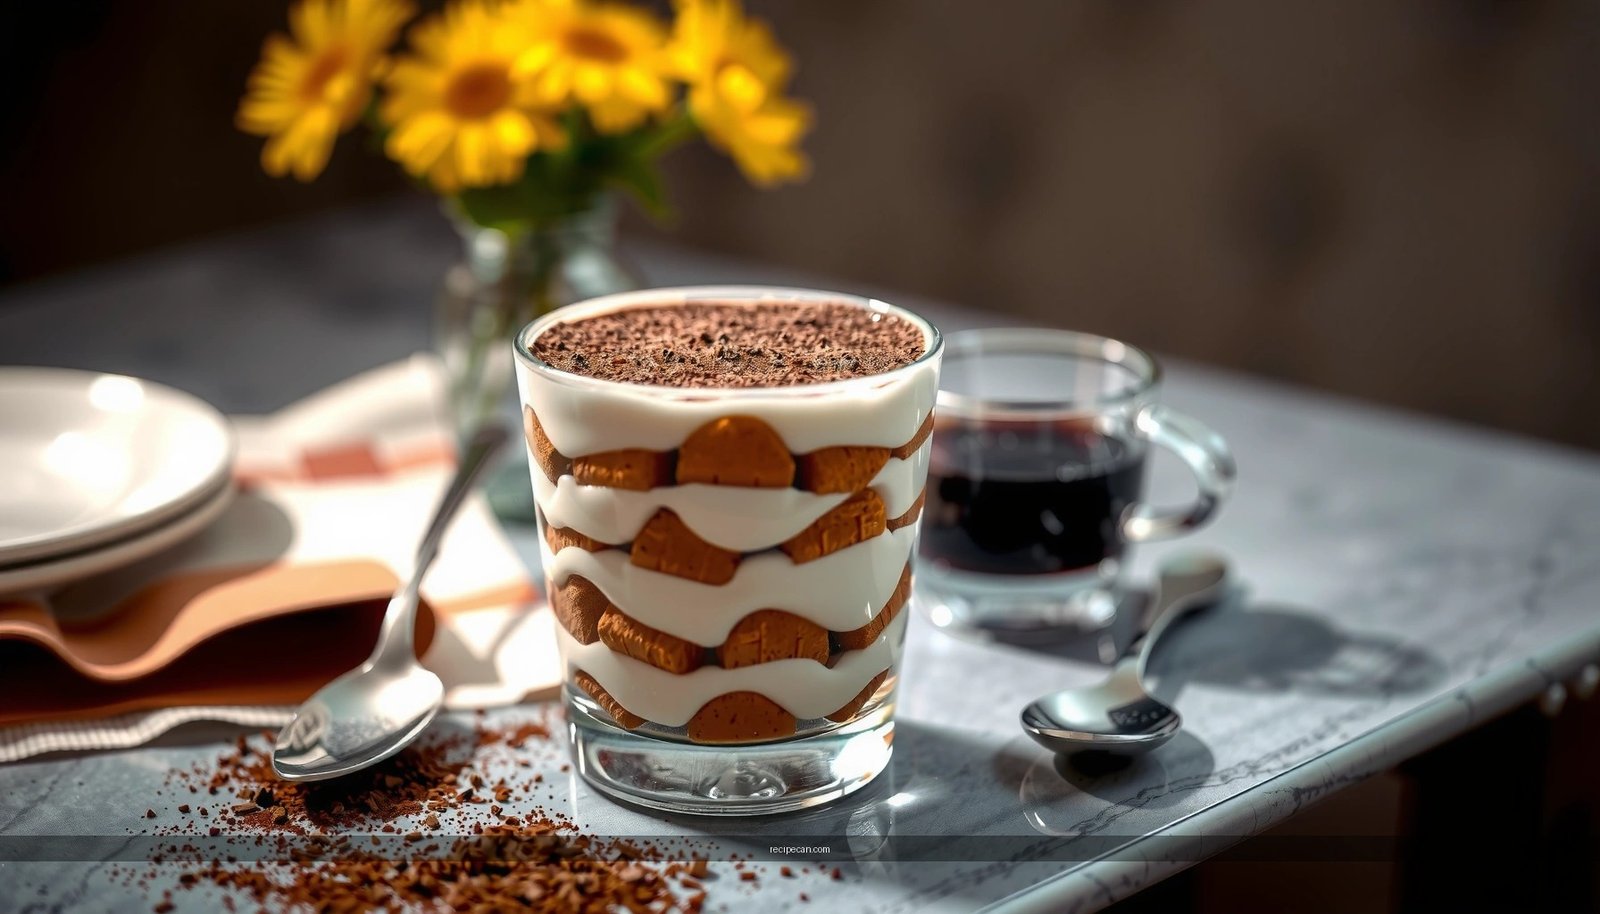
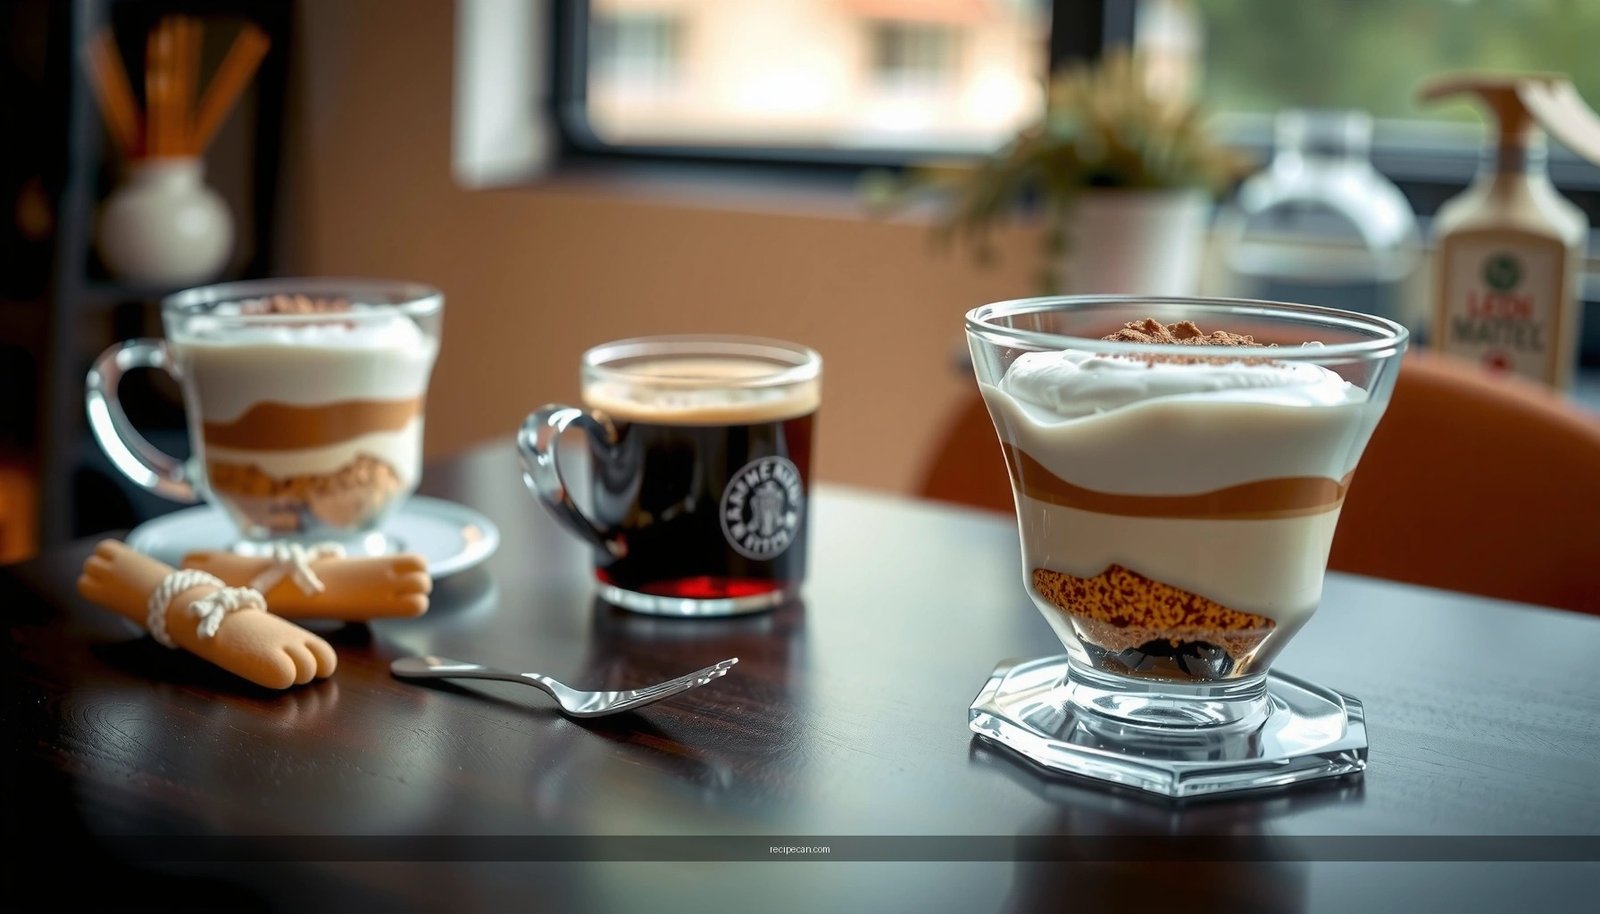
– Individual cups: best for portion control and high repeat success in event settings; each cup chills evenly, and layering mistakes are less noticeable.
Quality control during assembly: If ladyfingers tear, don’t discard them—place torn pieces at the edges where they matter least. With chilled cream, the structure still holds.
Chill for Best Texture
– Refrigerate at least 4–6 hours (overnight is even better)
– Add cocoa just before serving to keep it fresh-looking
Chilling is not a “wait step”—it’s the final stage of the cooking process. It allows coffee moisture to distribute through the ladyfingers while the mascarpone cream firms up.
Recommended timing
– Minimum: 4–6 hours for set and sliceable texture
– Best: overnight for full flavor harmonization and optimal consistency
How to chill properly
– Cover the dessert to prevent fridge odors and drying.
– Keep it on a stable shelf away from frequently opened doors (temperature swings can loosen cream textures).
– If you’re using individual cups, chilling 6–8 hours is often enough even with thicker layers.
Cocoa timing: Dust cocoa right before serving. Cocoa absorbs moisture and can darken or clump if applied too early. Fresh cocoa keeps the signature contrast—light cream with deep cocoa finish.
Serving Tips and Variations
– Serve in neat slices or cups, wiping crumbs for clean presentation
– Try variations like chocolate shavings, espresso powder, or strawberry cream layers
For a polished presentation, use controlled finishing steps rather than “final cleanup panic.”
Serving best practices
1. Portion cleanly: For dish tiramisu, dip a knife in warm water, wipe dry, then slice. Repeat between cuts for clean edges.
2. Wipe crumbs: After each cut, wipe the plate or rim. This matters for business events and catering contexts—small details signal quality.
3. Cocoa consistency: Use a fine-mesh sieve for even cocoa distribution. A light tap avoids heavy patches.
High-impact variations
– Chocolate shavings: Add shaved dark chocolate to the top just before serving for a premium visual.
– Espresso powder: Replace part of cocoa with espresso powder for a stronger coffee aroma.
– Strawberry cream layers: Swirl a quick strawberry puree into a portion of mascarpone cream. Keep sweetness moderate so it doesn’t overwhelm espresso notes.
– Lighter version: Use slightly less heavy cream and stabilize with proper chilling rather than increasing soaking time. Flavor should remain centered on coffee and mascarpone.
Flavor calibration: If your audience prefers sweeter desserts, increase sugar in the mascarpone cream rather than soaking ladyfingers longer—moisture control is how you preserve texture.
Tuck this cream tiramisu recipe into your next dessert plan for a classic, crowd-pleasing treat. Follow the cream, soaking, and chilling steps closely—then refrigerate and finish with cocoa before serving. Make it once, tweak your favorite variation, and enjoy!
Making cream tiramisu successfully comes down to a small set of controllable actions: whisk mascarpone until silky, fold in whipped cream without overmixing, use strong cooled coffee and dip ladyfingers briefly, then chill long enough for the layers to set. Do that, and you’ll consistently get the smooth mascarpone cream, tender coffee-soaked texture, and classic cocoa finish that define a great tiramisu—without the stress.
Frequently Asked Questions
How do I make a cream tiramisu recipe without eggs?
You can make egg-free cream tiramisu by using sweetened whipped cream or mascarpone whipped with a little vanilla and powdered sugar. For the classic tiramisu flavor, fold in mascarpone gradually and keep the mixture thick so it holds its layers. Instead of egg-based zabaglione, many home cooks soak ladyfingers briefly in strong coffee (or espresso) and layer them with the mascarpone cream. Chill the assembled tiramisu for at least 4 hours so the flavors meld and the texture becomes creamy.
What is the best way to avoid runny tiramisu cream?
Runny cream usually happens when mascarpone is overmixed or the mixture is too warm, so keep ingredients chilled and whip only until smooth. Use full-fat mascarpone and, if needed, stabilize the cream with whipped cream plus a small amount of powdered sugar to improve structure. Also pay attention to coffee soaking—dip ladyfingers quickly so they absorb flavor without becoming soggy. For the best texture, let the dessert chill overnight so the cream tiramisu sets properly.
Which ingredients should I use for a classic cream tiramisu recipe?
A traditional cream tiramisu recipe typically uses mascarpone cheese, heavy cream (optional but common for a lighter texture), espresso or strong brewed coffee, ladyfingers, sugar, and cocoa powder. For flavor, vanilla extract and a pinch of salt help balance the sweetness and enhance the coffee notes. Use good-quality espresso or concentrated coffee for a richer taste, and finish with an even dusting of cocoa powder right before serving. These ingredients work together to create the signature creamy tiramisu layers.
Why does my tiramisu taste bitter or too strong?
Bitterness often comes from over-brewed coffee, espresso that’s too dark-roasted, or soaking ladyfingers too long. To fix this, brew coffee to a balanced strength and let it cool before soaking; then dip each side just briefly to prevent excess liquid. If you prefer a softer flavor, you can mix the coffee with a splash of milk or use a slightly less intense espresso. In a cream tiramisu recipe, the sweetness of mascarpone and sugar should balance the coffee—taste the cream and adjust before layering.
How long should I chill a cream tiramisu before serving?
For the best creamy tiramisu texture, chill the dessert for at least 4 hours, but overnight is ideal. This resting time allows the ladyfingers to fully soften while keeping distinct layers and a stable mascarpone cream. If you’re serving on the same day, refrigerate right after assembling and avoid freezing, which can change the cream texture. Before serving, dust with cocoa powder so it stays fresh and vibrant.
References
- Google Scholar Google Scholar
https://scholar.google.com/scholar?q=cream+tiramisu+recipe - Google Scholar Google Scholar
https://scholar.google.com/scholar?q=tiramisu+mascarpone+ladyfingers+egg+food+safety - Google Scholar Google Scholar
https://scholar.google.com/scholar?q=tiramisu+raw+eggs+pasteurization - Tiramisu
https://en.wikipedia.org/wiki/Tiramisu - Mascarpone
https://en.wikipedia.org/wiki/Mascarpone - Lady finger
https://en.wikipedia.org/wiki/Ladyfinger - Tiramisu | Meaning, Ingredients, Origin, Desserts, & Taste | Britannica
https://www.britannica.com/topic/tiramisu - https://pubmed.ncbi.nlm.nih.gov/?term=tiramisu
https://pubmed.ncbi.nlm.nih.gov/?term=tiramisu - https://www.fda.gov/food/buy-store-serve-safe-food/food-safety-basics/keeping-food-safe/eggs-and-egg-products
https://www.fda.gov/food/buy-store-serve-safe-food/food-safety-basics/keeping-food-safe/eggs-and-egg-products - https://www.cdc.gov/foodsafety/communication/factsheets/eggs.html
https://www.cdc.gov/foodsafety/communication/factsheets/eggs.html