
This tiramisu recipe using cream cheese gives you the easiest route to a thick, creamy filling with no tempering, no complicated custard, and a guaranteed set. You’ll learn the exact steps to layer cream cheese with espresso-soaked ladyfingers and finish with cocoa for that classic tiramisu flavor. If you want a no-fuss dessert that still tastes rich and indulgent, this is the one.
Skip cooking—this tiramisu recipe using cream cheese delivers a rich, tangy filling that sets in the fridge while keeping the classic espresso-and-ladyfinger flavor. You’ll learn how to whip a smooth cream cheese base, dip ladyfingers quickly so they stay intact, assemble clean layers, and chill until the dessert is sliceable and restaurant-tidy.
This “no-cook” approach matters for both home cooks and hospitality teams: it’s faster than baked desserts, easier to control for texture, and highly scalable for entertaining because the flavor develops during chilling rather than during heat. A cream cheese version also offers a dependable tang and structure—especially useful when you want tiramisu that holds its shape without relying solely on eggs.
Cream Cheese vs. Mascarpone-Style Results in Tiramisu (Practical Benchmarks)
| # | Factor (Tiramisu Texture) | Cream Cheese Result | Cook/Time Impact | Team-Friendly Score |
|---|---|---|---|---|
| 1 | Scoopability after chilling | High (holds shape) | Low (no cook) | ★★★ |
| 2 | Tang vs. sweetness balance | Moderate-tang | Low (tune with sugar) | ★★★★ |
| 3 | Layer separation (clean cuts) | Good to excellent | Low (overnight improves) | ★★★★ |
| 4 | Risk of watery filling | Lower (if whipped well) | Low (add optional cream) | ★★★☆ |
| 5 | Dipping tolerance (ladyfinger softness) | Moderate | Low (quick-dip works) | ★★★ |
| 6 | Flavor intensity after 12–24 hrs | High (coffee melds) | None (chill time drives) | ★★★★ |
| 7 | Consistency across batches | Very consistent | Low (repeatable method) | ★★★★ |
Ingredients You’ll Need (Cream Cheese Tiramisu)
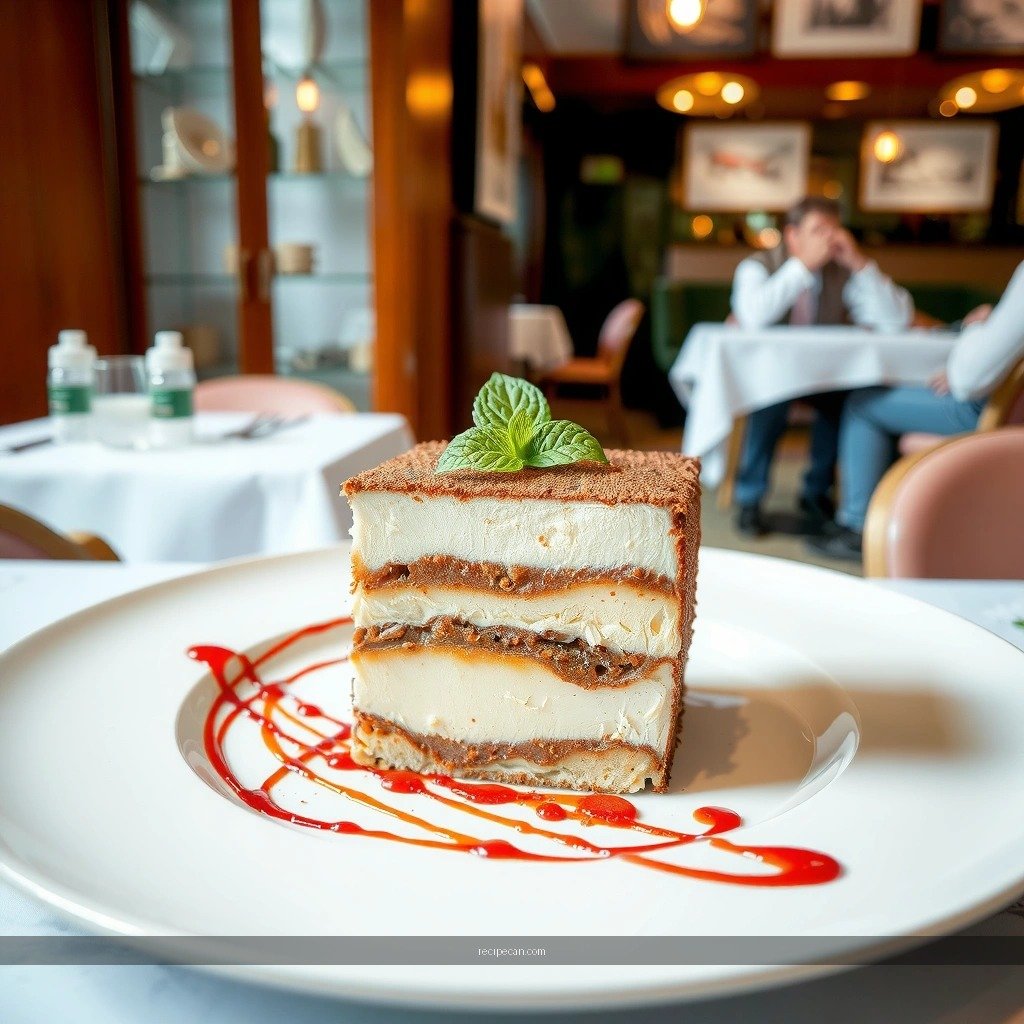
– Cream cheese, mascarpone-style flavor, plus sugar and vanilla for a smooth base
– Espresso (or strong coffee), ladyfingers, and cocoa powder for the classic finish
To keep this tiramisu “easy, creamy, and no-fuss,” choose ingredients that behave predictably.
Cream cheese: Use a plain, full-fat cream cheese for best body and tang. If you’re substituting for mascarpone, the goal is similar richness—full-fat cream cheese paired with vanilla and sugar gets you there without extra cooking or egg tempering.
Sweetener and flavor: Sugar rounds out the tang, while vanilla adds a warm, bakery-style aroma. If you prefer a brighter dessert, slightly reduce sugar and let the espresso carry the contrast.
Espresso/coffee: Strong brewed coffee or espresso is essential. The flavor should read as “coffee-forward,” not watered down. Cool it to lukewarm before dipping so the ladyfingers don’t disintegrate.
Ladyfingers: Choose packaged ladyfingers you can slice to fit your dish. The sponge structure is what makes quick dipping work—if they’re stale or overly dry, they’ll absorb too much coffee and become unpleasantly firm.
Cocoa powder: Use unsweetened cocoa powder for a clean finish. You’re aiming for a bitter-chocolate top note that balances the creamy filling.
Make the Cream Cheese Filling
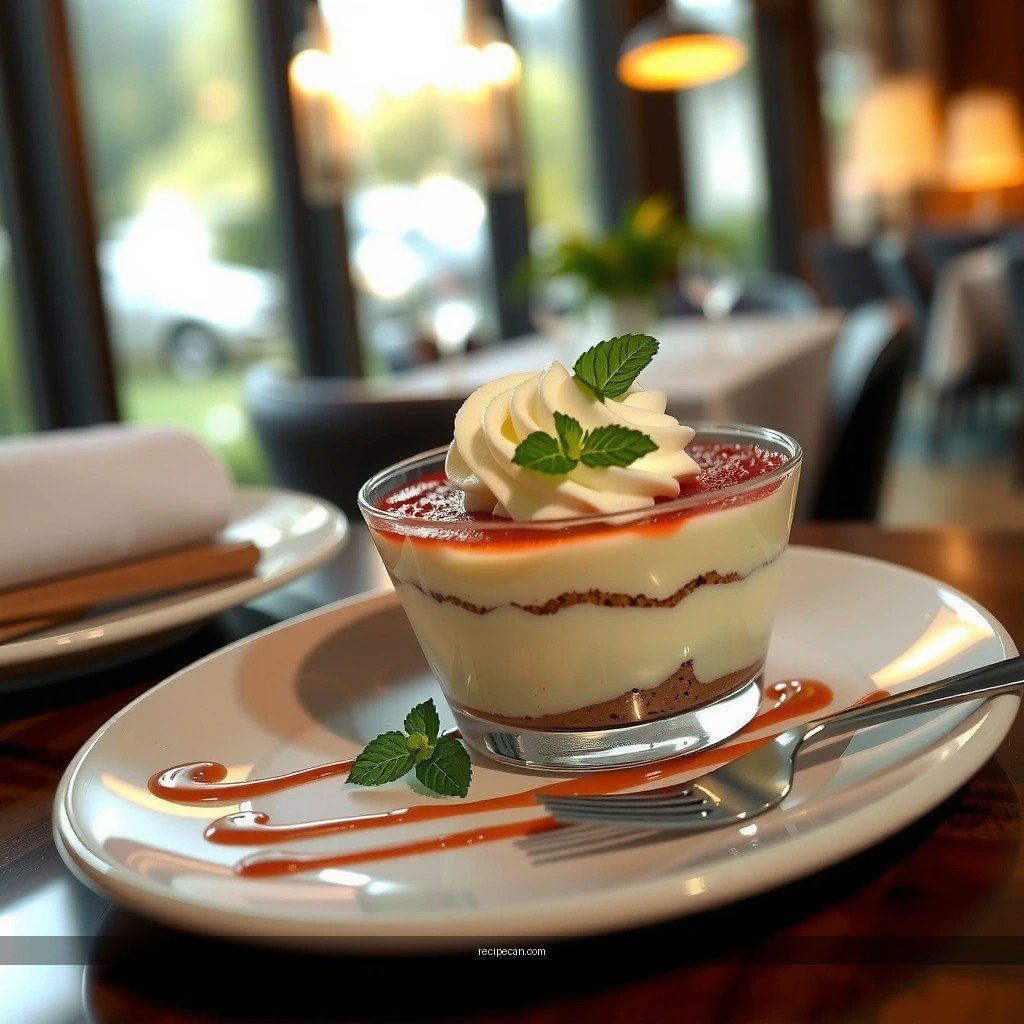
– Beat cream cheese until smooth, then mix in sugar and vanilla
– Fold in whipped cream (optional) or whisked cream for a lighter, mousse-like texture
The filling is where this recipe becomes “set-and-slice” reliable. Cream cheese needs proper mixing to eliminate lumps and create a stable base.
1. Soften correctly, then beat aggressively.
Let cream cheese sit at room temperature until pliable. Beat until silky—this is non-negotiable for a smooth, scoopable cream cheese tiramisu.
2. Add sugar and vanilla gradually.
Mix until glossy and fully combined. If your sugar feels gritty, keep mixing; the texture should look uniform, not grainy.
3. Decide your texture: dense and rich vs. light and mousse-like.
– Denser classic: Skip whipped cream for a firmer, custard-like mouthfeel.
– Lighter mousse: Fold in whipped cream or thickly whisked cream (chilled). Fold gently to preserve air, which improves creaminess without making the filling unstable.
4. Quality control tip:
If your filling looks thin, it may be too warm. Chill 10–15 minutes before assembly so it regains thickness. For pro-level consistency, keep the bowl and cream refrigerated during prep.
Why this works: Traditional mascarpone often provides body without much effort. In a cream cheese tiramisu, the “body” comes from proper beating and optional whipped cream structure—so you get that smooth, tangy profile while maintaining slice integrity.
Prepare the Espresso Soak

– Brew espresso/coffee strong and let it cool slightly so it doesn’t melt the ladyfingers
– Quick-dip ladyfingers—avoid soaking so they don’t turn soggy
This step controls the entire eating experience: too little dip and you lose the coffee flavor; too much dip and you get mush.
1. Brew and cool to lukewarm.
Use freshly brewed espresso or strong coffee. Let it cool for a few minutes so it’s warm, not hot. Hot liquid accelerates breakdown of ladyfingers and can soften layers prematurely.
2. Use a controlled dipping method.
Dip each ladyfinger quickly—think “contact,” not “soak.” A practical workflow is to dip for about 1–2 seconds per side, then place immediately on the dish.
3. Optional flavor calibration:
If your coffee tastes harsh, you can blend in a tiny pinch of sugar after brewing (stir until dissolved). This can make the espresso more balanced against the tangy cream cheese.
Avoid these common problems:
– Over-soaking ladyfingers (leads to pooling and unstable slices)
– Using hot espresso (melts structure and causes collapse)
– Dipping too far in advance (coffee migrates as it sits)
Assemble the Tiramisu Layers
– Start with a thin layer of cream cheese mixture, then add a single layer of soaked ladyfingers
– Repeat layers and top with the remaining cream mixture
Layering is more than visual—it’s structural. If you build thoughtfully, the dessert slices cleanly instead of sliding into a puddle.
1. Start with a base cream layer.
Spread a thin layer of cream cheese filling first. This acts like a “glue” that prevents ladyfingers from sticking directly to the pan and helps control moisture transfer.
2. Add a single layer of ladyfingers (no crowding).
Arrange dipped ladyfingers in one even row. Press lightly only to seat them; you don’t want them compressed into paste.
3. Repeat for the second layer.
Spoon the remaining cream cheese mixture over the ladyfingers and smooth to the edges so you lock in the structure. Then add another single layer of dipped ladyfingers followed by the final cream topping.
4. Finish for clean presentation.
Smooth the final layer with an offset spatula. If you want a more elegant top, create gentle swirls—cocoa dusting will highlight the texture.
Professional plating note: If you’re assembling in a clear dish for a party, keep the top layer even and cover immediately with plastic wrap. That prevents condensation from softening the surface.
Chill Time and Setting Tips
– Refrigerate at least 4 hours (overnight is best) to firm up and deepen flavor
– Keep it covered to prevent the top from drying out
Chilling is what turns “mixed ingredients” into a cohesive tiramisu slice. In a cream cheese version, the fridge time is also when the coffee flavor distributes evenly through the sponge.
1. Minimum chill time: 4 hours.
This is enough for basic setting. If you cut early, the filling may still be slightly soft.
2. Best result: overnight (8–12 hours).
Overnight chilling deepens flavor and improves texture. The ladyfingers fully hydrate without turning soggy because your dipping was controlled.
3. Cover it properly.
Place plastic wrap directly on the surface or cover with a tight lid. Dry air can dull the top and create a slightly crusty finish.
4. Serve at the right temperature.
For best mouthfeel, let the tiramisu sit 10–15 minutes at cool room temperature before slicing. It firms up when cold and becomes more luxurious as it warms slightly.
Troubleshooting:
– Too soft after 4 hours: Chill longer; also check that your cream cheese was properly beaten and not overheated during prep.
– Loose or watery edges: Next time, shorten the espresso dip and ensure your espresso cooled before dipping.
Serving and Storage
– Dust generously with cocoa powder right before serving for best appearance
– Store covered in the fridge up to 2–3 days; let it sit briefly for easier slicing
Serving is simple, but timing makes a difference—especially for cocoa.
1. Cocoa right before serving.
Cocoa powder can absorb moisture and lose its “fresh” look. Dust evenly just before you bring it to the table.
2. Cut cleanly.
Use a sharp knife and wipe it between slices. If you find drag marks, chill for 20–30 minutes longer next time, or slice with the dessert slightly colder.
3. Portioning strategy for events:
If you’re hosting, scoop into individual cups for the fastest portioning and the most consistent texture. Layering still works the same—just assemble in smaller containers.
4. Storage best practices:
– Refrigerate covered for up to 2–3 days.
– Keep it covered to prevent odor absorption (espresso and cocoa can take on fridge flavors if exposed).
– Let sit 10–15 minutes before serving for easier slicing.
Can you freeze it? Cream-cheese tiramisu can lose texture after thawing. For quality and professional consistency, fridge storage is the recommended approach.
Chill the tiramisu until the cream cheese filling sets, then layer espresso-soaked ladyfingers for the perfect balance of creamy and coffee flavor. Gather your ingredients, mix the filling, assemble, and refrigerate—then serve with a fresh cocoa dusting.
This tiramisu recipe using cream cheese is a practical win: it avoids cooking, delivers a tangy, creamy filling, and relies on controlled quick-dipping for classic espresso flavor without sogginess. By focusing on smooth mixing, lukewarm coffee, disciplined layering, and sufficient chilling time, you’ll get a dessert that slices cleanly and tastes even better the next day.
Frequently Asked Questions
What is a cream cheese tiramisu recipe and how is it different from classic tiramisu?
A cream cheese tiramisu uses mascarpone-style flavor and a tangy, creamy texture from cream cheese, often combined with whipped cream or eggs. Compared with classic tiramisu, it can be easier to make and more forgiving if you want a thicker filling that holds its shape. Many cream cheese tiramisu recipes also rely less on mascarpone, while still keeping the coffee-soaked ladyfingers and cocoa-dusted top.
How do you make tiramisu with cream cheese without lumps?
To avoid lumps, soften the cream cheese fully at room temperature before mixing, then beat it until smooth. Gradually add sugar (and any egg mixture if your recipe uses yolks) so the cream cheese emulsifies evenly. If you still see small lumps, briefly blend the mixture or press it through a fine sieve for a silky cream cheese tiramisu filling.
How do you prevent soggy or watery tiramisu when using cream cheese?
Soggy tiramisu usually happens when ladyfingers soak too long in espresso or coffee. Dip them quickly—about 1–2 seconds per side—or use a spoon to drizzle coffee so they stay firm, then assemble immediately. Also chill the tiramisu for several hours so the cream cheese layer sets and absorbs moisture without turning runny.
What’s the best way to flavor cream cheese tiramisu (coffee, cocoa, and vanilla)?
Use strong brewed espresso or concentrated coffee so the flavor stands up against the sweet cream cheese filling. Choose Dutch-process cocoa for a deeper chocolate taste, and consider adding vanilla extract to the filling for warmth. For extra balance, some recipes include a pinch of salt to enhance the coffee and cocoa notes in cream cheese tiramisu.
Which ingredients can you substitute in a cream cheese tiramisu recipe?
If you don’t have mascarpone, cream cheese itself is the base substitution, but make sure it’s full-fat for the best texture. For dairy-free or lighter options, you can try lactose-free or dairy-free cream cheese alternatives (texture varies), and for structure you may need to whip a stabilizing component like coconut cream or additional whipped topping. If you want to swap ladyfingers, use firm sponge cake slices, but dip them lightly so your cream cheese tiramisu doesn’t become too soft.
References
- Tiramisu
https://en.wikipedia.org/wiki/Tiramisu - Mascarpone
https://en.wikipedia.org/wiki/Mascarpone - Cream cheese
https://en.wikipedia.org/wiki/Cream_cheese - Lady finger
https://en.wikipedia.org/wiki/Ladyfinger - Espresso
https://en.wikipedia.org/wiki/Espresso - Cocoa
https://en.wikipedia.org/wiki/Cocoa - Tiramisu | Meaning, Ingredients, Origin, Desserts, & Taste | Britannica
https://www.britannica.com/topic/tiramisu - Google Scholar Google Scholar
https://scholar.google.com/scholar?q=tiramisu+cream+cheese+recipe - Google Scholar Google Scholar
https://scholar.google.com/scholar?q=mascarpone+substitution+cream+cheese+tiramisu - Google Scholar Google Scholar
https://scholar.google.com/scholar?q=tiramisu+ingredients+mascarpone+ladyfingers+coffee