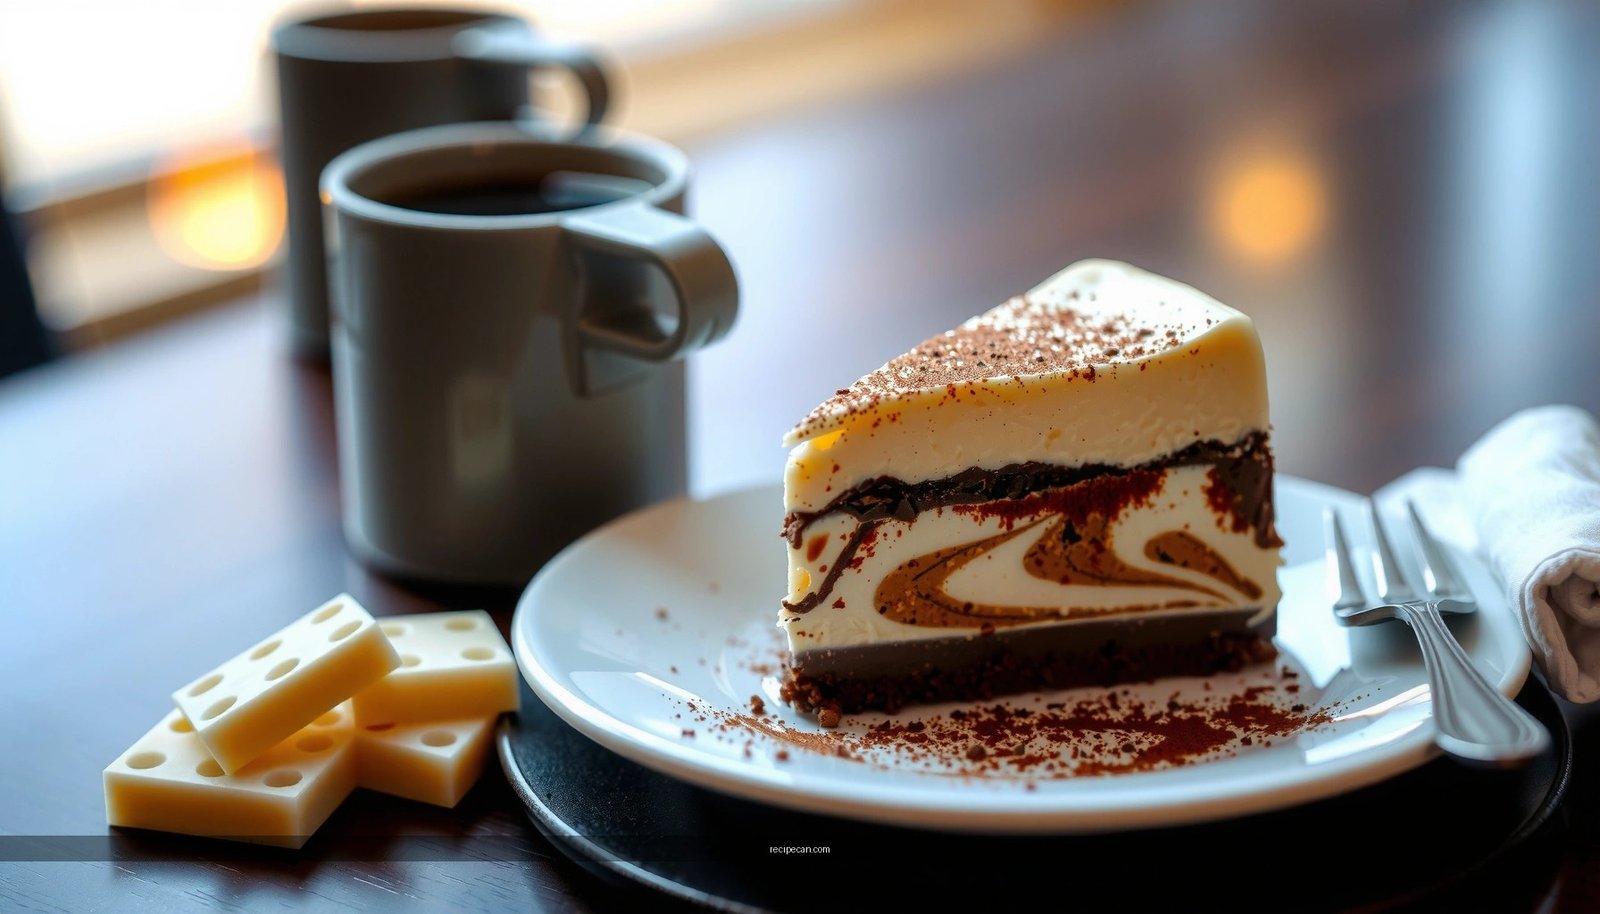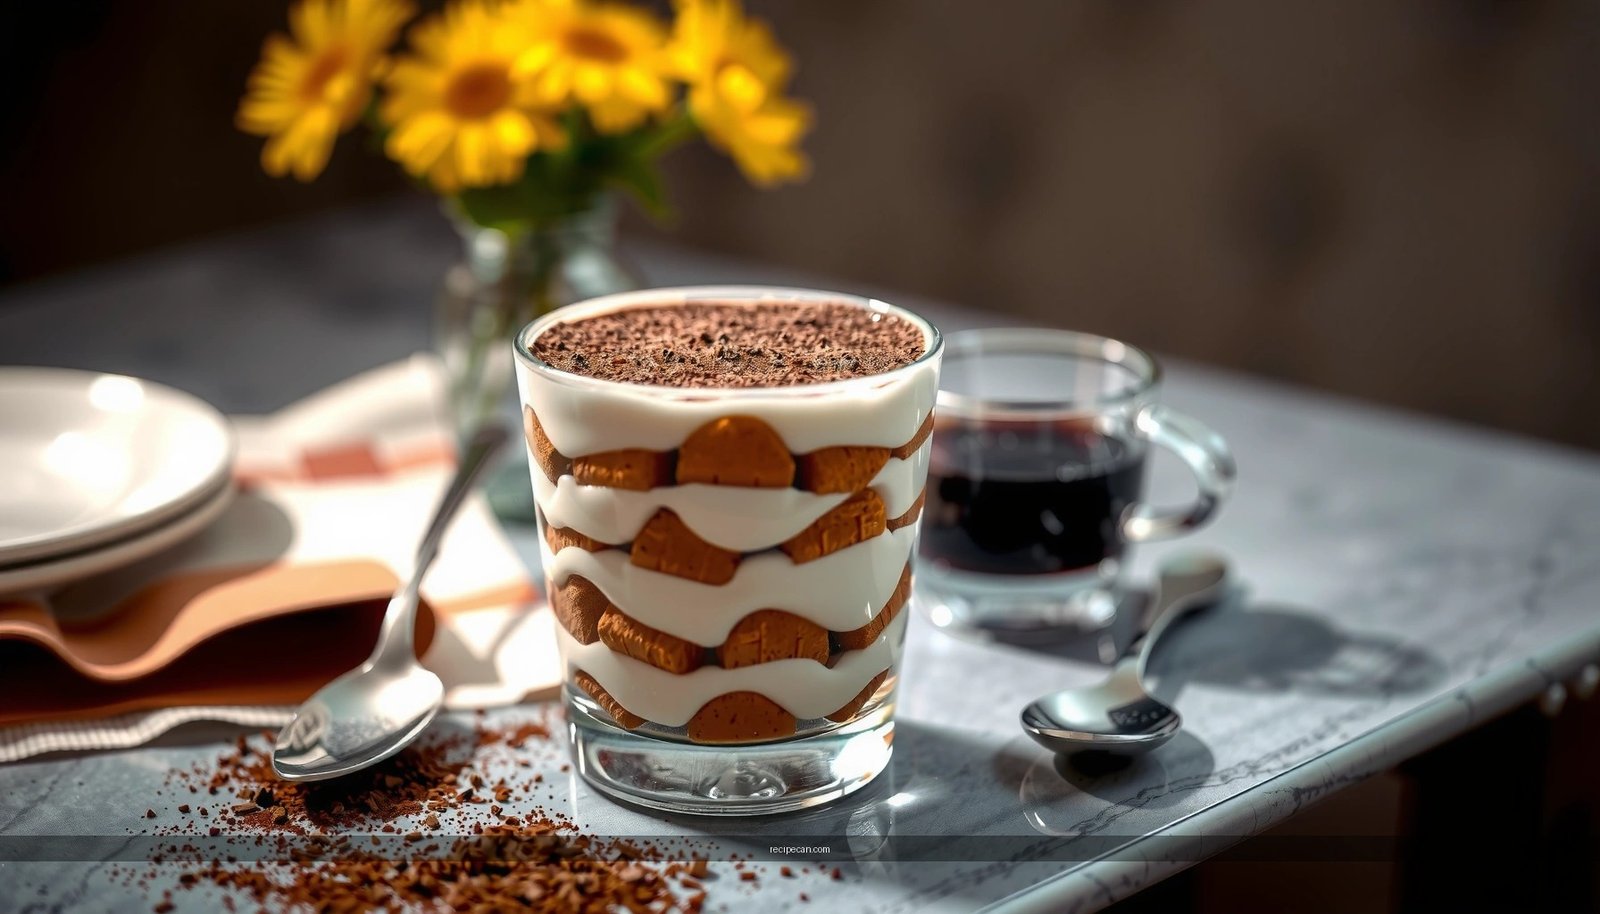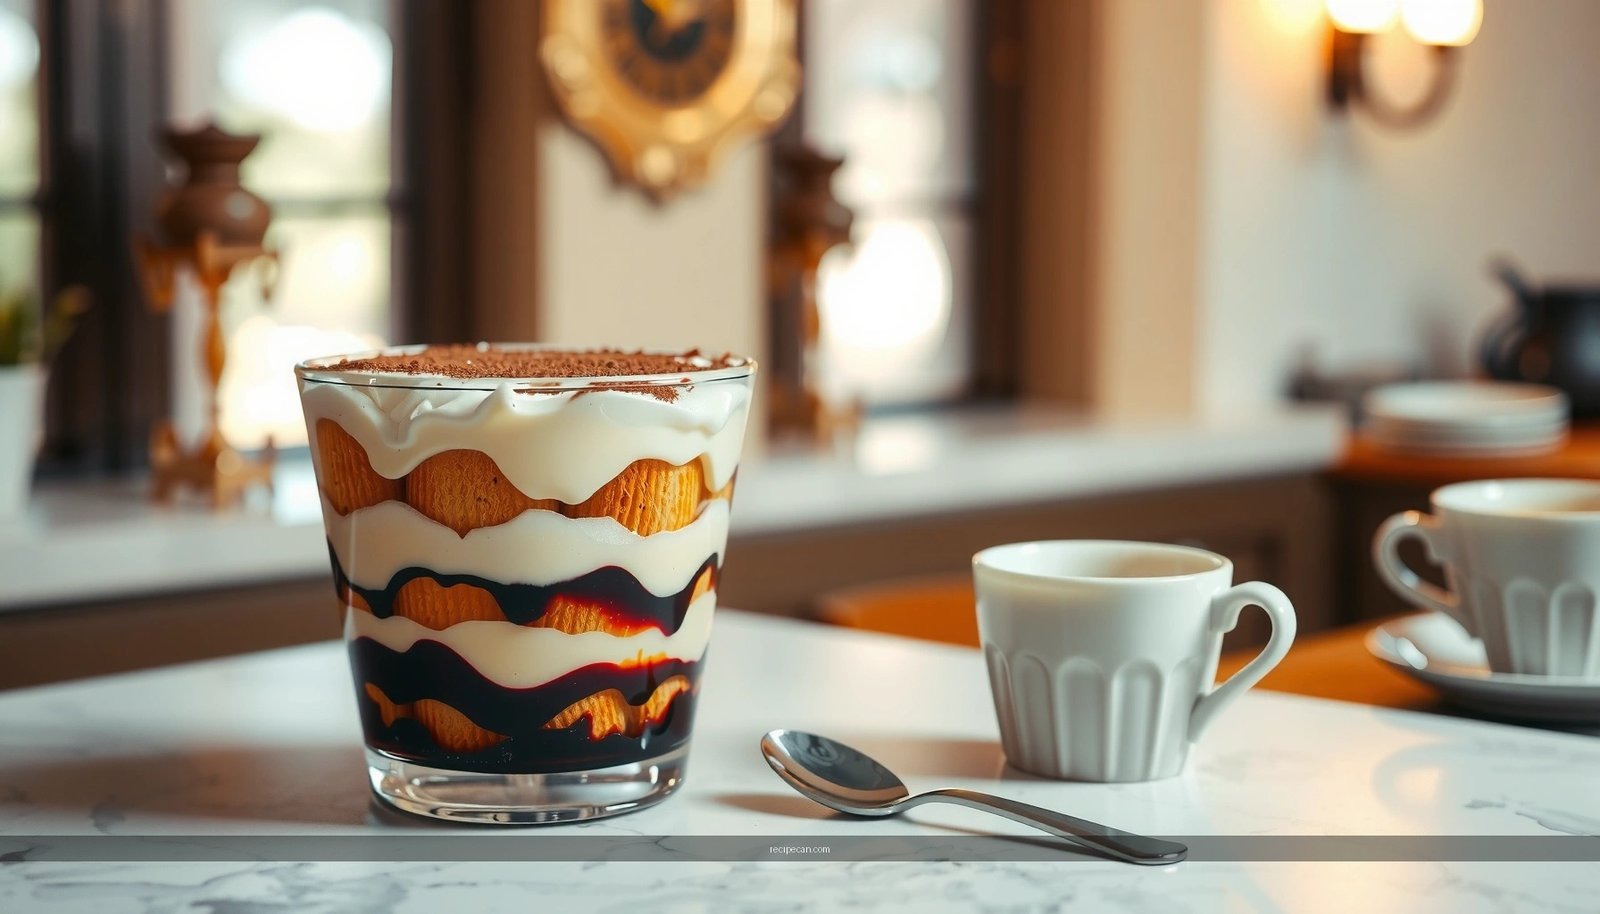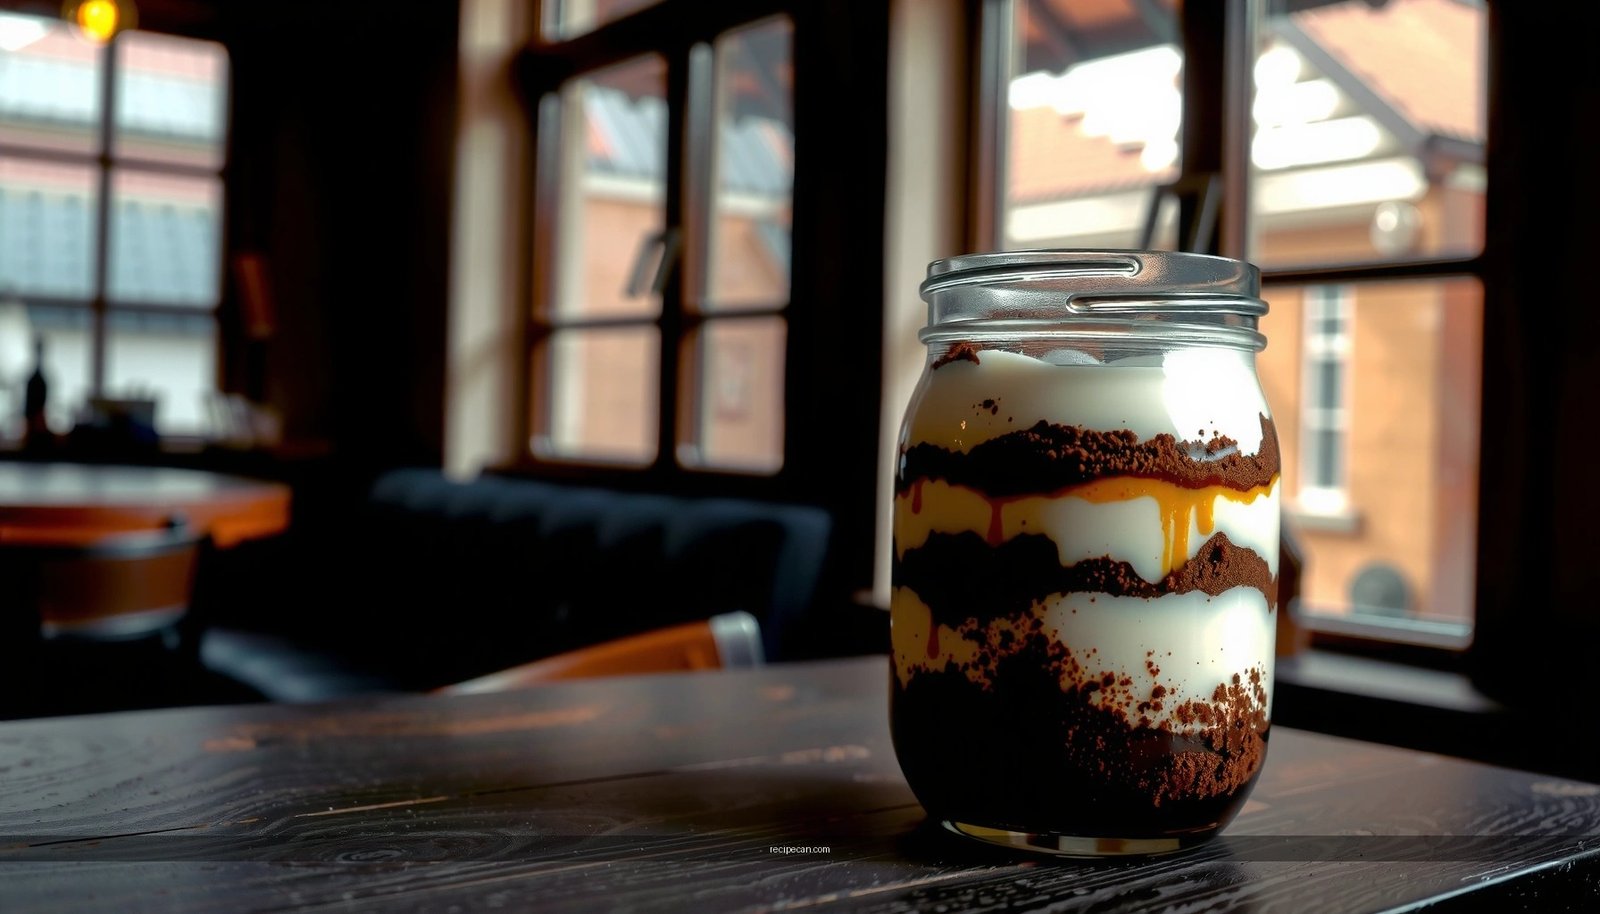
This tiramisu recipe no bake delivers a classic, espresso-soaked dessert without turning on the oven—ideal when you want the real taste with minimal effort. Follow simple steps to assemble a creamy mascarpone layer and set it in the fridge for clean slices and bold coffee flavor. If you’re searching for an easy tiramisu recipe no bake that actually works, this is the one to make.
A no-bake tiramisu gives you the classic, layered espresso-and-mascarpone experience without turning on the oven—just soak, whip, layer, and chill. In this guide, you’ll learn the exact ingredients to use, how to build clean layers that hold their shape, and how long to refrigerate so the dessert sets properly and tastes “restaurant quality.”
Ingredients for No Bake Tiramisu
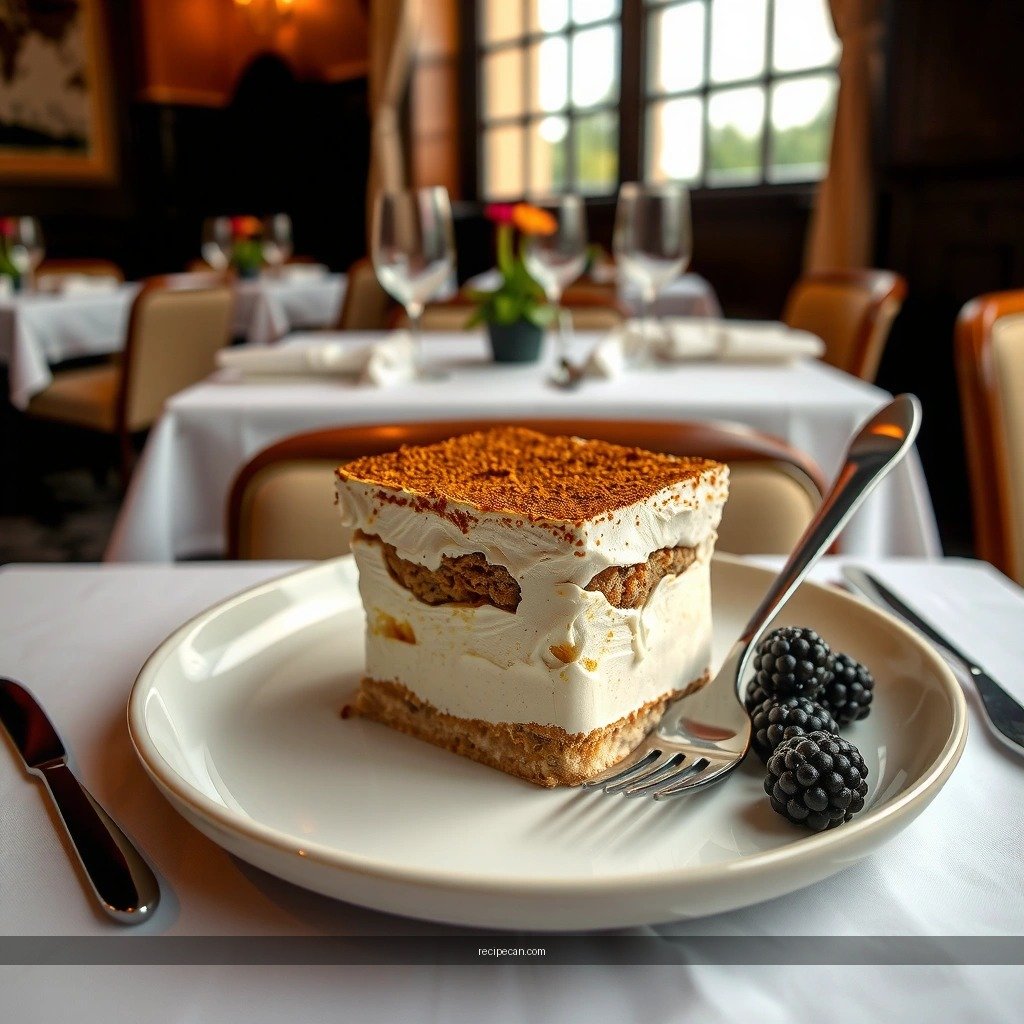
To make a reliable no-bake tiramisu, focus on two things: the mascarpone cream’s structure and the coffee layer’s absorption. Traditional tiramisu uses mascarpone, espresso, and ladyfingers; the no-bake approach simply relies on chilling (instead of baking) to firm everything up.
Core ingredient set (classic approach):
– Mascarpone (the heart of the filling): choose full-fat for the creamiest texture and best stability.
– Heavy cream (for aeration): use cold cream so it whips reliably.
– Sugar (sweetness and smoother mouthfeel): granulated sugar dissolves best; powdered sugar works too but can change texture slightly.
– Eggs (optional): some recipes use raw or cooked/tempered egg for richness; if you prefer an egg-free version, you can skip them and still get great results.
– Espresso or strong coffee: espresso delivers bold flavor, but strong brewed coffee works when cooled.
– Ladyfingers (or sponge cookies): they’re designed to absorb liquid without collapsing completely.
– Cocoa powder: for the signature dusting on top.
– Optional chocolate shavings: add texture and a more “fine dessert” presentation.
Practical shopping notes:
– If you can’t find ladyfingers, savoiardi-style sponge cookies are typically the closest substitute.
– For the coffee, avoid very watery drip coffee; you want concentrated flavor so the tiramisu doesn’t taste diluted after chilling.
No-Bake Tiramisu Ingredients: Performance at a Glance
| # | Ingredient | Role in the Dessert | Best Target Spec | Outcome Impact |
|---|---|---|---|---|
| 1 | Mascarpone | Cream base | Full-fat; room-temp for smooth mixing | ★ Stability + rich mouthfeel |
| 2 | Heavy cream | Aeration + structure | Whip to soft peaks; ~35% fat content | ★ Prevents runniness |
| 3 | Espresso/strong coffee | Flavor + moisture | Cool 5–10 min; concentrated, not watery | ★ Balanced espresso taste |
| 4 | Ladyfingers | Coffee carrier layer | Quick-dip; ~1–2 seconds per side | ★ Clean layers, not mush |
| 5 | Eggs (if used) | Optional added richness | Either temper for safety or omit | ★ Risk of texture issues if mis-handled |
| 6 | Cocoa powder | Finish + bitterness contrast | Dust right before serving | ★ Aroma stays bright |
| 7 | Chilling time | Sets texture + melds flavors | 4–6 hours minimum; overnight ideal | ★ Best firmness and slice quality |
Make the Tiramisu Cream
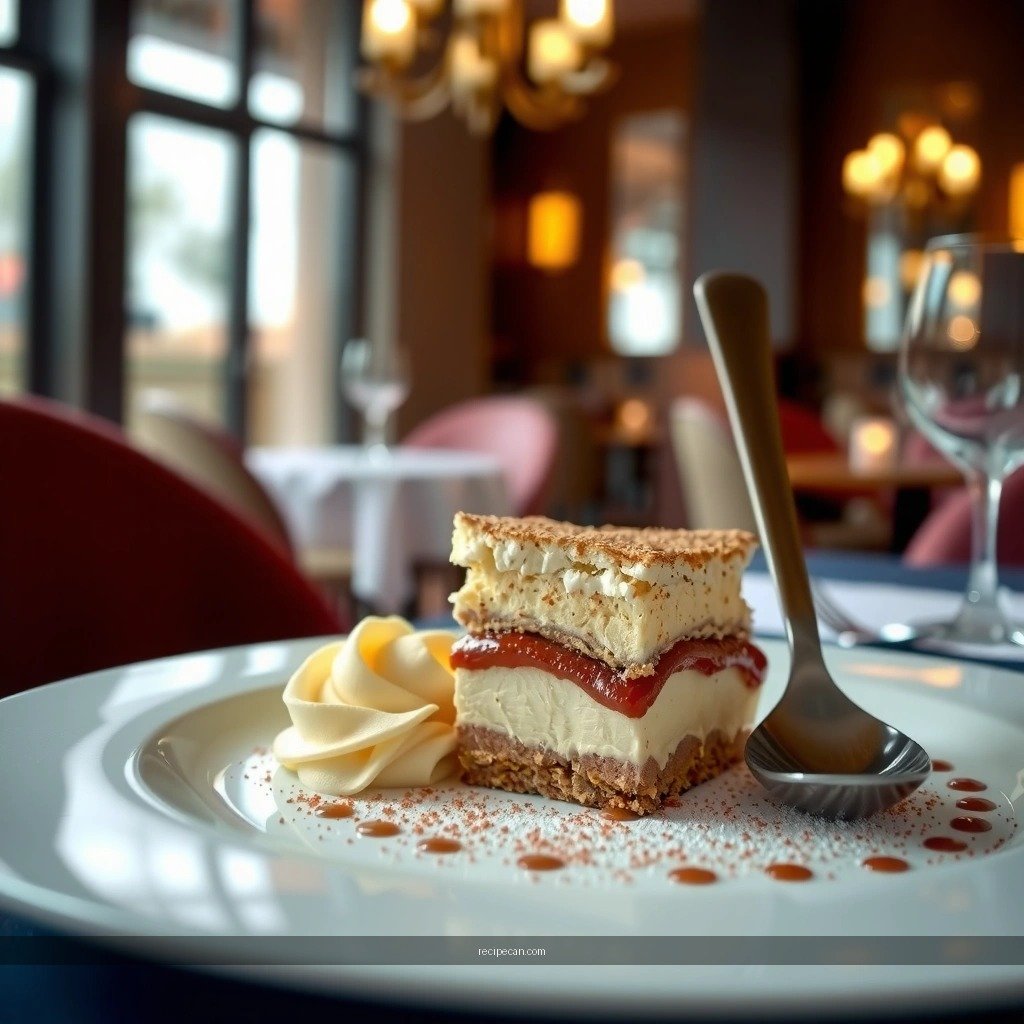
The cream is where most no-bake tiramisus succeed or fail. Your goal is a smooth mascarpone mixture that stays thick after chilling.
Step-by-step cream method (egg-free option—recommended for consistency):
1. Whip heavy cream: Use cold heavy cream and whip until you reach soft peaks. This means the cream holds a gentle shape but still looks glossy.
2. Mix mascarpone + sugar: In a separate bowl, combine mascarpone with sugar until smooth and lump-free.
3. Fold, don’t beat: Add the whipped cream into the mascarpone mixture in batches, folding until evenly combined. Folding preserves air bubbles, which improves both texture and spoonability.
If you want eggs (optional)
Egg-based creams can feel more “traditional” and can add richness, but they introduce food-safety and texture variables.
– Temper carefully: If you’re using yolks, you must warm them gradually with hot (not boiling) coffee syrup or sugar mixture while whisking to prevent scrambling.
– Safer alternative: Many modern bakers prefer an egg-free mascarpone + whipped cream system for reliable set and lower risk.
– Business takeaway: For consistent results across batches and serving conditions, egg-free no-bake tiramisu is typically the most operationally predictable.
Common cream issues (and fixes):
– Cream too runny: You may have over-soft peaks or warmed mascarpone too much—chill the bowl briefly and refold.
– Grainy mascarpone: It can happen if mascarpone isn’t at the right temperature. Let it soften slightly, then blend smoothly.
– Over-whipped cream: If you whip to stiff peaks, the texture can become rubbery and less seamless after folding.
Prepare the Coffee Layer
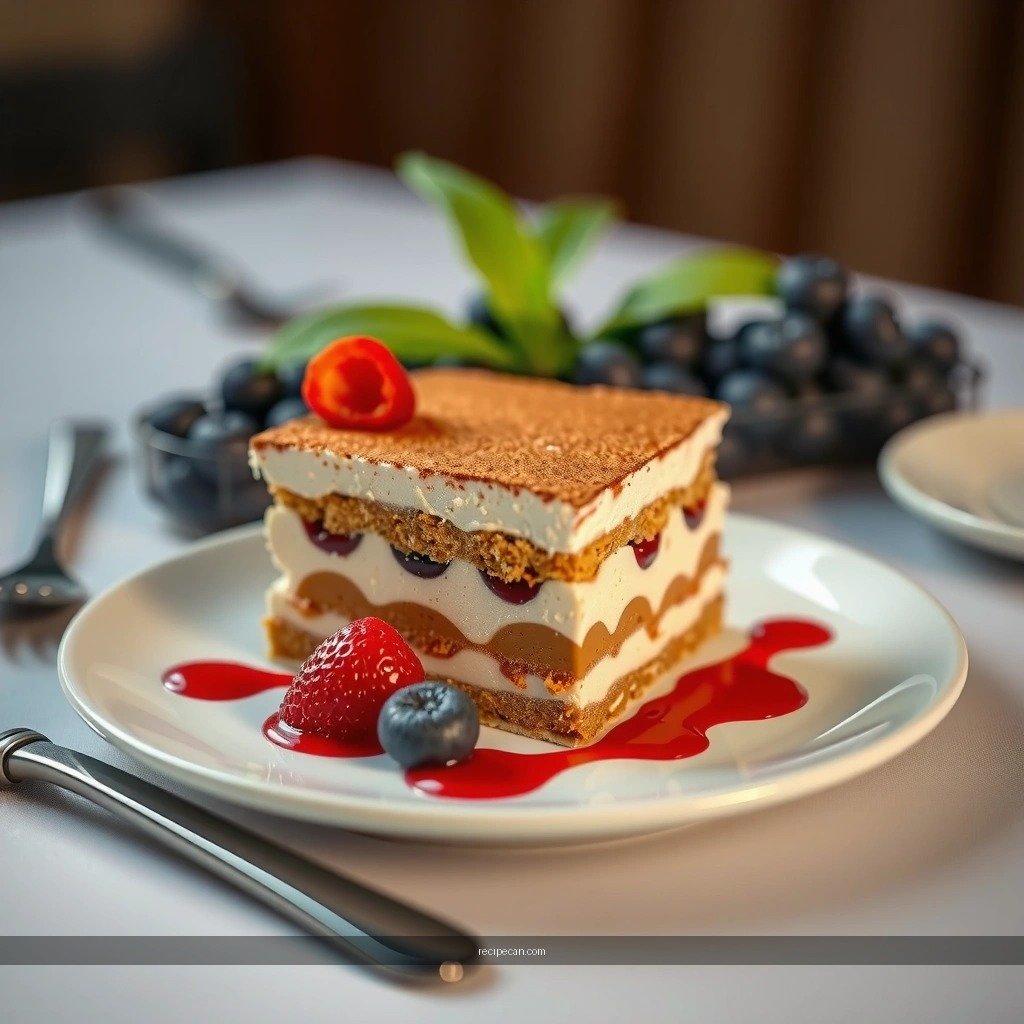
For a no-bake tiramisu, coffee preparation is not just flavor—it’s moisture control. Ladyfingers absorb liquid quickly, and over-dipping leads to a collapsed, watery dessert.
What to do:
1. Brew espresso/coffee and let it cool for about 5–10 minutes. You want it warm enough to absorb, but not hot enough to melt the cream layers later.
2. Optional flavor booster: Add a small splash of vanilla, a teaspoon of cocoa, or a modest amount of sweetener (especially if using espresso without any added sugar).
3. Quick-dip technique: Dip ladyfingers for about 1–2 seconds per side. The cookie should be visibly moistened but not saturated.
Why timing matters (analytical view):
– The cookie’s porous structure draws in liquid immediately.
– After assembly, the remaining moisture redistributes as the tiramisu chills—meaning even a “slightly too wet” dip can become noticeably soft after several hours.
Coffee-layer consistency checks:
– If the ladyfingers feel fragile after dipping, you’re likely over-soaking.
– If they’re barely damp, the dessert can taste dry and less cohesive—dip briefly and layer promptly.
Assemble and Layer Like a Pro
Assembly is where the dessert turns from “ingredients” into “a stable slice.” Layering technique determines whether you get distinct coffee-and-cream bands or a blended mass.
Clean, repeatable assembly workflow:
1. Choose your pan: A rectangular dish works well for even layers and clean slicing. Line up ladyfingers to understand how many you need before starting.
2. Create the base: Arrange a first layer of quick-dipped ladyfingers. Aim for an even thickness—no gaps, no overcrowding.
3. Add cream: Spread a portion of mascarpone cream over the base. Use a spatula to level it; pressure should be gentle to avoid disturbing the cookies.
4. Repeat: Add another quick coffee layer, then another cream layer.
5. Finish: Cover the top with cream and smooth it for a professional look.
Operational best practices:
– Work in batches: Dip only as many ladyfingers as you can place before the coffee layer drifts from “absorbed” to “too wet.”
– Keep everything cold: Chilled cream layers absorb moisture differently and help maintain a firm set.
Best Chilling Time and Serving Tips
No-bake tiramisu isn’t “no time”—it’s time without baking. Refrigeration is what melds espresso flavor into the cookies and sets the mascarpone cream.
Recommended chilling timeline:
– Minimum: 4–6 hours in the refrigerator.
– Best: Overnight (around 8–12 hours) for the most cohesive texture and best slice integrity.
Serving guidance that improves perceived quality:
– Serve cold: Let the tiramisu sit at fridge temperature; don’t leave it warm for long.
– Dust with cocoa right before serving: Cocoa powder can absorb moisture and dull its appearance if applied too early.
– Slice with confidence: Use a sharp knife and wipe between cuts for clean edges.
If you’re serving a large group:
– Assemble the day before.
– Plan on transporting chilled servings in a sealed container to maintain structure and avoid cocoa smearing.
Variations and Common Mistakes to Avoid
Tiramisu is forgiving, but a few mistakes consistently undermine texture, flavor, and presentation. Below are smart variations and the most frequent failure points—plus how to prevent them.
Variations you can apply without breaking the system:
– Gluten-free: Use gluten-free ladyfingers or sponge cookies designed to hold shape. Confirm they’re the “sponge” type rather than dense cookies that won’t absorb evenly.
– Sponge cake option: Replace ladyfingers with sponge cake cut into strips. Sponge cake absorbs faster than ladyfingers in many brands—dip even more briefly.
– Chocolate-forward version: Mix a little cocoa into the mascarpone cream and add thin chocolate shavings on top.
– Coffee intensity control: For a milder profile, blend espresso with decaf or use strong coffee at a lower concentration (but keep it flavorful enough to avoid a watery finish).
Common mistakes (and how to avoid them):
– Over-soaking the ladyfingers: Symptom—soft, collapsed layers. Fix—dip for 1–2 seconds and assemble immediately.
– Under-whipping the cream: Symptom—cream won’t set; texture is loose. Fix—whip to soft peaks and fold gently.
– Skipping chilling time: Symptom—dessert tastes good but doesn’t slice well. Fix—chill at least 4–6 hours, preferably overnight.
– Using hot coffee: Symptom—cream loosens and layers blur. Fix—cool coffee before dipping.
A no-bake tiramisu comes together quickly, but the chilling time makes it truly worth it. Follow the cream and layering steps carefully, refrigerate until set, and dust with cocoa before serving—then make your next batch with your preferred variation.
For a final “confidence check” before you serve: your slice should hold its shape, show visible coffee-and-cream layers, and smell pleasantly of espresso and cocoa without any watery pooling. If you hit those marks, you’ve nailed the classic no-bake tiramisu formula—effortless to make, impressive to present, and reliably delicious.
Frequently Asked Questions
What is the best no-bake tiramisu recipe for beginners?
A beginner-friendly tiramisu recipe no bake uses espresso-soaked ladyfingers layered with a simple mascarpone mixture (mascarpone, whipped cream, sugar, and eggs or egg-free alternatives). Start by brewing strong espresso and cooling it slightly so the ladyfingers absorb without turning mushy. Use clear layering—cream, ladyfingers, cream—then chill for at least 4–6 hours to set the dessert properly.
How do you make tiramisu no bake without raw eggs?
If you want a tiramisu recipe no bake without raw eggs, choose an egg-free mascarpone filling or use pasteurized eggs. Egg-free options often combine mascarpone with whipped cream and a little vanilla, creating a stable texture that still tastes rich and creamy. This approach keeps the dessert safe while maintaining the classic tiramisu flavor profile.
Why does my no-bake tiramisu turn watery or runny?
Watery tiramisu usually happens when the ladyfingers are over-soaked in espresso or the cream isn’t whipped to the right stiffness. Make sure the espresso is not too hot and dip ladyfingers briefly—just a quick soak—before layering. Also chill long enough; the mascarpone mixture thickens as it sets, which helps the tiramisu hold its shape.
Which ingredients make the creamiest tiramisu no bake—mascarpone or cream cheese?
For the most authentic and creamy tiramisu recipe no bake, mascarpone is usually the best choice because it delivers the traditional soft, sweet dairy flavor. Cream cheese can work, but it may make the filling tangier or slightly denser unless you blend it smoothly with mascarpone and/or whip it well. If you want a compromise, use a mix of mascarpone and cream cheese to balance flavor and texture.
What’s the best way to store and serve tiramisu no bake for best flavor?
Store your tiramisu recipe no bake covered in the refrigerator, ideally for 4–24 hours, because chilling enhances the coffee and cocoa flavors. For serving, dust the top with cocoa powder right before presenting so it stays fresh and doesn’t dissolve into moisture. Keep it cold until serving, and slice with a clean spoon or knife for neat layers.
References
- Google Scholar Google Scholar
https://scholar.google.com/scholar?q=tiramisu+no-bake+recipe+mascarpone+ladyfingers - Google Scholar Google Scholar
https://scholar.google.com/scholar?q=eggless+tiramisu+no-bake+mascarpone+recipe - Google Scholar Google Scholar
https://scholar.google.com/scholar?q=tiramisu+ladyfingers+mascarpone+no-bake+method - Tiramisu
https://en.wikipedia.org/wiki/Tiramisu - Mascarpone
https://en.wikipedia.org/wiki/Mascarpone - Lady finger
https://en.wikipedia.org/wiki/Ladyfinger - Ladyfingers (biscuits)
https://en.wikipedia.org/wiki/Savoiardi - Cocoa powder
https://en.wikipedia.org/wiki/Cocoa_powder - Espresso
https://en.wikipedia.org/wiki/Espresso - https://en.wikipedia.org/wiki/Coffee_as_food_and_drink
https://en.wikipedia.org/wiki/Coffee_as_food_and_drink