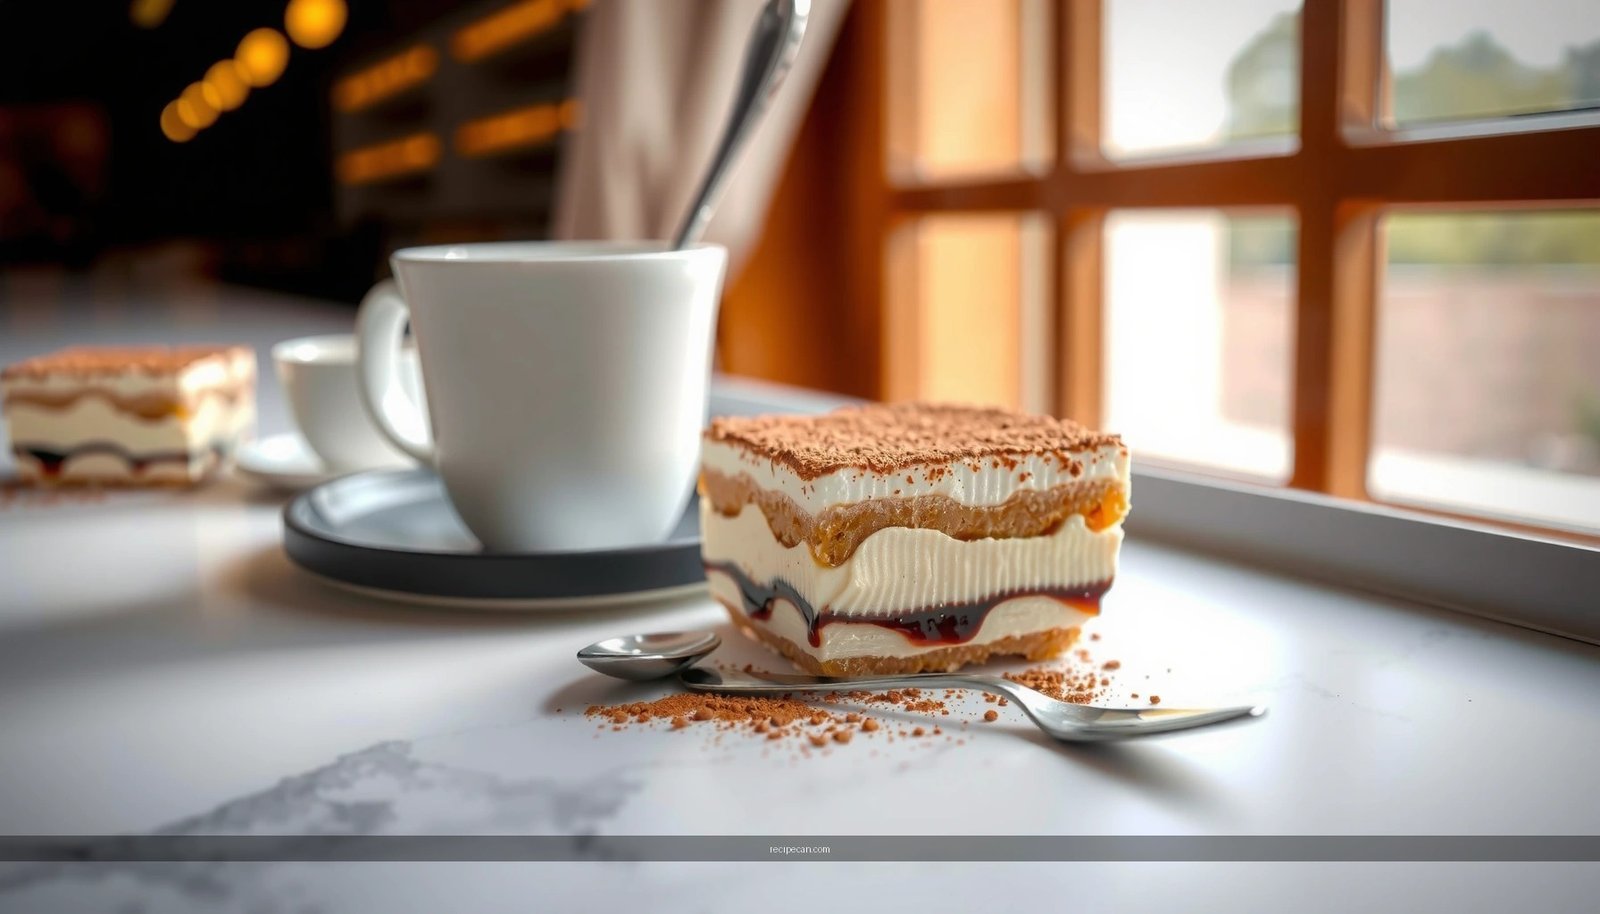
Want an easy tiramisu dessert cups recipe that skips baking? These no-bake tiramisu dessert cups deliver clean layers of mascarpone cream and coffee-soaked ladyfingers with a quick assembly and a fridge-time finish. If you need a show-stopping, make-ahead dessert that holds its shape in individual servings, this is the fastest winning approach.
Make tiramisu dessert cups by quickly dipping espresso-soaked ladyfingers and layering them with a fluffy mascarpone cream—then chilling until firm and spoonable. This easy no-bake tiramisu cups recipe focuses on exactly how to assemble for clean layers, how long to chill for the best texture, and how to portion each cup so every serving tastes like classic tiramisu.
Ingredients for Tiramisu Dessert Cups

To make authentic-tasting tiramisu dessert cups, you need two core components: coffee-soaked structure (ladyfingers + espresso) and a stable mascarpone cream (mascarpone + cream + sugar, with optional eggs for classic richness). For best results, use espresso or very strong coffee so the flavor holds up against the sweetness.
– Mascarpone (for the signature creamy body)
– Heavy cream (for lightness and stability)
– Sugar (to balance espresso bitterness)
– Eggs (optional) (for a more traditional custard-like richness)
Coffee + assembly
– Espresso (or strong coffee), cooled
– Ladyfingers (savoiardi)
Finishing
– Cocoa powder, preferably unsweetened
– Optional chocolate shavings for topping
Egg-free option (recommended for simplicity)
– Use mascarpone + sugar + heavy cream only.
– If you want the cream to be more stable without eggs, ensure the heavy cream reaches stiff-to-medium peaks and fold gently to preserve air.
Sweet spot tip: chill your espresso and the mascarpone mixture. Cold components help the layers set cleanly and reduce “bleeding” between layers.
Portion & Set Reliability Guide for Tiramisu Dessert Cups
| # | Cup Volume | Cream per Cup | Ladyfingers per Cup | Chill Target | Set Reliability |
|---|---|---|---|---|---|
| 1 | 80 ml (≈2.7 oz) | 55 g | 1/2 ladyfinger | 4 hours | ★★★★★ |
| 2 | 100 ml (≈3.4 oz) | 70 g | 2/3 ladyfinger | 4–6 hours | ★★★★★ |
| 3 | 120 ml (≈4.1 oz) | 85 g | 1 ladyfinger (split) | 6 hours | ★★★★☆ |
| 4 | 150 ml (≈5.1 oz) | 110 g | 1–1.5 ladyfingers | 6–8 hours | ★★★★☆ |
| 5 | 180 ml (≈6.1 oz) | 130 g | 2 ladyfingers | 8–12 hours | ★★★☆☆ |
| 6 | 200 ml (≈6.8 oz) | 145 g | 2–2.5 ladyfingers | 12+ hours | ★★☆☆☆ |
| 7 | 250 ml (≈8.5 oz) | 175 g | 3+ ladyfingers | Overnight recommended | ★☆☆☆☆ |
Make the Cream Layer

The cream layer is where tiramisu dessert cups succeed or fail: it must be rich, but also stable enough to hold layers after chilling. The main technical lever is texture—how whipped the cream is and how gently the mixture is folded.
1. Whisk mascarpone with sugar (smooth first)
– Start by whisking mascarpone and sugar until there are no lumps.
– This step prevents a grainy mouthfeel and ensures the mascarpone fully blends with the whipped components.
2. Beat the heavy cream (and eggs if using) to the right stage
– Whip heavy cream until it reaches stiff-to-medium peaks.
– If using eggs: temper or beat according to your method (many cooks choose a cooked-egg approach for safety and stability), then combine so the final cream still holds shape.
3. Fold gently to keep the mixture airy
– Fold whipped cream into the mascarpone base slowly.
– The goal is a uniform, spoonable cream that leaves visible trails briefly, not a collapsed liquid.
– Overmixing collapses air pockets, which can cause “soft set” and weaker layering.
Practical benchmark: if you lift the spatula, the cream should mound and slowly relax—not immediately pour like a sauce.
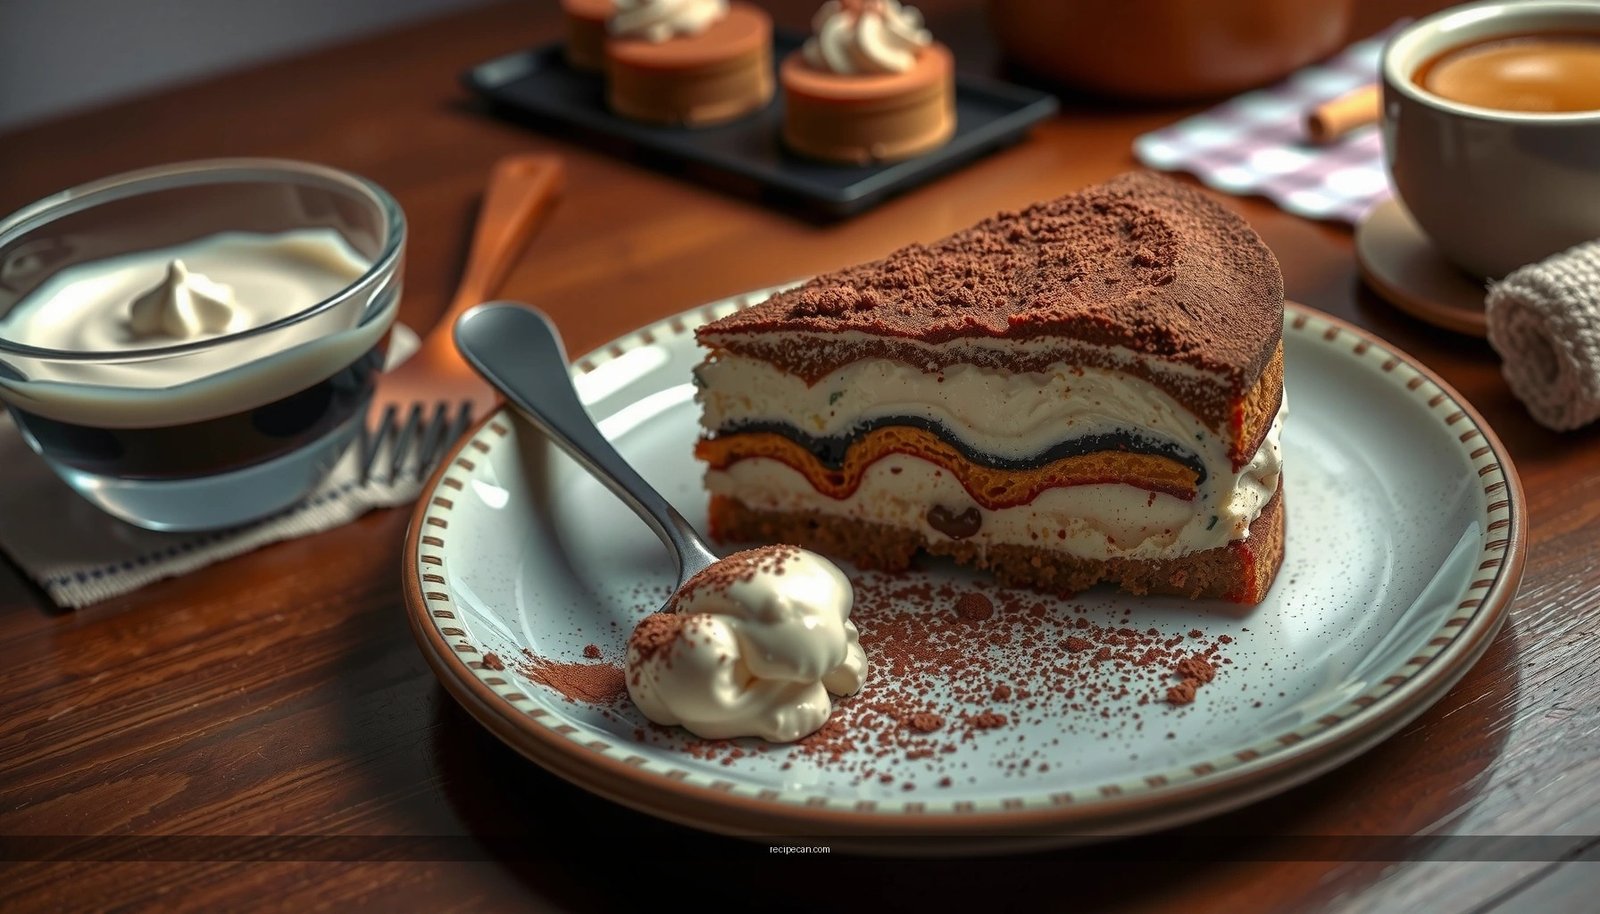
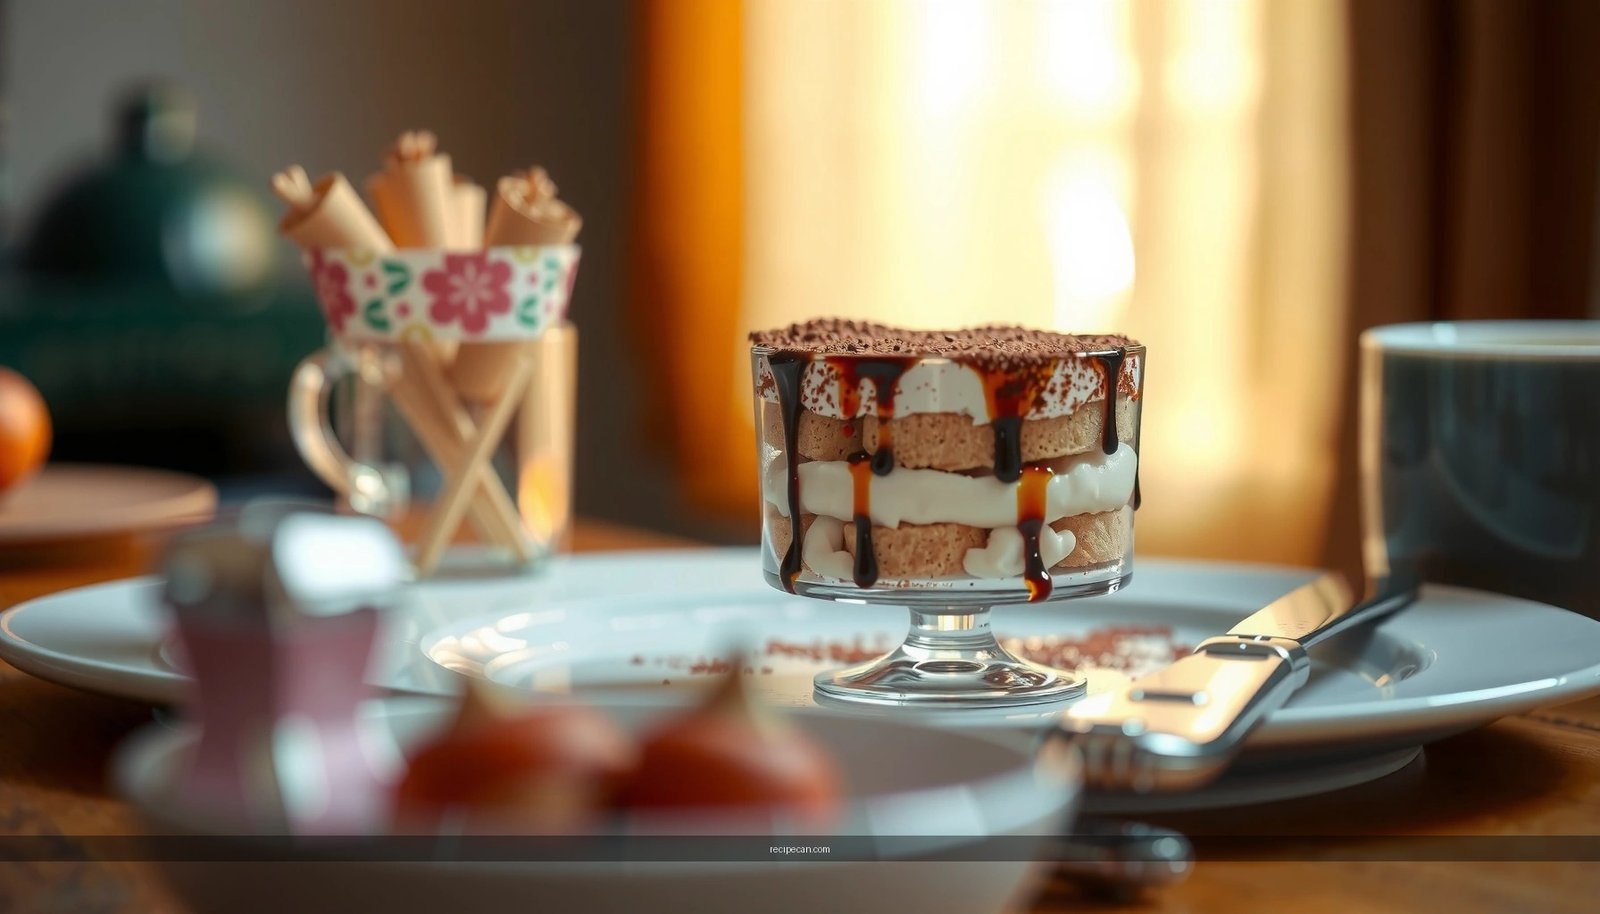
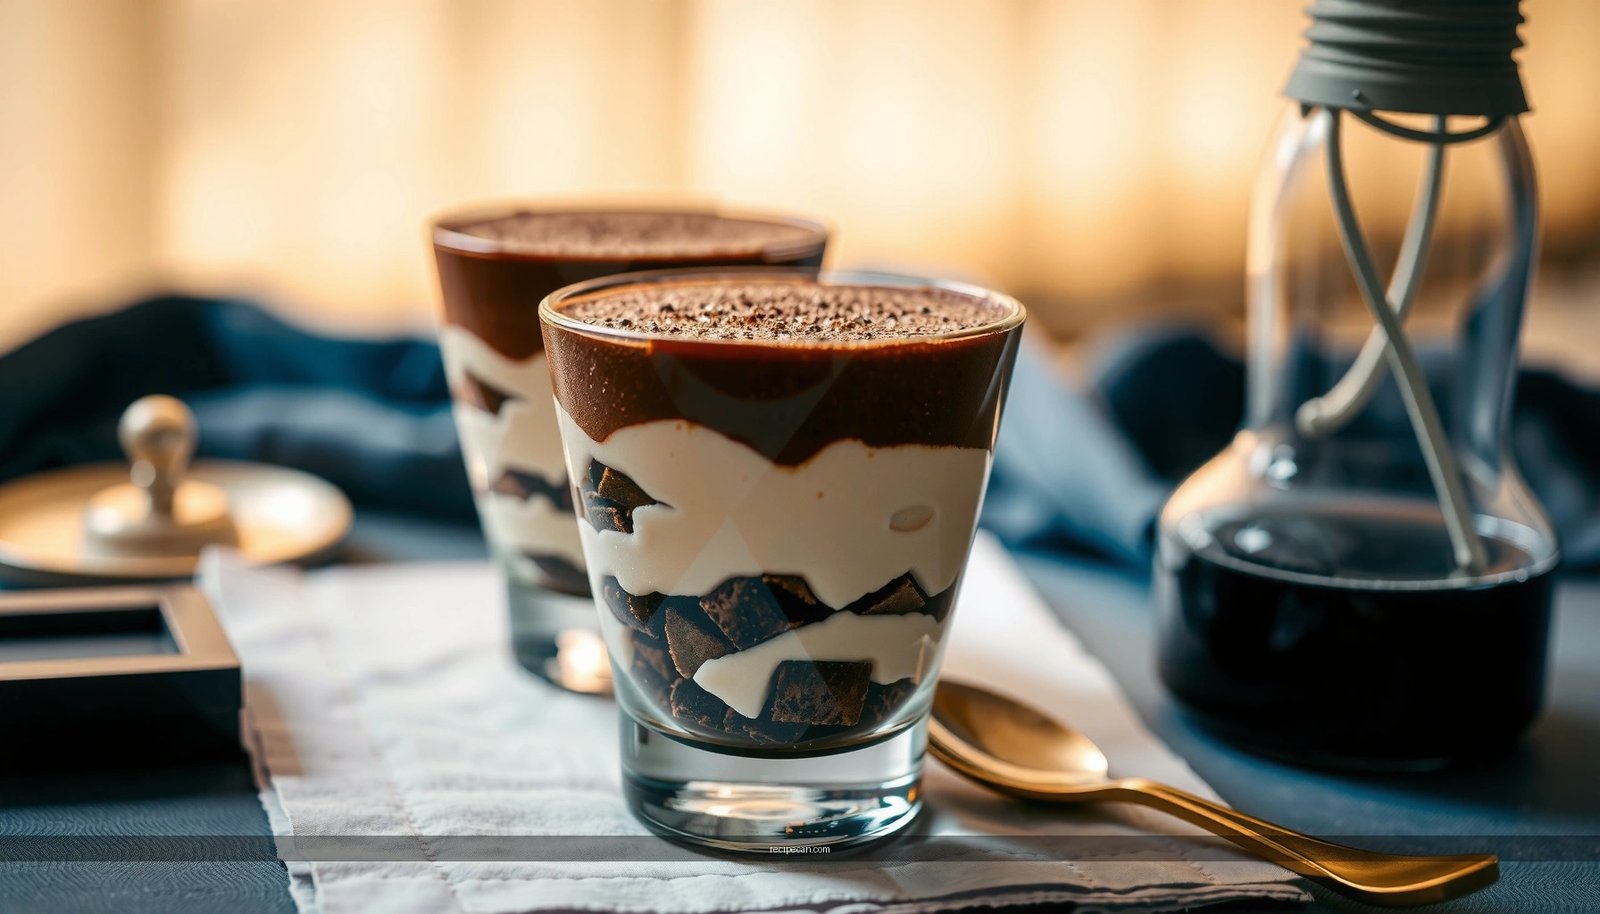
Assemble the Dessert Cups

Assembly determines the classic tiramisu look: distinct layers of espresso-kissed ladyfingers and creamy mascarpone. The key process detail is how quickly the ladyfingers contact espresso.
1. Dip ladyfingers quickly—don’t soak
– Dip each side for about 1–2 seconds, just enough for coffee flavor to penetrate.
– Too long, and the ladyfingers turn into mush; too short, and you’ll miss that signature tiramisu bitterness and aroma.
2. Layer consistently in each cup
– Suggested structure per cup: ladyfingers → cream → repeat.
– Use the same number of layers across cups so every serving chills evenly and tastes balanced.
3. Smooth the top for a clean finish
– Spoon cream on top and level it with an offset spatula or the back of a spoon.
– Even surfaces make cocoa dusting more attractive and help prevent pooling.
Portioning strategy for uniform cups
– Start by measuring cream portions (e.g., 55–110 g depending on cup volume).
– Then cut ladyfingers to fit your cup diameter rather than forcing them to bend.
– Use a quick assembly line: dip, place, spoon cream, repeat.
Chill and Set for Best Texture
No-bake tiramisu dessert cups rely on time and temperature to transform into a firm, spoonable dessert. Your fridge is essentially the “setting ingredient.”
– Refrigerate at least 4 hours for smaller cups
– Overnight is best for deeper flavor integration and clean slice-like structure
– Keep cups covered to prevent refrigerator odors and condensation affecting cocoa
Why chilling works
– Mascarpone and whipped cream firm up as fat crystallizes.
– Meanwhile, the espresso redistributes through the softened ladyfingers, balancing coffee bitterness with sweetness.
– Adequate chill time reduces the risk of runny layers, especially in larger cups.
Quality control tip: if the cream holds its shape and the ladyfingers feel tender (not watery) when spooned, your set is successful.
How to Serve and Customize
Serving is not just about taste—it’s also about texture presentation. Tiramisu desserts look best when finished at the last minute.
– Dust with cocoa right before serving
– Cocoa can dissolve slightly over time if exposed to moisture.
– Adding it just before serving preserves the dry, classic tiramisu appearance and prevents a dark, muddy surface.
– Chocolate shavings on top for a more dessert-café feel
– Espresso syrup drizzle for extra coffee intensity (especially if your espresso is mild)
– Pinch of cinnamon for warmth that complements cocoa and coffee
Make-ahead advantage for parties
– Assemble in cups, cover, and chill directly in your serving containers.
– Portioning in individual cups reduces cross-contamination and makes it easier to serve consistently without transferring messy layers.
Service timing
– For best results, plan to remove cups from the fridge 5–10 minutes before serving, enough to slightly soften the cream while keeping structure intact.
Troubleshooting Common Issues
Even reliable recipes can drift due to ingredient brands, temperature, or dipping technique. Use these targeted fixes to diagnose quickly.
– Too runny?
– Chill longer (often overnight).
– Confirm the heavy cream reached stiff-to-medium peaks.
– Avoid warm mascarpone; room-temperature dairy can slow the set.
– Too bitter?
– Use a milder espresso or blend (still strong, just less sharp).
– Add a touch more sugar to the mascarpone base.
– Consider using half espresso, half coffee if you find your brew overly intense.
– Soggy cups?
– Dip ladyfingers more briefly—1–2 seconds max.
– Reduce the number of ladyfinger layers per cup, especially in larger portions.
– Ensure you’re using firm ladyfingers; soft, stale cookies absorb coffee faster.
Process logic to remember:
Runny = cream under-whipped or not enough chill time.
Soggy = over-dipping or too many ladyfinger layers.
Tiramisu dessert cups are easiest when you layer properly, chill until set, and finish with cocoa just before serving. Follow this tiramisu dessert cups recipe, assemble your cups ahead of time, and you’ll consistently deliver individual portions that look elegant, taste classic, and hold their structure—without the stress of baking.
Frequently Asked Questions
What are the easiest tiramisu dessert cups recipe steps for beginners?
Start by making a quick espresso (or strong coffee) and letting it cool so it doesn’t melt mascarpone. Whip mascarpone with sugar and vanilla, then fold in whipped cream for a light texture. Assemble the tiramisu dessert cups by dipping ladyfingers briefly into coffee, layering with the mascarpone mixture, and finishing with cocoa powder. Chill for at least 2–4 hours so the cups set and the flavors blend.
How do you prevent soggy or dry tiramisu cups when using ladyfingers?
Dip each ladyfinger for only 1–2 seconds—just enough to coat the surface—then immediately layer it into the cup. If your ladyfingers seem very dry, use a slightly sweeter or less intense coffee mixture and dip for a shorter time. For dry cups, add a thin layer of mascarpone between layers to keep moisture balanced, and always refrigerate before serving to create creamy structure.
Why do tiramisu dessert cups need to be chilled before serving?
Chilling helps the mascarpone mixture firm up and lets coffee flavor permeate the ladyfingers, creating that classic tiramisu taste. It also improves texture, preventing the dessert cups from feeling loose or watery. For best results, refrigerate at least 2 hours, and up to overnight if you want deeper flavor development.
Which ingredients make the best tiramisu dessert cups—mascarpone vs. cream cheese?
Mascarpone is the traditional choice because it’s smooth, rich, and creates the authentic tiramisu cream texture. Cream cheese can work in a pinch, but it may taste tangier and can produce a slightly denser texture unless softened and mixed thoroughly. If you want the classic flavor, use mascarpone; if you substitute, consider adding a bit more vanilla or powdered sugar to round out the taste.
Best ways to flavor tiramisu dessert cups besides coffee for a twist?
You can swap espresso for flavored coffee, dark chocolate, amaretto, or even espresso mixed with a splash of rum extract for a “bakery-style” twist. For a non-caffeinated option, use decaf espresso or a coffee-flavored syrup diluted with milk. Add-ons like cocoa powder, grated dark chocolate, or a pinch of cinnamon on top can enhance aroma while keeping your tiramisu dessert cups recipe balanced and not overly sweet.
References
- Google Scholar Google Scholar
https://scholar.google.com/scholar?q=tiramisu+dessert+cups+recipe - Google Scholar Google Scholar
https://scholar.google.com/scholar?q=tiramisu+recipe+mascarpone+egg+no-bake - Google Scholar Google Scholar
https://scholar.google.com/scholar?q=tiramisu+dessert+cups - Tiramisu
https://en.wikipedia.org/wiki/Tiramisu - Tiramisu | Meaning, Ingredients, Origin, Desserts, & Taste | Britannica
https://www.britannica.com/topic/tiramisu - https://www.theguardian.com/food/2018/sep/12/easy-classic-tiramisu-recipe
https://www.theguardian.com/food/2018/sep/12/easy-classic-tiramisu-recipe - https://cooking.nytimes.com/recipes/1016124-tiramisu
https://cooking.nytimes.com/recipes/1016124-tiramisu - https://pubmed.ncbi.nlm.nih.gov/?term=tiramisu
https://pubmed.ncbi.nlm.nih.gov/?term=tiramisu - https://www.sciencedirect.com/search?qs=tiramisu
https://www.sciencedirect.com/search?qs=tiramisu - tiramisu dessert cups recipe – Search results
https://en.wikipedia.org/wiki/Special:Search?search=tiramisu+dessert+cups+recipe