This no bake tiramisu recipe delivers an easy, creamy dessert with rich coffee flavor—no oven needed. If you want the classic tiramisu taste without complicated baking or tempering, this is the fastest route to clean layers and a spoonable finish. You’ll get clear steps for assembling it ahead of time and chilling it until it sets.
Yes—you can make classic, spoonable tiramisu without an oven in about 15 minutes of prep time by layering coffee-soaked ladyfingers (or substitutes) with a silky mascarpone cream, then chilling until set. This no bake tiramisu recipe focuses on two critical performance factors—how long and how quickly you soak the cookies, and how you stabilize the filling—so the dessert slices cleanly and tastes deeply of espresso, not soggy starch.
Ingredients for No Bake Tiramisu

– Gather mascarpone, heavy cream (or whipped topping), sugar, espresso/strong coffee, and ladyfingers
– Optional flavor boosts: cocoa powder and vanilla or rum/coffee liqueur
– Note substitutions: caffeine-free coffee, gluten-free ladyfingers, or dairy-free options
To execute a reliable no bake tiramisu, treat ingredient selection like part of the “system,” not just a shopping list. Mascarpone provides the signature tang and creamy body; heavy cream (or a stable whipped topping) supplies lightness and helps the dessert hold shape after chilling. For the coffee, use strong espresso or very concentrated brewed coffee—diluted coffee will flatten the flavor and make the dessert taste sweeter than it should.
Here’s how to think through the most common substitutions without sacrificing the classic profile:
Coffee options (flavor + texture):
– Espresso: best authenticity and intensity.
– Strong brewed coffee: use a higher coffee-to-water ratio so it can penetrate ladyfingers quickly without becoming weak.
– Caffeine-free coffee: works well when you still brew it strong—keep the strength, not just the caffeine.
Ladyfinger options (soak behavior):
– Traditional ladyfingers: classic thickness and absorption speed.
– Gluten-free ladyfingers: fine for structure; just watch soak time since some brands are more delicate.
– Substitutes: pound cake rounds, sponge cake, or even crisp cookies broken into disks can work, but each absorbs moisture differently—shorter dips typically produce better results.
Dairy-free possibilities (analytical note):
– If you use dairy-free mascarpone-style products and dairy-free whipping cream, the dessert can still be delicious, but stabilization becomes more variable. Chilling longer (and tasting the cream texture before layering) improves odds of success.
Practical Coffee Soak Time vs. Soak Outcome for No Bake Tiramisu
| # | Ladyfinger Type | Recommended Dip Time | Texture Result | Serves Cleanly? |
|---|---|---|---|---|
| 1 | Classic Italian ladyfingers | 1–2 seconds per side | Coffee penetrates, edges stay intact | Yes ★★★★★ |
| 2 | Gluten-free ladyfingers (standard) | 1 second per side | Absorbs but less structural resilience | Mostly ★★★★☆ |
| 3 | Gluten-free ladyfingers (soft-baked) | 0.5–1 second per side | High absorption; faster “break” risk | Harder ★★★☆☆ |
| 4 | Sponge cake (cube segments) | Quick brush method (dip-free) | Coffee flavor strong without collapse | Yes ★★★★☆ |
| 5 | Pound cake rounds | 2–3 seconds per side | Stays firm; needs time to flavor through | Yes ★★★★☆ |
| 6 | Ladyfinger substitutes (cookie wafers) | 1 second total (avoid full dip) | Over-soak turns grainy or mushy | Inconsistent ★★☆☆☆ |
| 7 | Optional: extra-strong espresso | Still 1–2 seconds per side | More flavor per second; less soak needed | Yes ★★★★★ |
How to Make the Tiramisu Cream

– Whip mascarpone with sugar until smooth and fluffy
– Fold in whipped cream gently to keep the filling light and airy
– Taste and adjust sweetness or coffee flavor before assembling
The mascarpone cream is the heart of this no bake tiramisu recipe. Think of it as two-phase texture engineering: mascarpone + sugar must be fully emulsified so it’s smooth, while whipped cream must be aerated but not overworked so the final filling remains spoonable after chilling.
Step-by-step approach (with the “why”):
1. Whip mascarpone with sugar until smooth.
Mascarpone can be slightly thick and prone to lumps. Use a mixer on medium speed until it looks cohesive—no grainy streaks.
2. Fold in whipped cream gently.
Folding (instead of mixing) preserves air bubbles. If you beat aggressively after combining, the cream can become dense or even start to separate later when cold.
3. Taste, then calibrate.
Traditional tiramisu balances sweet cream with bitter espresso notes. If your coffee is very strong or smoky, reduce sugar slightly. If your espresso is mild, a touch more sugar or a splash of vanilla can help.
Flavor tuning recommendations:
– Vanilla: adds rounded dessert aroma without masking coffee.
– Rum or coffee liqueur: introduces depth, but keep amounts modest—alcohol can change how quickly flavors bloom.
– Cocoa powder in the cream (optional): common in some variations, but adding cocoa changes thickness; add only if you’re prepared for a slightly firmer texture.
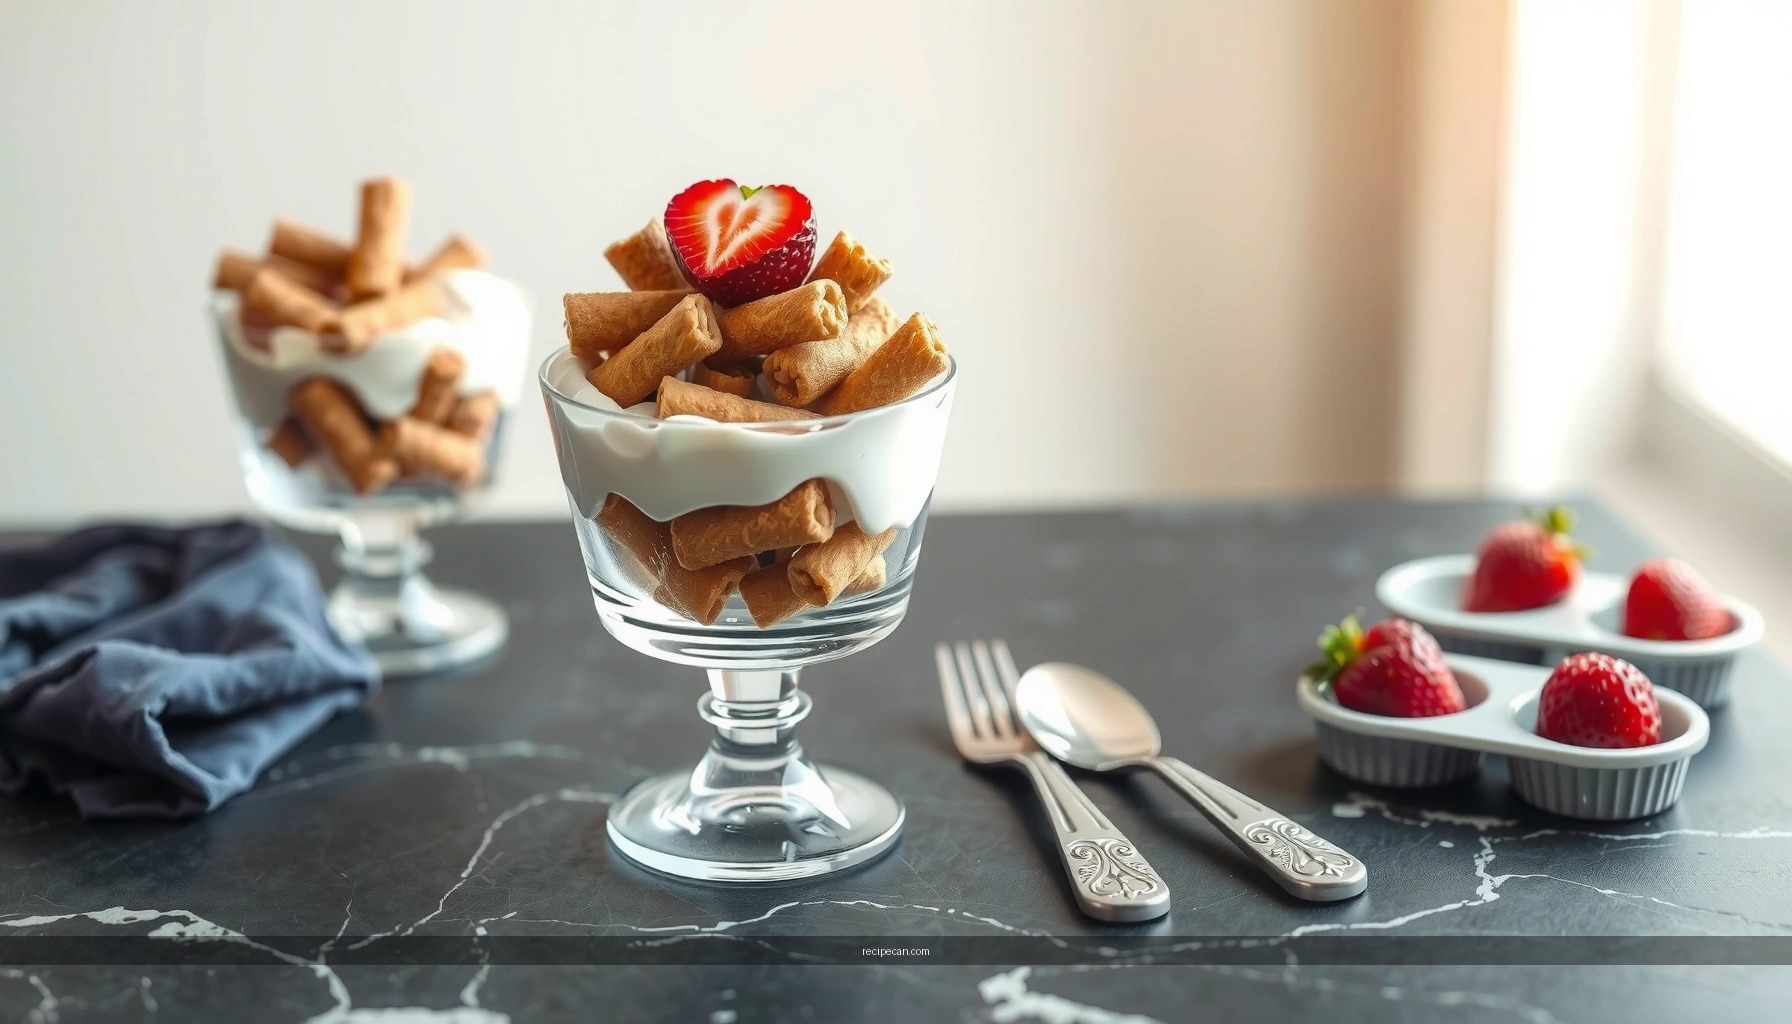
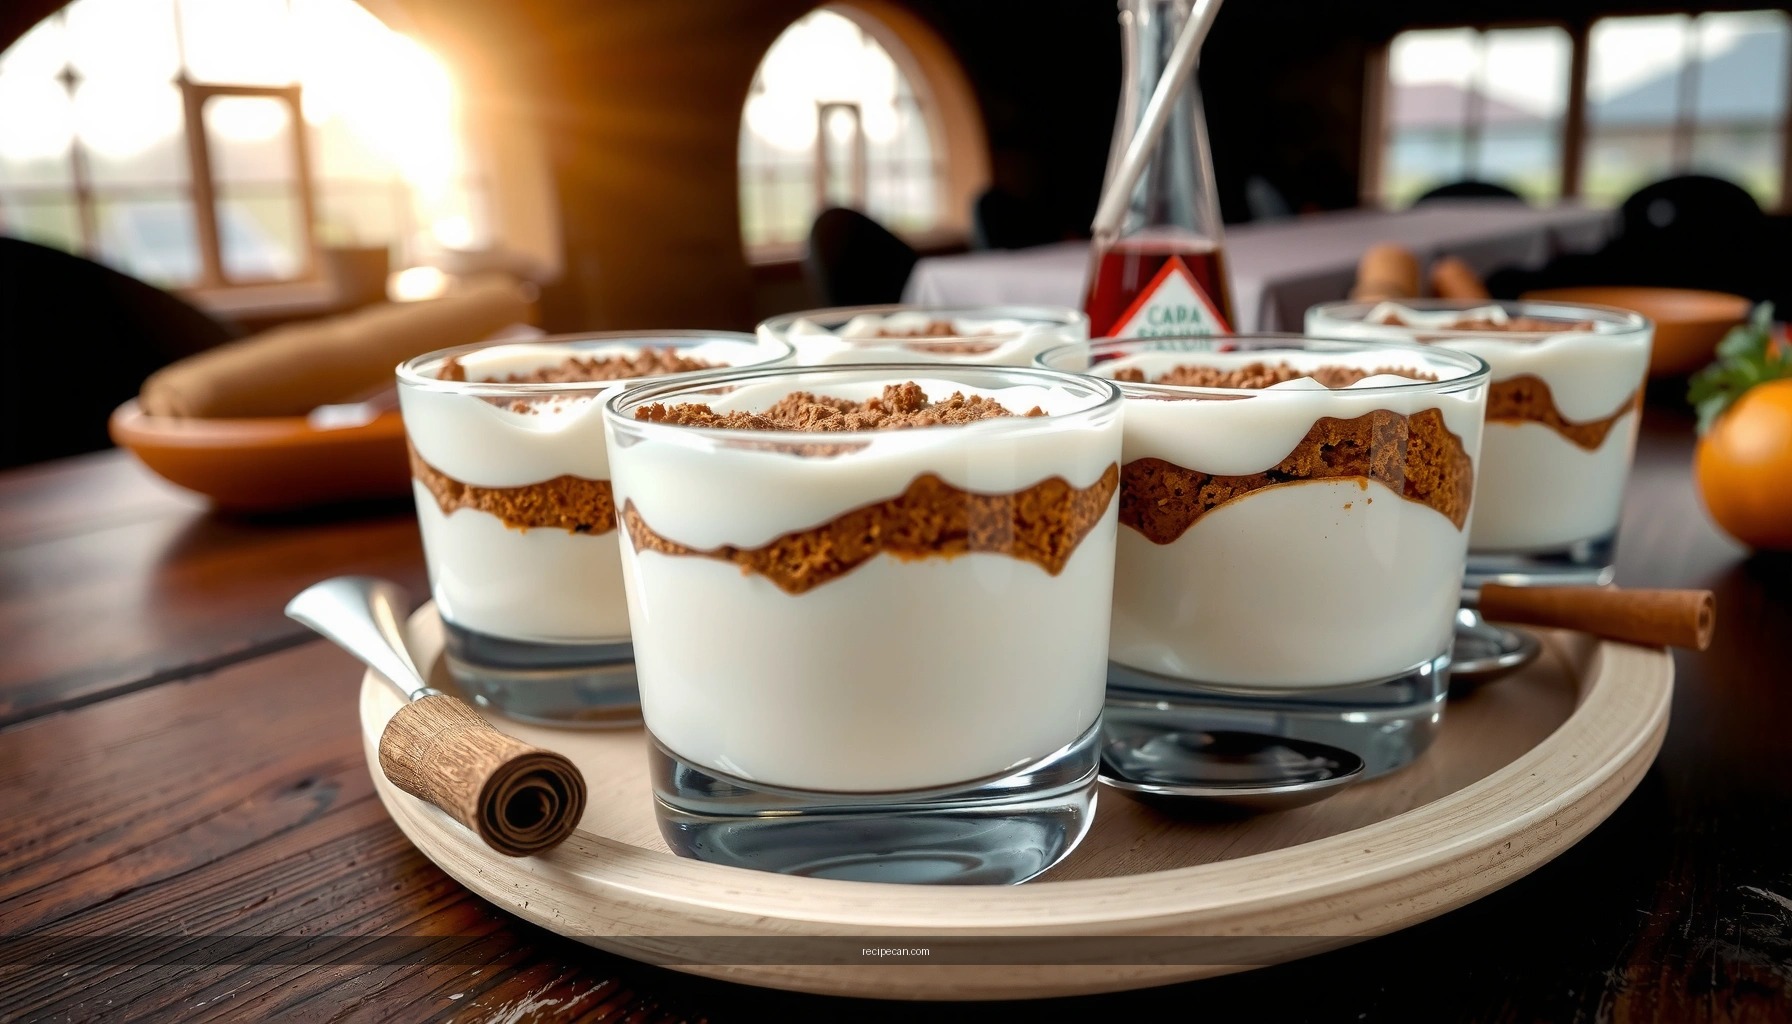
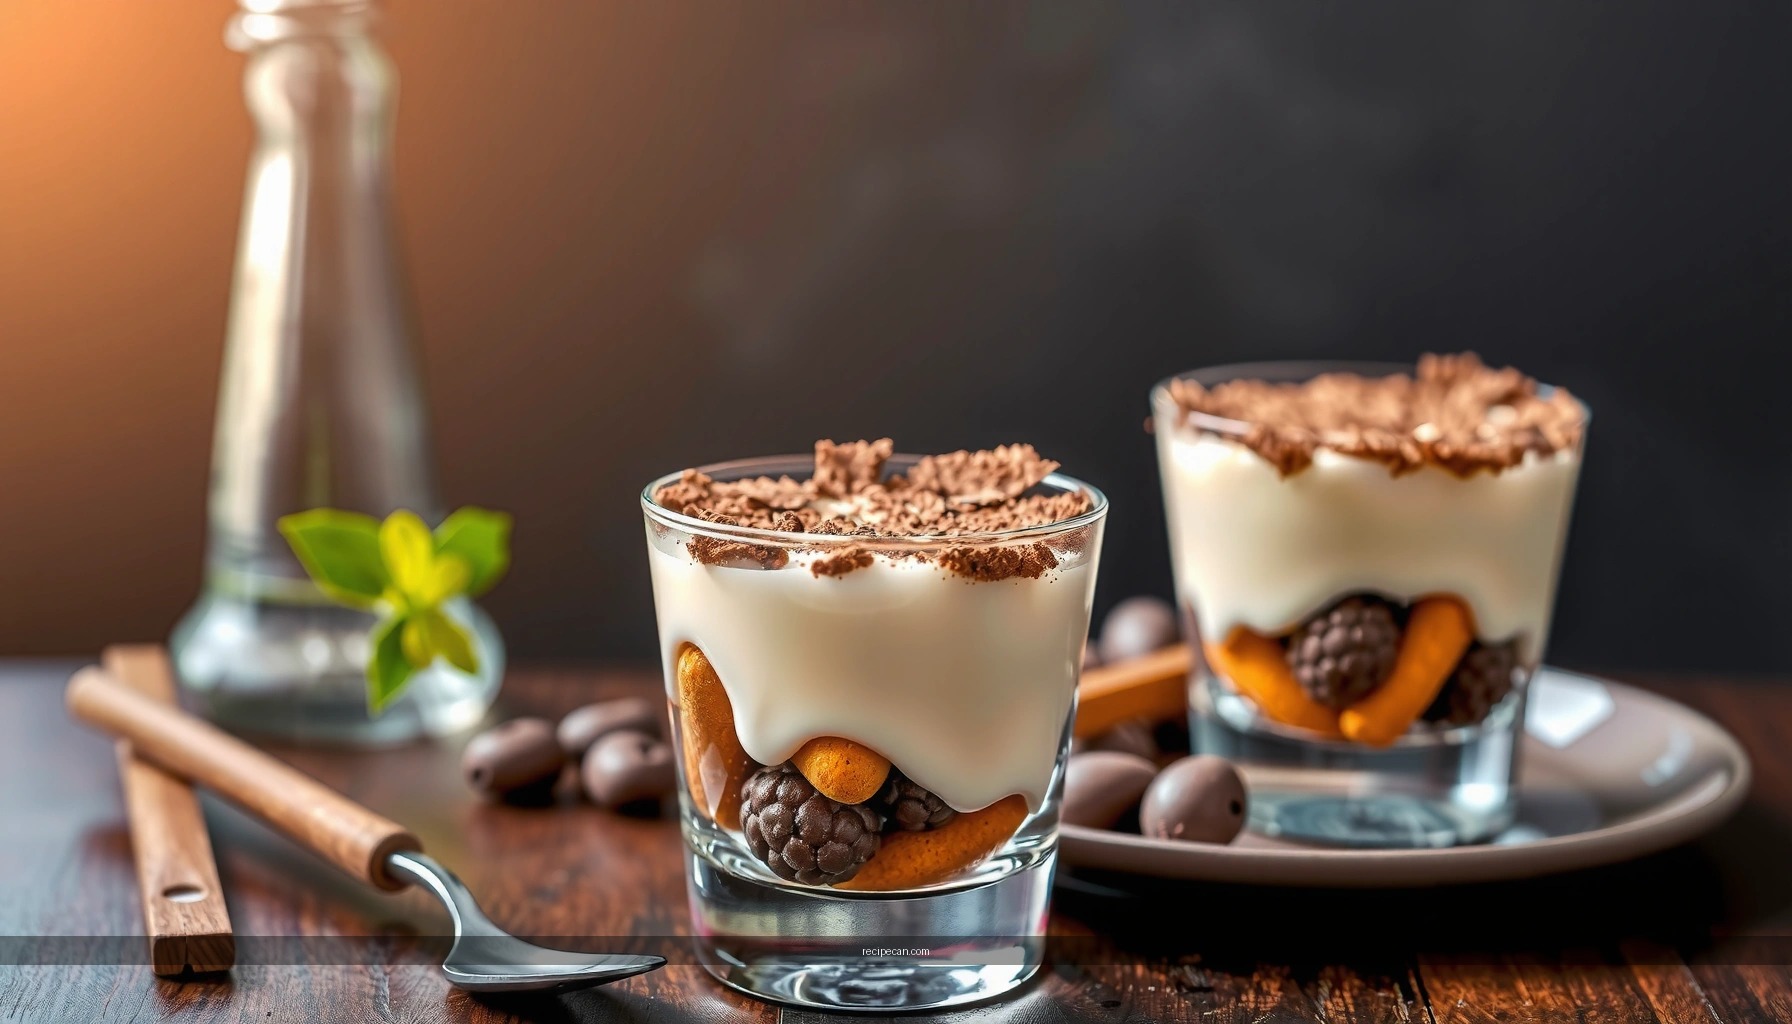
How to Layer No Bake Tiramisu

– Quickly dip ladyfingers in espresso so they’re soaked, not soggy
– Build layers: coffee-soaked ladyfingers, cream filling, then repeat
– Finish with a cocoa dusting for the classic look
Layering is where most homemade tiramisu fails—and where you can control the outcome. The goal is a dessert that tastes saturated with coffee yet holds its form when served.
Practical layering method:
– Dip fast, drip longer. Aim for coffee absorption without structural collapse. A good rule is 1–2 seconds per side for classic ladyfingers, followed by a brief pause so excess liquid drips off.
– Use even coverage. Place dipped ladyfingers in a single layer, then spread cream to the edges. Uneven cream layers lead to collapsed spots.
– Repeat with intention. Most home versions use 2–3 layers total depending on your dish height and desired thickness.
Presentation finishing touch:
– Dust cocoa powder right before serving or close to the serving window if you want a crisp, signature top. Cocoa can absorb moisture over time and look less “fresh,” though the flavor remains.
Commercial and home perspectives (why this works):
– Many restaurant tiramisu methods prioritize consistency for batch serving. Fast dipping and controlled cream aeration reduce the risk of watery pooling.
– Home cooks often chase stronger coffee by soaking longer; ironically, that increases seepage and causes the creamy layers to thin.
Chilling and Setting Tips
– Refrigerate at least 4–6 hours (overnight is best for clean slices)
– Keep it covered to prevent cocoa or cream from drying out
– Check consistency: it should be thick enough to serve neatly
Chilling is not an optional step—it’s the mechanism that makes a no bake tiramisu behave like a finished dessert rather than layered components.
How long should you chill?
– Minimum: 4–6 hours for spoonable texture.
– Best practice: overnight to let coffee and cream fully harmonize and for the filling to firm up evenly.
Consistency checks (what to look for):
– The top layer should look set, not fluid.
– When you run a spoon through the surface, it should glide into the cream without leaving a watery trail.
– If it’s overly soft, chill longer rather than adding more cocoa or sugar—the cream needs time to stabilize.
Covering matters:
– Use a lid or plastic wrap directly over the surface (lightly touching the cream) to minimize condensation and drying. Dry surfaces can make cocoa dusting look patchy and can subtly affect mouthfeel.
Serving and Storage Guidelines
– Serve chilled with extra cocoa on top if desired
– Store covered in the fridge for up to 2–3 days
– For best texture, avoid freezing (cream may separate)
This no bake tiramisu recipe is optimized for make-ahead serving, which is why it performs well for events, weeknight hosting, and meal planning.
Serving best practices:
– Serve straight from the fridge for peak firmness.
– Dust with cocoa immediately before serving if you want high contrast and a clean visual finish.
– For sharp portions, use a chilled spoon or knife and wipe between cuts.
Storage guidance:
– Refrigerate covered and consume within 2–3 days for best texture.
– Avoid freezing: many mascarpone-based creams can separate during thawing due to fat and water redistribution. You may still get a tasty dessert, but the texture will likely be less creamy and more grainy.
Common Mistakes (and How to Fix Them)
– Too-soggy ladyfingers: dip briefly and let excess drip
– Runny cream: chill longer and whip cream to stiff peaks before folding
– Bland flavor: use strong espresso/coffee and adjust sugar to taste
A perfect tiramisu is less about following steps blindly and more about diagnosing what went wrong when the texture doesn’t match expectations.
Mistake 1: Too-soggy ladyfingers
– Symptom: watery pooling, layers collapse, dessert looks loose.
– Fix: shorten soak time, dip quickly, and allow excess coffee to drip off before placing. If substituting cake or cookies, use a brush method (lightly coating) rather than full dipping.
Mistake 2: Runny or loose cream
– Symptom: cream smears into a thin layer instead of holding peaks.
– Fix:
– Chill longer—sometimes the texture firms after coffee absorption.
– Ensure whipped cream is whipped to stiff peaks (or close) before folding.
– Don’t overmix after combining the mascarpone and whipped cream; gentle folding preserves structure.
Mistake 3: Bland flavor (coffee doesn’t come through)
– Symptom: dessert tastes sweet and creamy but not distinctly tiramisu.
– Fix: use strong espresso/coffee (concentration matters), and adjust sugar only after tasting the cream. If needed, add a small amount of vanilla or liqueur for depth rather than increasing coffee volume dramatically.
Serving and make-ahead workflow (recommended)
Chill, layer, and dust with cocoa, and you’ll get a no bake tiramisu recipe that’s creamy, classic, and ready for make-ahead serving. Pick your preferred ingredients (including any substitutes), follow the layering and chilling tips, and then serve your finished tiramisu after a few hours—ideally overnight—for the best texture.
A well-executed no bake tiramisu comes down to two controllable variables: fast, controlled coffee soaking and light-but-stable mascarpone cream. With the right dip time, gentle folding technique, and sufficient refrigeration, you’ll consistently produce a dessert that’s spoonable, coffee-forward, and visually classic—without turning on the oven.
Frequently Asked Questions
What ingredients do I need for an easy no bake tiramisu recipe?
A classic no bake tiramisu recipe usually uses mascarpone cheese, heavy cream (or whipped cream), espresso or strong coffee, ladyfingers, cocoa powder, and sugar. You’ll also want a splash of vanilla and/or coffee liqueur if you like a more traditional flavor. If you’re avoiding alcohol, just use extra espresso for the soaking liquid.
How do you make no bake tiramisu with ladyfingers that don’t get soggy?
Dip ladyfingers quickly—about 1–2 seconds per side—so they absorb coffee without turning mushy in the no bake tiramisu. Use a thin layer of coffee at first, then build the layers with mascarpone cream so the dessert sets properly in the fridge. Chilling for at least 4–6 hours (or overnight) helps the tiramisu firm up and improves texture.
Which mascarpone and cream ratios work best for no bake tiramisu?
For a stable, creamy no bake tiramisu, many people use mascarpone plus whipped heavy cream so the filling holds its shape. A common starting point is 16 oz mascarpone (about 2 cups) with 1–1.5 cups of heavy cream, whipped to medium-stiff peaks. If you want it thicker, whip the cream a bit more and refrigerate longer; for a softer texture, reduce whipping slightly.
Why does no bake tiramisu sometimes taste too strong or bitter?
Bitterness usually comes from overly concentrated coffee or espresso that’s too hot and harsh when soaking ladyfingers. Use cooled, strong but not burnt espresso, and consider diluting with a splash of milk or adding a little more sugar to the mascarpone mixture. If you’re sensitive to bitterness, try using cold brew or a milder coffee so the flavor stays balanced.
What’s the best way to store and serve no bake tiramisu?
Store your no bake tiramisu covered in the refrigerator, ideally in an airtight container, for up to 2–3 days for best flavor and texture. For serving, add cocoa powder right before serving to keep it from dissolving into the cream. Let it sit at room temperature for about 10–15 minutes so the mascarpone tiramisu filling tastes creamy and smooth.
References
- Tiramisu
https://en.wikipedia.org/wiki/Tiramisu - Mascarpone
https://en.wikipedia.org/wiki/Mascarpone - Lady finger
https://en.wikipedia.org/wiki/Ladyfinger - https://en.wikipedia.org/wiki/No-bake_dessert
https://en.wikipedia.org/wiki/No-bake_dessert - Eggs as food
https://en.wikipedia.org/wiki/Raw_egg - Salmonella
https://en.wikipedia.org/wiki/Salmonella - Tiramisu | Meaning, Ingredients, Origin, Desserts, & Taste | Britannica
https://www.britannica.com/topic/tiramisu - Google Scholar Google Scholar
https://scholar.google.com/scholar?q=no+bake+tiramisu+recipe - Google Scholar Google Scholar
https://scholar.google.com/scholar?q=tiramisu+mascarpone+eggs+no-bake+food+safety - Google Scholar Google Scholar
https://scholar.google.com/scholar?q=no-bake+dessert+tiramisu+chilling+methods