Find the best ladyfinger tiramisu recipe with classic, easy steps—so you can make a real, sliceable tiramisu at home without guesswork. This guide shows exactly how to soak the ladyfingers, layer the mascarpone mixture, and chill until the flavors lock in. If you want the classic result with the fewest complications, this is the winner.
Yes—this classic ladyfinger tiramisu recipe delivers the right balance of coffee bitterness and creamy mascarpone richness by focusing on three fundamentals: brief espresso dipping, properly aerated cream, and a full chilling window to let layers set. Follow the steps below to build structured layers with crisp-tender ladyfingers, a stable mascarpone cream, and a cocoa-dusted top that tastes best when served cold.
Essential Ingredients for Ladyfinger Tiramisu

A traditional ladyfinger tiramisu relies on a small set of high-impact ingredients. Because you’re layering textures—soft cake, dense cream, and aromatic coffee—quality matters more than quantity.
– Ladyfingers (savoiardi): Choose firm, evenly baked ladyfingers that won’t crumble immediately. If they’re overly dry or stale, they may absorb espresso unevenly; if too fresh, they can become mushy faster than you expect.
– Mascarpone: This is the creamy base. Look for mascarpone with a smooth, thick consistency (not watery). Its fat content and mild tang are what give tiramisu its signature “silk” mouthfeel.
– Eggs (or pasteurized egg alternatives): Classic tiramisu uses egg yolks (and sometimes whites) for structure. If you’re using whole eggs, use pasteurized for food safety and repeatable results. For lower-risk convenience, pasteurized egg products can also work well.
– Espresso (or strong coffee): The espresso should be strong enough to stand up to the sweetness of mascarpone. Use freshly brewed coffee if possible rather than instant—instant can taste flatter and may bring a harsher bitterness.
– Sugar & cocoa powder: Sugar rounds the edges of espresso and supports a balanced cream. For the finish, dust with cocoa powder (unsweetened). Dutch-process cocoa is common for a deeper, less acidic flavor; natural cocoa is brighter.
One practical way to view ingredient performance is to compare how each choice affects tiramisu texture and flavor. The table below summarizes “what matters” most in restaurant-style results.
Key Ingredient Choices and Their Impact on Classic Tiramisu (8–10 servings)
| # | Ingredient / Parameter | Recommended Target | Why It Matters | Outcome |
|---|---|---|---|---|
| 1 | Espresso strength (brew) | 1:2 coffee:water ratio (by weight) | Higher intensity prevents cream from dulling coffee notes | ★ Balanced flavor |
| 2 | Espresso temperature | Warm (about 40–50°C / 104–122°F) | Helps quick absorption without collapsing ladyfingers | ★ Structured layers |
| 3 | Mascarpone consistency | Thick, spoonable; no visible separation | Improves cream stability and prevents weeping | ★ Silky texture |
| 4 | Sugar in yolks/cream | Enough to dissolve fully (no grain) | Undissolved sugar can thin cream and feel gritty | ★ Better mouthfeel |
| 5 | Egg handling (safety + structure) | Use pasteurized eggs if not cooked | Reduces risk; improves predictable stabilization | ★ Reliable results |
| 6 | Ladyfinger dip duration | 1–2 seconds per side | Achieves “tender, not collapsed” texture | ★ Correct texture |
| 7 | Chill time for setting | 4–6 hours minimum; overnight preferred | Cream firms and flavors meld | ★ Clean slices |
Make the Espresso Soak (Without Getting Soggy)

The soak is where tiramisu succeeds or fails. Your goal is to flavor and soften the ladyfingers just enough so they’re cohesive when chilled, not wet and falling apart.
– Brew strong espresso and let it cool slightly so it’s warm rather than scorching. If the liquid is too hot, it can break down the cookies rapidly.
– Dip quickly and evenly. A good process is to dip each side for about 1–2 seconds, then place immediately. If you’re working fast, you can move in batches, but keep the total dip time consistent.
– Avoid pooling. When you lift a dipped ladyfinger, let excess espresso drip briefly off the edge before laying it down. Pooling creates soggy pockets.
– Optional flavor boost: Some versions add a splash of rum, Marsala, or vanilla to the espresso. If you do, keep it modest so the espresso remains the backbone.
Pro tip: When testing for “just right,” the ladyfingers should look moistened at the surface and edges, not uniformly dark and saturated throughout.
Prepare the Mascarpone Cream

Cream stability depends on mixing technique as much as it does on ingredients. A well-made mascarpone cream should be smooth, thick, and scoopable—light enough to layer, dense enough to hold shape.
1. Whisk mascarpone first. Start by whisking mascarpone until smooth. This helps eliminate lumps and prepares it for blending without streaks.
2. Create a structured egg base (if using eggs). Whisk yolks with sugar until the mixture looks paler and slightly thicker. If you’re using pasteurized eggs, focus on achieving a stable, smooth emulsion rather than “cooking.”
3. Fold gently for lightness. Combine the egg mixture with mascarpone gradually, then fold rather than beat aggressively. Overmixing can deflate the cream or thin it.
4. Chill briefly if needed. If the cream feels loose (often due to room temperature), refrigerate it for 10–20 minutes to firm up before layering.
Texture target: when you spread the cream, it should level with a gentle resistance—like thick frosting—rather than run like a sauce.
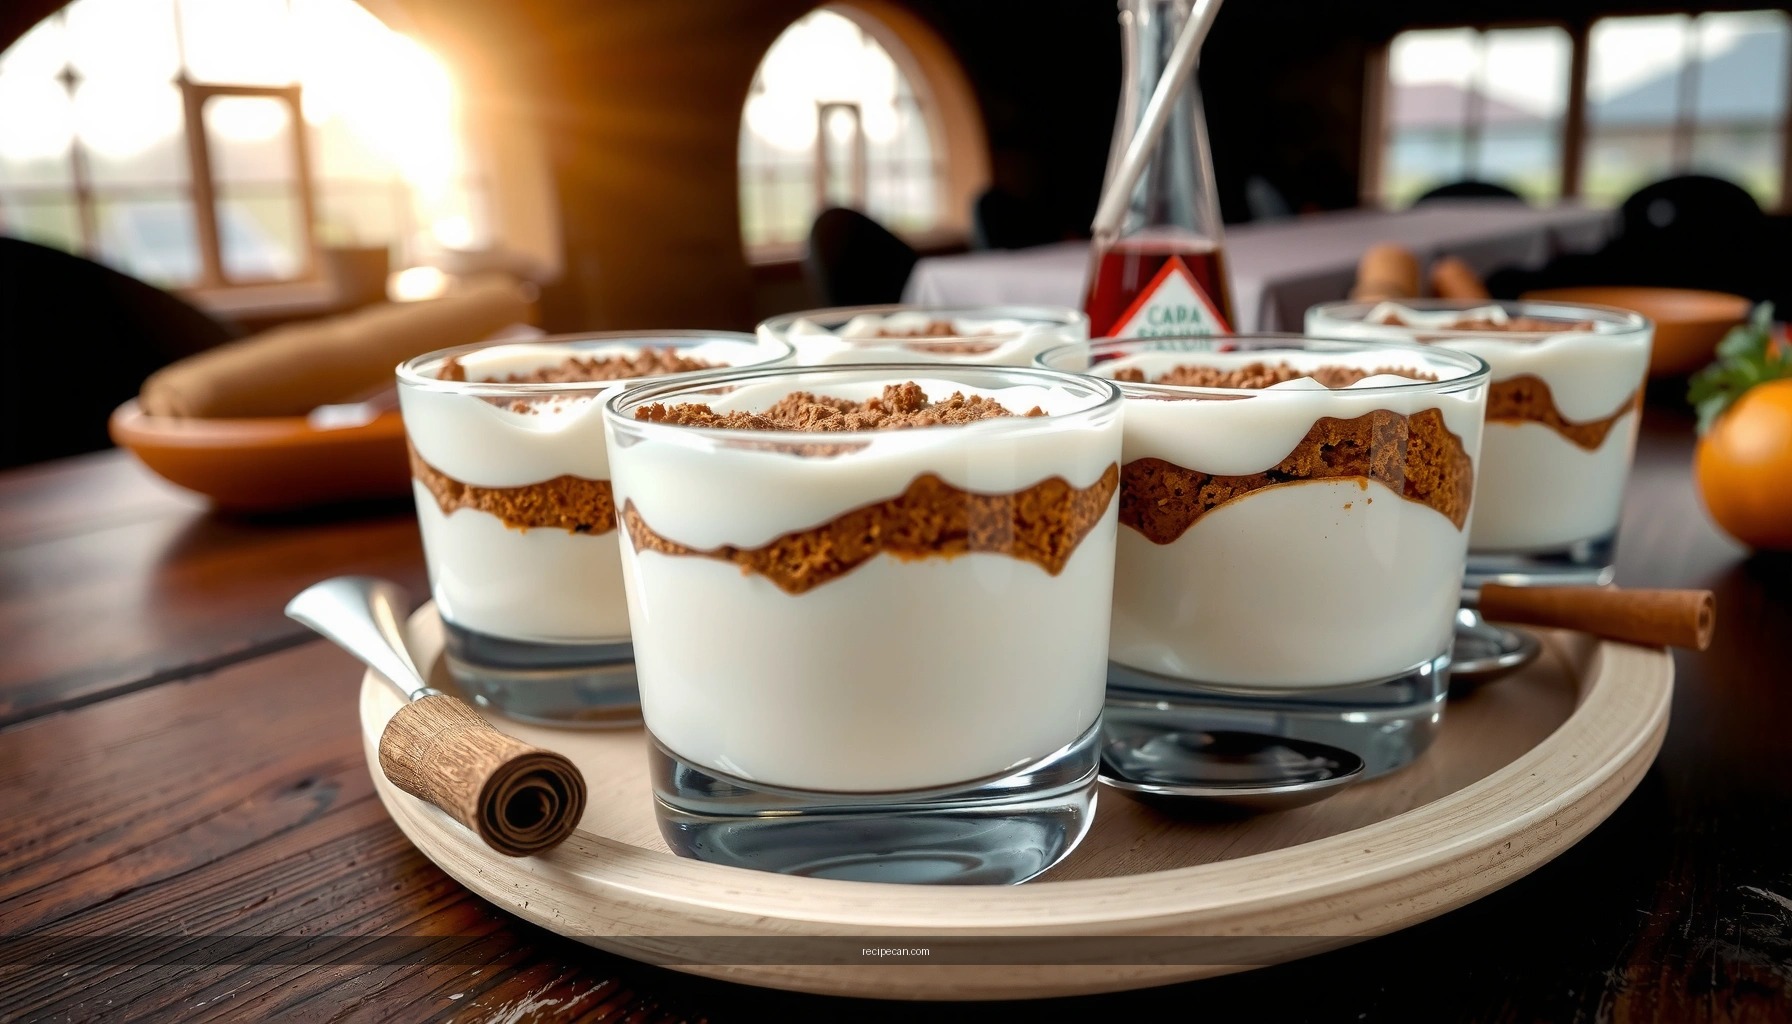
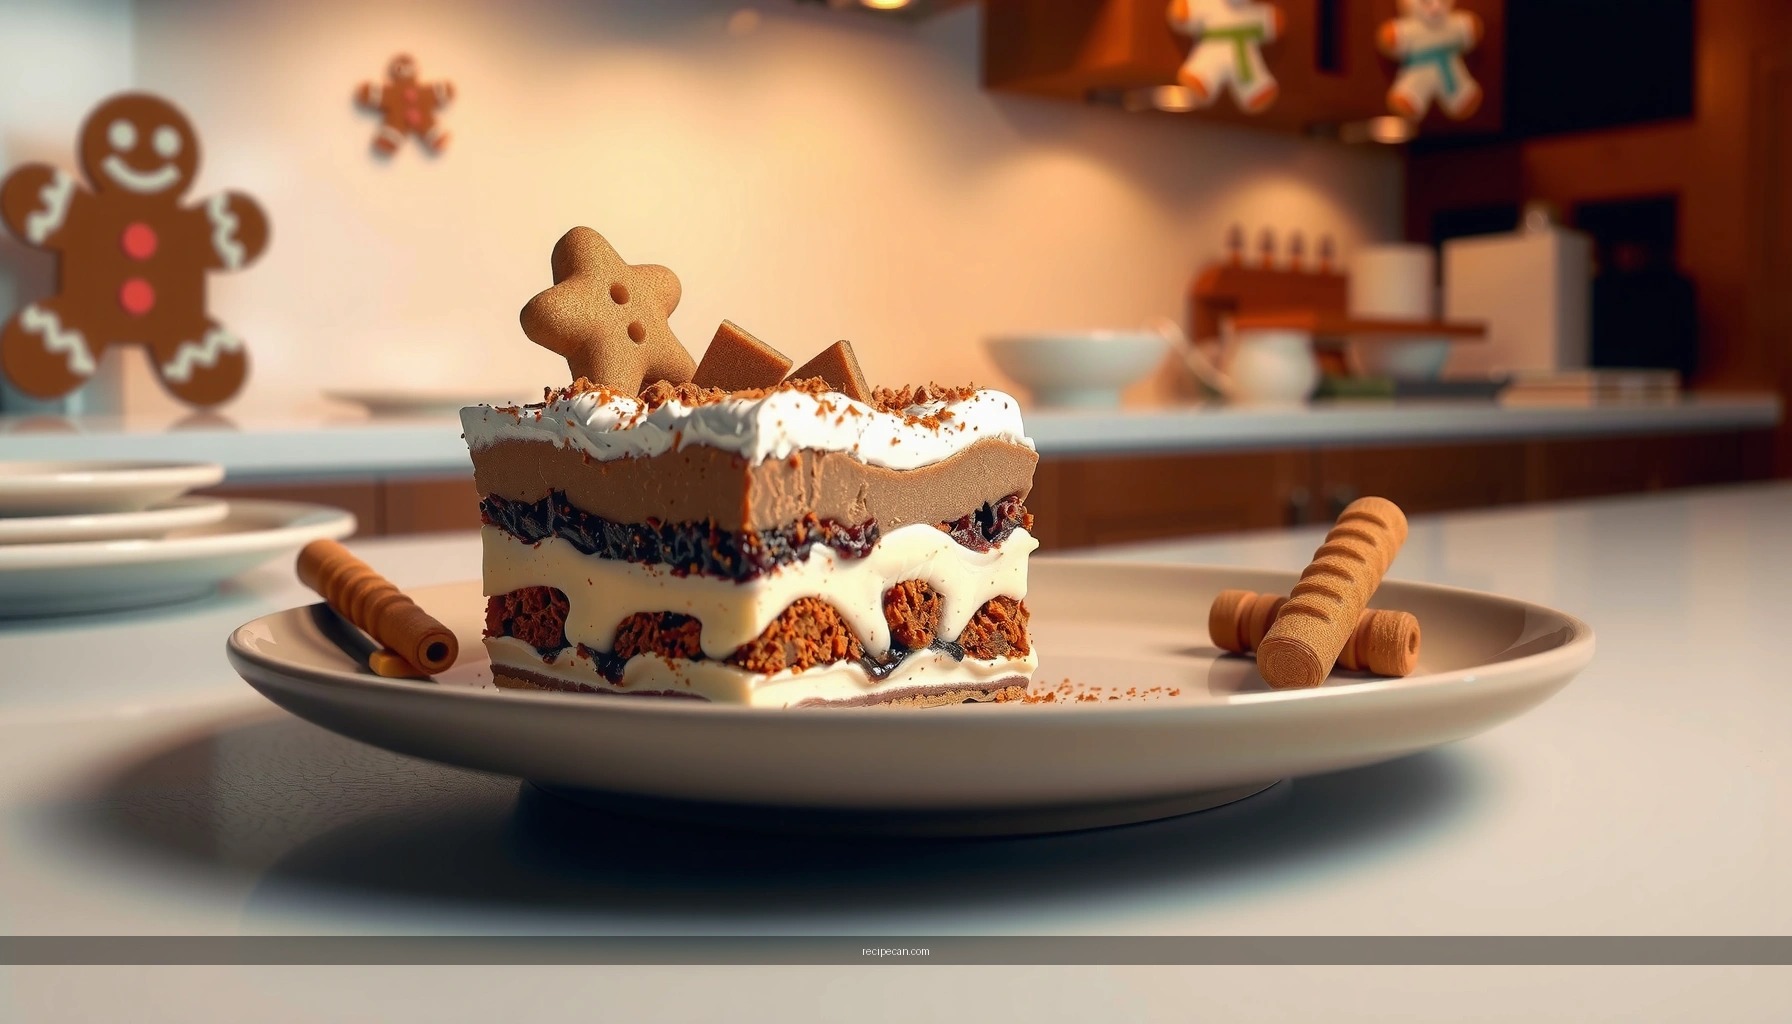
Layering for the Perfect Tiramisu
Layering is not just assembly; it’s a controlled way to manage moisture migration. If the layers are built correctly, each bite delivers a consistent ratio of espresso-soaked cake to creamy mascarpone.
– Start with a thin cream layer in your dish. This anchors the first row of ladyfingers so they don’t slide.
– Single layer of dipped ladyfingers: Place them snugly, but don’t overlap heavily. Overlapping increases local saturation and can make slices uneven.
– Add cream generously, then repeat. Typical builds use two or three ladyfinger layers depending on dish height.
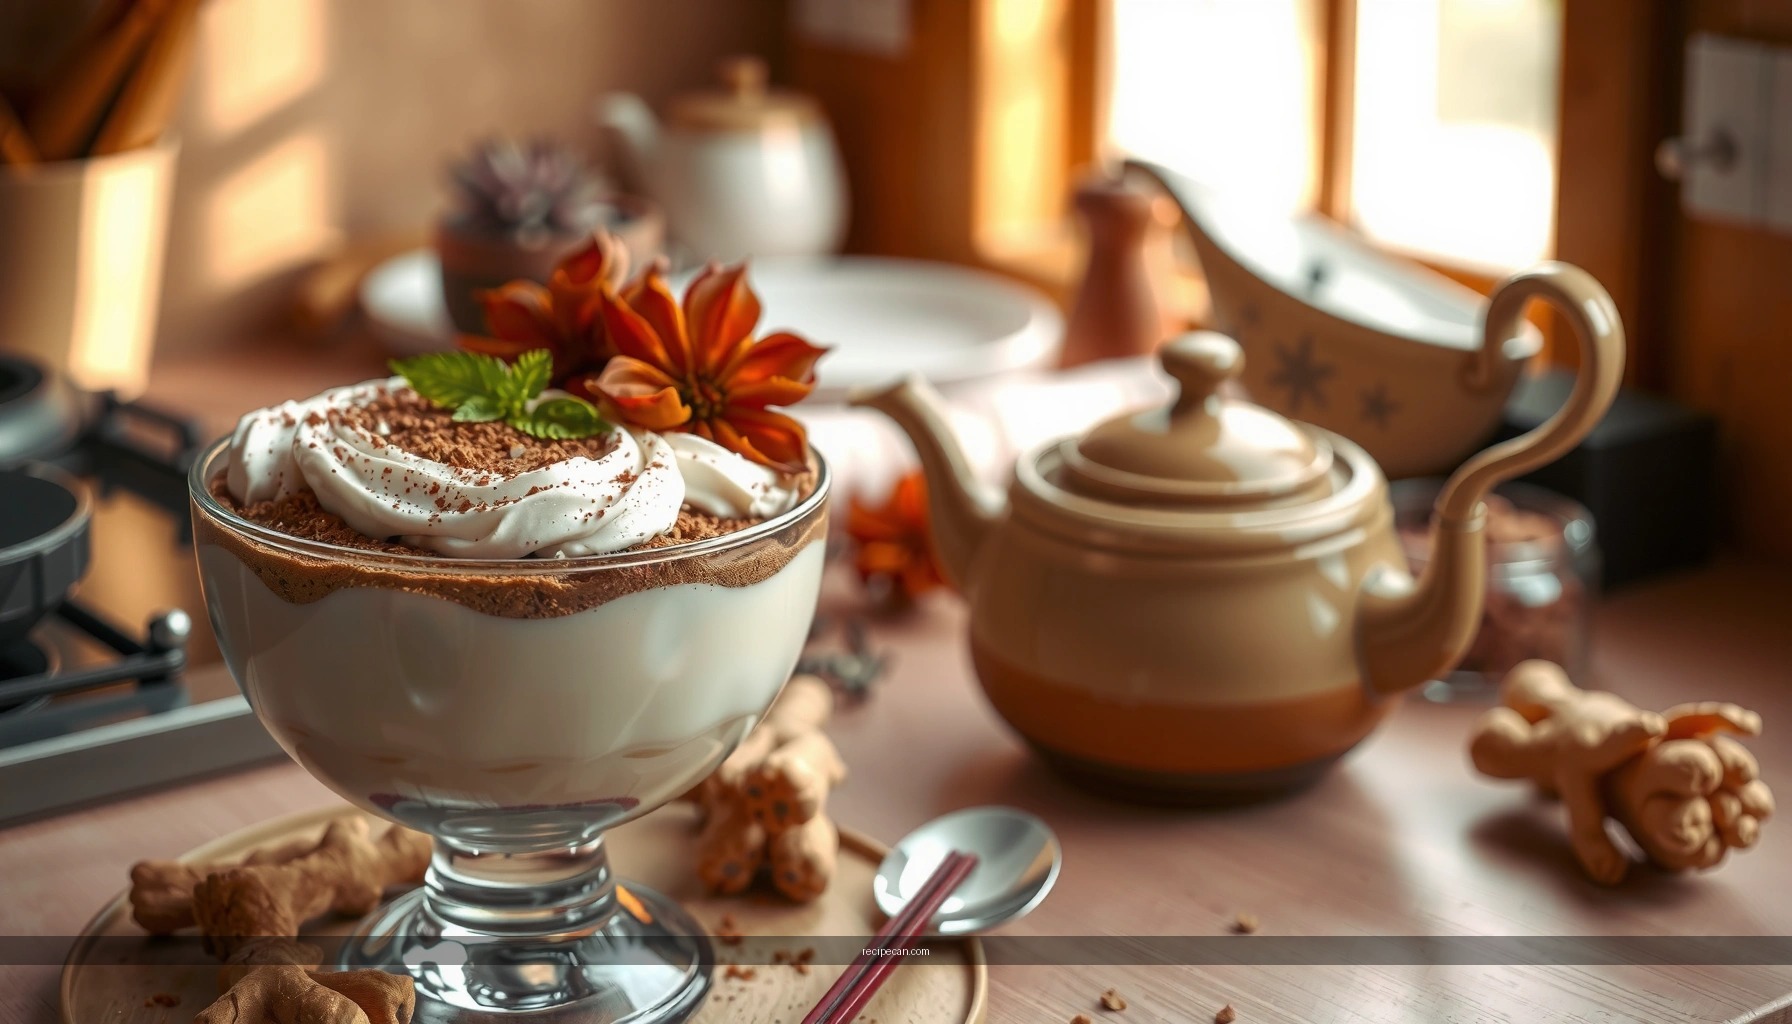
– Finish with cream and cocoa. Dust cocoa powder on top just before serving (or shortly before chilling ends) to prevent it from dissolving into the cream.
A reliable workflow for even layering:
– Dip and place ladyfingers as you go.
– Spread cream to the edges.
– Repeat only after the cream surface is even—this avoids “tilted” layers that look messy in slices.
Chill Time and Best Serving Tips
Tiramisu is designed for refrigeration. Chilling isn’t optional—it’s the finishing step that transforms individual layers into a unified dessert.
– Refrigerate at least 4–6 hours. This gives the mascarpone time to firm and the ladyfingers time to equilibrate with the espresso.
– Overnight is best. Flavor compounds develop, and the texture becomes more cohesive and sliceable.
– Slice with a clean knife. Wipe the blade between cuts to keep layers neat. If the dessert is very cold, allow it to sit at room temperature for 5 minutes before serving so flavors read more clearly.
– Serve cold. Cold suppresses sweetness and highlights coffee aroma, making a classic tiramisu taste more “grown-up” than overly sweet desserts.
If you’re serving guests, portioning right away is preferable once chilled—standing at room temperature can soften ladyfingers too much.
Troubleshooting Common Issues
Even when using a trusted recipe, a few variables—egg freshness, room temperature, coffee strength, and dip time—can shift results. Here are the most common issues and how to fix them quickly.
– Problem: Tiramisu is runny or won’t hold slices
– Fix: Chill longer (overnight if needed) and confirm correct egg handling and mixing. If you didn’t use pasteurized eggs, consider switching to pasteurized egg products next time for more predictable stabilization.
– Prevention: Avoid overmixing the mascarpone, and ensure the cream has enough body before layering.
– Problem: It tastes too bitter
– Fix: Balance the coffee strength. Use slightly less intense espresso or soften the bitterness by increasing sugar marginally in the yolk mixture (next batch).
– Prevention: Use quality coffee beans and brew fresh rather than relying on old grounds or overly dark instant coffee.
– Problem: Ladyfingers are too soggy
– Fix: Reduce dip time to 1–2 seconds per side and avoid pooling. Also, consider letting espresso cool slightly more before dipping.
– Prevention: Work in small batches so you don’t keep dipping the same fingers too long while rushing.
– Problem: Cream has lumps or looks streaky
– Fix: Whisk mascarpone thoroughly at the start, and combine mixtures gradually. If needed, press the cream through a fine sieve for a smoother texture.
– Prevention: Ensure mascarpone is not extremely cold when mixing—it can seize and resist emulsification.
Remember: tiramisu is forgiving after chilling. Many texture issues correct themselves once the cream sets and moisture evens out, especially with adequate refrigeration time.
Chill the tiramisu until set, then serve it cold with a cocoa-dusted top for maximum flavor and texture. Gather your ladyfingers, mascarpone, and espresso, follow the layering steps, and refrigerate before serving—then enjoy your classic ladyfinger tiramisu right away.
This classic ladyfinger tiramisu recipe succeeds when you control the moisture (quick espresso dips), build stable cream (smooth mascarpone and careful egg mixing), and commit to chilling (4–6 hours minimum, overnight preferred). Get those three steps right, and you’ll consistently produce a dessert with clean layers, balanced sweetness, and the rich coffee-cocoa aroma that defines authentic tiramisu.
Frequently Asked Questions
What is a ladyfinger tiramisu recipe and what are the key ingredients?
A ladyfinger tiramisu recipe is a classic Italian dessert made with soaked ladyfingers, mascarpone cheese, eggs (or an egg substitute), espresso, and cocoa powder. The ladyfingers provide the soft, sponge-like layers, while the mascarpone creates the creamy tiramisu texture. Most recipes also include sugar and vanilla to balance the coffee flavor.
How do I prevent ladyfingers from getting soggy in tiramisu?
The key is to dip ladyfingers quickly in espresso (typically 1–2 seconds per side) so they absorb flavor without turning mushy. Use chilled espresso or a coffee mixture and assemble promptly so the layers set in the refrigerator. If you want extra control, use a light brushing method instead of fully soaking the cookies.
Why do some ladyfinger tiramisu recipes use raw eggs, and is there a safer alternative?
Traditional tiramisu recipes often use egg yolks and whites for a rich, airy cream, but raw eggs can be a concern for some people. A safer alternative is to use pasteurized eggs, or cook the yolks slightly (creating a sabayon-like mixture) before folding in mascarpone. You can also choose a no-egg tiramisu variation that uses stabilized whipped cream while still keeping the ladyfinger tiramisu taste.
Which type of espresso or coffee is best for ladyfinger tiramisu?
For the best ladyfinger tiramisu recipe, use strong espresso or a concentrated coffee that won’t taste weak after soaking. Cold-brew concentrate or dark-roast coffee works well if you don’t have espresso on hand. Avoid overly watery coffee, and consider adding a splash of coffee liqueur or rum if your recipe calls for it to deepen the flavor.
What’s the best way to store and serve ladyfinger tiramisu for the ideal flavor and texture?
Tiramisu is best when it’s chilled for at least 4–6 hours (or overnight) so the flavors meld and the mascarpone mixture sets around the ladyfingers. Store it covered in the refrigerator to keep the cream from drying out, and for best quality, serve within 1–2 days. If you’re adding cocoa powder, dust it right before serving to keep the surface looking fresh.
References
- Google Scholar Google Scholar
https://scholar.google.com/scholar?q=tiramisu+ladyfingers+recipe - Google Scholar Google Scholar
https://scholar.google.com/scholar?q=savoiardi+ladyfingers+tiramisu - Google Scholar Google Scholar
https://scholar.google.com/scholar?q=mascarpone+eggs+tiramisu+preparation - Tiramisu
https://en.wikipedia.org/wiki/Tiramisu - Lady finger
https://en.wikipedia.org/wiki/Ladyfinger - Ladyfingers (biscuits)
https://en.wikipedia.org/wiki/Savoiardi - Tiramisu | Meaning, Ingredients, Origin, Desserts, & Taste | Britannica
https://www.britannica.com/topic/tiramisu - https://pubmed.ncbi.nlm.nih.gov/?term=tiramisu
https://pubmed.ncbi.nlm.nih.gov/?term=tiramisu - https://pubmed.ncbi.nlm.nih.gov/?term=ladyfingers+savoiardi
https://pubmed.ncbi.nlm.nih.gov/?term=ladyfingers+savoiardi - https://www.sciencedirect.com/search?qs=tiramisu
https://www.sciencedirect.com/search?qs=tiramisu