Find out how to make an easy recipe of tiramisu with quick steps that deliver classic flavor without complicated technique. This walkthrough shows you exactly how to assemble the coffee-soaked layers and creamy mascarpone in minimal time for a dessert that tastes restaurant-ready. If you want tiramisu done fast but still authentically classic, this is the quickest reliable method.
Make easy tiramisu fast by layering coffee-soaked ladyfingers with a light mascarpone cream, then chilling it until set—no complicated techniques required. In about 20 minutes of active work, you can achieve the classic coffee-and-cocoa flavor profile, as long as you follow the key timing rules for dipping (to avoid soggy layers) and whipping/folding (to keep the cream airy).
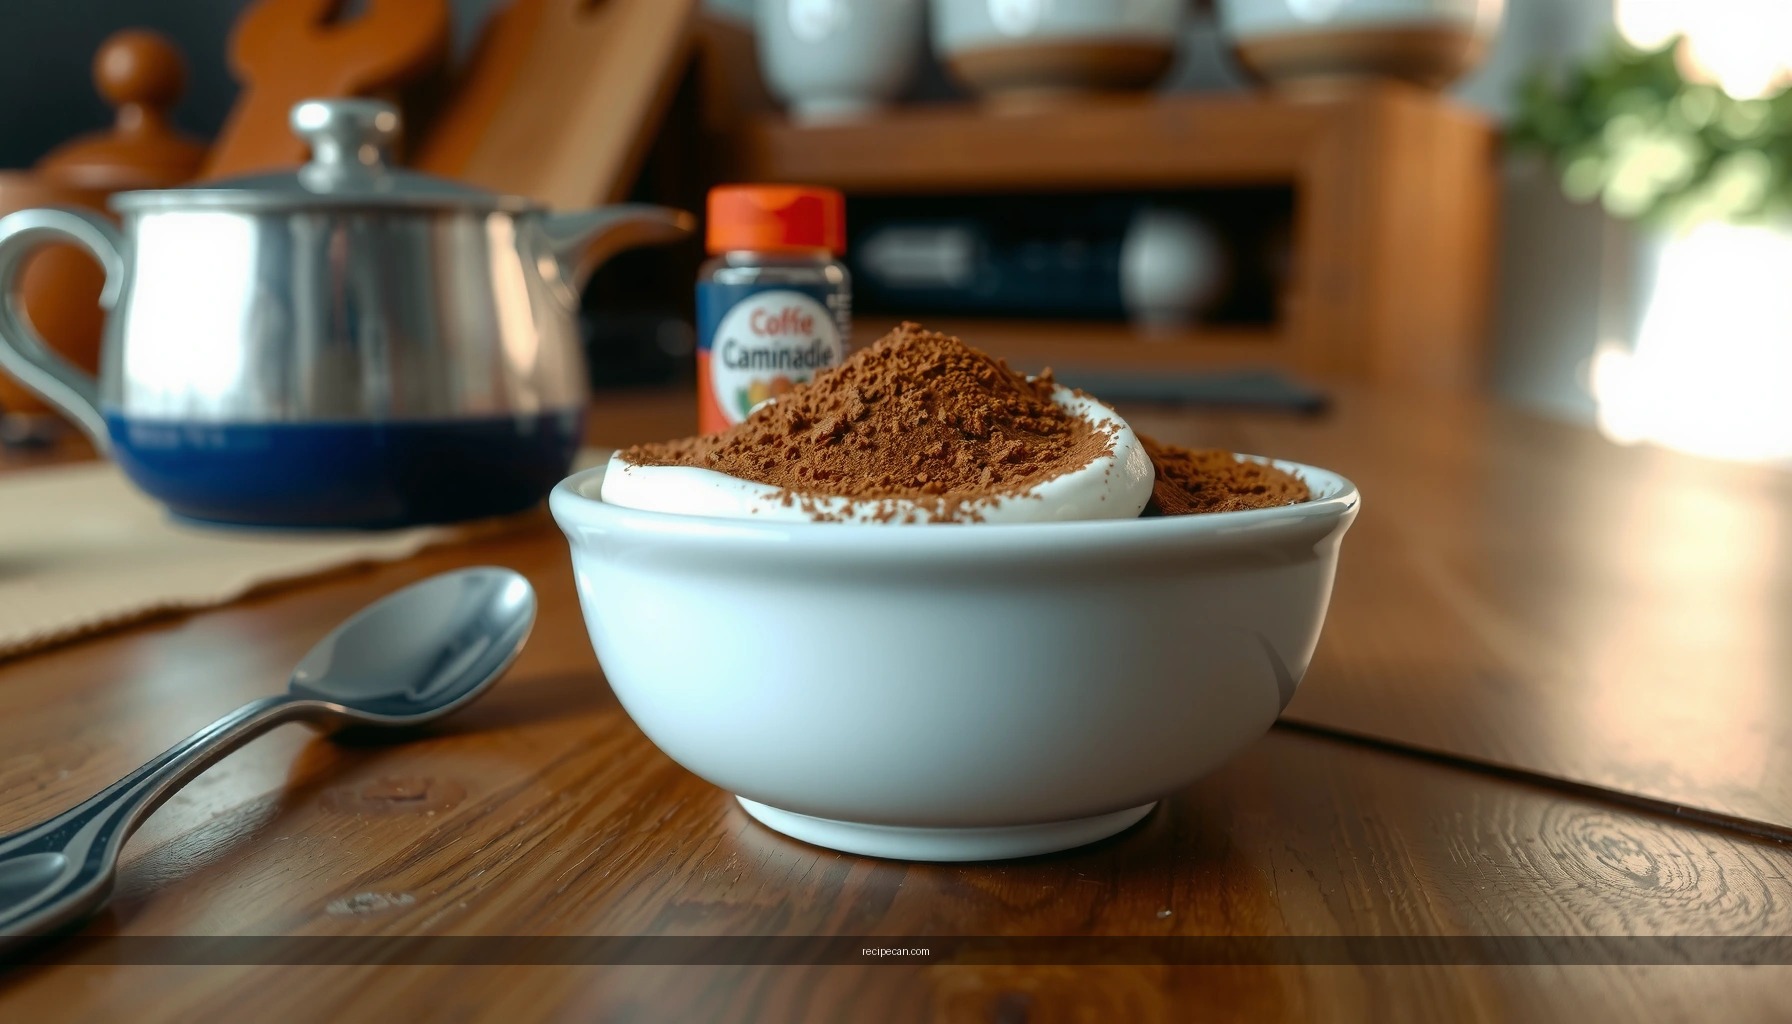
Gather Simple Ingredients for Easy Recipe of Tiramisu

A classic tiramisu is built on a small set of ingredients, and the “easy recipe” part comes from using smart shopping choices and reliable assembly steps. For the best results, aim for ingredients with fresh flavor—especially your espresso/coffee and your mascarpone.
– Mascarpone: The defining creamy base. Choose one that’s smooth and spoonable; avoid overly loose mascarpone.
– Eggs (or pasteurized alternative): Traditionally, yolks are mixed into the mascarpone and whites are whipped for lift. If you prefer a safer no-raw-egg approach, look for pasteurized egg products or an egg-white alternative designed for desserts.
– Sugar: Sweetens and stabilizes the whipped texture.
– Ladyfingers (savoiardi): These provide the structure that absorbs coffee flavor.
– Espresso or strong coffee: You want bold flavor so the dessert tastes like tiramisu, not like mildly flavored cream.
– Cocoa powder: For dusting and signature bitterness that balances sweetness.
– Optional chocolate shavings: Adds visual appeal and extra chocolate aroma.
When planning, consider portioning:
– A typical 8–9 inch (20–23 cm) dish uses about 24–36 ladyfingers depending on thickness and how you cut/stack them.
– If you’re serving more people, it’s often easier to scale cream first and then use the number of ladyfingers that fit your dish.
To help you decide what to prioritize—especially when you want a quick, classic result—use this comparison of key components:
Tiramisu Component Guide for a Classic, No-Fuss Result
| # | Component | Typical Quantity (Dish) | Quality Target | Impact on Flavor |
|---|---|---|---|---|
| 1 | Mascarpone | 16 oz (450 g) | Smooth, not grainy | ★ ★ ★ ★ ★ |
| 2 | Ladyfingers | 30–36 pcs | Fresh, not stale | ★ ★ ★ ★ ☆ |
| 3 | Espresso/Coffee | 1–1.5 cups (240–360 ml) | Strong, room-temp | ★ ★ ★ ★ ★ |
| 4 | Egg yolks | 3 large | Thickened, glossy | ★ ★ ★ ☆ ☆ |
| 5 | Egg whites | 3 large | Soft-to-medium peaks | ★ ★ ★ ★ ☆ |
| 6 | Sugar | 1/2–2/3 cup (100–135 g) | Dissolves fully | ★ ★ ★ ☆ ☆ |
| 7 | Cocoa dusting | 2–3 tbsp | Freshly dusted | ★ ★ ★ ☆ ☆ |
Make the Creamy Mascarpone Mixture

The mascarpone cream is where your tiramisu either becomes classic and luxurious—or turns heavy. The goal is smooth, creamy, and airy, which requires the right mixing approach: combine thoroughly, then fold gently.
A reliable method:
1. Whisk mascarpone with sugar (and yolks if using) until fully blended and glossy.
– This stage creates a stable base.
2. Whip egg whites to soft or medium peaks.
– Soft peaks look like they “bend” slightly; medium peaks hold shape more firmly.
3. Fold whipped whites into the mascarpone mixture in batches.
– Folding preserves air bubbles. Overmixing collapses them, making tiramisu dense rather than light.
If you’re using an egg-free or pasteurized alternative:
– Follow the label directions for whipping consistency; the same principle applies—you want volume.
– If the cream feels too thick, chill it 10–15 minutes and then fold gently rather than beating harder.
Analytical note: tiramisu’s texture is a balancing act between fat (from mascarpone) and structure (from whipped air). When you fold correctly, you get a dessert that holds its layers after chilling, yet melts in the mouth.
Brew Coffee and Dip Ladyfingers

This is the step most likely to make or break your “easy tiramisu” goal. The coffee needs to be strong and the dip needs to be quick.
Brew and prep:
– Brew strong espresso or coffee and allow it to cool slightly (room temperature is ideal).
– If you’d like a traditional twist, you can add a small splash of flavoring (such as marsala). Keep it subtle so it doesn’t overwhelm the espresso.
Dip technique:
– Dip each ladyfinger quickly—think about 1–2 seconds per side—or until the surface darkens but the cookie still feels firm.
– Place dipped ladyfingers immediately onto the dish.
Why this matters: ladyfingers will continue absorbing liquid even after placement. Over-dipping leads to watery pooling, while under-dipping results in bland layers. The “quick dip” method gives you consistent absorption without the sogginess that destroys clean slicing.
Assemble Your Easy Tiramisu Layers
Assembly is straightforward, but it’s also where you control the final presentation and portioning.
Layering method:
1. Add a thin layer of cream to the bottom of your dish.
– This “anchors” the first row so the dessert doesn’t slide.
2. Create the first layer of coffee-dipped ladyfingers in a single even arrangement.
3. Spread a generous layer of mascarpone cream over the cookies.
4. Repeat: ladyfingers → cream, usually 2–3 layers depending on your dish height.
For a professional finish:
– Smooth the top cream layer with an offset spatula or the back of a spoon.
– If any ladyfingers peek through, simply cover them fully with cream—this prevents dry cookie texture on top.
Serving practicality:
– Choose a dish that supports slicing. Shallow, wide containers yield shorter slices; taller dishes create “tiramisu brick” portions that hold shape well after chilling.
Chill and Finish for the Best Tiramisu
Chilling is not optional—it’s when tiramisu becomes cohesive. During refrigeration, the cream sets slightly and the ladyfingers fully integrate with the coffee flavor.
Timing recommendations:
– Refrigerate at least 4 hours for a set texture.
– Overnight (8–12 hours) is better for clean slicing and fully developed taste.
Finishing step:
– Dust cocoa powder right before serving.
– Cocoa absorbs moisture over time and can dull the flavor and appearance if added too early.
– Use a fine mesh sieve for an even, classic cocoa top.
Optional garnish for additional appeal:
– Add chocolate shavings, or a very light dust of cocoa around the edges for contrast.
If you’re serving immediately after chilling:
– Pull tiramisu from the fridge about 10 minutes before serving.
– This slightly softens the cream for a more pleasant mouthfeel without losing structure.
Troubleshooting Common Tiramisu Mistakes
Even with a quick recipe, a few predictable issues can occur. Here’s how to diagnose and correct them fast—so you can still deliver a classic dessert with confidence.
– Too watery?
Dip ladyfingers for less time (aim for ~1–2 seconds per side) and ensure your coffee is not hot. If your cream looks loose, chill it briefly before folding and assembling.
– Too dense?
Make sure your cream is whipped/folded gently. Overmixing after adding whipped egg whites collapses air and leads to a heavy texture.
– Cream looks grainy or separated?
Blend mascarpone until smooth before folding whites. If separated, stop and gently fold rather than continuing to beat aggressively.
– Layers won’t slice cleanly?
Chill longer—at least overnight. Also confirm the ladyfingers are not overly saturated and that you anchored the bottom layer with cream.
– Tastes underwhelming (not enough coffee)?
Use stronger espresso/coffee and consider reducing any added sugar in the coffee base. The coffee flavor should be bold enough to stand up to mascarpone richness.
To make these adjustments easier for readers, this “practice-first” decision guide summarizes the most common fixes:
Common Tiramisu Texture Issues & Fast Corrections
| Issue | What You’ll Notice | Root Cause | Fix |
|---|---|---|---|
| 1 | Watery or pooled liquid | Over-dipped ladyfingers | Dip ~1–2 sec/side |
| 2 | Dense, heavy cream | Overmixed after folding | Fold gently; stop when uniform |
| 3 | Lumpy mascarpone | Insufficient mixing | Whisk base until glossy |
| 4 | Won’t hold shape when sliced | Not chilled long enough | Chill 8–12 hours |
| 5 | Mild coffee flavor | Weak coffee or over-sweetening | Use stronger espresso |
After chilling, your easy tiramisu should be set, creamy, and full of coffee flavor—ready to serve with a cocoa-dusted finish. Make it today using this layered method, and try serving it chilled straight from the fridge for the best texture.
Even though tiramisu looks “fancy,” the process is fundamentally controlled timing: strong coffee, quick dipping, whipped-and-folded mascarpone, and enough chilling for structure. If you follow these steps, you’ll reliably produce a classic dessert with clean layers, balanced bitterness, and a creamy texture that holds up for serving—perfect for weeknights, hosting, or any time you need an impressive finish without complexity.
Frequently Asked Questions
What is the easiest recipe for tiramisu with no-bake steps?
The easiest tiramisu recipe uses mascarpone, whipped cream (or eggs), espresso, ladyfingers, and cocoa powder with no baking required. Start by brewing strong coffee and letting it cool, then quickly dip ladyfingers and layer them with a creamy mascarpone mixture. Repeat the layers, chill for at least 4 hours (overnight is best), and dust generously with cocoa. This no-bake approach keeps the process simple and beginner-friendly.
How do you make an easy tiramisu that isn’t runny?
To prevent runny tiramisu, use thick mascarpone and avoid over-dipping the ladyfingers in espresso—dip quickly and drain slightly so they don’t break down. Whip the mascarpone with cream (or egg yolks) until it’s smooth and holds soft peaks, then layer immediately. Chilling is crucial: refrigerate the tiramisu for several hours so the layers set. If your mixture feels loose, chill it briefly and whip again before assembling.
Which espresso works best for a quick tiramisu flavor?
For an easy tiramisu, use strong brewed espresso or very concentrated coffee so the flavor stands up against the sweetness of mascarpone. Use either freshly brewed espresso or high-quality instant coffee dissolved in hot water, then cool to room temperature before dipping. Avoid watery coffee or weak tea-like coffee, since it can make tiramisu taste bland and watery. Consistent, bold coffee helps achieve that classic tiramisu taste.
Why does homemade tiramisu sometimes taste bitter, and how can you fix it?
Tiramisu can taste bitter if the coffee is too hot, too strong, or if you over-soak the ladyfingers, releasing extra bitterness. Let espresso cool, and dip ladyfingers quickly—just enough to flavor without soaking through. If needed, balance with a touch more sugar in the mascarpone filling or use a sweeter coffee blend. A good chill time also helps mellow sharp flavors.
What’s the best way to assemble easy tiramisu for beginners?
Begin with a clean, chilled bowl and layer in the same order every time: coffee-dipped ladyfingers, mascarpone cream, then repeat. Spread the mascarpone mixture evenly and press gently so the dessert sets into neat slices. Use a shallow dish or loaf pan for easier portioning and even chilling. Finally, cover and refrigerate until firm, then dust with cocoa powder right before serving for the best look and texture.
References
- Tiramisu
https://en.wikipedia.org/wiki/Tiramisu - Tiramisu | Meaning, Ingredients, Origin, Desserts, & Taste | Britannica
https://www.britannica.com/topic/tiramisu - https://www.bbc.co.uk/food/recipes/tiramisu_67607
https://www.bbc.co.uk/food/recipes/tiramisu_67607 - https://www.theguardian.com/food/2019/dec/09/tiramisu-recipe
https://www.theguardian.com/food/2019/dec/09/tiramisu-recipe - https://cooking.nytimes.com/recipes/1015180-tiramisu
https://cooking.nytimes.com/recipes/1015180-tiramisu - Google Scholar Google Scholar
https://scholar.google.com/scholar?q=tiramisu+recipe - Google Scholar Google Scholar
https://scholar.google.com/scholar?q=tiramisu+mascarpone+eggs+food+science - Google Scholar Google Scholar
https://scholar.google.com/scholar?q=tiramisu+history+savoiardi+coffee+egg+curd - Google Scholar Google Scholar
https://scholar.google.com/scholar?q=easy+recipe+of+tiramisu - easy recipe of tiramisu – Search results
https://en.wikipedia.org/wiki/Special:Search?search=easy+recipe+of+tiramisu


