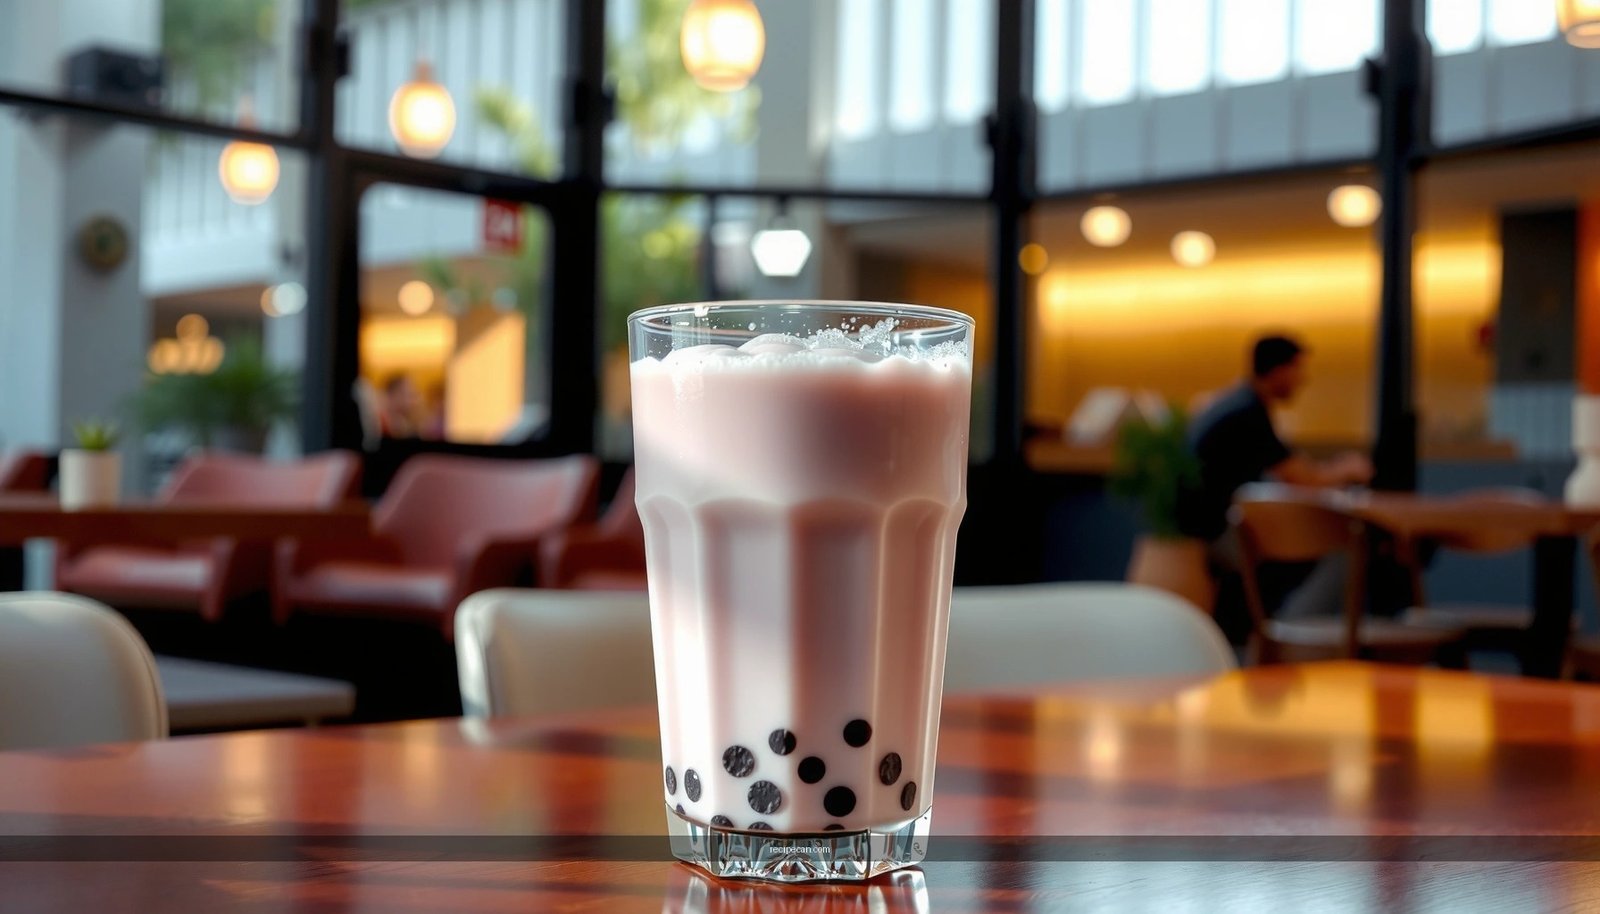
This taro root bubble tea recipe delivers the creamiest, most reliably sweet cup—right down to that signature purple swirl—without complicated steps. You’ll learn how to cook taro root (or use it correctly) and blend it into a smooth milk base, then balance sweetness and texture for chewy pearls. If you want an easy, consistent homemade version you can replicate every time, this is the one.
Make taro root bubble tea at home by cooking taro until it’s very tender, blending it into a silky purple base, then assembling with properly cooked tapioca pearls. This step-by-step recipe walks you through both the taro base and the chewy “bubbles” so you can consistently get that creamy, sweet café-style cup.
Choose and Prep Your Taro Root
Start with the right taro and you’ll solve half the quality problem before you begin. The goal is to extract a naturally creamy starch from the root while reducing that sometimes strong earthy aroma.
– Use fresh taro root for the best flavor and natural creaminess
Fresh taro tends to yield a richer, more “custard-like” mouthfeel than many dried or low-quality frozen options. Look for roots that feel firm and heavy for their size, with dry, intact skin. If you’re using pre-cut frozen taro, thaw fully and expect slightly longer cooking time.
– Peel, cube, and soak taro briefly to reduce “earthy” notes
After peeling, cut the taro into evenly sized cubes (about 1–1.5 cm). Uniform pieces cook at the same rate, which helps you avoid hard centers or watery mash. Soak cubes in cold water for 15–30 minutes. This can mellow the earthy edge and make the finished taro taste sweeter, even before adding sugar.
– Cook until very tender before blending
Taro needs time. For bubbling, thick drinks, you want a very soft interior so blending turns it into a smooth paste rather than fibrous strands. Simmer in plenty of water until you can easily mash a cube with a fork. If your taro is still firm after the first simmer window, keep cooking—under-cooked taro is the most common reason taro bubble tea ends up grainy.
Taro Prep Approaches for Creamy Puréed Texture
| # | Taro Selection & Prep | Typical Simmer Time | Texture Risk | Best For | Result Rating |
|---|---|---|---|---|---|
| 1 | Fresh taro root, soaked 20 min, evenly cubed | 35–45 min | Low (smooth purée) | Classic purple base | ★★★★★ |
| 2 | Fresh taro root, soaked 15 min, larger cubes | 45–55 min | Medium (possible fibrous bits) | Batch cooking | ★★★★☆ |
| 3 | Fresh taro root, no soaking, cubed | 35–45 min | Medium (earthy aroma) | Flavor-forward cups | ★★★☆☆ |
| 4 | Frozen taro, fully thawed, cubed (if possible) | 40–60 min | Low–Medium | Convenient weeknight cups | ★★★★☆ |
| 5 | Frozen taro, not fully thawed | 55–75 min | High (uneven softness) | When time is flexible | ★★☆☆☆ |
| 6 | Dried taro powder + water reconstitution | 12–18 min | Medium (less natural creaminess) | Quickest base | ★★★☆☆ |
| 7 | Taro paste (pre-made) + milk (minimal simmer) | 8–12 min | Low (but less nuanced) | Consistency and speed | ★★★★☆ |
Make the Creamy Taro Base
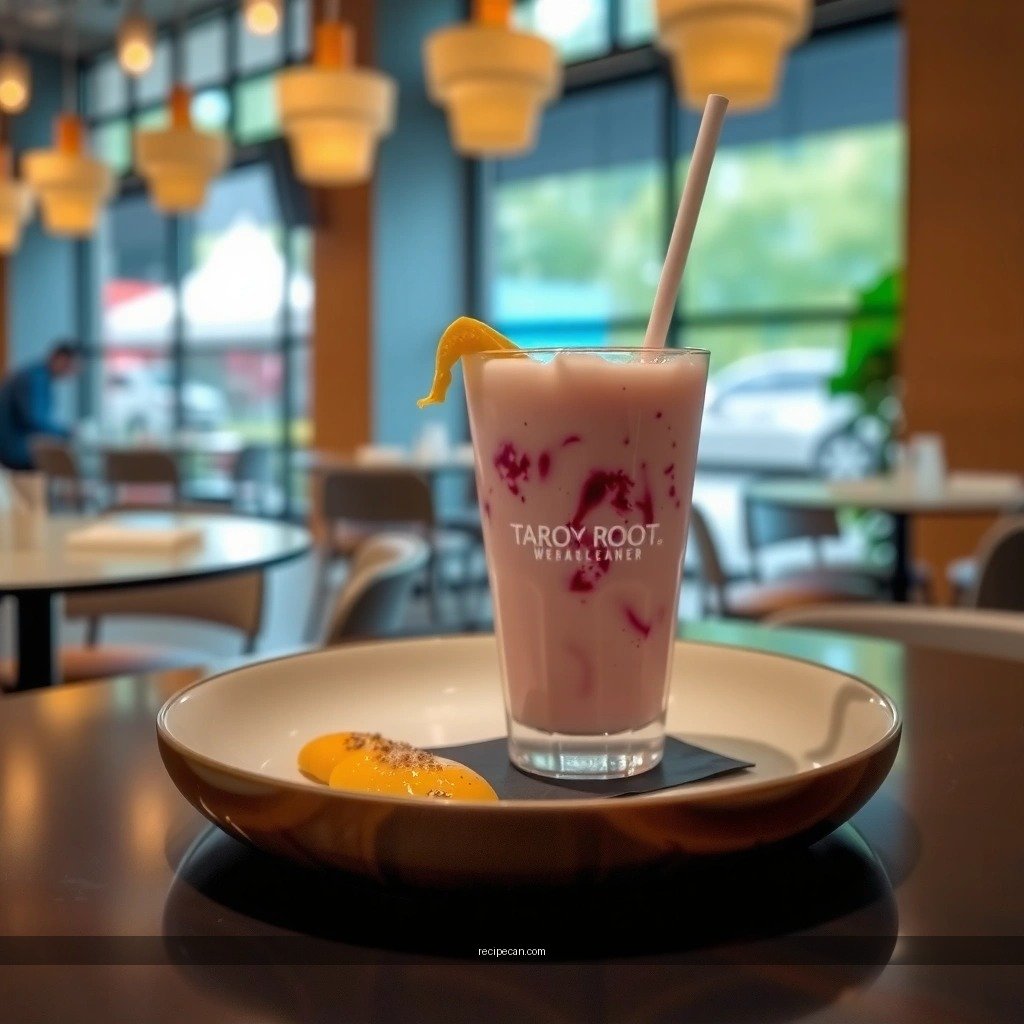
Once your taro is tender, the quality shifts from “cooking” to “texture control.” Aim for a smooth purée that can disperse evenly in milk without clumps.
– Blend cooked taro into a smooth paste
Drain well, then blend with a small splash of hot water or milk to help the machine circulate. Blend until absolutely smooth. If your blender struggles, pass the purée through a fine mesh sieve—this single step can dramatically improve spoonable creaminess.
– Stir with milk (dairy or non-dairy) and sweetener to taste
Use whole milk for a classic mouthfeel. If you prefer dairy-free, oat milk often delivers the closest “thick” creaminess for bubble tea. Start with less sweetener than you think you need: taro flavor can read sweeter after heating. Common choices include white sugar, brown sugar, or a taro paste that already contains sweetness.
– Heat gently to thicken slightly and deepen the flavor
Warm the blended taro-milk mixture over low heat, stirring to prevent scorching. Gentle heating also helps the taro starch hydrate further, creating that signature thick, dessert-like body without tasting floury. If the base gets too thick, loosen with a splash of milk or water.
Recommended base ratio (guideline)
For 2 large servings:
– Cooked taro purée: ~250 g
– Milk: ~500 ml
– Sweetener: start with 2–4 tbsp (adjust after tasting)
Cook Perfect Tapioca Pearls (Bubbles)
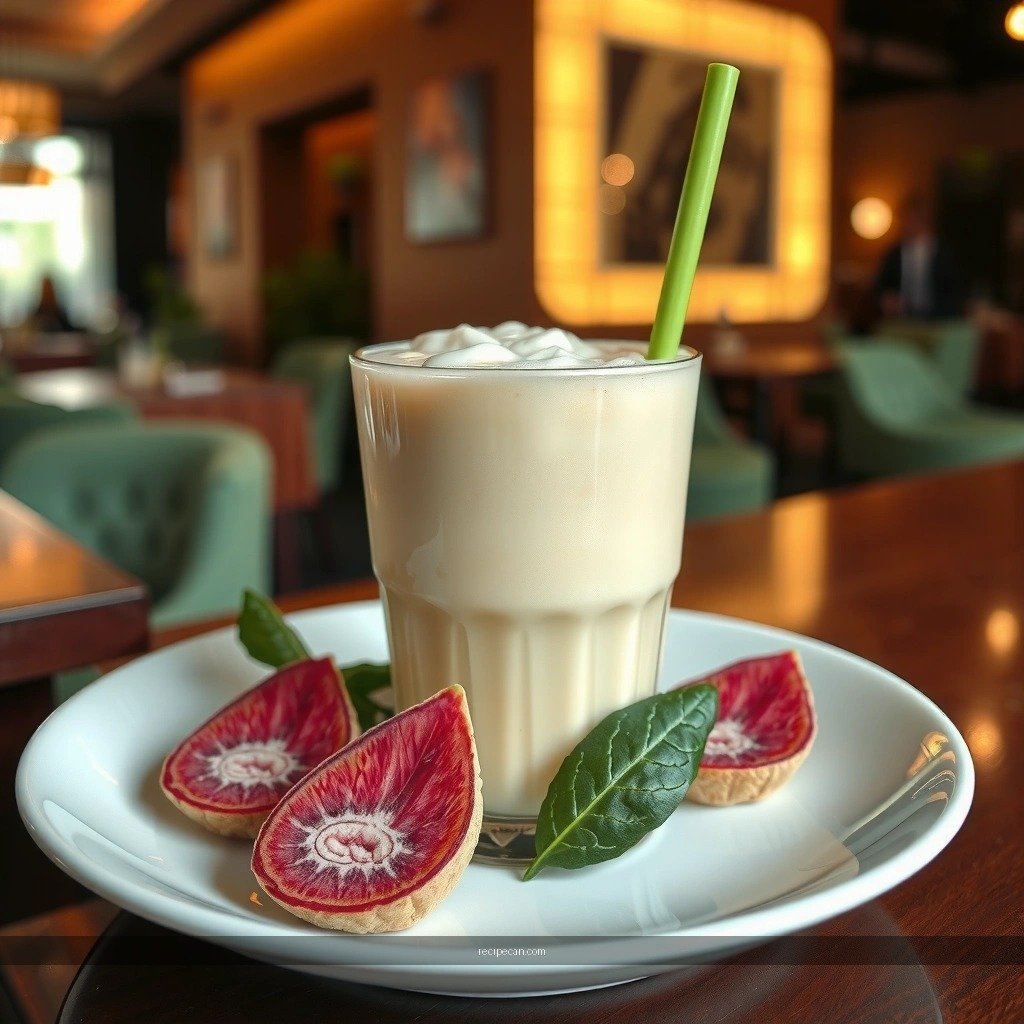
The chewy “bubble” experience comes down to two things: doneness and post-cook handling. If pearls are undercooked, they’re chalky; if overcooked, they turn gummy.
– Boil pearls until they float and reach a chewy center
Follow your pearl package instructions for boiling times, but use floatation as a checkpoint rather than a finish line. Once they float, continue cooking briefly so the center hydrates. A good test: bite one—there should be a tender chew with no hard core.
– Rinse and soak in a little sugar syrup for sweetness
Drain and rinse under cool water to stop cooking and remove excess surface starch. Then soak pearls in a warm sugar syrup (like a 1:1 mix of sugar and water, simmered until dissolved). This keeps them glossy and sweet without overpowering the taro.
– Rest pearls briefly so they don’t harden
After soaking, let pearls sit 5–10 minutes before assembling. This helps stabilize texture and reduces the odds of pearls going rubbery during pouring.
Mix and Build Your Bubble Tea Cup
Assembly affects everything—from syrup distribution to how quickly pearls settle. Build intentionally for consistent layers and balanced sweetness.
– Add pearls first, then pour in the taro milk mixture
Putting pearls at the bottom first prevents them from floating to the top too quickly. Then pour the taro milk carefully to distribute sweetness and color evenly.
– Serve hot or iced—both work with the same base
For iced taro bubble tea, chill your taro base before assembly or pour over fresh ice. Hot version works by warming the base and using hot cups; pearls stay chewy longer than you might expect when the drink is served promptly.
– Adjust sweetness and thickness with extra milk or syrup
If your cup tastes too strong, add milk to dilute the taro intensity. If it needs more “dessert” sweetness, add syrup (a teaspoon at a time) so you don’t end up with an overly sweet drink.
Professional balancing tip
Aim for a slightly sweeter base than you’d like to drink plain—because pearls and ice can mute perceived flavor.
Customize Your Taro Bubble Tea
Once you nail the base and bubbles, customization is where you make the recipe uniquely yours—without losing the signature creamy purple profile.
– Add condensed milk, honey, or brown sugar for richer sweetness
Condensed milk is especially effective because it adds body, not just sugar. Honey brings floral notes and a rounded sweetness. Brown sugar deepens the flavor and pairs nicely with taro’s natural nuttiness.
– Try coconut milk or oat milk for a different creamy profile
Coconut milk creates a smoother, tropical creaminess, while oat milk reinforces thick mouthfeel and lightens taro’s earthy notes. Both work well for iced cups.
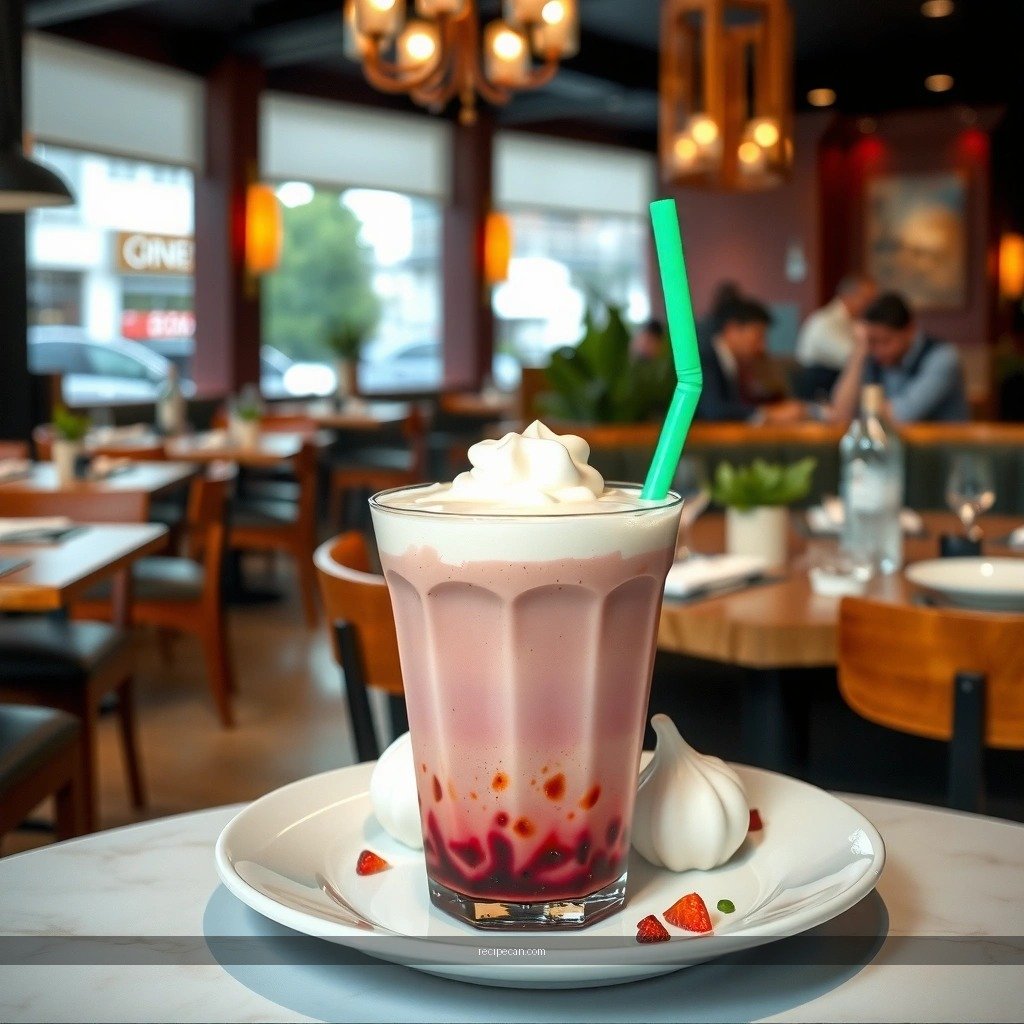
– Top with whipped cream or extra taro paste (optional)
A small swirl of whipped cream can turn the drink into a dessert-like treat. For a bolder taro look and taste, add a teaspoon of extra taro paste at the top—just be mindful that heavier toppings can slightly shift perceived sweetness.
Storage and Reheating Tips
Bubble tea is best fresh, but smart storage lets you enjoy it across the day without sacrificing quality.
– Best served right away for the best chewy texture
Pearls gradually firm up as they cool and rehydrate unevenly once mixed with liquid. If you’re making for multiple people, cook pearls last and assemble in batches.
– Keep taro base refrigerated and reheat gently
Store the taro base in an airtight container in the refrigerator. When reheating, warm slowly over low heat and stir constantly to restore smoothness. You may need a small splash of milk to return to the original thickness.
– Cook pearls fresh for consistent bubbles
For the most reliable bubble texture, cook pearls the day you plan to serve. If you must prep early, keep pearls in syrup at warm temperature and assemble promptly.
Taro root bubble tea is simple: cook tender taro, blend it into a creamy purple base, then assemble with properly cooked chewy tapioca pearls. Follow the sections above—especially the tender-cook and post-cook pearl soak steps—to nail both flavor and texture, and then customize sweetness and milk to match your palate. Make a batch today and enjoy café-style taro bubble tea at home.
Frequently Asked Questions
What is a taro root bubble tea recipe and what makes it different from other milk teas?
A taro root bubble tea recipe uses cooked taro (purple yam) blended into a creamy, naturally sweet base, usually with milk and sugar. The flavor is distinctive—earthy, nutty, and gently sweet—unlike classic black tea or fruit teas. Because taro is thick and starchy, it can make bubble tea taste richer and more dessert-like.
How do you make taro root bubble tea at home without using taro powder?
Start by steaming or boiling fresh taro root until very soft, then peel and mash it smooth. Blend the mashed taro with milk (or a dairy-free milk), sweetener, and a splash of vanilla for a silky taro base. Separately cook your tapioca pearls (or use quick-cook pearls), then assemble by adding pearls to the cup and pouring in the taro milk tea mixture.
How do you cook the tapioca pearls for a taro bubble tea so they’re chewy and not hard?
For the best texture, simmer tapioca pearls according to the package timing, but avoid boiling too aggressively to prevent a hard center. After cooking, let them sit in a simple sugar syrup (or brown sugar syrup) for about 10–15 minutes so they stay tender and sweet. Always rinse lightly (if recommended on your brand) and assemble quickly, since pearls harden as they cool.
Which milk works best for taro root bubble tea—dairy milk or oat milk?
Dairy milk (like whole milk or evaporated milk) creates a classic creamy taro bubble tea with a richer mouthfeel and stronger “dessert” flavor. Oat milk is a great dairy-free alternative and gives a naturally sweet, smooth texture that pairs well with taro’s earthy taste. If you want maximum authenticity, try a mix of milk and cream (or use evaporated milk) to keep the taro base thick and fragrant.
Why does my taro bubble tea turn watery or grainy, and how can I fix it?
Graininess usually happens when taro isn’t fully cooked or when it isn’t blended until completely smooth, so make sure the taro root is very soft and blend thoroughly. Watery tea can occur if you add too much liquid before the taro base thickens, or if your pearls dilute the drink—try reducing milk slightly or blending taro with a thicker milk option like evaporated milk. Let the assembled drink rest briefly so the taro and milk meld, and adjust sweetness with sugar syrup for a more balanced taro bubble tea flavor.
References
- Taro
https://en.wikipedia.org/wiki/Taro - Bubble tea
https://en.wikipedia.org/wiki/Bubble_tea - Tapioca
https://en.wikipedia.org/wiki/Tapioca - Tapioca pearl
https://en.wikipedia.org/wiki/Tapioca_pearls - Bubble tea | Definition, Origins, Types, Ingredients, & Health Benefits | Britannica
https://www.britannica.com/topic/bubble-tea - Google Scholar Google Scholar
https://scholar.google.com/scholar?q=taro+bubble+tea+recipe - Google Scholar Google Scholar
https://scholar.google.com/scholar?q=taro+starch+gelatinization+for+bubble+tea - Google Scholar Google Scholar
https://scholar.google.com/scholar?q=tapioca+pearls+cooking+gelatinization+study - https://pubmed.ncbi.nlm.nih.gov/?term=taro+starch
https://pubmed.ncbi.nlm.nih.gov/?term=taro+starch - https://pubmed.ncbi.nlm.nih.gov/?term=tapioca+pearls+gelatinization
https://pubmed.ncbi.nlm.nih.gov/?term=tapioca+pearls+gelatinization