This sugar free pudding recipe delivers a creamy, spoonable dessert with no added sugar—so you get the taste of classic pudding without the sugar crash. You’ll find an easy, step-by-step method that works reliably for weeknight convenience and kid-friendly servings alike. If you’re searching for a true no-added-sugar option that still feels indulgent, this is the one to make.
You can make a sugar free pudding that tastes creamy and sweet without added sugar by pairing a cookable sweetener with a reliable thickening method (like a cornstarch slurry or a no-sugar pudding base). If you follow the steps below—especially how you sweeten, thicken, and chill—you’ll consistently get a smooth, spoonable texture instead of gritty or runny pudding.
In practical terms, “no added sugar” requires two things: (1) sweeteners that don’t behave like plain table sugar during heating (many do not), and (2) a starch-based thickener that sets properly as the mixture cools. The method in this guide is designed to be repeatable for everyday kitchens, not just test batches—so you can use it for chocolate, vanilla, or fruit pudding throughout the week.
Sweetener Performance for Sugar Free Pudding (Cooking-Ready Use)
| # | Sweetener (baking/cooking) | Sweetness Strength vs Sugar | Aftertaste Risk | Best Result Score |
|---|---|---|---|---|
| 1 | Erythritol (baking blend) | ~70% | Low ★★★★☆ | +9 |
| 2 | Monk fruit (inulin/erythritol blend) | ~1:1 (blend) | Very low ★★★★★ | +10 |
| 3 | Stevia (baking/packet blend) | ~10–25x | Moderate ★★☆☆☆ | +4 |
| 4 | Allulose | ~70–90% | Low ★★★★☆ | +8 |
| 5 | Swerve (erythritol/oligofructose blend) | ~1:1 (blend) | Low–Med ★★★☆☆ | +6 |
| 6 | Sucralose (granulated) | ~600x | Low ★★★★☆ | -2 |
| 7 | Glycerin-sweet “sugar-free” syrups | ~0.6–0.8x | High ★★☆☆☆ | -4 |
Choose Your Sugar-Free Sweetener
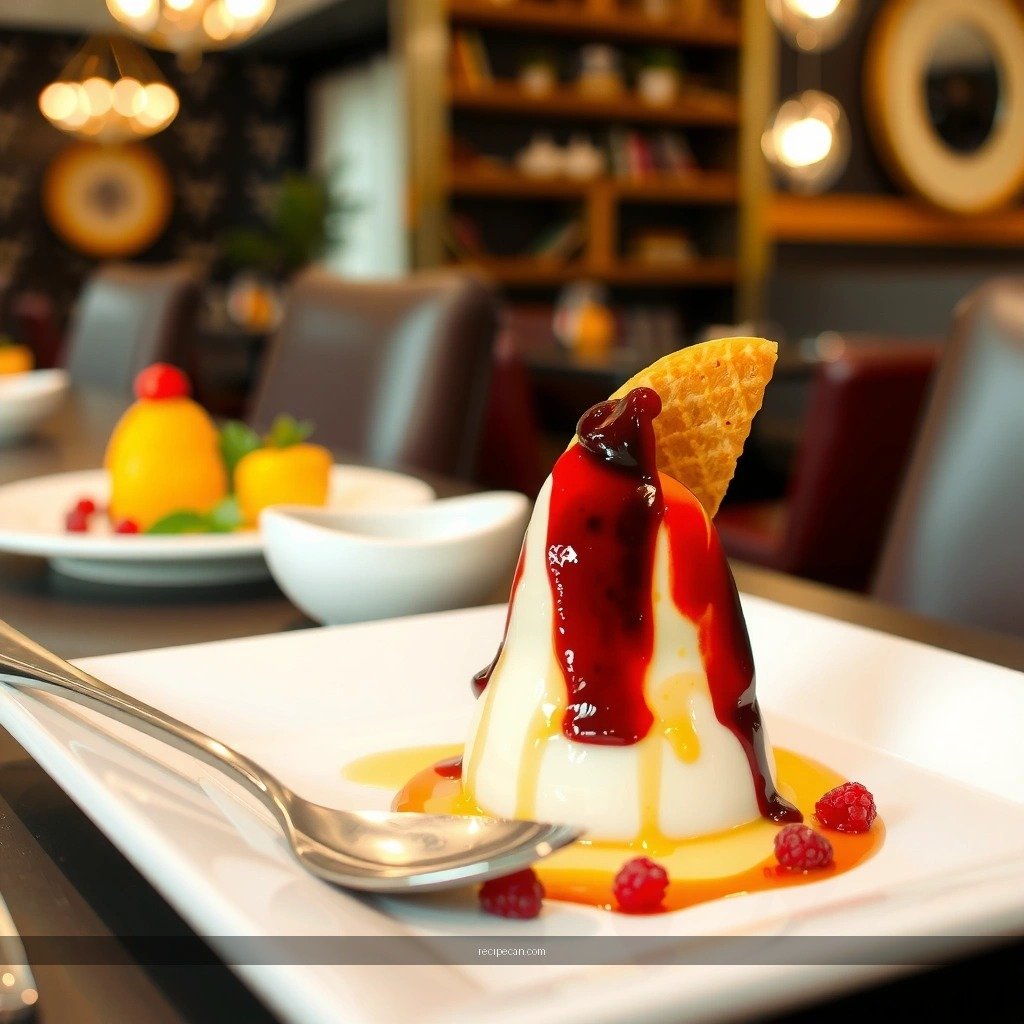
Selecting the right sweetener is the difference between “tastes like pudding” and “tastes like a diet dessert.” For a sugar free pudding recipe, focus on sweeteners that are specifically labeled for cooking or baking, because they’re formulated to dissolve evenly and hold up during gentle heat.
Start by picking one of the most reliable categories:
– Erythritol-based blends: Often deliver a close sugar-like profile with minimal aftertaste.
– Monk fruit blends: Frequently the easiest option for “clean” sweetness; many include additional carriers that improve texture.
– Stevia blends: Can work well, but plain stevia extracts are more likely to leave a stronger aftertaste if overused.
Practical guidance:
– Taste test the warm base (not just the chilled pudding). Sweetness often intensifies as the pudding cools, and you may want to adjust slightly before chilling.
– Use conversion notes from your specific brand. Sweeteners vary widely—especially stevia and monk fruit concentrates.
– Pair sweetness with vanilla and a pinch of salt. Salt doesn’t make things salty; it reduces the “flat” or bitter edges that can appear with sugar-free sweeteners.
A common misconception is that all sugar substitutes behave the same when heated. In reality, some sweeteners can “tighten” flavors or create a lingering cooling sensation (notably some sugar alcohols). That’s why blending, gentle heating, and balanced seasonings matter.
Pick the Best Thickening Option
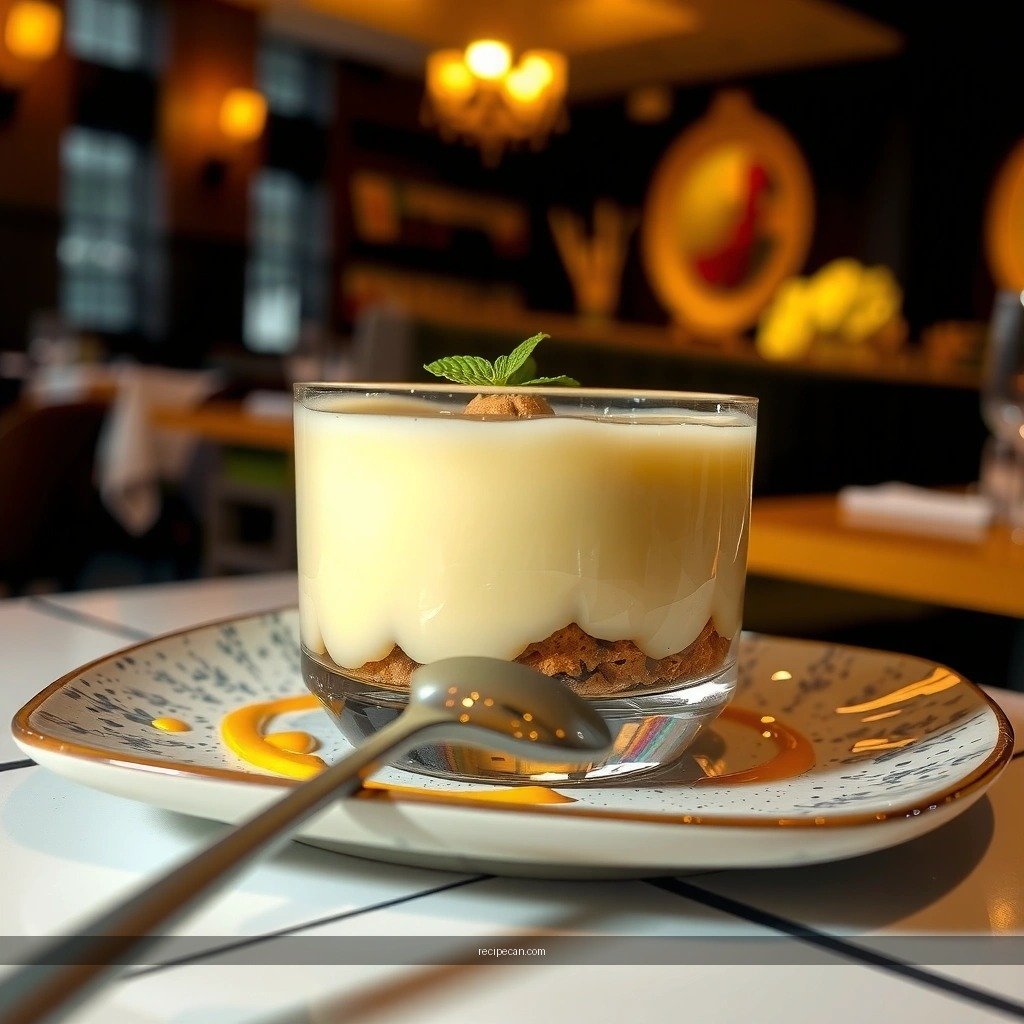
A sugar free pudding needs thickening that mimics pudding’s set—without relying on sugar to help stabilize the gel. You have two dependable paths:
1. Cornstarch slurry (most controllable)
– Mix cornstarch with a small amount of cold milk first, then whisk it into warm milk.
– Cook until the mixture reaches a noticeable thickening point—typically a few minutes of gentle simmering.
– If you undercook, the pudding may turn runny even after chilling.
2. No-sugar pudding base (fastest, most foolproof)
– Use a packaged “instant pudding” alternative with no added sugar.
– These products are pre-balanced for setting, so they’re often more forgiving when you’re scaling servings or switching milk types.
Key texture rules:
– Cook time beats guesswork. Many runny pudding failures come from stopping too early.
– Stir continuously while thickening. A cornstarch mixture can scorch or form lumps if left unattended.
– Avoid boiling hard. Aggressive boiling can change the starch structure and sometimes leads to a less silky mouthfeel.
If you prefer extra assurance, choose a recipe tested with cornstarch or a specific no-sugar pudding mix—then keep your brand of sweetener consistent. Texture depends on interactions between thickener, dairy proteins, and how the sweetener dissolves.
Create the Creamy Base
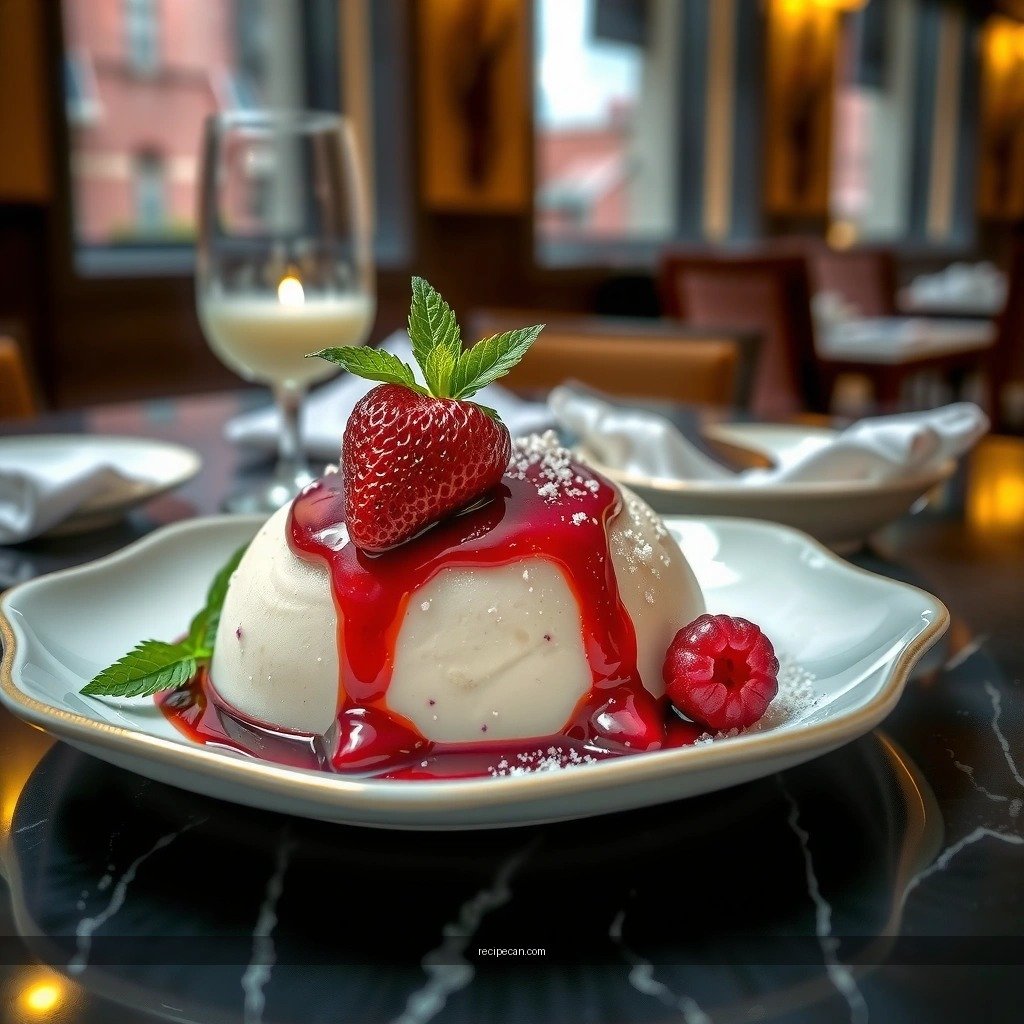
Once you’ve chosen thickener and sweetener, the goal is to build a smooth emulsion that sets evenly in the refrigerator.
A reliable workflow:
– Combine milk (dairy or unsweetened plant milk) with your sweetener and thickener slurry (or your no-sugar pudding base instructions).
– Heat gently while whisking until the mixture thickens and looks glossy.
– Remove from heat promptly. Overheating after thickening can dull flavor and slightly reduce creaminess.
– Whisk in flavoring right after thickening—vanilla is the most versatile; for cocoa pudding, blend cocoa thoroughly to avoid graininess; for spice notes, add cinnamon near the end so it doesn’t taste “cooked.”
Ingredient interactions worth noting:
– Plant milks vary. Oat, soy, and cashew bases thicken differently because of fat and protein content. If you use a thinner plant milk, you may need slightly more thickener or a longer cook.
– Cocoa is absorbent. When making chocolate pudding, cocoa powder can “steal” moisture and affect set. Whisk cocoa into the hot base thoroughly, then watch the viscosity before chilling.
This is also the stage where you can correct flavor before it “locks in”:
– If it tastes too mild, add vanilla or a pinch more salt.
– If it tastes flat or slightly bitter, a tiny additional amount of your sweetener blend is usually more effective than adding more cocoa.
Flavor Variations (Chocolate, Vanilla, or Fruit)
Flavor variations let you keep the same sugar-free pudding process while changing the profile. The trick is to adjust without upsetting the chemistry of thickening.
Chocolate pudding
– Use unsweetened cocoa powder.
– Add a small amount of espresso powder (optional). Even a pinch can deepen chocolate flavor without making it taste like coffee.
– Stir until cocoa is fully dissolved before removing from heat.
Vanilla pudding
– Increase vanilla extract or use vanilla bean paste.
– Add a pinch of salt to make sweetness read more clearly on the palate.
– For a restaurant-style finish, whisk in a small amount of butter or cream (optional) for extra smoothness.
Fruit pudding
– Fold in sugar-free fruit preserves after thickening and cooling slightly (not when the mixture is piping hot).
– Alternatively, fold in finely chopped fresh fruit and taste for sweetness; fruit acidity can mute sweetness in a chilled dessert.
A critical operational detail: don’t add chunky mix-ins too early. If you add fruit preserves while the pudding is at peak heat, the texture can thin as pectin breaks down or as liquids separate.
Chill for the Right Texture
Chilling is what turns a thickened base into true pudding—part gel, part cream. For consistent results:
– Cover and refrigerate at least 2–4 hours.
– Stir once after thickening (just after cooking) if you want extra smoothness, then again only if needed after chilling.
– If your pudding thickens more than you expected, loosen it with a splash of milk right before serving and whisk until uniform.
Why chilling matters: as the mixture cools, starch gels firm up and liquids redistribute. Skipping adequate time often yields a “starchy” or inconsistent spooning experience—especially with cornstarch-based pudding.
For best handling, store pudding in shallow containers. Thin layers chill faster and set more evenly, which is especially helpful if you’re meal-prepping.
Storage and Serving Tips
Sugar free pudding is fridge-friendly, but small storage choices strongly affect texture and appearance.
Storage
– Keep covered in the refrigerator for 3–4 days for best quality.
– Label containers with the date—some people find that flavor stabilizes best between day 2 and day 3.
Preventing a skin
– Press plastic wrap directly onto the surface while chilling to prevent condensation from forming a film.
– Alternatively, use an airtight lid and ensure the pudding is fully cooled before sealing tightly.
Serving
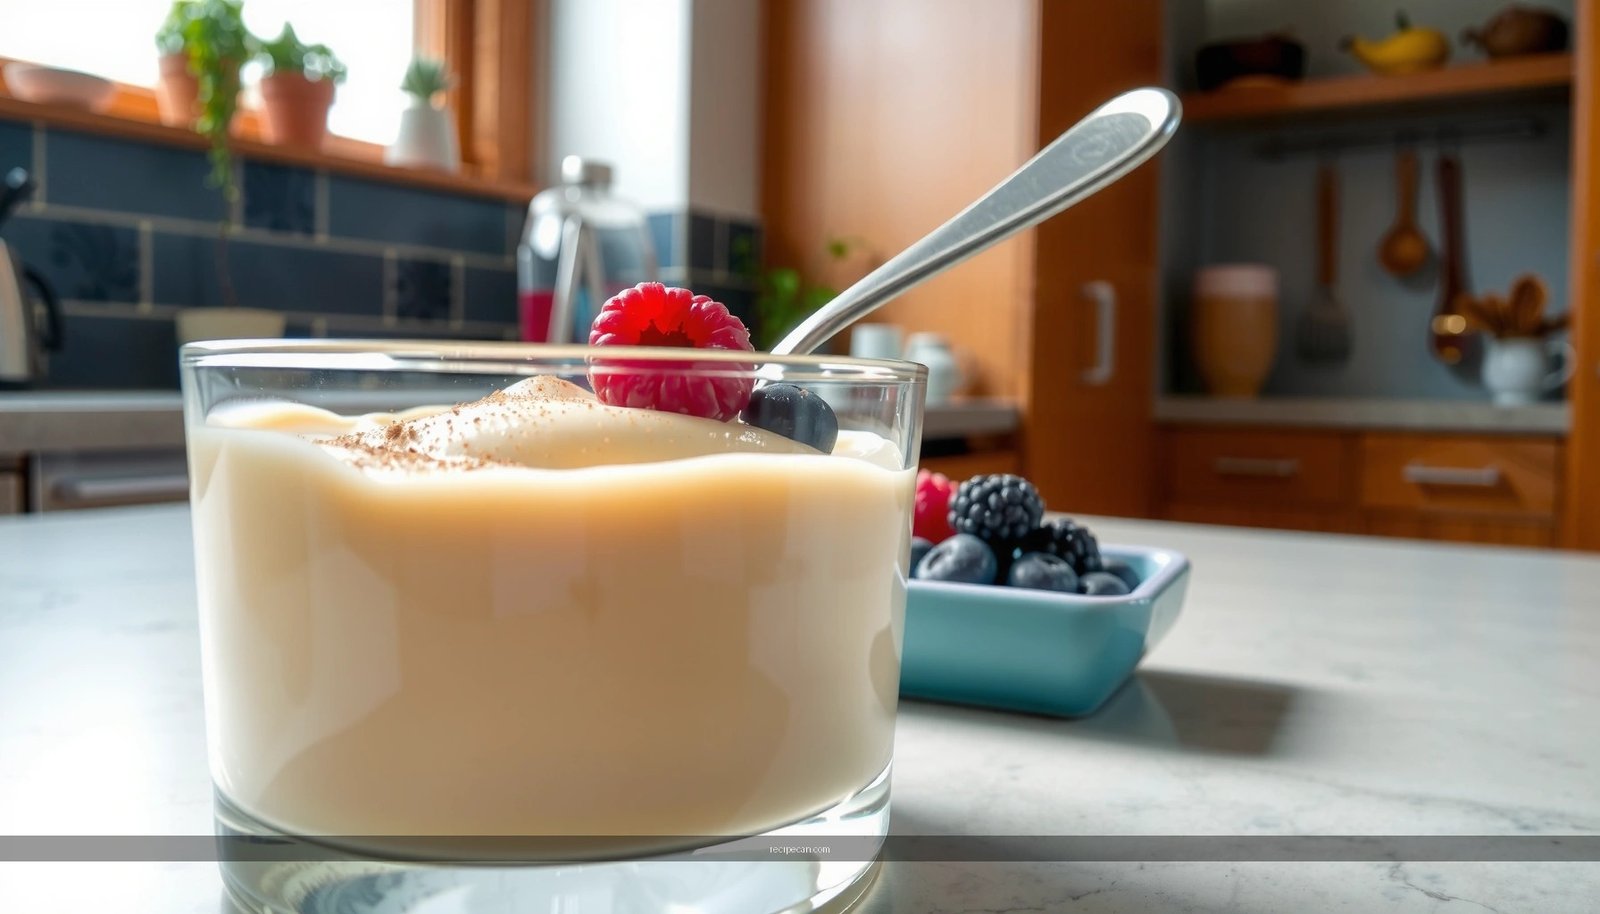
– Top with sugar-free whipped cream, fresh berries, or a few dark chocolate chips (choose chips with no added sugar or low sugar, depending on your goal).
– For extra depth, serve with cinnamon dusting or a light drizzle of sugar-free vanilla syrup.
If you want a “make-ahead” system: portion pudding into individual cups before chilling. This simplifies grab-and-go servings and reduces repeated stirring, which can slightly alter texture over time.
When you follow a sugar free pudding recipe with the right sweetener, proper thickening, and enough chilling time, you’ll get a creamy dessert without added sugar. Try one variation today—chocolate or vanilla is easiest—and make a batch so you can enjoy ready-to-serve pudding all week.
Frequently Asked Questions
What are the best sugar free pudding recipe options using common sweeteners?
The easiest sugar free pudding recipes typically use sugar alternatives like erythritol, monk fruit, allulose, or stevia blends designed for baking and cooking. For a classic creamy texture, look for sweeteners that dissolve well and don’t turn grainy, and choose a blend labeled “1:1” for best results. You can also use unsweetened cocoa powder or vanilla extract to keep flavor rich without adding sugar.
How do I make sugar free pudding thick and creamy without sugar?
To thicken sugar free pudding, use a reliable thickener such as cornstarch, arrowroot, or instant pudding mix labeled “sugar free.” Whisk the thickener with cold milk or a milk alternative first, then simmer until the mixture bubbles and thickens, stirring constantly to prevent lumps. Once thick, remove from heat and stir in vanilla or butter for a smoother, pudding-like mouthfeel.
Why does my sugar free pudding turn runny or gritty, and how can I fix it?
Runny pudding usually happens when the cornstarch or thickener isn’t cooked long enough or the mixture wasn’t simmered until bubbling. Grittiness often comes from sweeteners that don’t dissolve fully, especially if you add them without heating or if the ratio is off. Fix it by simmering longer for thickness and ensuring the sweetener is stirred in during the warm phase; for graininess, use allulose or erythritol-based products meant for desserts.
Which sugar free pudding recipe works best for diabetics or low-carb diets?
For diabetics or low-carb pudding, allulose and erythritol are often popular because they minimize net carbs and usually have less impact on blood sugar than sugar. If you’re following a specific plan, check nutrition labels for total carbs and sugar alcohol effects, since some people may be sensitive. For the best results, choose a sugar free pudding recipe with measured sweeteners, unsweetened milk (or low-carb alternatives), and avoid added “hidden sugars” like sweetened syrups.
How do I store sugar free pudding and prevent separation or a thick skin on top?
Store sugar free pudding in an airtight container in the refrigerator for up to 3–4 days for best texture and flavor. To prevent a film or skin, press a piece of parchment or plastic wrap directly onto the surface while it cools. When you’re ready to eat, stir thoroughly to restore the creamy pudding texture, especially if it thickened as it chilled.
References
- Google Scholar Google Scholar
https://scholar.google.com/scholar?q=sugar+free+pudding+recipe - Google Scholar Google Scholar
https://scholar.google.com/scholar?q=stevia+gelatin+pudding+recipe - Google Scholar Google Scholar
https://scholar.google.com/scholar?q=non-nutritive+sweeteners+baking+stability - Pudding
https://en.wikipedia.org/wiki/Pudding - Sugar substitute
https://en.wikipedia.org/wiki/Sugar_substitute - Diabetes management: How lifestyle, daily routine affect blood sugar – Mayo Clinic
https://www.mayoclinic.org/diseases-conditions/diabetes/in-depth/sugar-substitutes/art-20047963 - https://www.niddk.nih.gov/health-information/diabetes/overview/preventing-problems/sugar-substitutes-diabetes
https://www.niddk.nih.gov/health-information/diabetes/overview/preventing-problems/sugar-substitutes-diabetes - Guideline: sugars intake for adults and children
https://www.who.int/publications/i/item/9789241549028 - https://www.cdc.gov/nutrition/data-statistics/added-sugars.html
https://www.cdc.gov/nutrition/data-statistics/added-sugars.html - https://pubmed.ncbi.nlm.nih.gov/?term=non-nutritive+sweeteners+glycemic+control
https://pubmed.ncbi.nlm.nih.gov/?term=non-nutritive+sweeteners+glycemic+control