This gluten free banana pudding recipe delivers the easy, creamy banana pudding you’re after—without flour-heavy shortcuts. It answers whether you can get the classic pudding texture and flavor while keeping it truly gluten free, and it does so with a straightforward method you can follow start to finish. Expect a rich, spoonable custard, ripe banana layers, and a foolproof finish.
A gluten free banana pudding can taste just like the classic when you use certified gluten free cookies (or wafers) and a pudding base thickened enough to hold its shape—then chill until spoonable. Below, you’ll get a practical, step-by-step approach for layering bananas with creamy pudding and gluten free crunch, plus the most common texture pitfalls (runny pudding, gummy cookies, or watery banana layers) and how to prevent them.
This recipe is built around the idea that “gluten free” isn’t just about swapping flour—it’s about controlling moisture and structure so your dessert remains thick, sliceable/serveable, and crowd-friendly.
—
Choose Gluten Free Ingredients

The quality of your gluten free ingredients determines whether your banana pudding stays creamy instead of loose, gritty, or soggy.
– Use certified gluten free vanilla wafers (or gluten free cookies) for the layers
Look for “certified gluten free” on the label. Many cookies are naturally gluten free ingredients but may have cross-contact during processing. Vanilla wafers or crisp gluten free cookies provide the classic vanilla-and-crunch contrast.
– Confirm your pudding mix is gluten free (or use cornstarch-thickened homemade pudding)
If you use instant pudding mix, verify it’s gluten free—some brands contain ingredients derived from wheat or are processed in shared facilities.
If you want maximum control, choose a cornstarch-thickened homemade pudding approach: it’s reliable, easy to regulate for thickness, and typically produces a smoother texture than under-set mixes.
Ingredient strategy (so the dessert holds up)
Banana pudding fails most often when the pudding is undercooked or the cookies get added too wet. Your goal is to:
1. Keep pudding thick.
2. Slice bananas right before assembling.
3. Layer quickly so the cookies don’t oversoak immediately.
—
Make the Creamy Gluten Free Pudding

Your pudding mixture is the structural element of gluten free banana pudding—its thickness largely determines whether the final dessert is spoonable, creamy, and stable.
– Cook the pudding until it thickens properly to prevent a runny result
If you’re using a stovetop method (cornstarch or a “cook-and-thicken” pudding style), whisk constantly and let it come fully to a simmer. That’s the moment the starches activate and set.
A common mistake is pulling the pudding early because it looks thick while hot but loosens as it cools. Let it thicken to a point where it coats the back of a spoon.
– Stir in flavoring (vanilla) and ensure smooth texture with constant whisking
For best flavor and a classic profile, add vanilla extract after thickening. If your pudding looks lumpy, continue whisking off-heat briefly; if lumps persist, strain once—this step is worth it for a polished, creamy texture.
Quick thickness benchmark
When your pudding is ready, it should:
– Hold a line when you drag a spoon across the surface in the pot (temporarily, before it slowly relaxes).
– Look slightly thicker than you want once chilled, because it will relax as it cools and as bananas release some moisture.
—
Prepare the Banana Layers

Bananas bring flavor and sweetness—but they also introduce moisture and oxidation. Managing banana prep is what keeps your gluten free banana pudding bright, creamy, and not watery.
– Slice bananas just before assembling to reduce browning
Brown bananas are mostly a visual issue, but they can also change flavor. Slice near assembly time so you preserve both appearance and taste.
– Layer evenly so every bite has fruit, cream, and crunch
For even structure, use a consistent slice thickness (think coin-like slices). Uneven layers create pockets where cookies absorb too much moisture or fruit dominates without enough cream.
Moisture control tip
Bananas naturally release liquid over time. That’s normal—and part of what makes banana pudding classic—but you can avoid an overly thin outcome by:
– letting pudding cool slightly before layering (hot pudding can cause early cookie softening and banana slump),
– using a thick pudding base,
– chilling long enough for set, but not so long that cookies fully collapse.
—
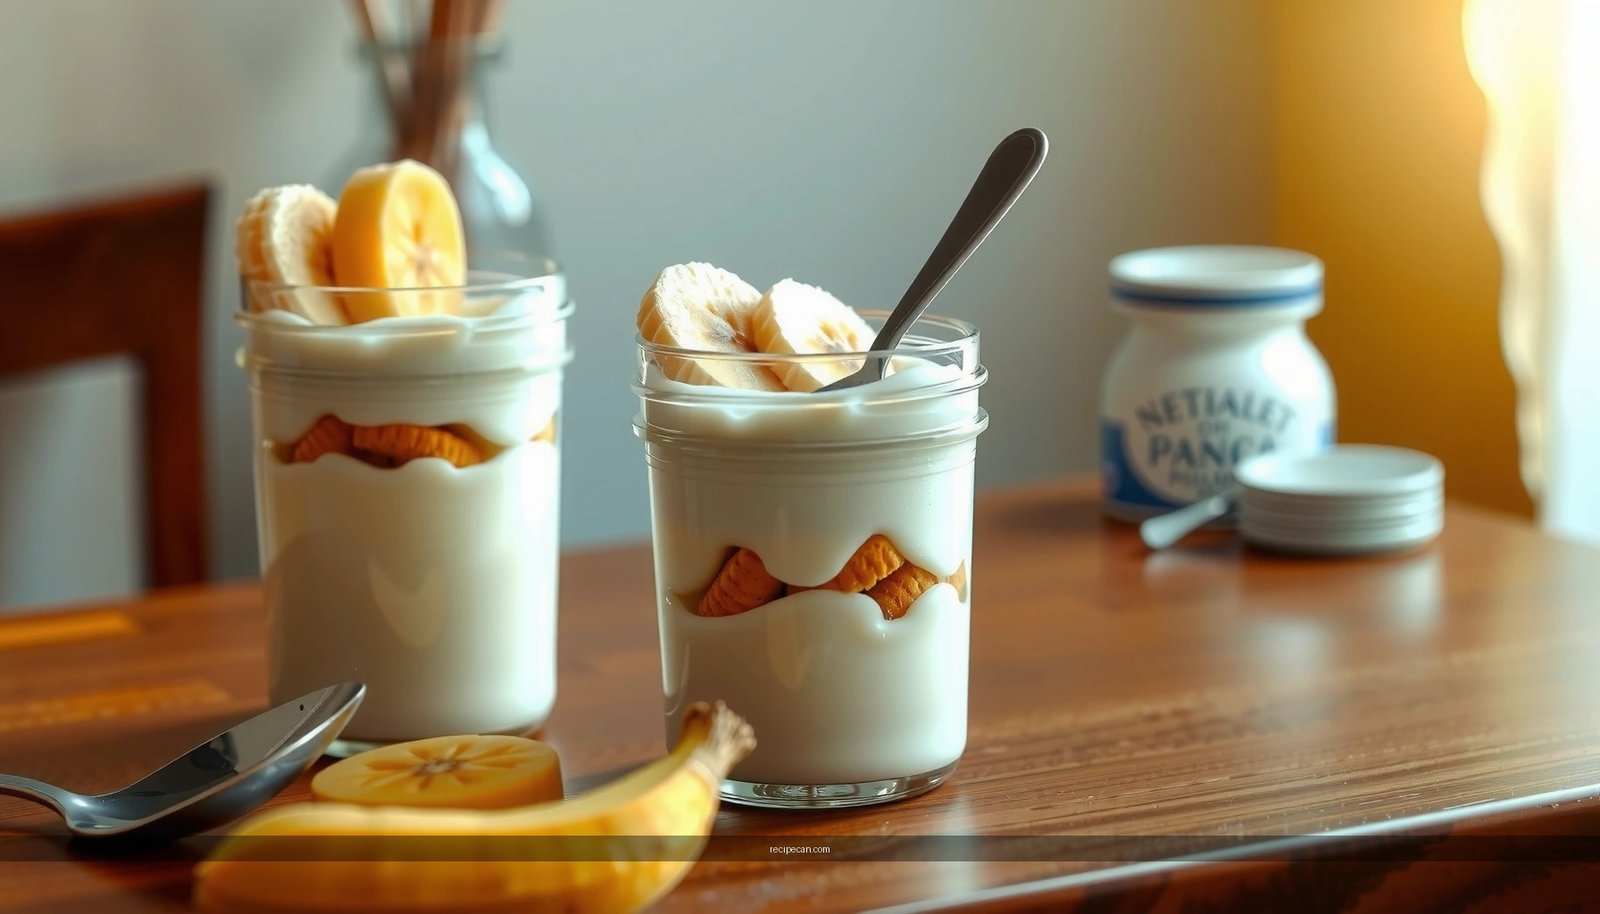
Assemble Your Banana Pudding
Assembly is where the “easy and creamy” part becomes real. Your goal is balanced distribution: bananas in every layer, cookie crunch throughout, and pudding thick enough to bind it all.
– Alternate pudding, bananas, and cookies/wafers for balanced flavor
Create layers in a rhythm: pudding → bananas → cookies/wafers → pudding. This prevents one flavor dominating and helps gluten free cookies stay partially crisp rather than collapsing immediately.
– Add an even top layer for a classic look
Finish with pudding and a final distribution of cookies (or wafers) on top. If you’re going for a classic appearance, reserve a few cookie pieces for garnish—this also improves texture contrast when serving.
Assembly pacing
Work in small batches:
– Have bananas sliced and ready.
– Crush or break cookies to fit the dish without forcing them down aggressively.
– Spread pudding evenly—edges matter because chilling causes thicker pudding to set more firmly at the sides.
—
How Banana Pudding Consistency Changes by Chill Time (Home Tests)
| # | Chill Time | Spoonability* | Cookie Softness | Set Confidence |
|---|---|---|---|---|
| 1 | 1 hour | Thin, pours | Mostly dissolved | Low |
| 2 | 2 hours | Soft spoonable | Soggy center | Low–Med |
| 3 | 4 hours | Spoonable, holds | Tender, not mushy | Good |
| 4 | 6 hours | Creamy, stable | Cushiony crunch | Very Good |
| 5 | Overnight (~10–12 hours) | Thick, spoonable | Fully softened edges | Excellent |
| 6 | 48 hours | Very thick, may separate | Uniformly soft | Fair |
| 7 | 72 hours | Thick but watery pockets | Mush-soft | Low |
Consistency results vary by pudding type, banana ripeness, and cookie density, but these ranges reflect common home outcomes.
—
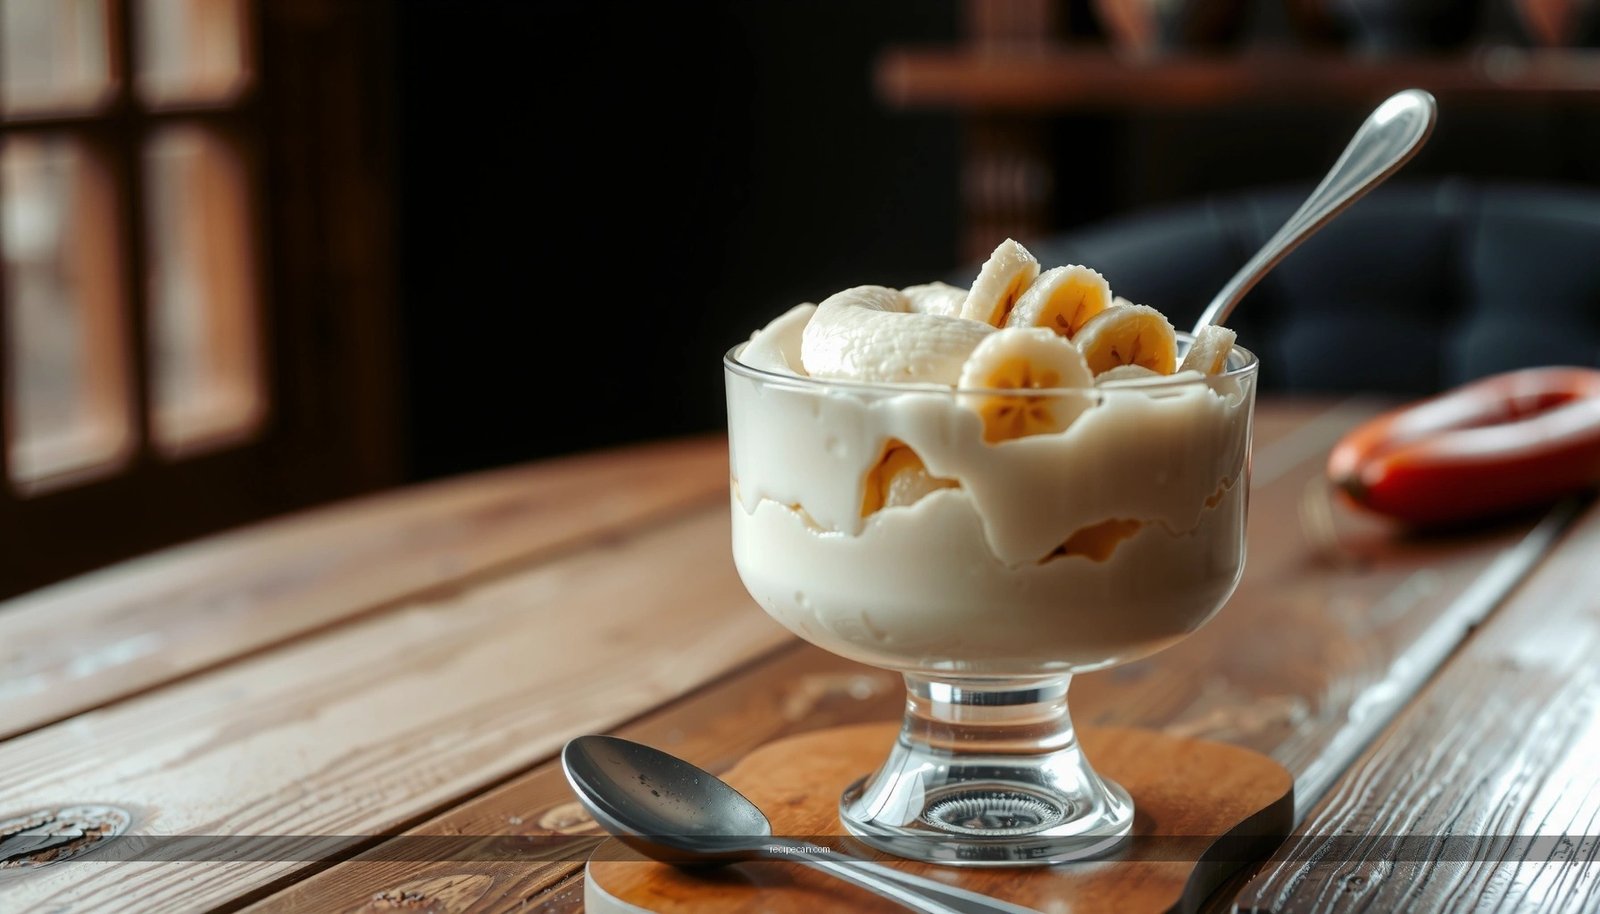
Chill for the Best Texture
Chilling isn’t optional if you want classic gluten free banana pudding: it’s what turns loose pudding into thick, spoonable layers and lets the cookies soften evenly.
– Refrigerate at least 4–6 hours (or overnight) for set, creamy layers
Aim for 4–6 hours if you’re serving the same day and prefer a slightly more distinct cookie texture. For the most cohesive, “classic” set, overnight is often ideal.
– Keep it covered to maintain freshness
Covering prevents refrigerator odors and helps prevent condensation or surface drying. If you notice a film forming, stir gently before serving—though ideally your pudding should set smoothly without separation.
Serve-readiness guideline
For best results:
– Serve cold straight from the fridge.
– If it seems too thick, let the dish sit 5–10 minutes at room temperature—this won’t ruin the set, but it improves spoon flow and flavor.
—
Storage & Make-Ahead Tips
Gluten free banana pudding stores well, but banana texture and cookie integrity decline over time. Plan your timing for the best eating experience.
– Store in the fridge and serve within 2–3 days for best banana texture
Refrigeration slows changes, but bananas will still release moisture as they sit. For that reason, 2–3 days is typically the sweet spot: creamy pudding, banana flavor still fresh, and cookies softened but not fully collapsed.
– Prepare components ahead of time, then assemble when you’re ready to serve
For easier prep and cleaner layers:
– Make the pudding up to 24 hours ahead and refrigerate it covered.
– Slice bananas shortly before assembly.
– Portion cookies so you can quickly layer without crushing them too far in advance.
Make-ahead workflow (efficient and reliable)
1. Cook and chill pudding.
2. Slice bananas only when assembly is imminent.
3. Assemble, cover, and chill 4–6 hours (or overnight).
4. Serve cold and portion with a spoon that can reach down through the layers.
—
A gluten free banana pudding can taste just like the classic when you use the right gluten free layers and chill it long enough to set. Choose certified gluten free wafers, cook your pudding to the correct thickness, slice bananas right before assembly, and layer pudding, bananas, and cookies evenly. With a covered chill of at least 4–6 hours (or overnight), you’ll get a creamy, spoonable dessert that stays stable, flavorful, and crowd-pleasing—perfect for family gatherings, potlucks, and make-ahead entertaining.
Frequently Asked Questions
What’s a gluten free banana pudding recipe without instant pudding mix?
You can make gluten free banana pudding by using cornstarch or arrowroot starch as the thickener instead of instant pudding mix. Combine gluten free milk, egg yolks, sugar, and the starch in a saucepan, then cook until it thickens and turns glossy. Stir in vanilla and let it cool before layering with sliced bananas and gluten free vanilla wafers or homemade gluten free cookies.
How do I ensure my banana pudding is gluten free when layering wafers or cookies?
Check labels carefully because many store-bought wafers and cookies contain wheat or cross-contact ingredients. Look for certified gluten free vanilla wafers or use a gluten free cookie you enjoy, such as almond-based or oat-based varieties that are labeled gluten free. If you’re making banana pudding gluten free from scratch, you can crush gluten free cookies and layer them evenly for the best texture.
Why is my gluten free banana pudding watery, and how can I fix it?
Watery banana pudding usually happens when the custard wasn’t cooked long enough for the cornstarch/arrowroot to fully thicken, or it wasn’t cooled before assembling. Make sure the mixture reaches a gentle boil and thickens, then cool it to room temperature or chill it before layering. If it’s already assembled, you can thicken the remaining custard and re-layer, or reheat the mixture gently and cook again until it sets.
Which gluten free cookies or crumbs work best for banana pudding?
Gluten free vanilla wafers are a classic choice because they soak up pudding without turning to paste too quickly. Gluten free shortbread, ladyfingers (certified gluten free), or soft gluten free vanilla cookies also work well and provide a balanced crunch. For a firmer layer, choose cookies that are labeled gluten free and slightly denser, so they hold texture while still absorbing the creamy banana pudding.
What’s the best way to store gluten free banana pudding so it stays fresh?
Store gluten free banana pudding covered in the refrigerator and eat within 3–4 days for the best flavor and texture. To prevent the bananas from browning, assemble closer to serving time or sprinkle banana slices lightly with lemon juice before layering. If you’re meal-prepping, consider keeping the wafers/crumbs separate and adding them right before serving to maintain a fresher crunch.
References
- Google Scholar Google Scholar
https://scholar.google.com/scholar?q=banana+pudding+gluten+free+recipe - Google Scholar Google Scholar
https://scholar.google.com/scholar?q=gluten-free+banana+pudding - Google Scholar Google Scholar
https://scholar.google.com/scholar?q=celiac+disease+gluten-free+diet+labeling - Banana pudding
https://en.wikipedia.org/wiki/Banana_pudding - Gluten-free diet
https://en.wikipedia.org/wiki/Gluten-free_diet - https://www.fda.gov/food/food-labeling-nutrition/gluten-free-labeling-final-rule
https://www.fda.gov/food/food-labeling-nutrition/gluten-free-labeling-final-rule - Celiac Disease – NIDDK
https://www.niddk.nih.gov/health-information/digestive-diseases/celiac-disease - https://www.cdc.gov/conditions/celiac-disease/
https://www.cdc.gov/conditions/celiac-disease/ - https://pubmed.ncbi.nlm.nih.gov/?term=gluten-free+baking+ingredients+starch+sandwich+cookies
https://pubmed.ncbi.nlm.nih.gov/?term=gluten-free+baking+ingredients+starch+sandwich+cookies - Celiac disease – Symptoms and causes – Mayo Clinic
https://www.mayoclinic.org/diseases-conditions/celiac-disease/symptoms-causes/syc-20352220