Looking for cool whip recipes with chocolate pudding that deliver an easy, crowd-pleasing dessert fast? These recipes are the clear winner when you want creamy, chocolatey results with minimal prep and no-bake convenience—perfect for weeknights and bake sales alike. You’ll get simple mix-and-layer instructions plus foolproof tips to keep the texture thick, smooth, and scoopable.
Cool Whip mixed with chocolate pudding creates fast, creamy desserts with minimal effort—ideal for last-minute gatherings. In the sections below, you’ll find multiple easy Cool Whip recipes using chocolate pudding, along with practical guidance to improve thickness, texture, and flavor so your no-bake sweets hold up when served.
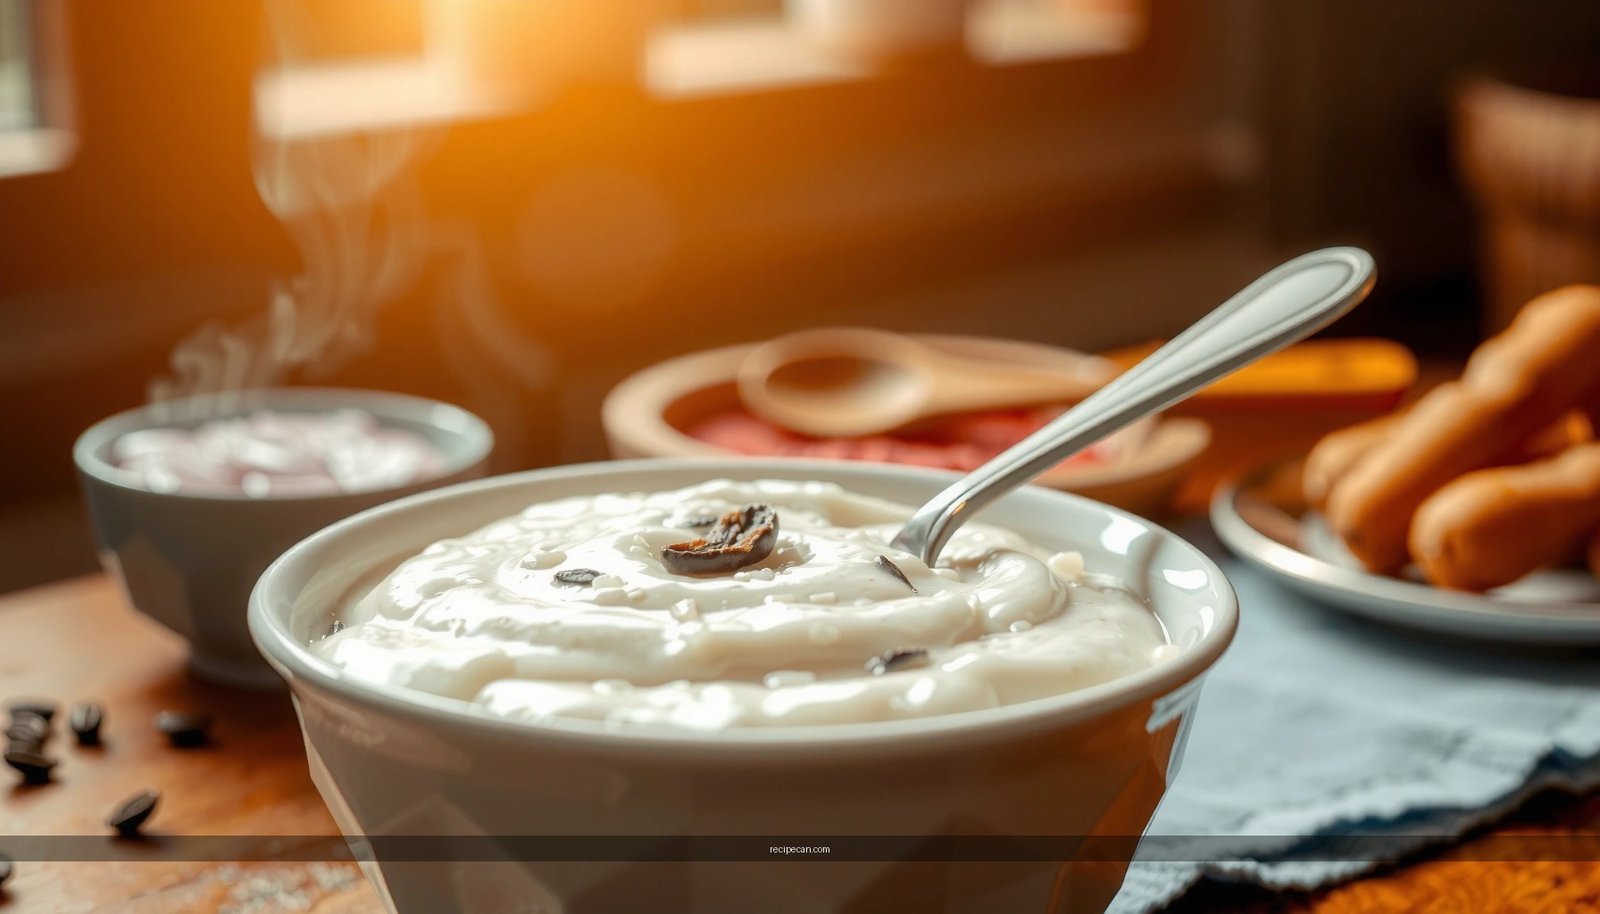
Classic Chocolate Pudding Cool Whip Bowl

– Mix chocolate pudding with Cool Whip for an instant creamy base
– Chill for at least 30 minutes for the best thick, spoonable texture
If you want the simplest “crowd-ready” dessert, start with the Classic Chocolate Pudding Cool Whip Bowl. This approach is essentially a ratio-based technique: chocolate pudding provides rich chocolate flavor and body, while Cool Whip adds aeration and a light, creamy finish. The result is a dessert that tastes like it took more effort than it did—and it’s extremely forgiving, which makes it reliable for hosting.
How to make it (and why it works):
1. Use cold ingredients. Chill your chocolate pudding (prepared and refrigerated) before combining with Cool Whip. Temperature matters because it helps the mixture set without becoming loose.
2. Stir gently, not vigorously. Fold Cool Whip into the pudding until the mixture is uniform. Overmixing can flatten the whipped texture and reduce the “spoonable” feel.
3. Chill to stabilize. Even if the pudding looks thick right away, chilling improves structure. Plan on at least 30 minutes—longer if you’re serving later in the day.
Texture and flavor improvements:
– For thicker results: Use instant chocolate pudding and allow the pudding to fully thicken before adding Cool Whip.
– For deeper chocolate flavor: Stir in 1–2 teaspoons of cocoa powder or a small splash of vanilla.
– For contrast: Fold in mini chocolate chips or a small handful of crushed wafer cookies for crunch.
Serving idea: Portion into small cups so each guest gets an even, neat serving. The bowl version is still elegant when you add a garnish like chocolate shavings or a cookie crumble on top.
Chocolate Pudding–Cool Whip Mix Options (Best Use Cases)
| # | Mix Choice | Best For Texture | Prep Speed | Recommended Chill Time |
|---|---|---|---|---|
| 1 | Instant Chocolate Pudding + Cool Whip | Very thick, spoonable | Fast (5–10 min) | 30–45 min |
| 2 | Cook-and-Set Chocolate Pudding + Cool Whip | Creamy, slightly firmer | Moderate (15–20 min) | 60–90 min |
| 3 | Light Cool Whip + Instant Chocolate Pudding | Softer, lighter bite | Fast (5–10 min) | 30 min |
| 4 | Extra Cool Whip (higher ratio) + Pudding | Airier, mousse-like | Fast (5–10 min) | 45 min |
| 5 | Instant Chocolate Pudding + Cool Whip + Cocoa | More intense chocolate flavor | Fast (5–12 min) | 30–45 min |
| 6 | Instant Chocolate Pudding + Cool Whip + Espresso (1–2 tsp) | Bold “bakery-style” chocolate | Fast (5–15 min) | 30–45 min |
| 7 | Cook-and-Set Pudding + Cool Whip + Crust Crumble | Best with layered structure | Moderate (20–30 min) | 90+ min |
No-Bake Chocolate Pudding Parfaits

– Layer Cool Whip and chocolate pudding with crushed cookies
– Repeat layers and top with extra Cool Whip for a finished look
No-bake Chocolate Pudding Parfaits turn a simple Cool Whip and pudding base into a visually polished dessert. Parfaits are one of the best “make-ahead” options because layers stay attractive and portion control is easy. For business-style event planning (meetings, office parties, or catering), parfait cups also reduce serving friction—no scooping and less mess.
Layering strategy that prevents sogginess:
– Crush cookies to a medium texture (not powder). Medium chunks keep crunch longer.
– Alternate with a slight seal layer: Add a small spoonful of pudding first, then cookies, then Cool Whip. This helps buffer moisture from the cookies.
– Top with Cool Whip last so the surface looks fresh and creamy.
Flavor variations that still stay “easy”:
– Chocolate + peanut: Add crushed peanut butter cups or peanut praline crumbs.
– Chocolate + mint: Mix a drop of mint extract into the pudding base and layer with chocolate cookie crumbs.
– Chocolate + caramel: Use caramel-flavored wafer cookies or drizzle a thin caramel line between layers.
Presentation tips:
– Use clear cups so the layers are visible.
– Garnish with a cookie half or chocolate curls just before serving if you want maximum texture contrast.
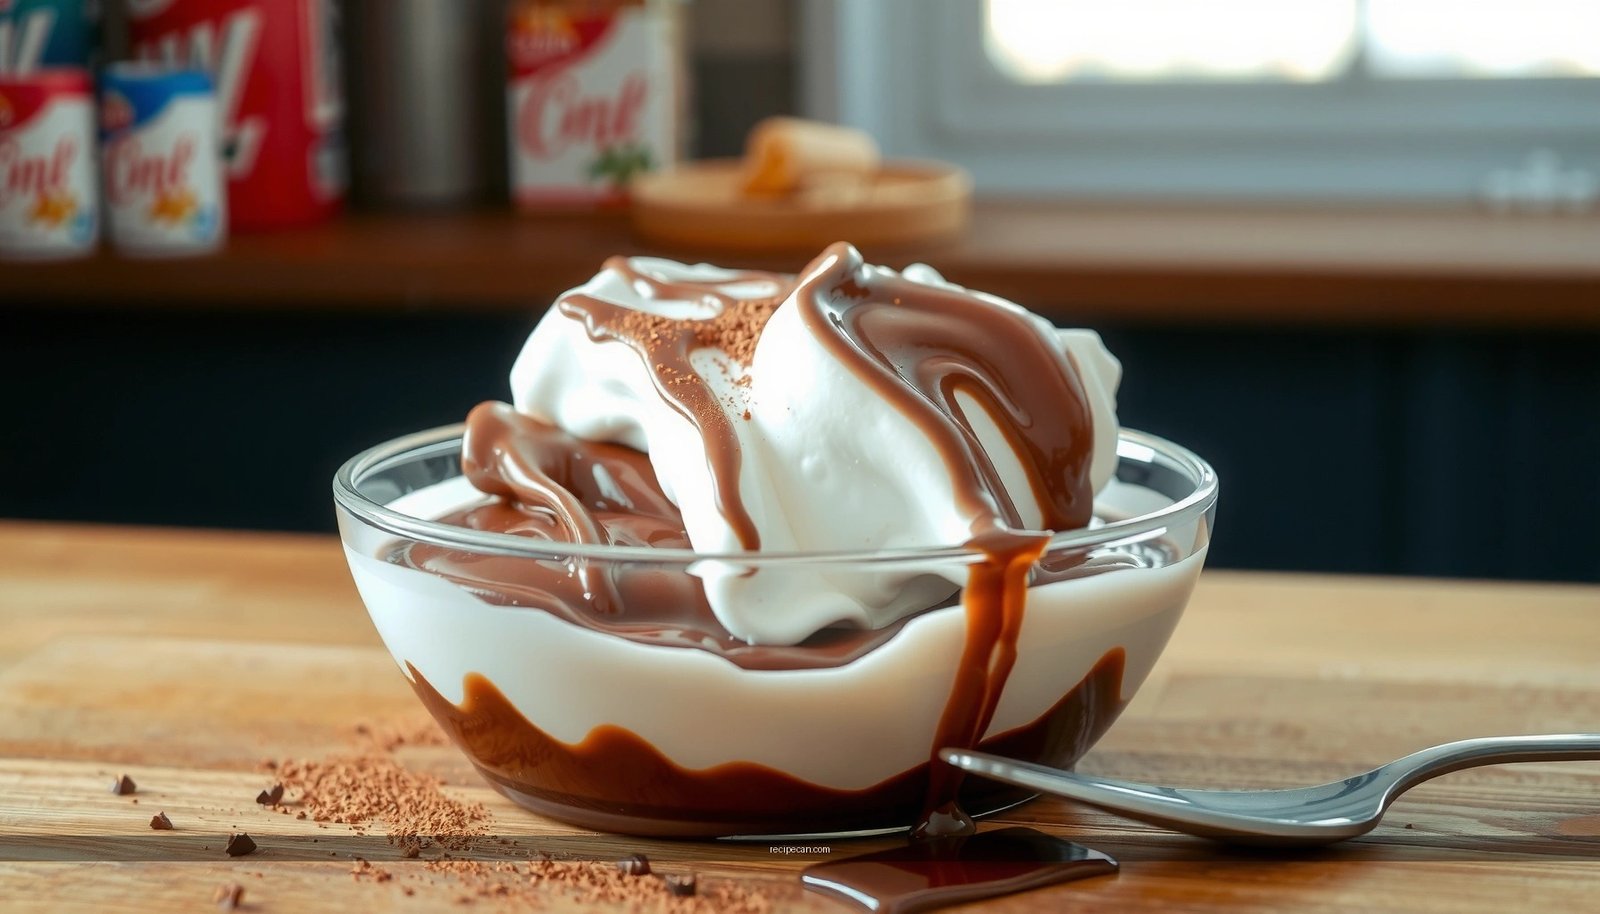
Chocolate Pudding Whip Dip (Great for Parties)

– Stir chocolate pudding into Cool Whip until smooth and fluffy
– Serve with cookies, brownies, or fruit for an easy crowd-pleaser
A Chocolate Pudding Whip Dip is what you make when you need “hands-on” dessert. It’s interactive, fast, and scales well for parties because you can prepare it ahead and keep it chilled until serving. The dip format also offers flexibility: guests can choose cookie dunking, brownie scooping, or fruit pairings.
Make it smooth (and keep it from getting runny):
– Ensure the chocolate pudding is fully set and cooled before combining.
– Stir only until smooth—then stop. If you keep whisking, you can over-aerate or loosen the mixture depending on pudding type.
Recommended dippers:
– Cookies: chocolate sandwich cookies, shortbread, or chocolate wafers
– Brownies: bite-size squares for scoopable texture
– Fruit: strawberries (great contrast), raspberries, or banana slices
Smart add-ins for flavor depth:
– Pinch of salt: intensifies chocolate flavor
– Vanilla: rounds out bitterness
– Mini chocolate chips: add “dipper bite” without complicating prep
Consider labeling the dip by flavor (e.g., “Chocolate Mint Whip Dip”) if you’re serving multiple desserts. It’s a simple hospitality tactic that reduces questions and improves perceived organization.
Oreo Cookie Cool Whip Pudding Cups
– Alternate Cool Whip and chocolate pudding with Oreo crumbs in cups
– Add a final cookie layer on top before serving
Oreo Cookie Cool Whip Pudding Cups deliver the classic Cookies-and-Cream profile, but with the stable texture that comes from chocolate pudding and Cool Whip. Cup desserts are ideal for portioning at events, and the cookie topping creates an easy “finishing moment” right before serving.
Step-by-step assembly:
1. Base layer: Add a thin layer of chocolate pudding to each cup.
2. Oreo crumb layer: Sprinkle Oreo crumbs evenly. Use a light hand so crumbs don’t sink or overwhelm.
3. Cool Whip layer: Add a thick dollop of Cool Whip to keep the texture airy.
4. Repeat: Continue layering for 2–3 total cycles depending on cup size.
5. Top with Oreo crumbs: Finish with a visible crumb cap for crunch.
Texture control:
– If you want maximum crunch, add the top Oreo layer right before serving.
– For a softer bite, mix a small portion of crumbs into the Cool Whip layer so the crunch distributes more evenly.
Quick upgrades:
– Vanilla bean sugar or a small amount of vanilla extract in the pudding can make the cookies taste “creamier.”
– Add a white chocolate drizzle if you’re aiming for a “bakery style” look while still using minimal ingredients.
Banana Chocolate Pudding Cool Whip Dessert
– Layer sliced bananas with chocolate pudding and Cool Whip
– Keep it chilled to prevent the bananas from getting watery
Banana is a high-impact ingredient in chocolate pudding desserts, but it requires handling discipline. The reason is simple: bananas release moisture over time, which can loosen layered textures and cause pooling. When done correctly, this dessert tastes like a banana cream pie in simplified, no-bake form.
How to prevent watery layers:
– Slice bananas close to assembly time.
– Toss banana slices with a small squeeze of lemon juice (optional but effective). Acid can slow browning and slightly reduce texture breakdown.
– Assemble and refrigerate promptly—don’t leave the bananas at room temperature.
Layering formula that holds:
– Bottom pudding layer (acts as a moisture buffer)
– Banana layer (thin and even)
– Cool Whip layer (creates a creamy “seal”)
– Repeat if cup height allows
Best serving window:
For banana-based desserts, aim to serve within 24 hours for the cleanest texture and freshest fruit flavor.
Flavor variations:
– Add toasted walnuts or crushed graham crackers for a pie-like effect.
– Sprinkle cinnamon over bananas for warmth that complements chocolate.
Storage and Make-Ahead Tips
– Refrigerate covered and enjoy within 2–3 days for best texture
– For thicker results, use instant chocolate pudding and mix gently
Storage is where many easy desserts succeed or fail. Cool Whip + chocolate pudding mixtures are sensitive to temperature and overmixing, so following basic make-ahead discipline will preserve thickness and prevent separation.
Refrigeration guidelines:
– Store in the refrigerator covered to prevent condensation or fridge odors from affecting flavor.
– Most versions taste best within 2–3 days. After that, texture can become slightly looser as the pudding continues to settle.
Make-ahead best practices:
– Assemble ahead, top garnish later. For parfaits and cups, hold back crunchy toppings (cookies, crumbs) until closer to serving time.
– Mix gently before portioning. Folding rather than aggressive stirring maintains the whipped structure.
– Use instant pudding for stability. Instant chocolate pudding generally provides quicker thickening and a firmer base for maintaining layers.
Freezing note (important):
Freezing can change the texture of whipped desserts. If you need longer storage, refrigerate first and plan for consumption soon after. For best results, treat these as “refrigerator desserts,” not frozen ones.
Troubleshooting (quick fixes):
– If it’s too loose: Chill longer (often 30–60 minutes) before serving. Also check whether you used cook-and-set pudding that wasn’t fully thickened.
– If it looks grainy or separated: You likely overmixed, or the pudding wasn’t cooled properly. For immediate salvage, gently fold in a fresh spoonful of Cool Whip and re-chill.
Cool Whip recipes with chocolate pudding are fast, crowd-friendly, and endlessly customizable—start with a classic bowl for reliability, then expand into parfait cups or a pudding whip dip when you need variety and serving flexibility. Pick one recipe to make today, and be sure to chill before serving to achieve the creamiest, most spoonable results.
Frequently Asked Questions
What are the easiest Cool Whip recipes with chocolate pudding?
One of the easiest options is a simple chocolate pudding and Cool Whip dessert made by folding Cool Whip into prepared chocolate instant pudding until smooth. You can then layer it in a bowl with crushed chocolate cookies or graham crackers for a no-bake “trifle-style” treat. For an even simpler version, mix chocolate pudding directly into Cool Whip and chill for 30–60 minutes to firm up.
How do you prevent Cool Whip and chocolate pudding from becoming runny?
Runiness usually happens when the chocolate pudding is too warm or not set properly before mixing with Cool Whip. Let instant chocolate pudding thicken in the refrigerator fully, then fold gently into softened Cool Whip rather than stirring aggressively. If your mixture still feels loose, chill the dessert longer (often 2–4 hours) or slightly reduce any added milk/cream from the recipe.
Why do some chocolate pudding Cool Whip desserts taste bland, and how can you fix it?
Chocolate pudding can taste flat if it’s not enhanced with something aromatic like vanilla, espresso powder, or a pinch of salt. A small amount of vanilla extract or 1/4–1/2 teaspoon of instant espresso can deepen the chocolate flavor without overpowering it. You can also add mix-ins such as chocolate chips, crushed Oreos, or cocoa powder to boost richness and texture.
Which mix-ins and toppings work best for Cool Whip with chocolate pudding?
Popular add-ins include crushed chocolate cookies, Oreo pieces, brownies bites, chocolate chips, and chopped peanut butter cups for contrast. Toppings like whipped chocolate shavings, extra cocoa powder, sprinkles, or a drizzle of chocolate syrup make it look “party-ready.” For a more balanced dessert, consider adding a thin layer of caramel, chopped nuts, or a sprinkle of sea salt over the top.
What’s the best way to layer Cool Whip and chocolate pudding for a no-bake trifle?
Start with a base layer of crushed cookies or cake, then add a thick layer of chocolate pudding mixed with Cool Whip. Repeat the layers, ending with Cool Whip on top for the best presentation. Chill the trifle for at least 2 hours so the layers set, slice cleanly, and the chocolate pudding flavor fully melds.
References
- Google Scholar Google Scholar
https://scholar.google.com/scholar?q=cool+whip+chocolate+pudding+recipe - Google Scholar Google Scholar
https://scholar.google.com/scholar?q=whipped+topping+instant+pudding+dessert+recipe - Google Scholar Google Scholar
https://scholar.google.com/scholar?q=cool+whip+ingredient+stabilizers+whipped+topping+emulsion - Cool Whip
https://en.wikipedia.org/wiki/Cool_Whip - Pudding
https://en.wikipedia.org/wiki/Pudding - Whipped cream
https://en.wikipedia.org/wiki/Whipped_cream - Chocolate
https://en.wikipedia.org/wiki/Chocolate - Pudding | Definition, Types, & Ingredients | Britannica
https://www.britannica.com/topic/pudding - https://www.cdc.gov/foodsafety/food-safety-basics/food-safety-basics.html
https://www.cdc.gov/foodsafety/food-safety-basics/food-safety-basics.html - https://www.fsis.usda.gov/food-safety/safe-food-handling-and-preparation/food-safety-basics/refrigeration-and-food-storage
https://www.fsis.usda.gov/food-safety/safe-food-handling-and-preparation/food-safety-basics/refrigeration-and-food-storage