Looking for the best banana pudding lush recipe that’s actually creamy, dreamy, and easy? This recipe delivers the clear winner: lush layers of ripe bananas, sweet pudding, and a whipped topping that sets up beautifully without complicated steps. If you want a no-stress dessert that tastes like classic banana pudding—but with a richer, more “lush” finish—this is the one.
This banana pudding lush recipe delivers thick, spoonable pudding with soft vanilla wafers and ripe banana layers—without complicated techniques. You’ll get the exact layering order and practical thickness tips so your dessert stays rich, stable, and impressively “lush” every time, from family dinners to potlucks.
A “lush” banana pudding isn’t just sweet—it’s structural. It balances three things: (1) a pudding base that sets thickly, (2) wafers that soften evenly (not gummy or crunchy), and (3) a creamy topper (whipped topping or whipped cream) that adds volume without collapsing. The method below focuses on consistency and timing, because banana pudding quality is won or lost during chilling and texture development, not at the stove.
Lush Banana Pudding Ingredients

– Gather ripe bananas, vanilla wafers, pudding mix (or homemade pudding), and milk
– Choose bananas that are yellow with brown freckles—sweet, aromatic, and soft enough to layer cleanly.
– Use whole milk for the richest mouthfeel, or adjust to the pudding mix’s instructions for best results.
– Add whipped topping or whipped cream for that “lush” texture
– Whipped topping creates a stable, airy finish that holds shape during serving.
– Whipped cream adds a fresher flavor, but it’s best used soon after whipping for maximum stability.
– Include optional ingredients like vanilla extract or butter cookies for extra depth
– A small amount of vanilla extract boosts the pudding flavor.
– Butter cookies (in addition to or instead of wafers) can increase “crunch-to-cream” contrast—great if you like a denser wafer-like bite.
To streamline planning, here’s a practical ingredient-to-use guide for a typical 9×13-inch dish (serves about 12–16).
Banana Pudding Lush: Ingredient Benchmarks (9×13 Dish)
| # | Component | Typical Amount | Why It Matters | Impact Score |
|---|---|---|---|---|
| 1 | Vanilla wafers | 4 cups (about 80–90 wafers) | Soften to a creamy, spoon-friendly bite | ★ 4.8 |
| 2 | Bananas | 3–4 large | Sweet fruit layers with natural thickness | ★ 4.7 |
| 3 | Pudding mix | 2 (3.4-oz) boxes | Forms the signature thick, creamy body | ★ 4.9 |
| 4 | Milk (cold) | 3.5–4 cups (per package) | Cold base yields fewer lumps and better set | ★ 4.6 |
| 5 | Whipped topping | 8 oz (about 2 cups) | Adds lush lift and a smooth top layer | ★ 4.5 |
| 6 | Vanilla extract (optional) | 1 tsp | Deepens custard flavor for a bakery feel | ★ 4.2 |
| 7 | Lemon juice (optional) | 1–2 tsp per sliced bananas | Slows browning for fresher-looking layers | ★ 4.3 |
Step-by-Step Banana Pudding Lush Method

This method is designed for an even flavor distribution and a spoonable texture—so every bite has bananas, wafers, and custard rather than clustering.
– Layer wafers, bananas, and pudding in a dish for even flavor in every bite
1. Spread a thin base of pudding in the bottom of your dish to “glue” the first wafer layer.
2. Add a single layer of vanilla wafers (break some as needed to fit).
3. Add a layer of sliced bananas (aim for consistent thickness).
4. Spoon pudding over the fruit and spread gently to reach the edges.
– Repeat layers until the dish is full, then smooth the top layer
Keep repeating wafers → bananas → pudding. For a classic lush look, finish with pudding on top, then cover with your whipped topping.
– Refrigerate to let the wafers soften and the pudding set
This is where the magic happens. The wafers absorb moisture from the pudding and turn creamy rather than crunchy. Chilling also stabilizes the custard so the dessert holds its shape when served.
Pro tip: If your pudding thickens quickly while you’re assembling, don’t panic—just stir to restore smoothness before continuing layering. Lush banana pudding should feel thick like soft frosting, not pourable soup.
Best Pudding Texture & Thickness Tips

If you want banana pudding lush that stays thick and spoonable, focus on pudding prep technique and how you fold in airy components.
– Use cold milk and follow the pudding directions closely for thick results
Many pudding mixes specify specific milk amounts for proper setting. Using less milk can cause an overly dense pudding; using more can leave it loose. Cold milk also reduces lump risk when whisking.
– Stir thoroughly to remove lumps before assembling
Lumps ruin the smooth “lush” mouthfeel. Whisk until the pudding is uniform, and if you see any pockets, keep stirring before you layer.
– Add whipped topping gently so the pudding stays airy but stable
Whipped topping is best added as a final layer (or folded lightly only if your recipe calls for it). Aggressive mixing can deflate volume. Instead:
– Spread it on top like a soft blanket.
– Keep your motions slow and confident.
Texture check: After chilling, you should be able to scoop a spoonful that holds together for a few seconds, then melts pleasantly. That balance is the hallmark of lush banana pudding.
Layering for the Perfect “Lush” Look
A lush dessert is as much about presentation as it is about taste. The layering strategy affects both structure and softness.
– Keep banana slices uniform so each layer holds up
Thin slices can disappear; thick slices can create uneven pockets. Cut bananas consistently (about 1/4-inch slices) so the layers compress evenly during chilling.
– Use a generous pudding layer between wafers for a creamy bite
Think of pudding as the “connector.” If you skimp between wafers, the dish can develop dry seams and uneven wafer softening.
– Press layers lightly to prevent gaps without crushing wafers
Light pressure helps eliminate air pockets that can later become watery layers. Don’t mash—just settle the layers so they contact fully.
For a cleaner finish, smooth the top pudding layer before adding whipped topping. Even a simple garnish—extra wafer crumbs and banana slices—makes the dessert look bakery-grade.
Chilling, Serving, and Storage
Chilling isn’t optional for banana pudding lush—it’s the final step that transforms the texture.
– Chill at least 4 hours (overnight is best) for optimal wafer softness
Four hours is usually the minimum for spoonable results. Overnight gives the wafers more time to soften fully while the pudding sets to a stable sliceable scoop.
– Serve cold and keep covered to avoid condensation
Cover the dish loosely with plastic wrap or use a lid. Condensation can add extra moisture to the top layer, dulling that lush, thick look.
– Store leftovers refrigerated and enjoy within 2–3 days
Banana pudding is best within a short window because wafers continue to soften over time. After day three, texture can shift from lush and creamy to overly soft.
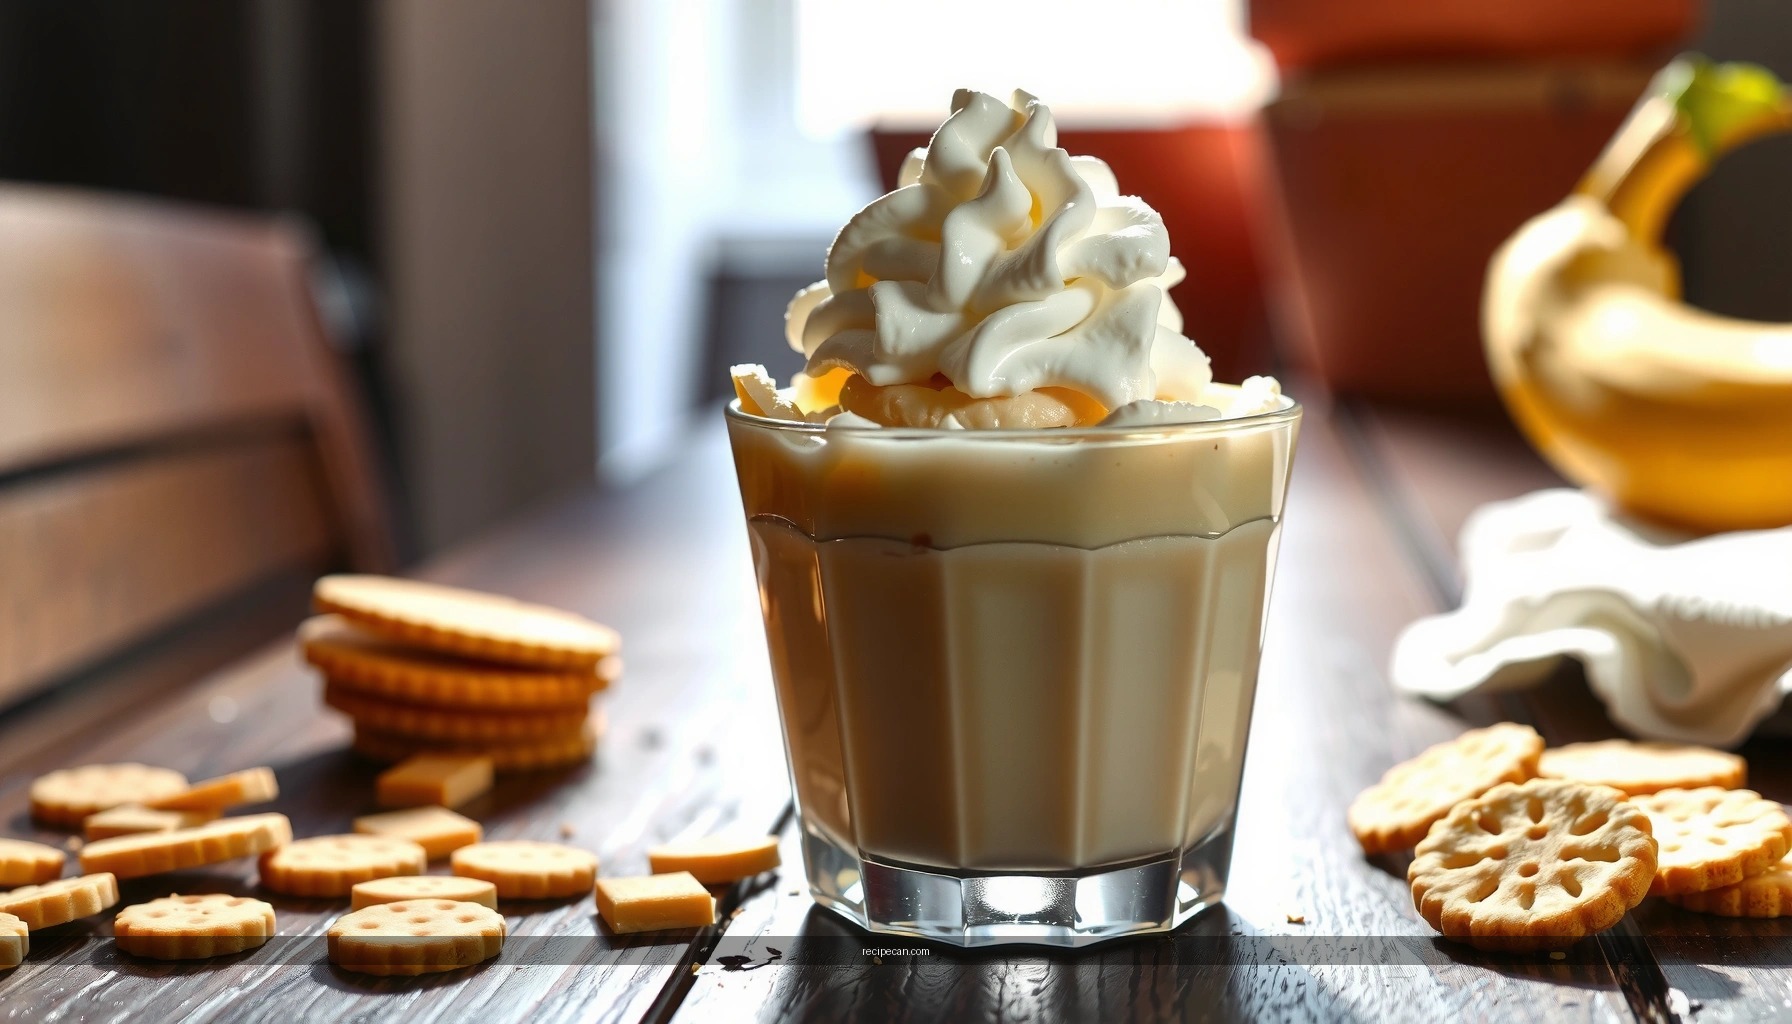
Serving suggestion: For events, portion into individual cups for better consistency and easier handling. Each cup naturally captures the layering contrast and avoids last-minute wafer disturbance.
Variations to Customize Your Banana Pudding Lush
Once you master the baseline, banana pudding lush becomes highly customizable while still staying thick, creamy, and spoonable.
– Swap vanilla wafers for vanilla cookies or shortbread for a different crunch
– Vanilla cookies soften quickly for a smoother mouthfeel.
– Shortbread adds a more buttery bite that holds texture slightly longer.
– Add a drizzle of caramel or cinnamon for warm flavor
A thin caramel drizzle between layers can create flavor pockets—sweet, aromatic, and deeply comforting. Cinnamon pairs especially well with bananas and vanilla custard.
– Use homemade whipped cream if you want a more classic, fresher taste
Homemade whipped cream offers a lighter dairy flavor. To keep it stable:
– Whip to medium peaks (not soupy).
– Add a bit to the top layer only, or fold gently to avoid deflation.
You can also adjust banana intensity by mixing in crushed banana (for stronger fruit flavor) alongside sliced bananas (for texture and structure). That combination gives both aroma and dimensionality.
This banana pudding lush recipe is all about thick pudding, real banana layers, and the right chill time to make every spoonful creamy. Make it once following the layering steps, then customize with your favorite cookies or add-ins—try it for your next family dinner, potluck, or weekend treat.
A consistently lush banana pudding comes down to three controllable factors: thick pudding that sets properly, evenly layered wafers and bananas, and enough refrigeration time for the wafers to soften without losing structure. Follow the exact layering order, whisk until smooth, assemble with gentle pressure, and chill until ready to serve—then you’ll get a dessert that’s rich, creamy, and reliably spoonable, every single time.
Frequently Asked Questions
What makes a “banana pudding lush” recipe different from classic banana pudding?
A banana pudding lush recipe typically uses a richer, more dessert-forward base—often with whipped topping or a thicker pudding mixture—so the layers feel extra creamy and indulgent. Many lush versions also include a higher cookie-to-cream ratio and an additional layer component (like whipped cream or vanilla pudding) that boosts texture. The result is a banana pudding that’s not just creamy, but also more “layered” and lush in every bite.
How do you make a banana pudding lush recipe without lumps in the pudding?
To prevent lumps, whisk the pudding mix thoroughly with cold milk first (or follow your package directions carefully) before heating or cooking. If the recipe calls for cooking pudding, keep the heat medium and stir constantly until thick, then remove from heat right away to avoid scorching. After cooking, press a piece of plastic wrap directly onto the pudding surface while it cools to stop a skin from forming and keep the texture smooth for your banana pudding lush.
Why is chilling time important for the best banana pudding lush texture?
Chilling helps the cookies (like vanilla wafers) soften and absorb moisture, which is essential for that lush, creamy-layered texture people expect from banana pudding lush recipes. If you serve it too soon, the cookies can stay crunchy instead of becoming cake-like and cohesive with the banana pudding. For best results, refrigerate for several hours—often overnight—so each layer sets properly.
Which cookies and bananas work best in a lush banana pudding recipe?
Most banana pudding lush recipes use vanilla wafers because they break down into a creamy layer while still holding some structure. Choose bananas that are ripe but not mushy—yellow with a few brown speckles—so they slice cleanly and don’t disappear into the pudding. If you want extra freshness and flavor, lightly toss banana slices with a squeeze of lemon to help slow browning before layering.
What’s the best way to layer a banana pudding lush for clean slices and presentation?
Start with a thin layer of vanilla pudding at the bottom, then add a layer of cookies, followed by banana slices, and then more pudding—repeat until you reach the top. Spread whipped topping or an airy layer gently on top so it doesn’t disturb the cookie layers underneath. For cleaner slices, cool and chill the assembled banana pudding lush long enough to set, and serve with a sharp spoon or knife to preserve the distinct layers.
References
- Banana pudding
https://en.wikipedia.org/wiki/Banana_pudding - Custard
https://en.wikipedia.org/wiki/Custard - Trifle
https://en.wikipedia.org/wiki/Trifle - Pudding
https://en.wikipedia.org/wiki/Pudding - Thickening agent
https://en.wikipedia.org/wiki/Thickener - https://www.cdc.gov/foodsafety/food-handling.html
https://www.cdc.gov/foodsafety/food-handling.html - https://www.fsis.usda.gov/food-safety/safe-food-handling-and-preparation/keeping-food-safe-during-cooking-and-storage
https://www.fsis.usda.gov/food-safety/safe-food-handling-and-preparation/keeping-food-safe-during-cooking-and-storage - Google Scholar Google Scholar
https://scholar.google.com/scholar?q=banana+pudding+recipe - Google Scholar Google Scholar
https://scholar.google.com/scholar?q=banana+pudding+custard+starch+thickening - Google Scholar Google Scholar
https://scholar.google.com/scholar?q=banana+pudding+dessert+food+safety+refrigeration