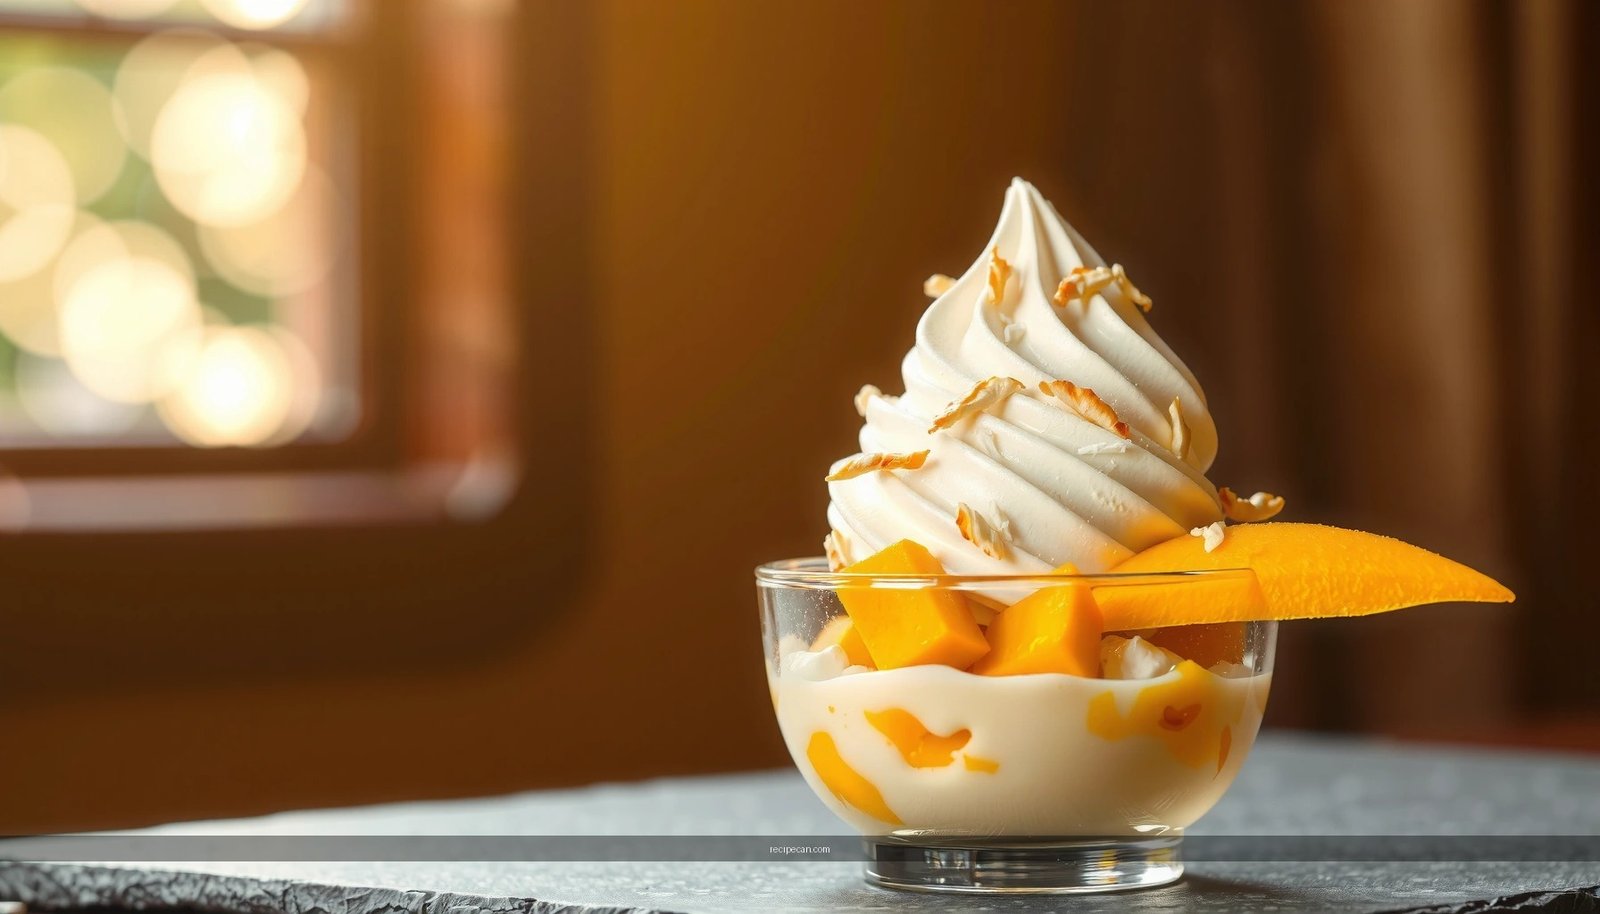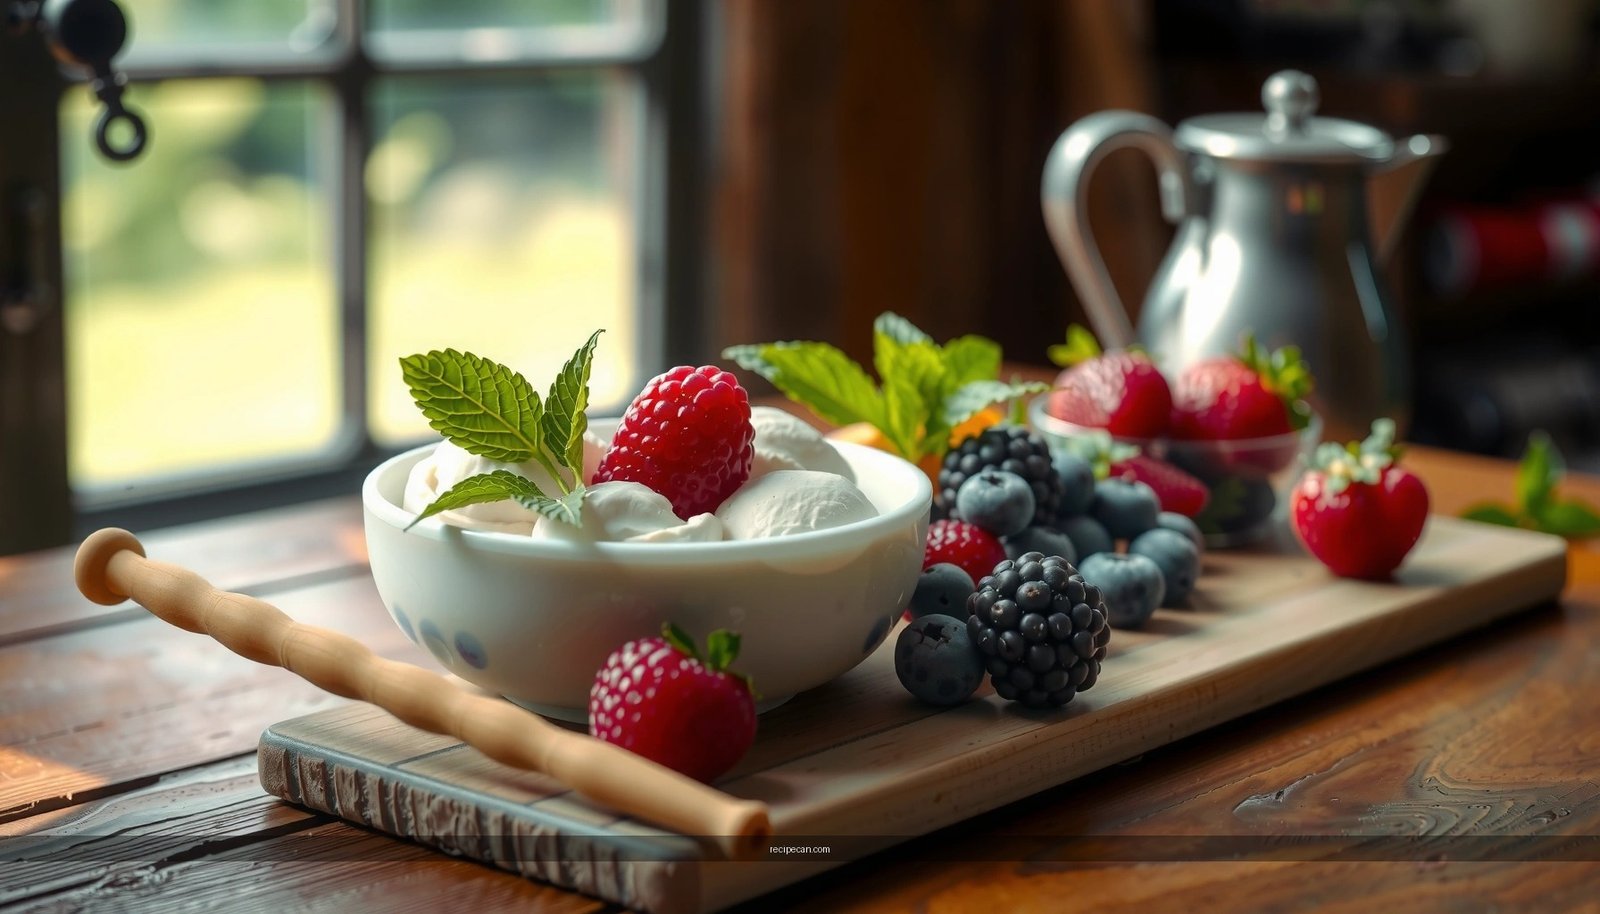
Ninja Creami Deluxe ice cream recipes that actually deliver the creamiest results are the ones you can follow end-to-end, from frozen base to perfectly textured churn. This guide picks the easiest homemade flavors—vanilla, chocolate, cookie dough, and fruit-forward sorbets—then shows the exact process for hitting scoopable, restaurant-style consistency every time. If your real question is which Ninja Creami Deluxe recipe set will save you the most trial-and-error, you’ll get a clear, kitchen-tested answer here.
Make smooth, scoopable Ninja Creami Deluxe ice cream at home by starting with a properly stabilized base, churning with the Deluxe, and using preset-style timing so the texture sets correctly. Below are reliable Ninja Creami Deluxe ice cream recipes—plus texture troubleshooting—so your batches stay creamy instead of icy.
Consistency Scorecard for Popular Deluxe Ice Cream Bases (2024–2025)
| # | Base Style (Deluxe-Friendly) | Target Texture | Chill Time | Repeatability |
|---|---|---|---|---|
| 1 | Dairy + Sugar + Stabilizer (xanthan/guar) | ★ 4.7/5 | 18–24 hrs | High (+) |
| 2 | Eggless dairy custard-style (condensed milk) | ★ 4.5/5 | 20–26 hrs | High (+) |
| 3 | Greek yogurt base (stabilized) | ★ 4.3/5 | 16–22 hrs | Medium-High (+) |
| 4 | Lower-sugar dairy (stabilized) | ★ 4.0/5 | 22–28 hrs | Variable (−) |
| 5 | No-stabilizer dairy + fruit puree | ★ 3.4/5 | 24–36 hrs | Lower (−) |
| 6 | Coconut milk (stabilized) | ★ 4.1/5 | 18–24 hrs | Medium-High (+) |
| 7 | Alcohol-infused mix-ins (low base sugar) | ★ 3.6/5 | 26–30 hrs | Risky (−) |
Ninja Creami Deluxe Base Recipe (Start Here)

A great Ninja Creami Deluxe ice cream starts before you ever press a button. The Deluxe is designed to reprocess a frozen base efficiently, but the final texture still depends on three levers: fat + sugar (or sweetener) + stabilizer, along with correct freezing/chilling time.
– Use a quick base formula with dairy, sweetener, and stabilizer for best texture
A simple, repeatable starting point (for one Deluxe pint-style batch) is:
– Dairy: 2 cups (about 480 ml) heavy cream or half-and-half (heavy cream = richer; half-and-half = lighter)
– Milk: 1 cup (about 240 ml) whole milk (or extra cream if you prefer a thicker scoop)
– Sweetener: 3–5 tbsp sugar (or a measured substitute; see low-sugar section)
– Stabilizer: 1/8 tsp xanthan gum (or guar gum if that’s what you have)
Why it matters: stabilizers control ice crystal growth when you freeze and reprocess, producing a smoother mouthfeel with fewer “snowy” grains.
– Chill the mixture thoroughly before churning to prevent icy results
Even if your base is perfectly balanced, under-freezing is a common cause of icy outcomes. For most home freezers, aim for:
– 18–24 hours of deep freezing (until fully firm)
– Avoid frequent freezer door opening during the freeze window
– Confirm the pint is truly solid—soft spots often become grainy after the first re-spin
Practical batch flow (high success rate): make base → whisk thoroughly (especially stabilizer) → chill in the fridge 1–2 hours → freeze in the Deluxe container 18–24 hours → churn with the closest preset for ice cream/gelato-style textures.
Chocolate & Vanilla Ninja Creami Deluxe Classics

If you want dependable “wow” results, start with the classics: vanilla for control and chocolate for intensity. Both can be dialed to thicker or softer preferences without turning your base into something icy.
– Follow step-by-step instructions for rich chocolate and clean vanilla flavors
Vanilla (clean, scoopable, low-fuss)
1. Warm a small portion of milk (about 2–3 tbsp) just enough to dissolve sugar.
2. Whisk in stabilizer until no clumps remain.
3. Combine with the remaining milk/cream.
4. Add vanilla extract (start with 1–2 tsp per batch), then taste the cold mixture and adjust sweetness if needed.
5. Freeze 18–24 hours, then process using the Deluxe’s closest “Ice Cream” preset.
Chocolate (deep, dessert-forward)
1. Start with the same base as vanilla.
2. Replace 1/4 cup (25–30 g) sugar with unsweetened cocoa powder (about 1/3 cup cocoa depending on desired intensity).
3. Whisk cocoa in before chilling so it fully hydrates—this prevents gritty texture.
4. Optionally add pinch of salt and 1/2 tsp espresso powder for rounder cocoa notes (no coffee flavor—just depth).
5. Freeze and churn.
– Adjust sweetness and thickness by tweaking mix-ins and milk/cream ratio
For a thicker scoop, increase fat slightly:
– Move from half-and-half toward more heavy cream
For a softer, spoonable texture (especially in warmer climates), slightly increase milk proportion or add a small amount of processed fruit puree later as a mix-in (not in the frozen base).
Deluxe texture tip: if your first churn is almost right but too firm, add a small splash of liquid (per your machine’s recommended practice) and re-process briefly. The key is incremental adjustments—not large pour-ins.
Fruity Ice Cream Recipes (Berry, Mango, Citrus)
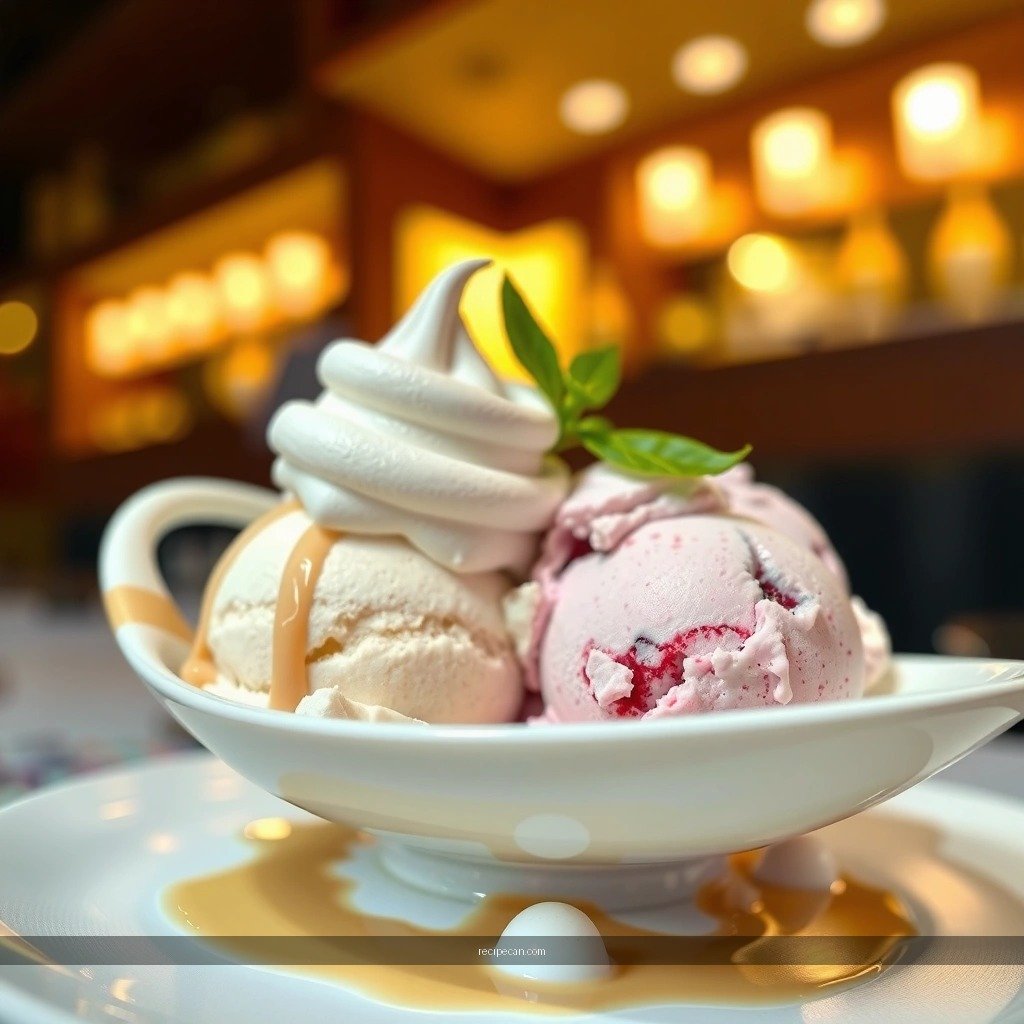
Fruit flavors can be stunning in Ninja Creami Deluxe ice cream, but they introduce acidity, water content, and pulp particles—three variables that influence freezing and texture.
– Choose ripe fruit or puree and balance acidity with extra sweetness
Berry (strawberry/raspberry/blueberry)
– Use ripe fruit or a seedless puree if you dislike texture specks.
– If using berries that taste tart, increase sweetness by 1–2 tbsp equivalent sugar or use a sweetener that measures similarly.
Mango
– Mango works best when fully pureed and well-drained if the puree is very watery.
– If you notice iciness, reduce added water and thicken with a slightly higher dairy-to-fruit ratio.
Citrus (lemon/lime)
– Citrus is naturally acidic; it can shift the base balance.
– Add zest early for aroma, and add juice carefully (too much juice can lead to looser freezing behavior).
– Process and churn in the correct order for even flavor distribution
There are two strong strategies:
1. Flavor-in-base: add fruit puree to the base before freezing. This creates the most uniform flavor.
2. Flavor-as-mix-in: freeze a plain base, then swirl in fruit after the first churn—best when you want bright “ribbon” flavor and visible fruit character.
For consistent results, choose one strategy per recipe and keep the fruit particle size consistent (fully blended for uniformity).
Actionable example (Berry swirl approach):
– Freeze a vanilla base for a smooth foundation
– After the first processing, stir in thick berry puree (warm slightly to loosen, but not hot)
– Reprocess briefly to “set” the swirl without over-homogenizing the fruit
Coffee, Cookies & Dessert-Inspired Mix-Ins
Mix-ins are where your Ninja Creami Deluxe ice cream becomes personal—but they’re also where texture can go wrong. The goal is to add mix-ins at the right time and in the right size.
– Add cookie crumbs, cocoa nibs, or swirls after achieving a thick base
Start with a stabilized base (vanilla or chocolate). Once the machine churns to a thick consistency:
– Fold in cookie crumbs, cocoa nibs, or swirls
– Swirls (like caramel or fudge) should be moderately thick so they don’t fully dissolve
– Use mix-in sizes that won’t harden or sink for better texture
Mix-in handling guidelines:
– Cookie crumbs: aim for a mix of fine + medium pieces; very fine crumbs can become gummy; very large chunks can sink.
– Cocoa nibs: keep them small enough to chew easily; they stay crisp better than soft chocolate chips in many freezers.
– Fudge/caramel sauce: use a thicker sauce or ganache-like consistency so it disperses instead of pooling.
Operational best practice: add mix-ins after the base has been churned and thickened. This reduces uneven distribution and prevents mix-ins from interfering with the Deluxe’s reprocessing.
Low-Sugar and Lactose-Friendly Options
You can absolutely make low-sugar or lactose-friendly Ninja Creami Deluxe ice cream, but you’ll need to treat sweeteners and dairy replacements as texture ingredients—not just flavor tools.
– Swap sweeteners and dairy components while keeping a stable base
Common strategies:
– Low-sugar: use stabilizer and consider sweeteners that retain freezing point behavior more predictably than plain sugar alcohols.
– Lactose-friendly: lactose-free milk behaves like standard milk in most recipes; lactose-free yogurt and cream substitutes can also work well.
For low-sugar bases, don’t just “replace sugar one-for-one.” Instead:
– Keep stabilizer consistent
– Adjust fat-to-liquid ratio to support a creamy bite
– Expect slightly firmer texture and plan for brief thaw before serving
– Start with small batches to dial in sweetness and creaminess
Treat low-sugar experiments like product development:
– Run a smaller batch
– Taste before freezing (for sweetness target)
– Observe scoopability after first reprocess
– Adjust stabilizer use and liquid ratio in small steps
If your low-sugar batch turns out too firm or slightly icy, the fix is usually one of:
– longer deep-freeze before processing
– a slightly higher fat proportion
– small sweetness adjustment (or stabilizer fine-tuning)
Storage, Serving, and Troubleshooting Texture
Even with excellent Ninja Creami Deluxe ice cream recipes, storage time and freezer conditions influence texture. The Deluxe makes reprocessing easy, but you still want to set yourself up for success.
– Freeze in shallow containers and let sit briefly before scooping
For best scoop performance:
– Store ice cream in the Deluxe container or transfer to an airtight shallow container.
– Minimize headspace to reduce ice crystal formation.
– Let it sit 5–10 minutes at cool room temperature before scooping (especially in colder kitchens where hard freezing can occur).
– Fix grainy or icy texture by adjusting chilling time and base consistency
Troubleshooting framework:
– Grainy/icy right after processing
– base likely under-stabilized or under-frozen
– increase stabilizer slightly (carefully), and ensure 18–24 hours deep freezing
– Too soft/wet texture
– base too watery (low fat or high fruit water content)
– reduce fruit puree water or increase dairy fraction
– Separating mix-ins or sinking
– mix-ins added too early or too heavy
– fold in after first churn; use the right particle sizes and thickness
Fast recovery method: when the Deluxe offers a second short reprocess option, use it to correct firmness—small adjustments tend to preserve smoothness better than re-freezing long-term.
Enjoy Ninja Creami Deluxe ice cream recipes with smooth, scoop-ready results by starting with a strong base, using the right churning settings, and fine-tuning mix-ins. Pick one classic (vanilla or chocolate) today, run a test batch, and then branch into fruit or cookie-inspired flavors next.
In the end, consistent Ninja Creami Deluxe success comes down to disciplined base construction (fat + sweetness + stabilizer), reliable deep freezing, and thoughtful mix-in timing. If you follow the base-first approach and apply the troubleshooting cues when texture drifts, you’ll be able to produce homemade Ninja Creami Deluxe ice cream that’s consistently creamy, flavorful, and reliably scoopable across a wide range of flavors.
Frequently Asked Questions
What are the best Ninja Creami Deluxe recipes for beginners?
The easiest Ninja Creami Deluxe ice cream recipes start with simple base flavors like vanilla, chocolate, strawberry, and cookies-and-cream. Use a pre-chilled, properly sweetened cream base (usually dairy + sugar + flavorings), then process on the correct cycle for ice cream. For best results, make sure your mix is thick enough to scoop after freezing and follow the “freeze firm” step before you run the machine.
How do I make a thick, scoopable ice cream base in the Ninja Creami Deluxe?
Start with a balanced base: dairy (or a high-fat cream), sweetener, and any flavor add-ins, then blend until fully dissolved. Chill the mixture thoroughly before pouring into your pint, and freeze until very firm for clean respins. If your results are soft or icy, it’s often due to under-freezing or a base that’s too thin—adjust with more cream and reduce watery mix-ins.
Why does my Ninja Creami Deluxe ice cream turn out icy, and how can I fix it?
Icy Ninja Creami ice cream is usually caused by insufficient fat, too much liquid, or not freezing long enough. Make sure your recipe includes enough dairy fat and that mix-ins like fruit purées or sweet syrups are not over-added without balancing the base. For fixes, try lowering added water content, increasing creaminess with ingredients like sweetened condensed milk or a small amount of stabilizer (if you use one), and always allow the pint to freeze fully.
Which Ninja Creami Deluxe ice cream cycle should I use for different recipes?
For most traditional ice cream recipes, use the ice cream or dessert ice cream setting on your Ninja Creami Deluxe, then follow with the recommended respin and serve steps. Sorbet-style recipes often need a different cycle behavior due to lower dairy content, so check your model’s cycle options and choose the closest “ice cream/dessert” match for the texture you want. When experimenting, keep your base similar across flavors so you can identify which cycle adjustments improve smoothness.
What are the best Ninja Creami Deluxe add-ins and mix-in timing for cookies, candy, and fruit?
For cookie-and-candy Ninja Creami Deluxe ice cream recipes, crush mix-ins into small pieces and add them during the blend stage so they distribute evenly without turning mushy. For fruit, use purées or well-drained pieces to avoid excess water that can cause iciness; adding fruit flavor concentrates can help maintain creaminess. Always keep mix-ins within a reasonable amount—too much chunky or watery add-in can reduce texture quality and prevent that classic scoopable, creamy finish.
References
- Ice cream
https://en.wikipedia.org/wiki/Ice_cream - Custard
https://en.wikipedia.org/wiki/Custard - Emulsion
https://en.wikipedia.org/wiki/Emulsion - Overrun
https://en.wikipedia.org/wiki/Overrun - Melting point
https://en.wikipedia.org/wiki/Freezing_point - Google Scholar Google Scholar
https://scholar.google.com/scholar?q=ninja+creami+deluxe+recipes - Google Scholar Google Scholar
https://scholar.google.com/scholar?q=ice+cream+stabilizers+emulsifiers+review - https://pubmed.ncbi.nlm.nih.gov/?term=ice+cream+stabilizers+emulsifiers+review
https://pubmed.ncbi.nlm.nih.gov/?term=ice+cream+stabilizers+emulsifiers+review - https://pubmed.ncbi.nlm.nih.gov/?term=ice+cream+overrun+air+incorporation+study
https://pubmed.ncbi.nlm.nih.gov/?term=ice+cream+overrun+air+incorporation+study - eCFR :: 21 CFR 135.110 — Ice cream and frozen custard.
https://www.ecfr.gov/current/title-21/chapter-I/subchapter-B/part-135/subpart-C/section-135.110