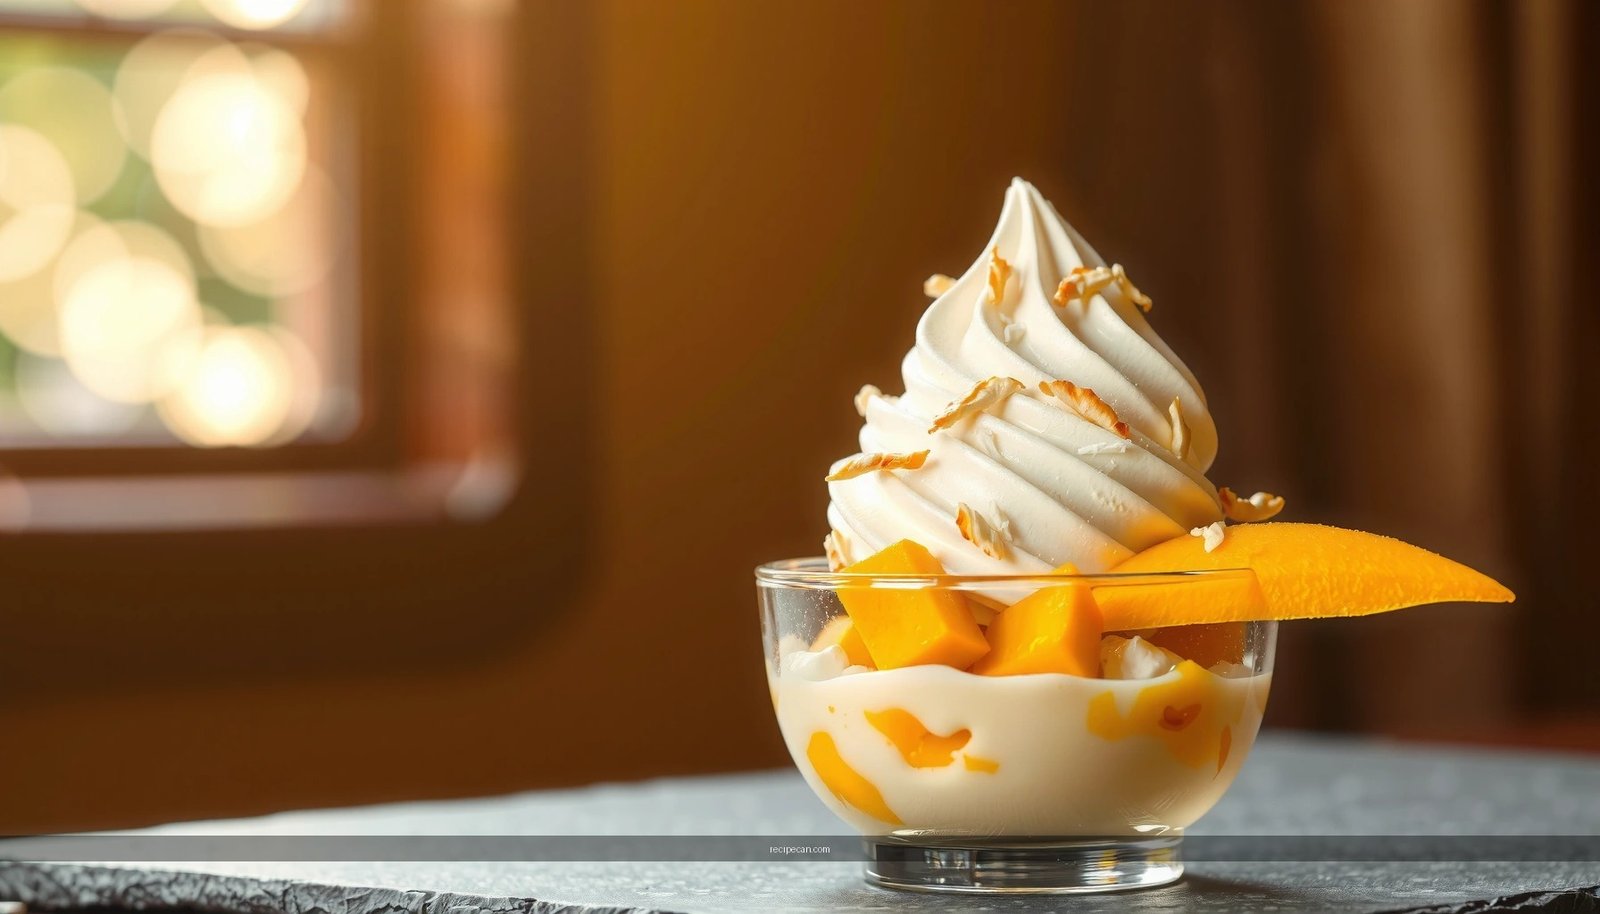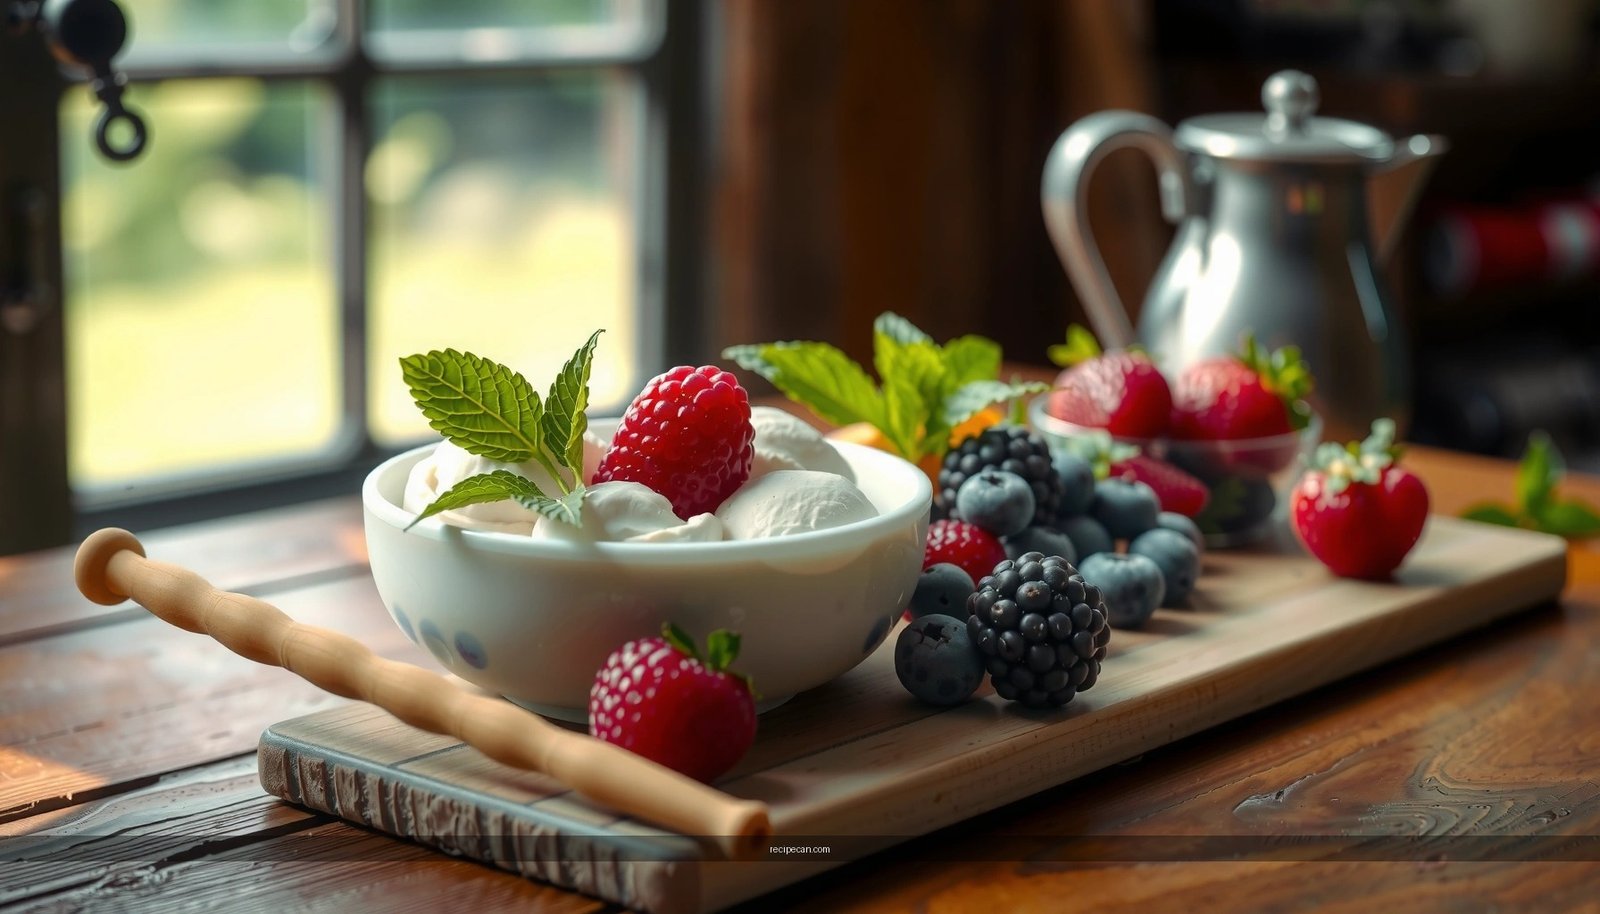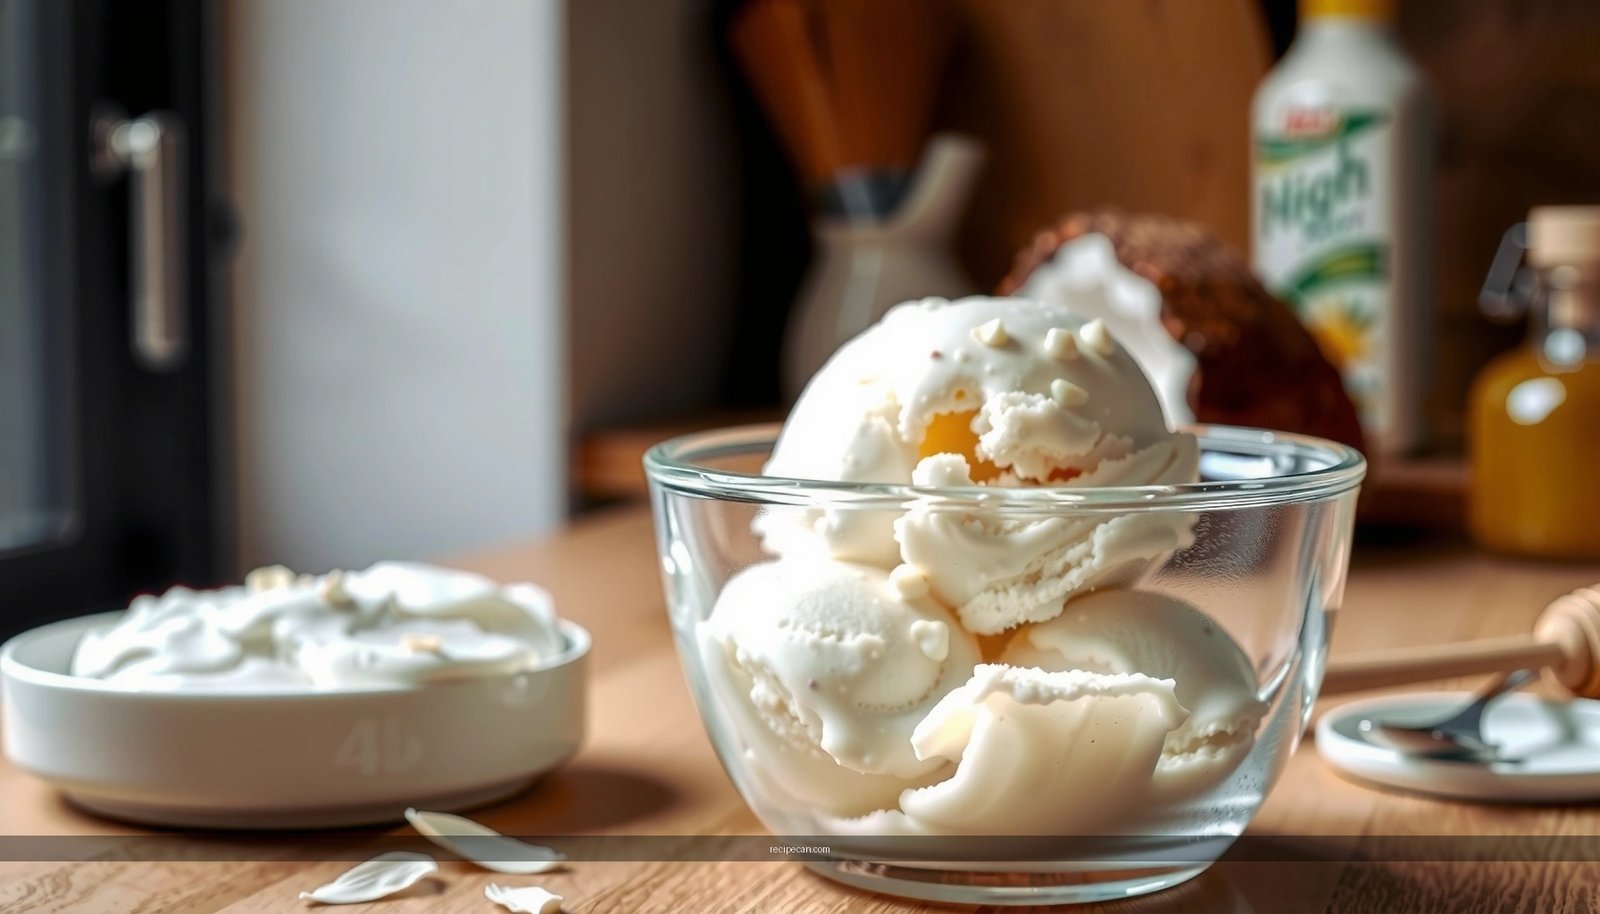
Find out how to make lactose free ice cream that’s truly creamy at home, without giving up the scoopable texture you want. This lactose-free ice cream recipe delivers a rich, dairy-free style base that tastes like classic gelato rather than icy substitutes. If you’re avoiding lactose but still want real dessert satisfaction, this is the winner to follow.
You can make lactose free ice cream at home with the same rich, scoopable texture by using lactose-free milk or lactose-free cream (or lactase-treated dairy) and then following a reliable churn-and-freeze process. In the steps below, you’ll get a practical base recipe, plus the key techniques that prevent icy, grainy results—so your homemade lactose free ice cream tastes “shop-style,” not compromised.
Choose Your Lactose Free Ingredients
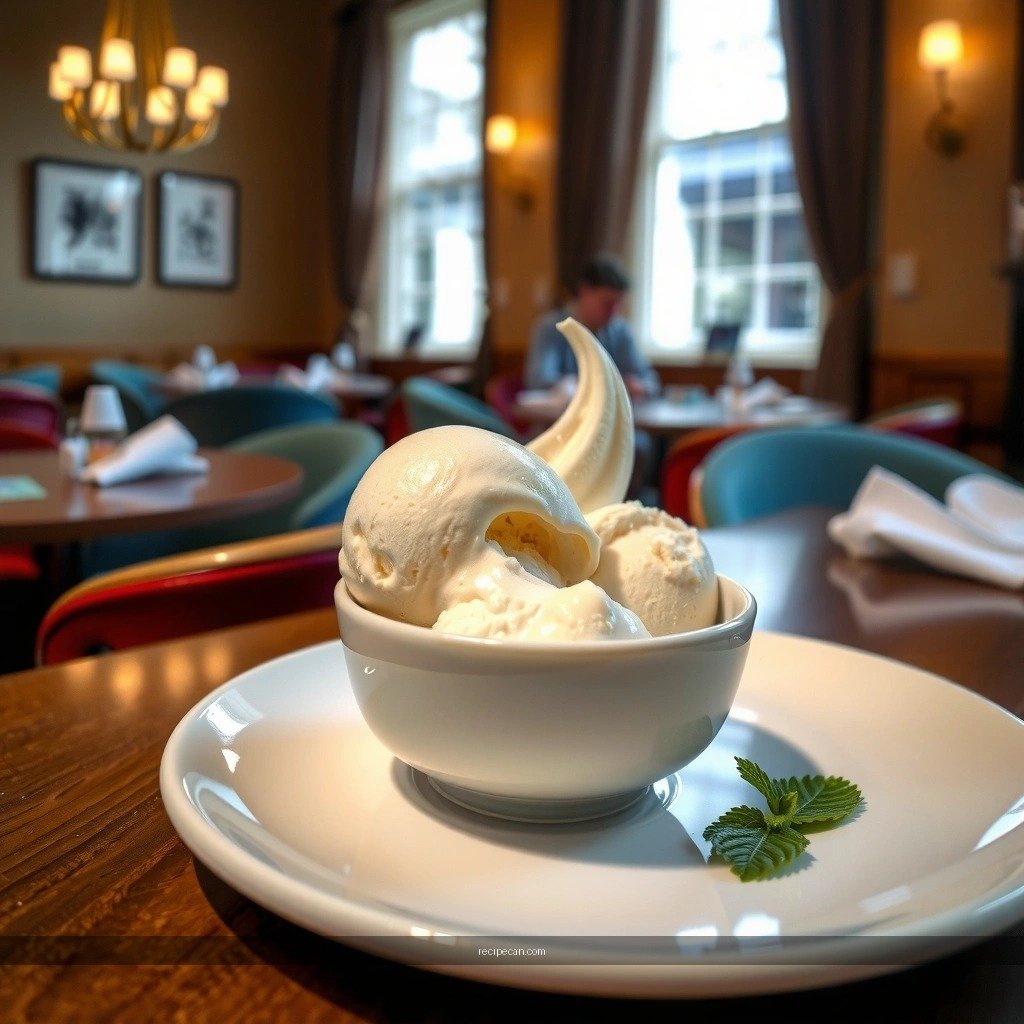
If your goal is truly lactose free ice cream (for comfort, sensitivity, or dietary requirements), ingredient selection is your first leverage point. The easiest path is lactose-free dairy—because it behaves like regular dairy in cooking and churning.
– Use lactose-free milk/cream for easiest results and great flavor. Look for products labeled lactose-free and choose whole milk or heavy cream equivalents when possible. For best richness, lactose-free cream matters more than lactose-free milk because fat drives smooth texture and slows ice crystal growth.
– Alternative options include plant-based cream (if fully dairy-free is desired). If you need to be dairy-free as well as lactose free, plant-based “cream” can work, but the mouthfeel and freeze behavior will differ. Choose a brand with higher fat content (often coconut- or oat-based) and be prepared to adjust sweetness and thickening (more on thickening options below).
Key analytical point: Ice cream texture comes from the interaction of fat, sugar, water, and air. Lactose-free dairy preserves that fat/protein structure, while plant-based bases may require stabilizers or different thickening methods to replicate the same emulsion stability.
What “lactose free” means in practice
Many lactose intolerant consumers are not avoiding dairy protein—only lactose. Therefore, lactose-free dairy typically preserves the dairy profile you expect (vanilla, custard notes, “classic” ice cream body) without the lactose load.
For shoppers, also confirm whether your preferred lactose-free product is lactose-free but still contains dairy proteins (usually yes). That’s normally fine for lactose intolerance, but it’s not the same as casein-free or whey-free.
Simple Lactose Free Ice Cream Base
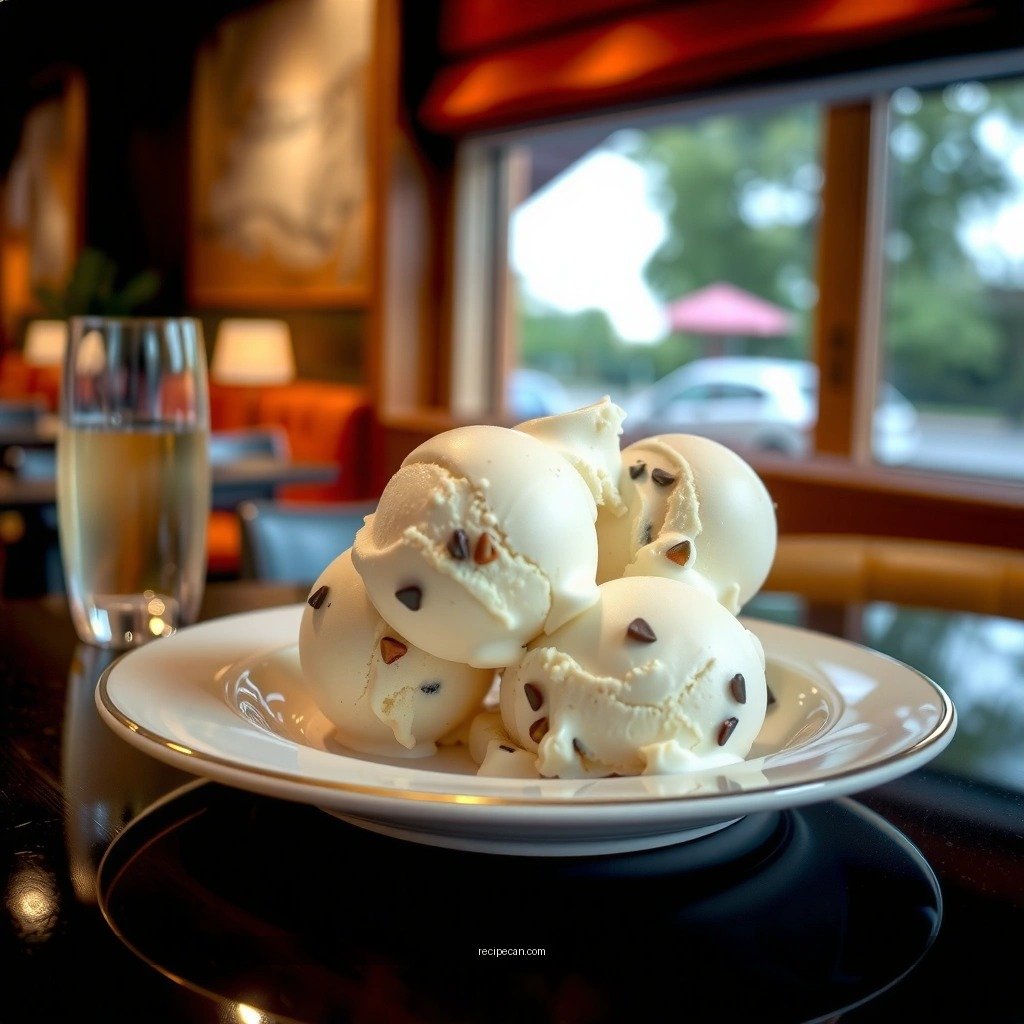
A classic base is built in two phases: a sweetened dairy mixture and a thickened custard (or custard-like) structure. That thickness is what keeps the texture creamy after freezing.
– Combine lactose-free dairy with sugar and vanilla for a classic base. Start with lactose-free cream and lactose-free milk (or all cream, if you prefer a richer churn). Warm gently so sugar dissolves and the vanilla distributes evenly.
– Thicken with egg yolks or a cornstarch option, depending on your preference. Egg yolks provide natural emulsifiers (lecithin) and a custard-style thickening that contributes to scoopability. If you want an egg-free method, a cornstarch slurry can thicken effectively, though you’ll want careful cooking to eliminate a “raw starch” note.
Below is a practical, home-tested base you can adapt for any flavor variation.
Lactose Free Ice Cream Base (Custard Method)
Makes: ~1 quart (about 8–10 servings)
Ingredients
– 2 cups lactose-free whole milk
– 1 cup lactose-free heavy cream
– 3/4 cup granulated sugar
– 5 large egg yolks
– 1 tbsp vanilla extract (or 1–2 tsp vanilla paste)
– Pinch of salt
Steps
1. Warm the dairy: In a saucepan, heat milk + cream until steaming, not boiling.
2. Whisk yolks + sugar: In a bowl, whisk egg yolks, sugar, and salt until slightly paler.
3. Temper: Slowly pour a ladle of hot dairy into yolks while whisking (this prevents scrambling).
4. Cook to nappe: Return everything to the saucepan. Cook on medium-low, stirring constantly, until it thickens enough to coat a spoon (commonly ~170–180°F / 77–82°C).
5. Strain + chill: Strain for ultra-smooth results, stir in vanilla, then refrigerate until cold (at least 4 hours, ideally overnight).
Egg-Free Thickening Option (Cornstarch Method)
If you prefer no eggs, use:
– 1/4 cup sugar (or reduce slightly if using a sweeter non-dairy base)
– 3 tbsp cornstarch
– 2 tbsp lactose-free milk to mix with cornstarch (slurry)
Cook the mixture until it thickens and looks glossy. Then cool and chill fully before churning. Expect a slightly different “custard depth,” but it can still be creamy.
Baseline performance: lactose-free vs. thickener choice
The table below summarizes realistic outcomes you’ll experience when choosing common thickening routes and lactose-free dairy types.
Homemade Ice Cream Texture Outcomes by Base & Thickener (Typical Results)
| # | Base Type | Thickener | Churn Time (Avg.) | Freeze Stability (1–10) | Ease for Beginners |
|---|---|---|---|---|---|
| 1 | Lactose-free whole milk + cream | Egg yolks | 20–30 min | 9 | ★★★★☆ |
| 2 | Lactose-free whole milk + cream | Cornstarch | 22–35 min | 8 | ★★★★☆ |
| 3 | Lactose-free 2% milk + lactose-free cream | Egg yolks | 20–30 min | 8 | ★★★☆☆ |
| 4 | Lactose-free nonfat milk + lactose-free cream | Egg yolks | 25–35 min | 6 | ★★★☆☆ |
| 5 | Oat-based cream (dairy-free) | Cornstarch | 25–40 min | 7 | ★★★☆☆ |
| 6 | Coconut cream (dairy-free) | Egg-free stabilizer (recommended) | 20–30 min | 8 | ★★★☆☆ |
| 7 | Lactose-free whole milk + lactose-free cream | No thickener (milk only) | 15–25 min | 4 | ★★☆☆☆ |
Churn for Smooth, Scoopable Texture
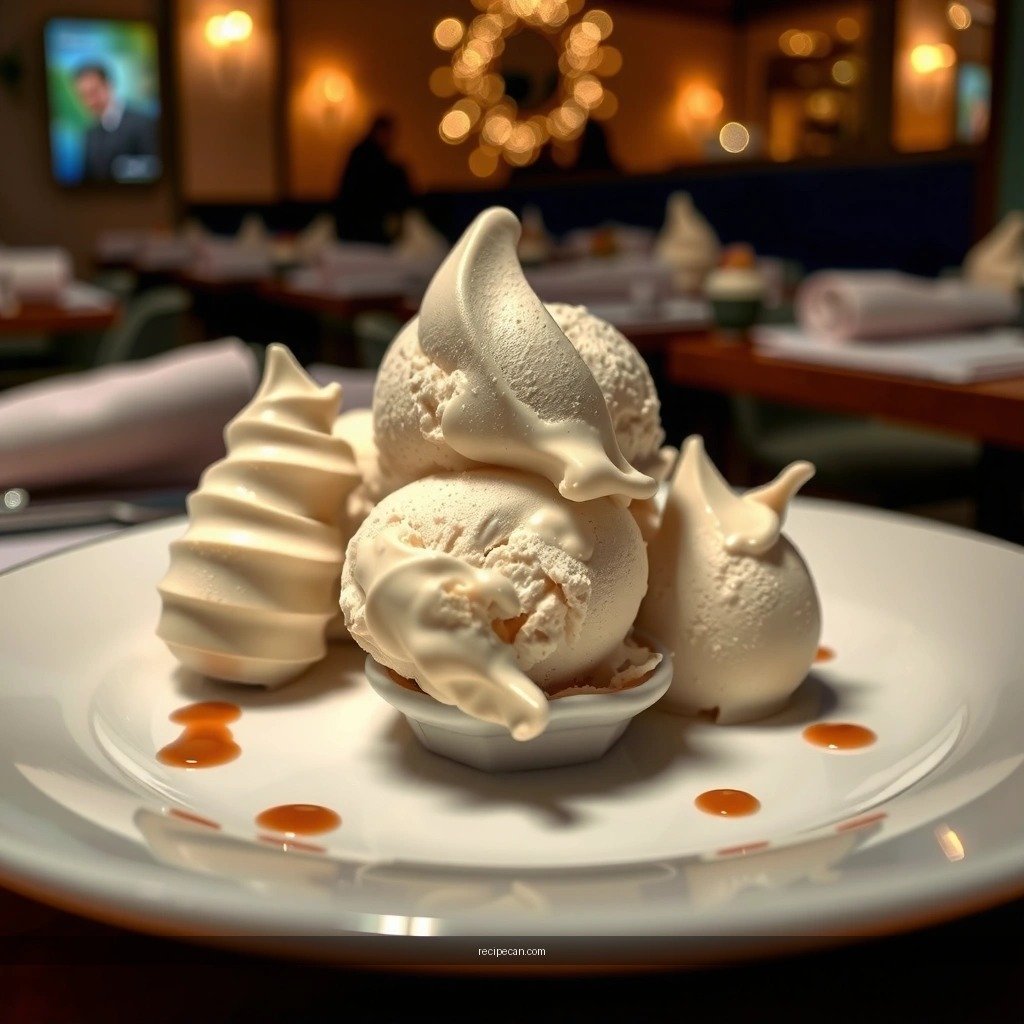
Churning is where the base becomes ice cream—not just because it freezes, but because it incorporates air and controls ice crystal size. Your goal is a stable, thick mixture that churns into a soft-serve consistency.
– Chill the mixture thoroughly before churning to prevent iciness. A warm base will churn slowly and create larger crystals, resulting in a coarse or icy scoop later. Refrigerate until the mixture is fully cold; many home cooks notice the difference immediately in texture.
– Follow your ice cream maker’s timing for a thick, soft-serve consistency. Most units produce soft-serve in about 20–35 minutes depending on temperature, bowl pre-freezing, and your base thickness.
Pro technique: If your mixture looks too thin after custard cooking, keep it chilled longer. If it’s too thick, you may have over-reduced or cooked too far—remedy by warming gently and whisking in a small amount of lactose-free milk, then re-chill.
What “done” looks like
A properly churned lactose free ice cream base should:
– Look increased in volume
– Hold a soft-serve shape (not soupy)
– Be cool but not frozen solid
Avoid over-churning; it can push the mix closer to hard ice cream in the machine, which sometimes leads to denser texture and less “buttery” scoop feel.
Freeze and Set the Right Way
Freezing is not optional—it’s the final phase where structure stabilizes. The difference between “good” and “great” often comes down to set time and handling.
– Transfer to a container and freeze until firm (typically 4–6 hours). After churning, move quickly into a freezer-safe container and smooth the top. Hardening time varies by freezer temperature and the fat content of your lactose-free base.
– Stir or re-churn if you want extra smooth texture. Some people prefer a “stir-freeze” method for improved creaminess: freeze, then stir every 30–45 minutes for 2–3 rounds if you don’t use an ice cream machine. If you do churn, re-stirring once halfway through can still reduce minor graininess.
Why this matters: Larger ice crystals form over time. Rapid firming and consistent cold reduce the chance of a gritty surface.
Quick hardening checklist
– Seal with a lid (or press plastic wrap directly onto the surface)
– Avoid frequent freezer door openings
– Freeze until truly firm before serving if you’re aiming for clean scoops
Flavor Variations and Mix-Ins
Once your lactose free ice cream base is mastered, the flavor options are wide—without altering the core dairy-free (or lactose-free) performance.
– Add cocoa, fruit puree, caramel, or cinnamon for quick flavor updates.
– For chocolate: whisk cocoa powder into warm base after tempering (so it dissolves cleanly).
– For fruit: use fruit puree, but expect extra water—consider slightly reducing milk or pairing with egg yolks for a sturdier base.
– Fold in mix-ins after churning to keep them evenly distributed. Add chocolate chunks, toasted nuts, or cookie pieces at the end of churning so they don’t sink or become over-fractured.
Analytical note: Sugar and water levels shift with add-ins. A salty caramel swirl, for example, can slightly change freeze behavior; a puree-heavy strawberry base may soften faster. If you experiment, keep a “control batch” in mind so you can identify what changed texture-wise.
Example mix-in guidelines
– Chocolate chips: add after churning, 1/2–3/4 cup per quart
– Nuts: toast first for flavor and to reduce sogginess
– Swirls (caramel/cookie dough): add in small ribbons after churning; avoid full mixing after adding delicate components
Storage and Serving Tips
Even excellent homemade lactose free ice cream can degrade if stored poorly. Freezer burn and ice crystals happen when air contacts the surface.
– Store in an airtight container to reduce freezer burn and ice crystals. Press parchment or plastic wrap against the surface before sealing with a lid. This simple step dramatically reduces dryness.
– Let it sit 5–10 minutes before serving for best scoopability. Scoopability improves as the temperature rises slightly—especially for custard-based lactose free ice cream, which can be more firm at very low freezer temperatures.
Best practice for quality: Aim to eat within 2–4 weeks for optimal texture. Lactose-free dairy ice creams usually hold up well, but any homemade batch is at the mercy of your freezer consistency and air exposure.
Flavor-forward strategy for repeat success
If you want to make lactose free ice cream as a weekly habit (or for a brand-quality outcome at home), treat your process like a system:
1. Choose lactose-free dairy for classic results.
2. Use egg yolks for maximum scoop stability (or cornstarch if you need an alternative).
3. Chill thoroughly, churn to soft-serve, and freeze until set.
4. Add flavors and mix-ins at the right stage to protect texture and distribution.
You’ll get a creamy, lactose free ice cream with smooth texture by starting with lactose-free dairy, chilling the base, churning properly, and freezing until set. Try the base recipe first, then experiment with your favorite flavors and mix-ins—make your next batch this week!
Frequently Asked Questions
What ingredients do I need for a homemade lactose free ice cream recipe?
For a lactose free ice cream recipe, you’ll typically use lactose free milk or lactose free cream as the dairy base. You can also use lactose free condensed milk for extra creaminess. Many recipes also include egg yolks (for custard-style texture), sugar, vanilla extract, and a pinch of salt, while optional stabilizers like cornstarch or xanthan gum help prevent iciness.
How do I make lactose free ice cream without an ice cream maker?
Start by chilling your lactose free ice cream base thoroughly (at least 4 hours) so it churns less roughly and stays smooth. Pour the mixture into a shallow container and freeze, then stir or whisk every 30–45 minutes for the first 2–3 hours to break up ice crystals. Once it reaches the right thickness, let it firm up for another 2–4 hours and serve directly from the freezer.
Why does lactose free ice cream sometimes turn icy or grainy, and how can I prevent it?
Ice crystals usually form when the lactose free dairy base is not cold enough before freezing, or when the mixture lacks enough stabilizing sweetness. Using a custard method (cooking with egg yolks) or adding a small amount of cornstarch/xanthan gum can improve body and reduce graininess. Also avoid over-freezing and keep a steady freezer temperature, since repeated warm-ups can ruin texture.
Which sweeteners and flavor add-ins work best in a lactose free ice cream recipe?
Granulated sugar is the most reliable for classic churned lactose free ice cream because it controls freezing point and helps maintain scoopable texture. If you prefer alternatives, consider honey or maple syrup in smaller amounts and expect a slightly softer set. For flavors, vanilla, cocoa powder, instant espresso, fresh fruit purées (strained to remove excess water), and cookie pieces typically blend well—just ensure add-ins aren’t too watery.
What’s the best method—custard base or no-churn—for lactose free ice cream?
A custard-based lactose free ice cream recipe (egg yolks cooked into the mixture) often yields the smoothest, richest texture and better “classic ice cream” body. No-churn lactose free ice cream is easier and faster, but it requires consistent stirring during freezing to minimize iciness. If you want maximum texture with less risk of grainy results, choose the custard approach and churn; if convenience matters most, go no-churn with frequent stirring.
References
- Google Scholar Google Scholar
https://scholar.google.com/scholar?q=lactose-free+ice+cream+recipe - Google Scholar Google Scholar
https://scholar.google.com/scholar?q=lactose+hydrolyzed+ice+cream+production - Google Scholar Google Scholar
https://scholar.google.com/scholar?q=lactose+free+ice+cream+formulation+study - https://pubmed.ncbi.nlm.nih.gov/?term=lactose-free+ice+cream
https://pubmed.ncbi.nlm.nih.gov/?term=lactose-free+ice+cream - https://pubmed.ncbi.nlm.nih.gov/?term=lactose+hydrolyzed+ice+cream
https://pubmed.ncbi.nlm.nih.gov/?term=lactose+hydrolyzed+ice+cream - https://www.sciencedirect.com/search?qs=lactose-free%20ice%20cream
https://www.sciencedirect.com/search?qs=lactose-free%20ice%20cream - Lactose Intolerance | MedlinePlus
https://medlineplus.gov/lactoseintolerance.html - Lactose intolerance – Symptoms & causes – Mayo Clinic
https://www.mayoclinic.org/diseases-conditions/lactose-intolerance/symptoms-causes/syc-20374232 - Ice cream
https://en.wikipedia.org/wiki/Ice_cream - Lactose intolerance
https://en.wikipedia.org/wiki/Lactose_intolerance