
If you’re searching for a Cuisinart chocolate chip ice cream recipe that delivers real homemade flavor with minimal effort, this is the method to follow. You’ll get a straightforward, machine-friendly process for churning creamy vanilla ice cream and folding in chocolate chips without guesswork. The result is a dependable scoopable texture—ideal for weeknight desserts and guaranteed to beat store-bought when you want control over richness and add-ins.
Yes—you can make creamy, scoopable Cuisinart chocolate chip ice cream at home by churning a well-cooked (or simply blended) base and folding in chocolate chips at the right moment. This guide walks you through ingredients, timing, and the key techniques that prevent common problems like iciness, gritty texture, and sunk chocolate, so you get a reliably rich homemade result every time.
—
Ingredients for Cuisinart Chocolate Chip Ice Cream
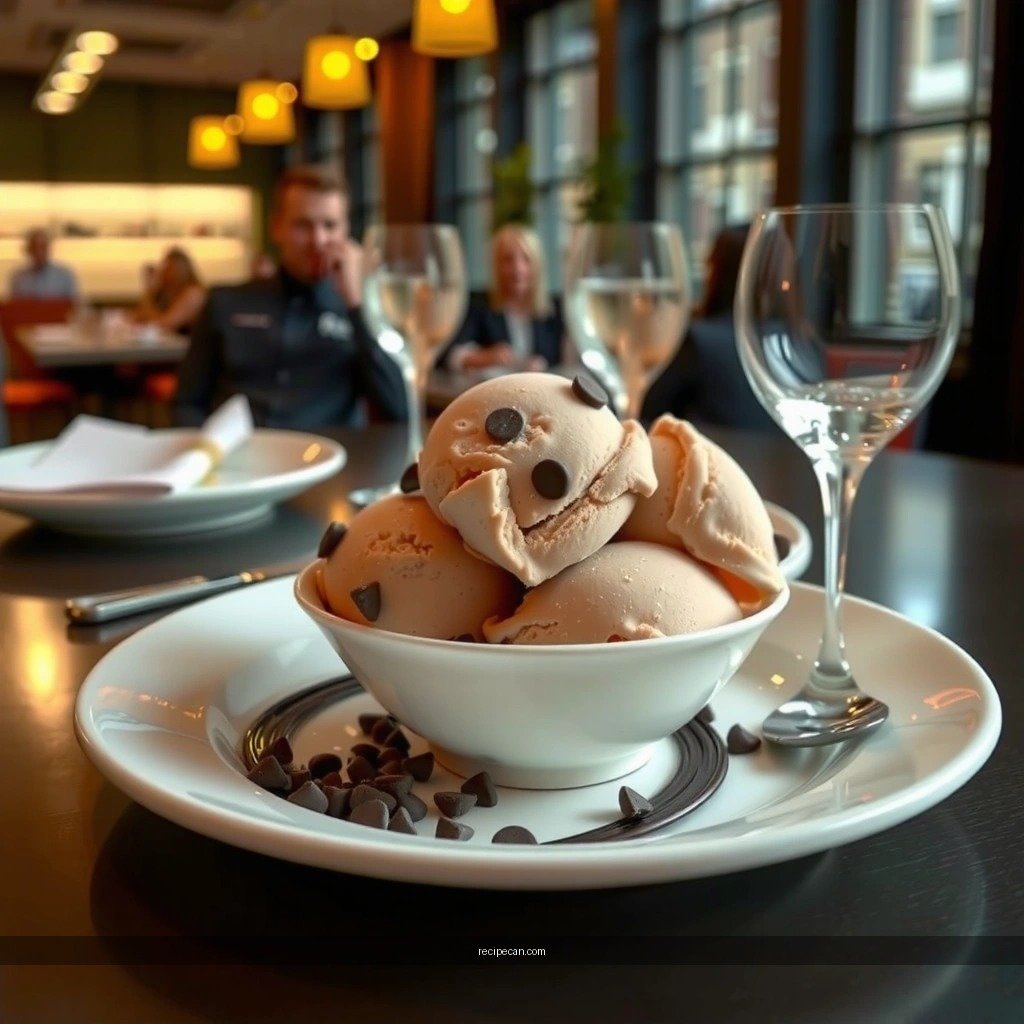
– Gather cream, milk, sugar, and egg yolks (if using custard) plus vanilla and salt
– Use high-quality chocolate chips for the best melt-and-bite texture
– Optional add-ins: extra vanilla, mini chips, or a pinch of espresso powder
For a true “custard-style” Cuisinart chocolate chip ice cream, the ingredients should support three goals: fat for body, sugar for smoothness, and custard proteins for emulsification. The simplest formula is dairy + sugar + vanilla + salt, with egg yolks as the lever that improves creaminess and slows icy crystal formation in the freezer.
Core ingredients (custard-style)
– Heavy cream: provides richness and stable texture.
– Whole milk: lightens the base while maintaining a creamy mouthfeel.
– Granulated sugar: dissolves fully so the ice cream doesn’t become grainy.
– Egg yolks (optional but recommended): thicken the base and create a smoother freeze.
– Vanilla extract and/or vanilla bean paste: rounds out chocolate flavor.
– Salt: sharpens sweetness and makes chocolate taste more “chocolatey.”
Chocolate chips choice matters
– Choose real chocolate chips (or chunks) with a cocoa butter profile you like. Higher-quality chips tend to hold shape better during freezing and produce a more satisfying “melt-and-bite” experience.
– For the best texture contrast, consider:
– Standard chips for classic pockets of chocolate
– Mini chips for more frequent chocolate distribution
Optional flavor boosters (use intentionally)
– Extra vanilla: increases perceived sweetness and aroma.
– Pinch of espresso powder: deepens chocolate flavor without making it taste like coffee.
– Mini chips or chopped chocolate: improves distribution and prevents “mostly chocolate on top” in the churned result.
Quick reference: custard base settings (for consistent results)
If you’re using a custard-style method, the target is a base that thickens gently without scrambling eggs. The table below summarizes practical “from-to” ranges that home cooks can use to calibrate thickness and temperature.
Custard Base Targets for Creamy Cuisinart Chocolate Chip Ice Cream
| # | Step | Practical Target | Why It Matters | Outcome |
|---|---|---|---|---|
| 1 | Sugar dissolution | Warm to ~70–80°C (158–176°F) | Ensures complete melt for smoother freezing | Less graininess |
| 2 | Custard thickening | Cook until ~82–84°C (180–183°F) | Coats spoon without curdling | Creamier body |
| 3 | Doneness test | Clean line on a spoon / ~thick “nappe” | Avoids under-thick base | Better emulsification |
| 4 | Chill before churning | 4–24 hours in fridge | Lowers freezing time and boosts smoothness | Fewer ice crystals |
| 5 | Churn consistency | Soft-serve, ~thick/flowable | Prevents over-churning graininess | Scoopable texture |
| 6 | Post-churn firming | 2–4 hours in freezer | Sets texture without drying out | Better bite |
| 7 | Best eating window | 24–48 hours after making | Flavor settles; texture stabilizes | Peak quality |
—
Step-by-Step: Prepare the Ice Cream Base
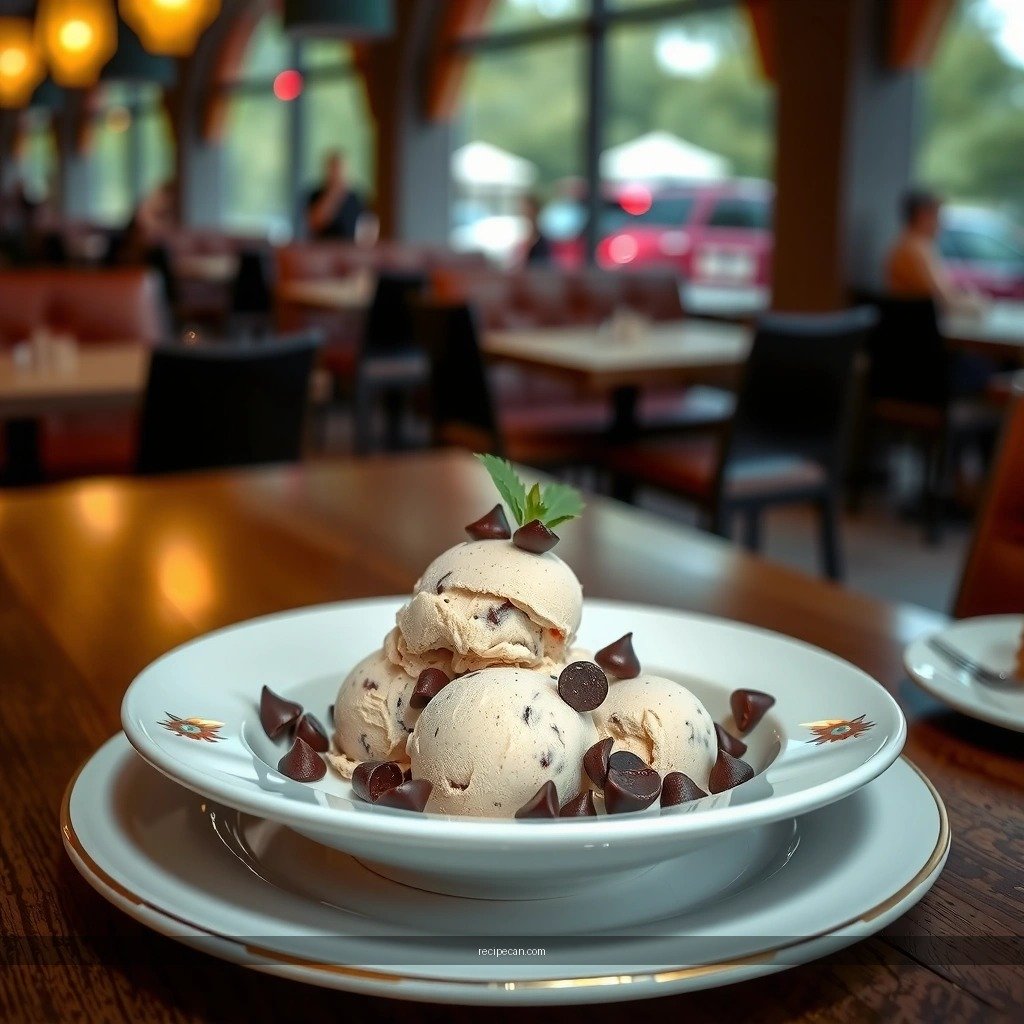
– Heat dairy and dissolve sugar until warm and smooth (don’t boil)
– Temper yolks (if using custard) and cook gently to thicken
– Chill the base thoroughly before churning for maximum creaminess
Cuisinart chocolate chip ice cream starts with a base that’s consistent in thickness and temperature. Think of the base as a system: fat emulsified with dairy proteins, stabilized by sugar. When you treat the custard gently and chill it properly, your churner does its job—small ice crystals form evenly, and the ice cream freezes with less “zing” and more cream.
Option A: Custard-style base (best for classic creamy texture)
1. Warm cream and milk
Combine cream and milk in a saucepan. Heat over medium until steaming and the edges show small bubbles, but avoid a hard boil. Boiling can drive off water and make the custard harder to control.
2. Dissolve sugar and salt
Whisk in sugar and salt until fully dissolved. You want the base smooth before eggs ever go in.
3. Temper the egg yolks
Whisk egg yolks in a bowl. Slowly drizzle some hot dairy into yolks while whisking continuously. This prevents curdling and creates an even custard.
4. Cook gently until thickened
Return the mixture to the saucepan and cook on low, stirring constantly with a spatula. You’re aiming for a custard that coats the back of a spoon. Stop as soon as it thickens—overcooking makes it grainy or risks scrambled yolk bits.
5. Strain (recommended) and chill thoroughly
Strain through a fine mesh sieve for silky results. Then chill the base in the refrigerator until cold throughout—ideally 4–24 hours.
Option B: No-custard base (simpler, faster, still good)
If you prefer to skip eggs, you can create a “Philadelphia-style” base with dairy, sugar, vanilla, and salt, then chill thoroughly before churning. This tends to freeze a bit firmer and can be slightly icier than custard—so your biggest lever becomes chilling time and correct churning timing.
—
Step-by-Step: Churn in Your Cuisinart Ice Cream Maker
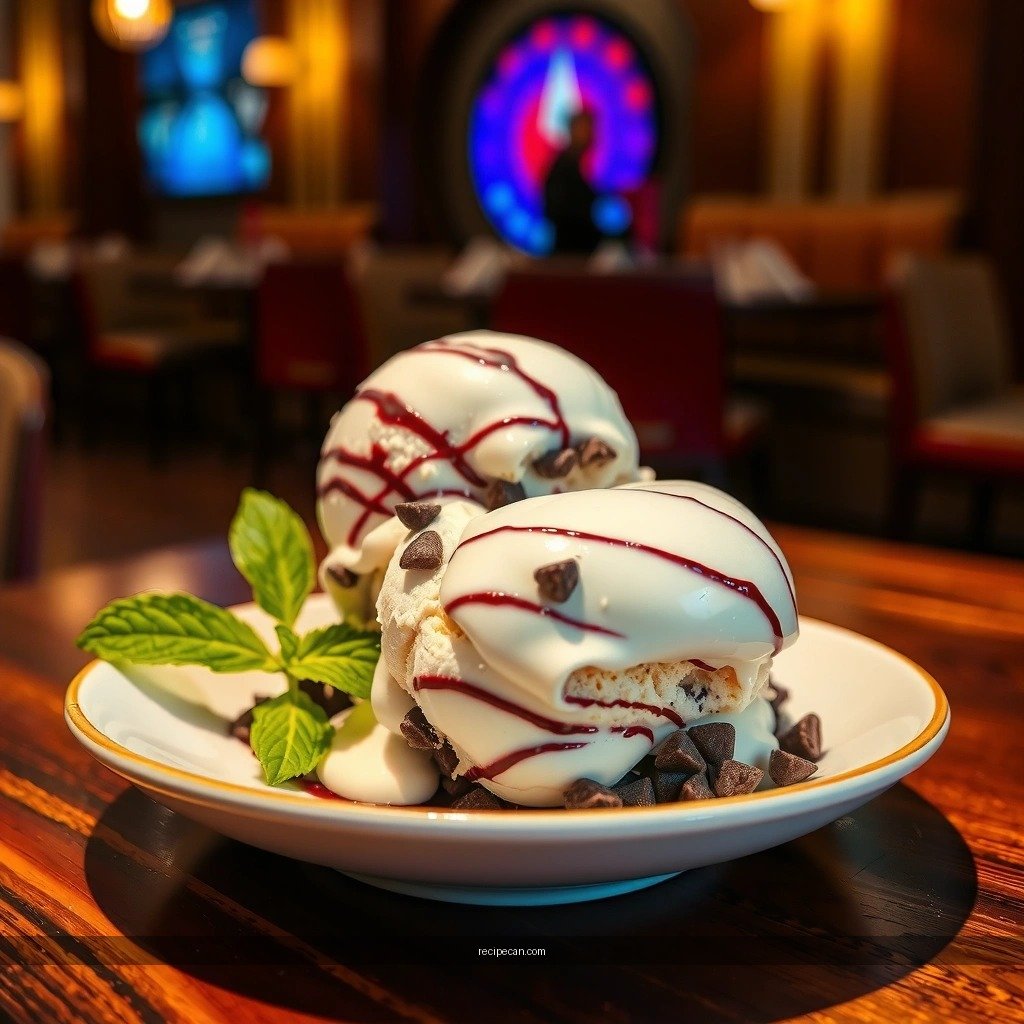
– Pour the cold base into the Cuisinart bowl and churn until thickened
– Add chocolate chips during the correct phase (typically near the end)
– Aim for a soft-serve consistency you can portion or transfer
Churning is where technique meets temperature control. Your goal is not to “freeze solid”—it’s to incorporate air and form a fine ice-crystal structure while the mixture is still fluid enough for even chocolate distribution.
1. Pre-freeze the Cuisinart bowl
Make sure the machine’s bowl has been frozen long enough per your model’s guidance (many units require 8–24 hours). A warm bowl is one of the fastest paths to iciness.
2. Churn with the base properly chilled
Pour your cold base into the bowl. Start the machine and let it churn until thickened—most batches reach a soft-serve stage within the typical churn window (often around 20–35 minutes depending on model and room temperature).
3. Add chocolate chips at the right time
For most Cuisinart chocolate chip ice cream results:
– Add chips after the base has thickened (near the end of churning).
– This reduces the chance the chips melt fully and disappear into the base.
– It also helps prevent “all chips at the bottom” by keeping mixing enough to distribute.
Practical timing: If your ice cream looks like creamy soft-serve (not thin liquid), that’s usually the moment to add chips.
4. Stop at soft-serve consistency
Over-churning can increase graininess and dryness. When the mixture holds shape and is scoopable, you’re done.
5. Portion or freeze immediately
Transfer to a container and press plastic wrap or parchment directly against the surface to reduce ice formation.
—
Achieving the Best Texture (Creamy vs. Icy)
– Chill both the base and the Cuisinart bowl ahead of time
– Avoid over-churning, which can cause graininess
– Freeze briefly after churning to firm without drying out
Creamy vs. icy texture comes down to ice-crystal control and fat/protein stability. The base you cook and chill influences how well the churner can create small crystals. Then your storage choices determine whether those crystals stay small—or grow into icy lumps.
The biggest texture levers (in priority order)
1. Base chill quality
If the base is only “cool-ish,” it won’t churn as efficiently. Ice crystals form faster and larger, which reads as iciness later.
2. Bowl temperature
The frozen bowl is the refrigeration engine. A not-fully-frozen bowl means slower freezing and uneven crystal sizes.
3. Don’t overcook the custard
Graininess from egg proteins is real. Gentle cooking keeps the custard smooth.
4. Churn to stage, not time
Timing varies by model and environment. Use the texture milestone (soft-serve thickness) rather than only the clock.
5. Freeze just long enough to set
After churning, refrigerate briefly to firm. Too long at very cold, exposed conditions can dry the surface and promote freezer burn.
—
Serving and Storage Tips
– Serve at a few minutes’ rest at room temperature for scoopable texture
– Store in an airtight container with minimal air exposure
– Keep a day or two for best texture, and let it soften slightly before eating
Even with perfect churn, storage determines the final eating experience. Homemade ice cream is more sensitive than many commercial products because it typically uses fewer stabilizers. That means you benefit from a disciplined storage approach.
Serving
– Let ice cream sit 2–5 minutes at room temperature (depending on your freezer temperature and container type).
– This softens the surface so chips and custard bite become pleasant instead of brittle.
Storage
– Use an airtight container and minimize headspace. Air exposure contributes to:
– icy surface texture
– flavor dulling
– “freezer smell” absorption
– For best quality, plan to enjoy within 1–2 days. Flavor remains excellent and texture stays close to peak after that short window.
Pro tip: Press a piece of parchment or plastic wrap against the surface before sealing the lid. This is one of the simplest ways to fight freezer crystals.
—
Troubleshooting Common Issues
– Ice crystals: base wasn’t fully chilled or storage exposed to air
– Not thick enough: churning time too short or base too warm
– Chips sinking or hard: add chips late and use a consistent temperature base
Even experienced cooks run into hiccups. Here are precise fixes aligned with what typically causes each issue in Cuisinart chocolate chip ice cream.
1) Ice crystals / “icy” finish
Likely causes
– Base wasn’t chilled long enough (or wasn’t cold throughout).
– The Cuisinart bowl wasn’t fully frozen.
– The ice cream was stored with too much air exposure.
Fixes
– Chill the base at least 4 hours, ideally overnight.
– Confirm your bowl freeze time matches your specific model requirements.
– Seal properly (press wrap to the surface; use an airtight container).
2) Not thick enough after churning
Likely causes
– Base temperature was too warm.
– Churn time wasn’t sufficient for your batch size and environment.
Fixes
– Churn until the texture is soft-serve thick, not until a fixed minute mark.
– Keep your kitchen cooler during churn if possible.
– Make sure the base is refrigerator-cold before it hits the machine.
3) Chocolate chips sinking, clumping, or going too hard
Likely causes
– Chips added too early while the base was still very fluid.
– Chips were exposed to heat longer than necessary.
– Temperature swings between base, chips, and churn.
Fixes
– Add chips near the end of churning when the mixture thickens.
– Keep chips at room temperature (not cold from the freezer), so they integrate evenly.
– Use chips of consistent size; mini chips distribute well, while larger chips deliver bigger bites.
—
Freshly churned cuisinart chocolate chip ice cream is all about a well-chilled base, gentle cooking, and adding chocolate chips at the right time. Follow the steps above, then churn and freeze for the perfect scoop. If you want, tell me whether you’re using a custard-style base or a no-custard version, and I’ll help fine-tune timing for your exact Cuisinart model.
—
Frequently Asked Questions
What are the key ingredients in a Cuisinart chocolate chip ice cream recipe?
A typical Cuisinart chocolate chip ice cream recipe starts with a creamy base like heavy cream, whole milk, sugar, and egg yolks (for a custard style) or an egg-free base (depending on the method). You’ll also need vanilla extract and plenty of chocolate chips, often adding a pinch of salt to balance sweetness. For best results, choose high-quality chocolate chips that won’t taste dull after freezing.
How do I make Cuisinart chocolate chip ice cream using an ice cream maker?
First, cook or heat your custard base until it lightly thickens, then strain it for a smoother texture and cool it completely. Once the base is cold, pour it into your Cuisinart ice cream maker and churn until it reaches a soft-serve consistency. Fold in chocolate chips (or add them during the mix-in step if your model supports it), then freeze to firm up.
Why does my homemade Cuisinart chocolate chip ice cream turn icy or grainy?
Icy or grainy ice cream is usually caused by an insufficiently cooled base, slow freezing, or too much air or emulsifier imbalance. Make sure the mixture is fully chilled in the fridge before churning, and don’t overheat the custard—gentle cooking helps it thicken properly without curdling. After churning, freeze the ice cream in an airtight container and avoid repeated temperature changes.
Which chocolate chips are best for a smooth Cuisinart chocolate chip ice cream recipe?
For the best texture, use chocolate chips designed for melting and holding shape, such as semi-sweet or dark chocolate chips with consistent size. Larger chips create more distinct pockets, while smaller chips distribute more evenly throughout the base. If you want extra chocolate flavor, you can also add a small amount of chopped chocolate or cocoa to the custard before churning.
What’s the best way to store Cuisinart chocolate chip ice cream so it keeps its flavor and texture?
Store your chocolate chip ice cream in an airtight container to reduce freezer burn and prevent off flavors from affecting the taste. Press a piece of parchment or plastic wrap directly onto the surface before sealing for extra protection. For best quality, enjoy within about 1–2 weeks, and let it sit at room temperature for a few minutes before scooping for a smoother, creamier texture.
References
- Google Scholar Google Scholar
https://scholar.google.com/scholar?q=cuisinart+ice+cream+maker+chocolate+chip+recipe - Google Scholar Google Scholar
https://scholar.google.com/scholar?q=homemade+chocolate+chip+ice+cream+recipe+custard+base - Google Scholar Google Scholar
https://scholar.google.com/scholar?q=ice+cream+formulation+chocolate+inclusions+emulsion - Ice cream
https://en.wikipedia.org/wiki/Ice_cream - Custard
https://en.wikipedia.org/wiki/Custard - Emulsion
https://en.wikipedia.org/wiki/Emulsion - Chocolate
https://en.wikipedia.org/wiki/Chocolate - https://pubmed.ncbi.nlm.nih.gov/?term=ice+cream+formulation+emulsion
https://pubmed.ncbi.nlm.nih.gov/?term=ice+cream+formulation+emulsion - https://pubmed.ncbi.nlm.nih.gov/?term=chocolate+ice+cream+formulation+fat+sugar+stabilizers
https://pubmed.ncbi.nlm.nih.gov/?term=chocolate+ice+cream+formulation+fat+sugar+stabilizers - PMC Home
https://pmc.ncbi.nlm.nih.gov/?term=ice+cream+emulsion+stabilizers