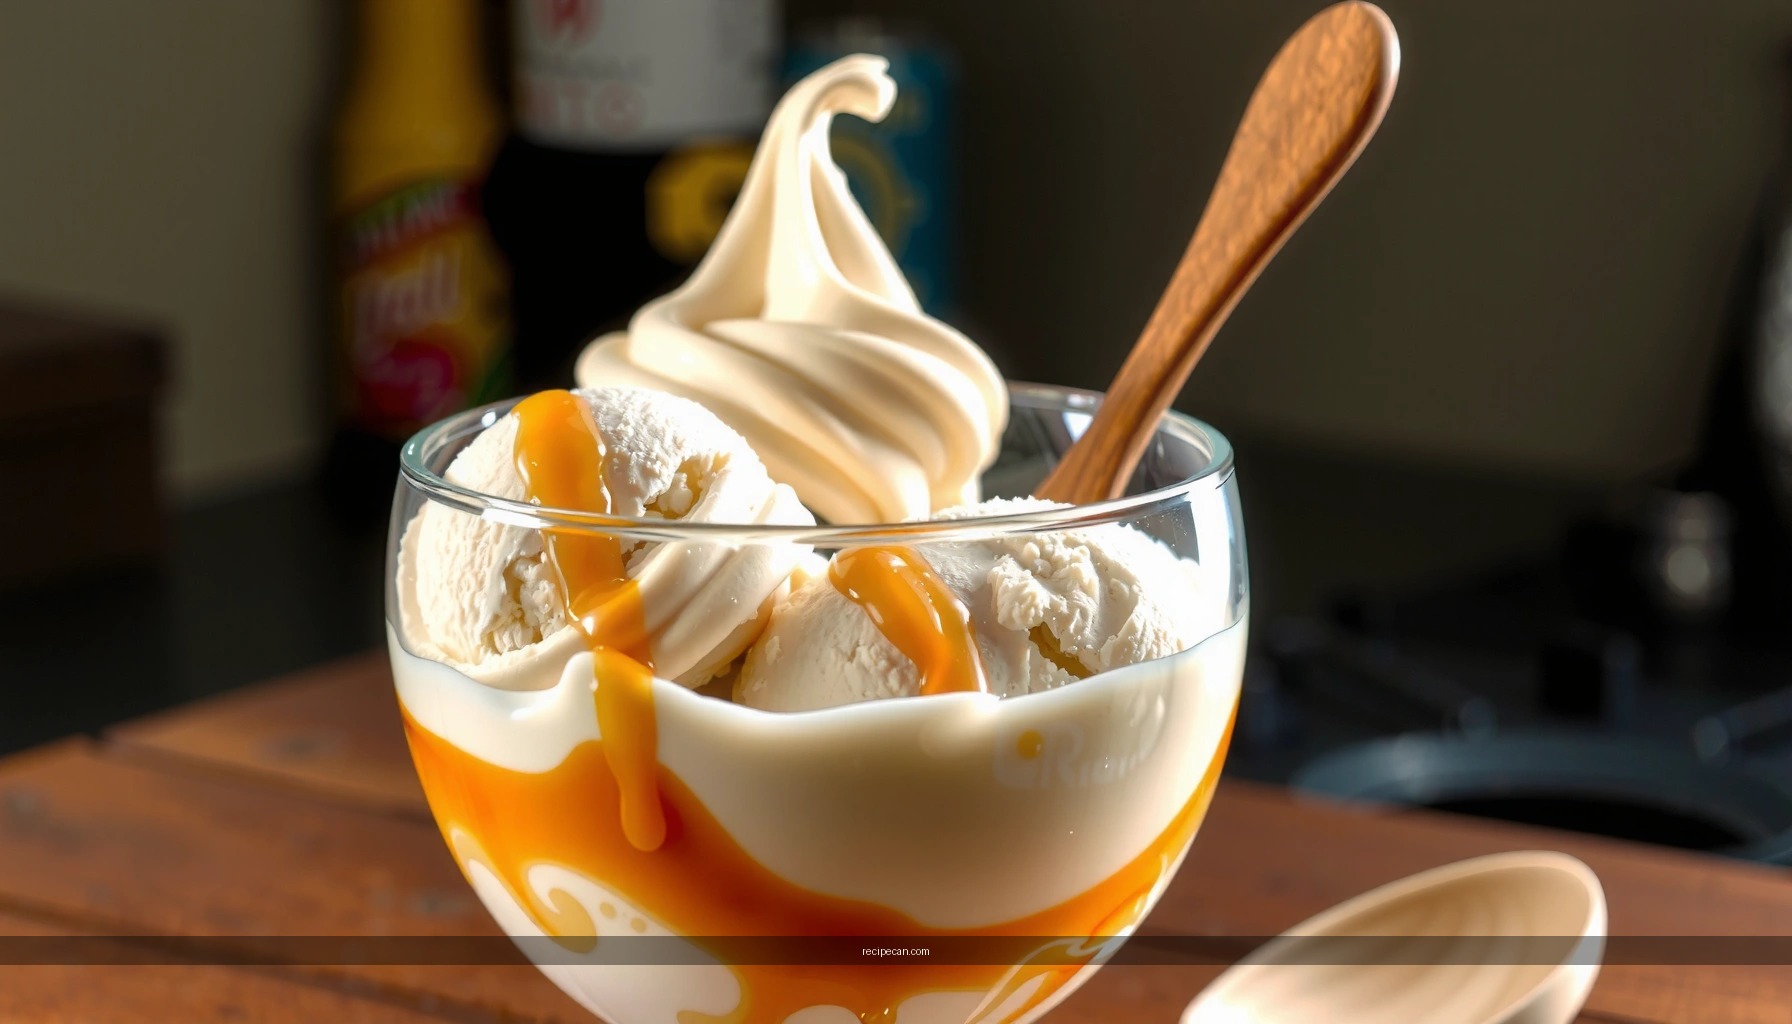
Get the best butterfinger homemade ice cream recipe—creamy base with real Butterfinger crunch in every spoonful—without complicated steps. This winner answers whether you can make a Butterfinger-style ice cream at home that’s both smooth and loaded with candy bits. Expect a straightforward method, strong flavor, and texture that stays crunchy instead of turning soggy.
Make creamy, scoopable Butterfinger ice cream at home by cooking a custard-style base, chilling it thoroughly, churning it to soft-serve, then folding in chopped Butterfinger for controlled crunch—so you get both creamy texture and candy bits in every spoonful. Below is a step-by-step approach that prioritizes ice-crystal prevention, custard thickening, and the right fold-in timing for a true “Butterfinger-style” bite.
Make the Butteringer Ice Cream Base

– Whisk together a smooth custard-style base with milk, cream, and sweeteners
– Cook gently until thick enough to coat a spoon
– Chill completely for the best freezing texture
A rich Butterfinger homemade ice cream starts with a custard-style base because it improves mouthfeel and stabilizes the mixture as it freezes. While churn time determines how fast your ice cream sets, the custard’s thickness and fat-to-water balance determine how smooth it stays over time.
What you’re building (and why it matters):
– Milk + heavy cream: Provides both flavor and structure. Heavy cream increases fat, which helps keep ice cream creamy rather than icy.
– Sweeteners: Sugar lowers the freezing point, helping the ice cream stay scoopable straight from the freezer.
– Custard thickening: Cooking gently thickens the mixture so it can trap air during churning and resist large ice crystal formation.
Recommended ingredient approach (one practical home batch):
– Heavy cream + whole milk as the dairy base
– Granulated sugar (for sweetness and freezing-point control)
– Egg yolks (optional, but strongly recommended for a custard base)
– A small pinch of salt to sharpen chocolate/nutty candy flavors
– Vanilla extract (helps the Butterfinger flavor read “dessert-ready”)
How to cook the custard safely and reliably:
1. Whisk yolks, sugar, and a portion of milk until smooth (no streaks).
2. Warm remaining dairy gently in a saucepan until steaming—not boiling.
3. Slowly temper the yolks by whisking in the hot dairy a little at a time.
4. Return to the saucepan and cook over medium-low, stirring constantly with a heatproof spatula.
5. Stop cooking when the custard coats the back of a spoon and holds a line when you run your finger through it.
| Step in the Custard Process | Target Temperature | Timing Guidance (Typical) | What to Watch For | Texture Impact |
|—:|—:|—:|—|—|
| Scalding dairy (before tempering) | 170–180°F (77–82°C) | 3–6 minutes | Steam rising; no rolling boil | ★★★★☆ (Improves custard stability) |
| Tempering stage (adding hot dairy to yolks) | Keep yolks below curdling risk | 2–4 minutes total | Continuous whisking prevents scramble | ★★★★☆ (Smoother base) |
| Custard thickening (after returning to heat) | 170–175°F (77–79°C) | 6–12 minutes | Coats spoon; finger line stays visible | ★★★★★ (Best creaminess) |
| Final stop temp (avoid overcooking) | 175–180°F (79–82°C) | 1–3 minutes | Custard thickens; do not boil | ★★★★☆ (Avoids grainy texture) |
| Immediate strain | N/A | 1–2 minutes | Strain lumps/overcooked bits | ★★★★☆ (Silkier mouthfeel) |
| Rapid chill | 40°F (4°C) or below | 2–4 hours | Reach cold quickly before freezing | ★★★★★ (Minimizes ice crystals) |
| Aging before churning (best practice) | 34–40°F (1–4°C) | 4–12 hours | Flavor deepens; fat sets slightly | ★★★★★ (More stable churn) |
Chilling is not optional. Ice cream bases need time in the refrigerator because fat globules and proteins reorganize as the mixture cools. That’s what makes the churn more effective and the frozen texture smoother. If you rush this step, you’ll often get slower churn, softer “foam,” and more icy edges later.
Prepare the Crunchy Butterfinger Bits

– Chop Butterfinger bars into small, even pieces
– Reserve some bits to fold in at the end for maximum crunch
– Consider crushing a portion lightly for better distribution
Butterfinger is the star here—so treat the candy as an ingredient with texture design goals, not just “mix-in.” Ice cream that’s crunchy but evenly dispersed usually has two sizes of candy pieces:
1. Small chopped bits that distribute throughout
2. A portion of slightly larger or reserve pieces to keep a noticeable crunch in each bite
Best cutting strategy:
– Use a sharp knife and cut pieces into roughly pea-sized to small bean-sized chunks (about 1/4-inch or smaller).
– Keep pieces as uniform as possible so freezing doesn’t create “hot spots” of hard candy.
Two-stage fold-in for controlled crunch:
– Fold in most of the Butterfinger during or immediately after churning so the pieces stay suspended through the aerated structure.
– Reserve some for the final fold (right before packing into the freezer) so the crunch is fresh and visible.
Optional improvement: partial crushing for “coverage”:
If you want Butterfinger flavor in every spoonful—especially in bites that don’t land on a big chunk—lightly crush a portion (not all) into smaller rubble. That rubble spreads better, giving a consistent candy note without turning the whole batch into a gritty texture.
Portioning tip (practical and repeatable):
– Start with enough candy for a confident crunch, then adjust the ratio in future batches.
– If you’re making a double batch, increase candy gradually—too much candy can affect churn performance and may lead to harder candy clusters.
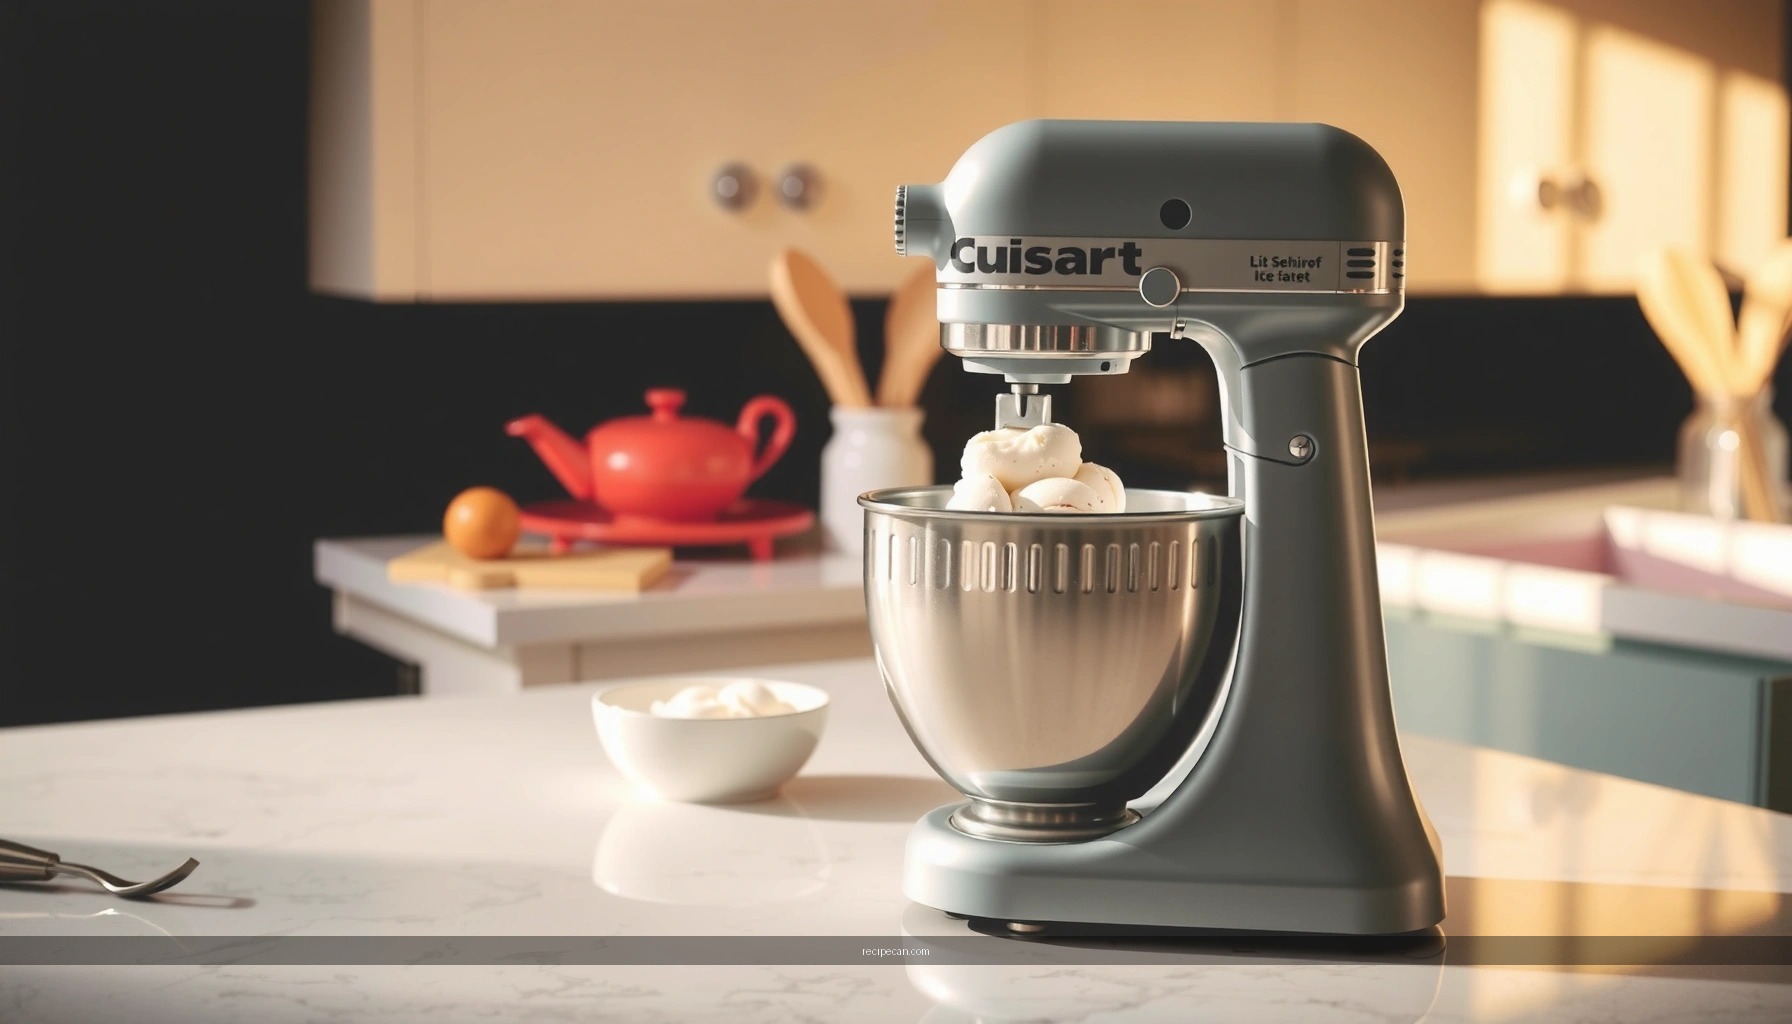
Churn to Get the Right Texture

– Churn the chilled base until it reaches soft-serve consistency
– Fold in most of the Butterfinger pieces during or right after churning
– Keep the mixture from overmixing to preserve some crunch
Churning is the part where your frozen dessert transitions from “cold custard” into “ice cream.” The key is reaching the right endpoint: soft-serve consistency. At that point, the base has incorporated air and formed small ice crystals—crucial for smooth scoopability.
How to know it’s ready:
– The mixture should look thickened and aerated, like soft-serve.
– It should hold peaks briefly when you lift the paddle (or similar “thickened swirl” visual cues).
– If you churn significantly past this point, the mixture can become overly dense and temperature can creep up or down unevenly depending on your machine—both of which can harm the final texture.
When to fold in Butterfinger:
– Add most of the chopped candy during the final minute of churning or right after you stop the machine.
– Then gently fold to distribute without breaking pieces into dust.
Why overmixing is a texture risk:
Butterfinger pieces can fracture further if you stir aggressively. That can:
– reduce “chunk crunch”
– increase candy powdery remnants
– create uneven sweetness and texture pockets
The goal is distributed crunch with intact candy geometry—so stir with restraint.
Freeze and Set for Perfect Scoops
– Transfer to a container and freeze until firm
– Press plastic wrap directly onto the surface to prevent ice crystals
– Let it sit briefly at room temperature before scooping
Once you churn, your ice cream needs a set-up phase. This is where aerated air spaces stabilize, and where smooth texture is either protected or lost.
Transfer and surface protection:
1. Pack the churned ice cream into a freezer-safe container.
2. Press plastic wrap directly onto the surface (no gaps). This reduces exposure to air and limits ice crystal growth.
3. Seal with a lid or additional wrap.
Freeze time:
– Aim for at least 4–6 hours for firm scoops. Overnight is ideal for best structure.
Scoop readiness:
Ice cream straight from the freezer can be very firm. Before serving:
– Let it sit 5–10 minutes at room temperature.
– This softens the outer layer, giving a clean scoop with minimal crumble.
If you’ve ever had a batch that “cracks” or turns into a crumbly mass, it’s usually a sign the mix got too cold and/or warmed unevenly—so a brief rest helps.
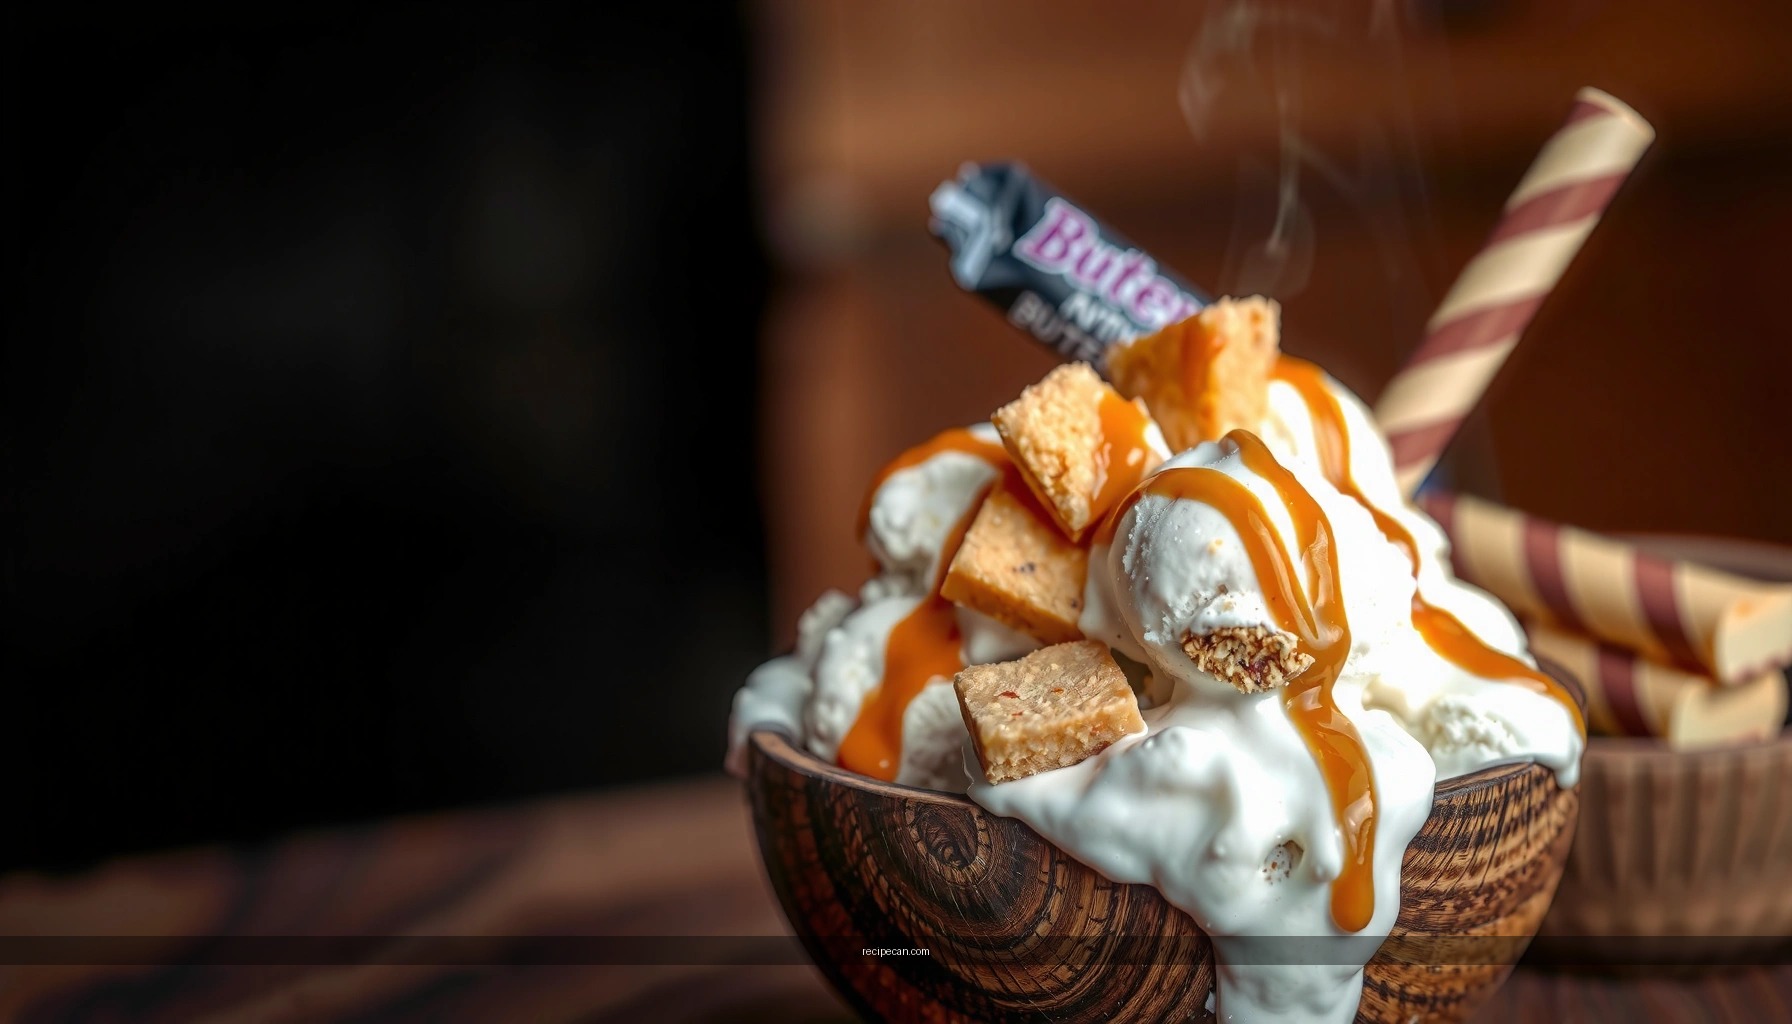
Serving Ideas and Flavor Tweaks
– Top with extra chopped Butterfinger for a candy-forward finish
– Add a drizzle of caramel or chocolate sauce for deeper flavor
– Customize sweetness by adjusting how much candy you fold in
This recipe is designed to be modular. Butterfinger ice cream already has sweet, nutty-caramel notes, so toppings should amplify contrast rather than duplicate sweetness too heavily.
Fast serving upgrades:
– Candy-forward finish: Sprinkle extra chopped Butterfinger right before serving so guests get visible crunch plus fresh aroma.
– Caramel drizzle: A caramel ribbon deepens the “buttery” candy profile and makes the dessert taste more complex than plain vanilla-chocolate alone.
– Chocolate sauce: Use either warm chocolate (for a glossy contrast) or a quick drizzle so it doesn’t completely melt the ice cream.
Customize the candy intensity:
– If you prefer a subtle Butterfinger presence, fold in less candy and save more for the top.
– If you want a bold candy bar feel, increase the candy fold-in amount and keep a large reserve for final mixing so crunch remains obvious.
Pairing ideas for a more “bakery” presentation:
– Serve with warm brownies or caramel cookies to bring gooey warmth against cool cream.
– Add a light sprinkle of flaky salt if your Butterfinger pieces taste less “buttery” to you; salt can elevate the caramel/nutty notes without making it savory.
Storage and Make-Ahead Tips
– Store covered in the freezer to keep texture and flavor fresh
– For best results, eat within about 1–2 weeks
– Re-crisp slightly with a short rest at room temperature before serving
Proper storage is where homemade ice cream either holds up—or gradually loses smoothness. The biggest enemies are air exposure and temperature cycling (warming and re-freezing).
Storage best practices:
– Keep the container tightly sealed.
– Press plastic wrap to the surface (as you do before the final freezing) and then seal with the lid.
– Place it toward the back of the freezer where temperature is most stable.
How long to keep it:
For the best texture and flavor, plan to enjoy it within about 1–2 weeks. Over time, even with good technique, homemade batches can develop mild freezer-bite or ice crystal texture.
Re-crisp technique before serving:
If the ice cream softens (for example, it sat out too long or you warm it while portioning):
– Return it to the freezer briefly, or
– Re-crisp slightly, then let it sit 5 minutes at room temperature to regain a smooth scoop.
This approach restores both scoopability and perceived creaminess.
Toss this Butterfinger homemade ice cream into your next dessert plan and enjoy creamy, crunchy scoops made from scratch. By focusing on a well-cooked custard base, a fully chilled foundation, precise churn timing, and a controlled two-stage Butterfinger fold-in, you’ll get the sweet crunch you want without sacrificing the creamy finish that makes homemade ice cream truly superior. Want a bolder version? Make a second batch with extra chopped Butterfinger, keeping the same technique so the candy stays crunchy and evenly distributed.
Frequently Asked Questions
What’s the best way to make Butterfinger homemade ice cream without the candy melting unevenly?
Crush Butterfinger bars into small pieces and fold most of them into the custard after it cools to room temperature. This helps prevent the candy from turning to syrup in the freezer. For extra texture, reserve some crushed Butterfinger to sprinkle on top during the last minutes of churning or right after you transfer the ice cream to the container.
How do I make a Butterfinger homemade ice cream base that’s creamy and not icy?
Use a cooked custard base (milk, cream, egg yolks, sugar) and heat gently until it thickens enough to coat the back of a spoon. Chill the custard thoroughly—at least 4 hours or overnight—before churning, since starting with cold base reduces iciness. Churning with an ice cream maker and adding a small amount of corn syrup or sweetened condensed milk can also improve creaminess.
Why does Butterfinger taste different in ice cream than in the original candy?
Homemade Butterfinger ice cream relies on how the caramel and peanut butter notes distribute through a frozen dairy base. If you add Butterfinger candy too early while the mixture is hot, the candy can break down and lose some of its distinct crunch flavor. Chilling the custard first and adding crushed Butterfinger at the correct temperature helps preserve the candy’s signature sweetness and peanut aroma.
Which Butterfinger pieces work best for a Butterfinger homemade ice cream recipe—full bars or crumbs?
Full bars tend to create larger clusters and can deliver more noticeable “candy bits” when folded in properly. Crumbs give a more even distribution and a stronger peanut-butter-caramel flavor throughout the ice cream. For best results, use a mix: combine fine crumbs for flavor with a few larger crushed chunks for texture.
How long should I churn and freeze Butterfinger homemade ice cream for the right texture?
Churn according to your ice cream maker’s typical cycle, usually about 20–30 minutes, until the mixture thickens to soft-serve consistency. Then freeze it in a container for at least 4 hours to firm up and develop a scoopable texture. If you want the Butterfinger pieces to stay crispier, avoid overfreezing for extremely long periods and keep the ice cream tightly covered to reduce moisture crystallization.
References
- Google Scholar Google Scholar
https://scholar.google.com/scholar?q=butterfinger+homemade+ice+cream+recipe - Google Scholar Google Scholar
https://scholar.google.com/scholar?q=homemade+ice+cream+custard+churn+stabilizers - Google Scholar Google Scholar
https://scholar.google.com/scholar?q=mix-in+particles+in+ice+cream+texture+chocolate - Ice cream
https://en.wikipedia.org/wiki/Ice_cream - Custard
https://en.wikipedia.org/wiki/Custard - Frozen dessert
https://en.wikipedia.org/wiki/Frozen_dessert - eCFR :: 21 CFR 135.110 — Ice cream and frozen custard.
https://www.ecfr.gov/current/title-21/chapter-I/subchapter-B/part-135/section-135.110 - https://www.cdc.gov/features/salmonellaeggs/index.html
https://www.cdc.gov/features/salmonellaeggs/index.html - https://pubmed.ncbi.nlm.nih.gov/?term=ice+cream+stabilizers+formulation
https://pubmed.ncbi.nlm.nih.gov/?term=ice+cream+stabilizers+formulation - Ice cream | Definition, History, & Production | Britannica
https://www.britannica.com/topic/ice-cream