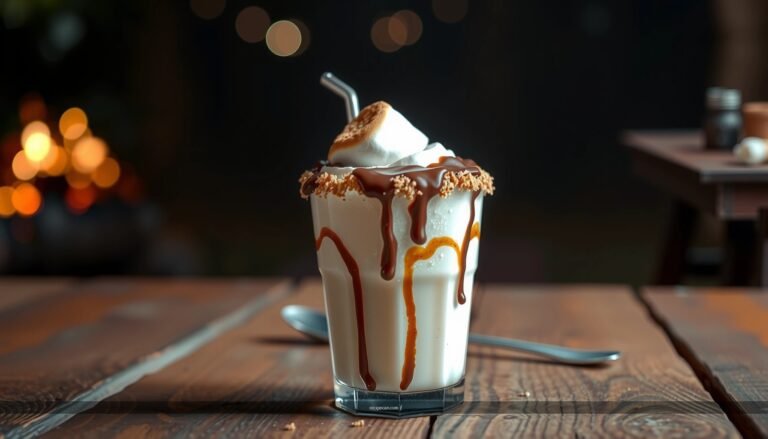
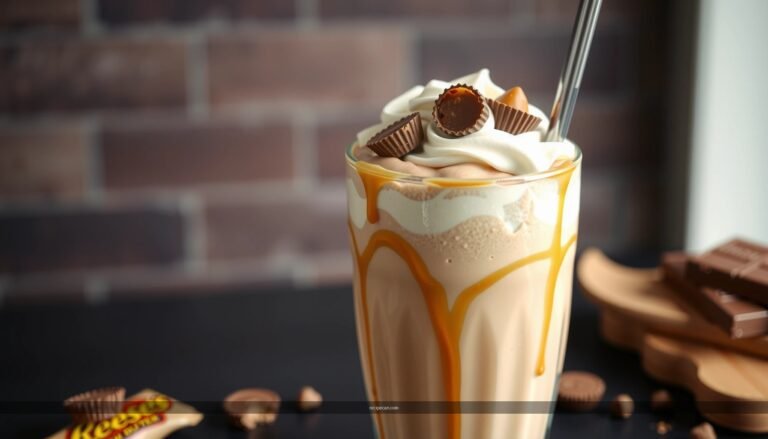
Want a slushie milkshake recipe that actually turns out thick, cold, and fast? This guide shows you the quickest method to blend a classic slushie-style milkshake—smooth enough to sip, icy enough to feel like a frozen treat. If your goal is speed without sacrificing flavor, you’ll know exactly what to buy, how to combine it, and when it’s ready to serve.
Make a slushie milkshake by blending milk and your flavor base with ice until thick and slushy—then finish it like a classic milkshake with toppings. This recipe gives you dependable ingredient ratios and precise blending steps so you get that smooth, icy texture at home without a watery result.
Ingredients for a Slushie Milkshake
A great slushie milkshake is built around three components: liquid (milk), flavor (your base), and structure (ice or frozen fruit). The balance between them controls whether you get a spoonable slush or an overly thin drink.
– Choose milk (dairy or dairy-free) and a flavor base like chocolate syrup, strawberry, or vanilla
– Milk options: whole milk for a creamier mouthfeel; 2% for lighter richness; or dairy-free milk (oat and almond work well).
– Flavor base options:
– Chocolate: cocoa powder plus a sweetener, or chocolate syrup for instant flavor.
– Strawberry: strawberry syrup or frozen strawberries blended with a small amount of sugar (depending on sweetness).
– Vanilla: vanilla syrup, vanilla extract, or a simple vanilla-milk base.
– Use plenty of ice (or frozen fruit) for that slushy, shake-like consistency
– Ice vs. frozen fruit: ice gives a classic “snow cone” slush texture; frozen fruit adds color and natural flavor while slightly thickening the mix.
– For consistency, use cubed ice or evenly sized frozen pieces so your blender crushes them at a similar rate.
Practical ratio (works for one large or two small cups):
– Milk: 1 cup (240 ml)
– Flavor base: 2–4 tbsp (start at 2 tbsp and adjust)
– Ice: 1 to 2 cups (120–240 g), depending on how thick you want it
Equipment You’ll Need
The slushy texture is largely a function of equipment and process. A powerful blender makes the difference between “smooth slush” and “chunky drink.”
– A blender for crushing ice into a smooth slush
– Look for at least a medium-to-high power blender with good ice-crushing performance.
– If your blender struggles, use short blending bursts and keep the ice evenly distributed.
– Measuring tools to keep the texture thick and not watery
– Use measuring cups/spoons for the milk and flavor base. When sweetness and thickness are right, the slushie milkshake tastes like what you ordered—not like a guess.
Helpful add-ons (optional):
– Tamper (for stubborn ice)
– Scale (for consistent ice density, especially if your cubes vary)
Step-by-Step Slushie Milkshake Recipe
This method is designed for repeatable results: build flavor first, then introduce ice gradually to thicken without creating lumps.
– Blend milk + flavor base first, then add ice/frozen fruit and blend until slushy
1. Add milk + flavor base to the blender and blend for 10–15 seconds until the mixture looks uniform.
– This step dissolves syrups and distributes cocoa/vanilla evenly, which helps prevent “flavor pockets.”
2. Add ice (or frozen fruit) in 1-cup increments.
3. Blend in bursts (about 10–20 seconds each), scraping down the sides as needed, until the mixture becomes thick and slushy.
– You’re aiming for a texture that holds shape briefly when poured, similar to soft-serve, not a fully liquid shake.
– Taste and adjust sweetness, then blend again briefly for a thicker finish
4. Taste immediately—cold suppresses sweetness, so you may need an extra teaspoon or tablespoon of syrup/sweetener.
5. If you adjust sweetness, blend for 5–10 seconds more so it integrates cleanly.
6. For an extra-thick finish, add a small handful of ice and blend briefly, rather than dumping in more liquid.
Troubleshooting quick fixes:
– Too thin? Add ½–1 cup more ice and blend in bursts.
– Too thick to blend? Add 1–2 tbsp milk and blend again briefly.
– Not smooth? Blend longer in short bursts and scrape down more often—ice clumps usually cause texture issues.
📋 Slushie Milkshake Texture Control (Recipe Planning Table)
Use this table to dial in thickness for your preferred slushie milkshake consistency.
Slushie Milkshake Thickness Targets (Milk 1 cup / 240 ml)
| # | Target Texture | Ice Amount | Blending Time | Sweetness Step |
|---|---|---|---|---|
| 1 | Drinkable Slush | 1 cup (120 g) | 45–60 sec | +1 tsp syrup if needed |
| 2 | Spoonable Slush | 1.25 cups (150 g) | 55–75 sec | Start at 2–3 tbsp flavor base |
| 3 | Thick Soft-Serve | 1.5 cups (180 g) | 70–95 sec | Use less syrup (2 tbsp) |
| 4 | Very Thick (Serve Quickly) | 1.75 cups (210 g) | 85–110 sec | Expect flavor to mute—taste |
| 5 | Fruit-Forward Slush | 1 cup ice + 1 cup fruit | 55–80 sec | Add 1 tbsp sweetener if tart |
| 6 | Chocolate-Cookie Style | 1.25 cups ice (150 g) | 60–85 sec | Start with 3 tbsp cocoa syrup |
| 7 | Light & Refreshing | 0.9–1 cup ice (108–120 g) | 40–55 sec | Use 2 tbsp syrup max to avoid syrupy taste |
Tips for the Perfect Slushy Texture
Achieving the right texture is less about “luck” and more about controlling heat, dilution, and ice size.
– Add ice gradually to control thickness without over-diluting the flavor
– Slushie milkshake texture degrades quickly if too much liquid is blended with insufficient ice.
– Start with your lower ice range, blend, then add ½-cup increments until the drink becomes spoonable.
– Blend in shorter bursts if your blender struggles with large ice chunks
– Short bursts help the blades catch ice efficiently, reducing “grindy” ice and uneven chunks.
– If you notice thick ice sitting at the top, scrape down and continue blending rather than extending one long cycle (which can warm the mixture).
Process insight:
The goal is to form tiny ice crystals coated by milk and flavor base. Smaller, evenly crushed ice gives a smoother slush that looks and tastes more like an artisan milkshake than a blended drink.
Toppings and Flavor Variations
A slushie milkshake is best understood as a “base + finish” system: the base determines texture; the toppings provide aroma, crunch, and visual appeal.
– Try whipped cream, crushed cookies, sprinkles, or a drizzle of extra syrup
– Whipped cream works especially well for vanilla and strawberry slushies, adding a creamy top layer.
– Crushed cookies or brownie bits pair well with chocolate—just keep the pieces coarse so they don’t disappear into the slush too fast.
– Sprinkles add color and playful crunch; use them sparingly so the drink remains balanced rather than overly sweet.
– Swap in flavors like caramel, mint, or coffee for different slushie milkshake vibes
– Caramel: Use caramel syrup and a pinch of salt to prevent overly sweet flavor.
– Mint: Combine mint extract or syrup with chocolate syrup for a classic “mint chocolate” profile.
– Coffee: Brewed espresso or strong coffee concentrate mixed into the milk base creates a café-style slushie milkshake; blend carefully to maintain smoothness.
Quick pairings (high impact, low effort):
– Chocolate slush + crushed chocolate wafers
– Strawberry slush + vanilla whipped cream and a strawberry syrup drizzle
– Vanilla slush + caramel swirl + flaky sea salt (tiny pinch)
Make-Ahead and Serving Notes
A slushie milkshake is a “serve now” beverage. The ice crystals continue changing as the drink sits, which affects thickness and mouthfeel.
– Serve immediately for the best slush texture
– For consistent results, pre-portion your cups and have toppings ready before you start blending.
– If you’re making multiple servings, blend in batches rather than storing the thick base.
– If it thickens in the cup, stir or blend for a few seconds to loosen it up
– Stirring with a spoon can be enough for mild thickening.
– For a thicker freeze-up, add 1–2 tbsp milk and blend briefly, or use the blender for 5–10 seconds to restore a smoother slush.
Operational tip (useful for families and parties):
Plan toppings as a “line build” so everyone gets a fresh, slushy cup—this avoids the common issue where the first drink melts while the last one is still being assembled.
A slushie milkshake comes together fast: blend milk, flavor, and ice until thick and slushy, then customize with toppings. Follow the ingredient ratios, blend in controlled bursts, and adjust sweetness right after blending so your texture stays smooth and creamy. Make your favorite flavor variation today—grab your blender, run the steps once for your ideal thickness, and you’ll have a reliable, crowd-pleasing slushie milkshake ready in minutes.
References
- Google Scholar Google Scholar
https://scholar.google.com/scholar?q=slushie+milkshake+recipe - Google Scholar Google Scholar
https://scholar.google.com/scholar?q=slush+frozen+beverage+ice+crystal+formation - Google Scholar Google Scholar
https://scholar.google.com/scholar?q=frozen+dairy+dessert+texture+ice+crystals+freezing+rate - Milkshake
https://en.wikipedia.org/wiki/Milkshake - Slush
https://en.wikipedia.org/wiki/Slush - Granita
https://en.wikipedia.org/wiki/Granita - https://www.britannica.com/topic/milkshake
https://www.britannica.com/topic/milkshake - https://pubmed.ncbi.nlm.nih.gov/?term=frozen+dairy+dessert+ice+crystal+formation
https://pubmed.ncbi.nlm.nih.gov/?term=frozen+dairy+dessert+ice+crystal+formation - https://pubmed.ncbi.nlm.nih.gov/?term=slush+freezing+process+ice+crystals
https://pubmed.ncbi.nlm.nih.gov/?term=slush+freezing+process+ice+crystals - https://www.sciencedirect.com/search?qs=frozen+dairy+beverage+ice+crystal
https://www.sciencedirect.com/search?qs=frozen+dairy+beverage+ice+crystal