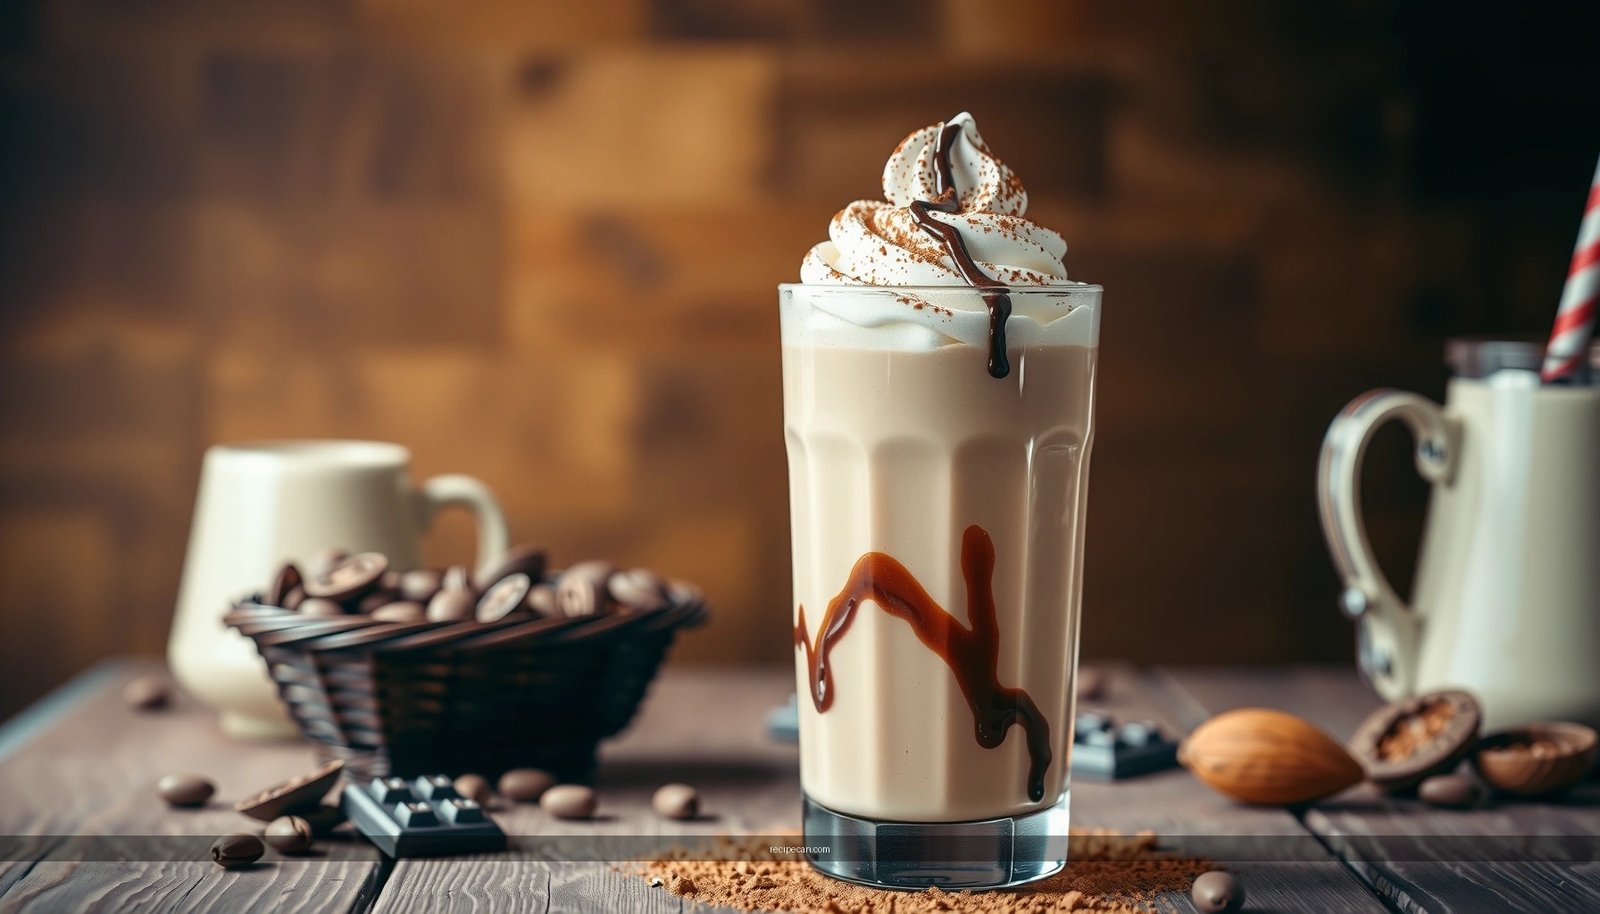
Want a chocolate milkshake with cocoa powder recipe that’s truly creamy and rich? This recipe delivers the best balance of cocoa and milk for a thick, spoonable shake—no store-bought mix required. Follow it once and you’ll get a consistent milkshake texture every time, whether you’re making it for a quick treat or a homemade dessert.
A chocolate milkshake with cocoa powder is simple to make: blend cold milk, unsweetened cocoa powder, your preferred sweetener, and vanilla until thick and smooth. In minutes, you’ll get a rich, classic shake texture—then you can fine-tune sweetness and thickness with practical, repeatable adjustments.
Ingredients for Chocolate Milkshake
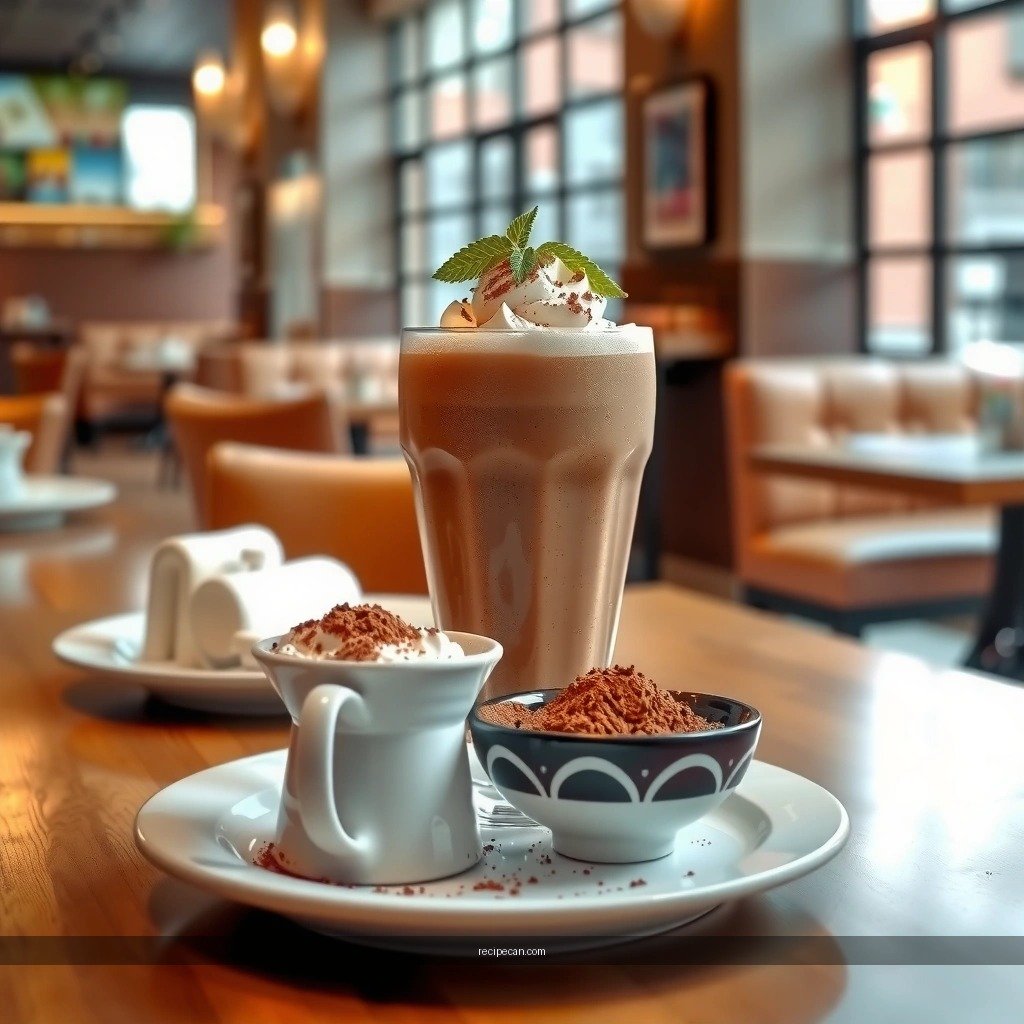
The quality of a creamy homemade chocolate milkshake starts with ingredient selection and ratios. For a “classic” result, aim for a deep cocoa flavor without bitterness. That means using unsweetened cocoa powder plus just enough sweetener to balance the roast.
– Cold milk (primary liquid + creaminess): Cold milk helps the shake thicken faster during blending and keeps the texture stable. Whole milk is the most consistent route to a classic dairy-milk mouthfeel, but 2% or plant-based alternatives can work if they’re similar in fat content.
– Unsweetened cocoa powder (flavor anchor): Use cocoa powder (not hot cocoa mix) so you control sweetness and avoid added fillers. Cocoa powder also helps the shake achieve the signature chocolate “body.”
– Sweetener (balance and perception of richness): Common options include granulated sugar, chocolate syrup, or flavored syrups. The best choice depends on whether you want a straightforward, “cocoa-forward” profile (sugar) or a more dessert-like flavor (syrup).
– Vanilla (aroma + rounding): Even a small amount improves perceived chocolate flavor and smooths any cocoa sharpness.
– Ice (thickness control): Ice is the easiest way to increase thickness and chill the drink without diluting chocolate intensity—when used in a controlled amount.
Actionable ratio tip: If you’re unsure, start with cocoa powder for flavor intensity first, then adjust sweetness second. Chocolate milkshake problems often come from under-sweetening (tasting “too bitter”) or over-sweetening (tasting “cloying”).
Chocolate Milkshake Cocoa-to-Sweetness Guide (1 Serving)
| # | Style Goal | Milk (ml) | Cocoa Powder (tbsp) | Sweetener (tbsp) | Best For |
|---|---|---|---|---|---|
| 1 | Balanced Classic | 240 | 1.5 | 1.5 | ★ ★ ★ ★ ★ |
| 2 | Extra Chocolate | 210 | 2.0 | 1.75 | ★ ★ ★ ★ ★ |
| 3 | Less Sweet (Adult Palate) | 240 | 1.5 | 1.0 | ★ ★ ★ ★ |
| 4 | Family-Friendly Mild Cocoa | 260 | 1.0 | 2.0 | ★ ★ ★ ★ ★ |
| 5 | Thick & Spoonable | 220 | 1.5 | 1.5 | ★ ★ ★ ★ ★ |
| 6 | Rich with Syrup Base | 240 | 1.5 | 2.5 | ★ ★ ★ ★ |
| 7 | Cocoa-Forward (Minimal Sweet) | 240 | 2.0 | 0.75 | ★ ★ ★ |
Equipment You’ll Need
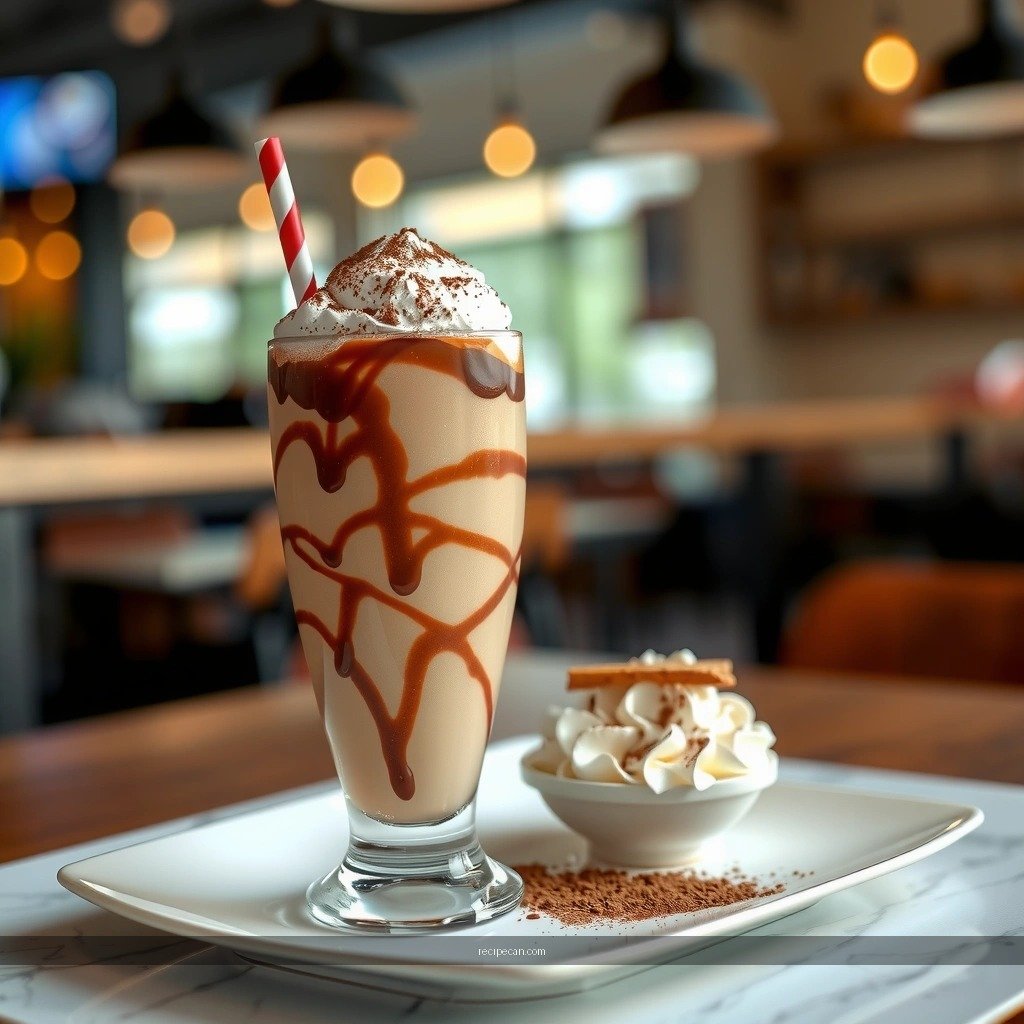
You don’t need specialty tools, but the equipment you choose directly affects texture—especially if you want that classic frothy, spoonable consistency.
– Blender (recommended): A blender provides the most consistent emulsification of cocoa powder into milk, creating a smoother, thicker shake without gritty cocoa particles.
– Measuring cups/spoons (for repeatability): If you’re adjusting a recipe for different sweetness levels, accurate measures help you reproduce results across batches.
– Milkshake pitcher (optional but practical): If you’re making shakes for guests, a pitcher makes portioning easier and reduces spills—useful for “batch” service.
– Glassware or serving cups: Chilled glasses improve the perception of thickness and keep the drink from warming too quickly.
Professional workflow suggestion: If you’re preparing multiple servings, pre-chill the glasses and set out toppings (whipped cream, chocolate shavings). This keeps the shakes moving from blender to glass quickly.
Step-by-Step Cocoa Powder Milkshake Method

This chocolate milkshake with cocoa powder recipe is built around one key technique: blend until cocoa is fully integrated. Cocoa powder tends to clump, and adequate blending is what turns “ingredients” into “shake.”
1. Add cold milk to the blender first. Starting with liquid helps cocoa powder disperse more evenly.
2. Add unsweetened cocoa powder. Sprinkle it in rather than dumping a mound, which can cause uneven mixing.
3. Add sweetener and vanilla. Add your sugar or syrup, plus vanilla extract (or paste) to round the chocolate flavor.
4. Blend until thick and smooth. Start on a lower speed to combine, then increase until the mixture looks uniform and slightly aerated.
5. Taste and adjust, then blend briefly again.
– Too bitter? Add a small amount of sweetener, blend 10–15 seconds, and re-taste.
– Too thin? Add ice and blend again until thick.
Quality control cues: A properly blended cocoa milkshake should look glossy (not dry or speckled), and it should pour slowly while still holding a creamy surface.
How to Get the Perfect Thickness
Thickness is not one-variable—it’s the result of fat content, ice, cocoa dispersion, and blending time. If your shake is thinner than expected, adjust one factor at a time.
– Add ice for thickness and colder texture: Ice increases volume and concentrates flavor as it melts slightly during blending. For a classic “milkshake shop” feel, use enough ice to visibly thicken the blend.
– Use more cocoa powder carefully: Extra cocoa powder can increase thickness and chocolate intensity, but too much can make the shake taste dry or overly bitter. A small incremental change is best.
– Choose a thicker base if needed: Whole milk generally yields a richer texture. If using a lower-fat milk, consider slightly more cocoa or a bit more ice to reach the same viscosity.
– Blend longer for emulsification: If cocoa powder isn’t fully dispersed, the shake may feel thinner and grainier even when ratios are correct.
Practical troubleshooting:
– Too watery: Add 2–3 ice cubes, blend 15–20 seconds, check texture.
– Too thick: Add 1–2 tablespoons of milk, blend briefly until smooth.
– Grainy texture: Blend longer or strain through a fine mesh (use only if necessary), then blend again for the next batch.
Flavor Variations and Add-Ins
Once the base chocolate milkshake with cocoa powder recipe is dialed in, variations are easiest—because you’re layering flavor on a stable foundation.
– Chocolate syrup (for classic dessert sweetness): Add 1–2 tablespoons to increase sweetness and improve “depth” without adding dryness that extra cocoa can sometimes create.
– Espresso powder (for mocha-like complexity): A small pinch intensifies chocolate flavors by adding roasted notes, often without tasting “coffee-forward.”
– Pinch of salt (for flavor clarity): Salt isn’t about making it salty—it balances cocoa and makes chocolate taste fuller.
– Whipped cream topping: Provides a creamy contrast and boosts perceived richness.
– Chocolate shavings or curls: Add texture and a visual “premium” factor.
– Drizzle (caramel or chocolate): Use sparingly so the shake remains drinkable rather than overly heavy.
Balanced add-in strategy: Keep add-ins within 5–10% of the total mix volume (or 1–2 teaspoons for strong ingredients like espresso powder) to maintain the shake’s signature thickness and smoothness.
Serving and Storage Tips
A chocolate milkshake is best treated like a freshly mixed product. The longer it sits, the more foam collapses and the texture can become less frothy.
– Serve immediately for best froth and texture: Pour right after blending for the thickest, most aerated mouthfeel.
– If you must store, refrigerate briefly: Chill for short periods only. Then re-blend with a splash of milk to restore consistency.
– Avoid long delays between blending and drinking: Cocoa powder settles, and ice melt changes viscosity over time.
Batch serving tip: Blend in smaller batches rather than one large mix. Smaller batches maintain consistent aeration and reduce texture variation from the first pour to the last.
If you follow this chocolate milkshake with cocoa powder recipe—blending cold milk, cocoa powder, sweetener, and vanilla—you’ll make a creamy, classic shake fast. Gather your ingredients, adjust thickness with ice, and customize with your favorite add-ins, then serve right away and enjoy!
The result is a dependable, professional-quality homemade shake: deep chocolate flavor, smooth integration, and thickness you can control. By focusing on cold ingredients, proper blending, and incremental adjustments for sweetness and viscosity, you can reproduce your ideal cocoa milkshake consistently—whether you’re serving one or scaling up for a small group.
References
- Milkshake
https://en.wikipedia.org/wiki/Milkshake - https://en.wikipedia.org/wiki/Chocolate_milk
https://en.wikipedia.org/wiki/Chocolate_milk - Cocoa powder
https://en.wikipedia.org/wiki/Cocoa_powder - https://www.britannica.com/topic/milkshake
https://www.britannica.com/topic/milkshake - https://pubmed.ncbi.nlm.nih.gov/?term=cocoa+powder+health+benefits
https://pubmed.ncbi.nlm.nih.gov/?term=cocoa+powder+health+benefits - https://pubmed.ncbi.nlm.nih.gov/?term=chocolate+milk+composition+nutrition
https://pubmed.ncbi.nlm.nih.gov/?term=chocolate+milk+composition+nutrition - https://pubmed.ncbi.nlm.nih.gov/?term=milkshake+nutritional+intake
https://pubmed.ncbi.nlm.nih.gov/?term=milkshake+nutritional+intake - Google Scholar Google Scholar
https://scholar.google.com/scholar?q=chocolate+milkshake+cocoa+powder+recipe - Google Scholar Google Scholar
https://scholar.google.com/scholar?q=milkshake+homemade+cocoa+powder+ice+cream+milk+blender - Google Scholar Google Scholar
https://scholar.google.com/scholar?q=chocolate+milk+flavanols+cocoa+powder+processing+study


