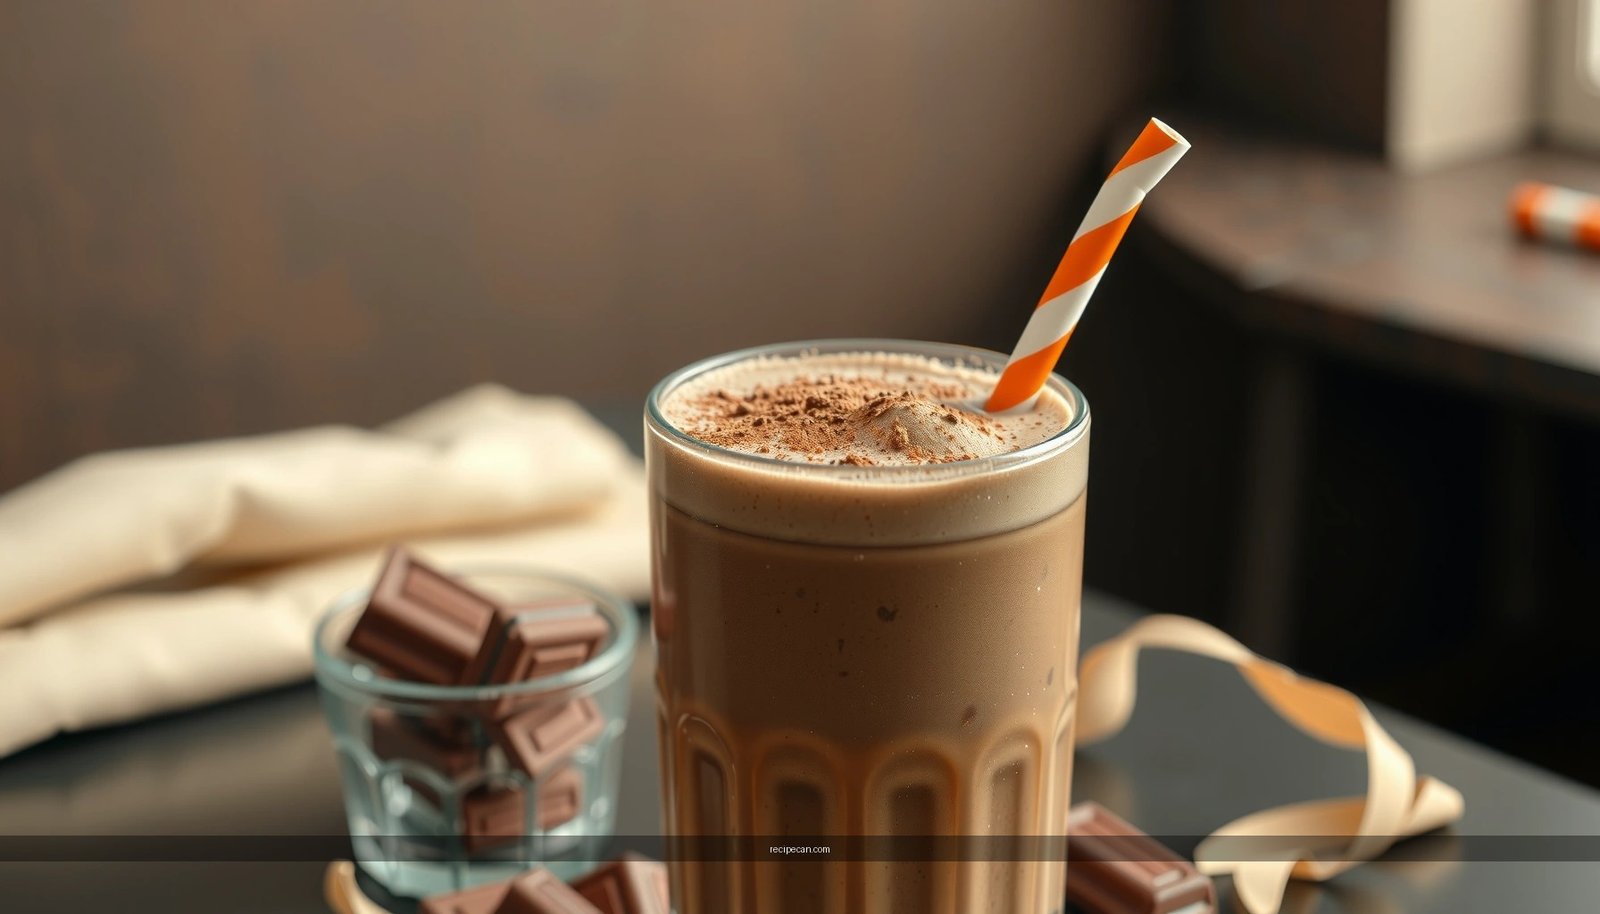
Looking for a chocolate milkshake recipe with cocoa powder that tastes like a classic diner shake? This recipe is the clear winner if you want deep chocolate flavor without relying on instant mix or syrup, delivering a thick, spoonable shake in minutes. You’ll get exact cocoa-to-milk ratios, the right sweetness level, and a foolproof blending method for smooth results every time.
A chocolate milkshake recipe with cocoa powder is easy and reliable: blend cold milk, cocoa powder, sweetener, and ice until thick and creamy, then fine-tune sweetness and texture. With the right cocoa type and a couple of texture controls, you can replicate the rich, classic milkshake taste in minutes—without fuss.
Cocoa Powder Profile for Chocolate Milkshake Flavor (Typical Nutrition)
| # | Cocoa Powder Type | Flavor Character | pH / Acidity (Approx.) | Blend-Ready Dispersion |
|---|---|---|---|---|
| 1 | Natural (Unsweetened) | Bright, classic cocoa | ~pH 5–6 | ★ 4.6/5 |
| 2 | Dutch-Processed (Unsweetened) | Smoother, less sharp | ~pH 6–8 | ★ 4.7/5 |
| 3 | “Oversifted” Natural (Fine Grind) | Extra cocoa-forward | ~pH 5–6 | ★ 4.5/5 |
| 4 | Low-Fat Cocoa (Unsweetened) | Less body, still rich | ~pH 5–7 | ★ 4.1/5 |
| 5 | Dutch-Processed (High-Density Blend) | Deep, “dark chocolate” tone | ~pH 6.5–8 | ★ 4.8/5 |
| 6 | Cocoa Mix (Sweetened) | Convenient, less “control” | ~pH 5–7 | ★ 3.3/5 |
| 7 | Hot Cocoa Mix (Starch-Modified) | May taste “powdery” cold | ~pH 5–7 | ★ 2.9/5 |
Ingredients You Need for Chocolate Milkshake
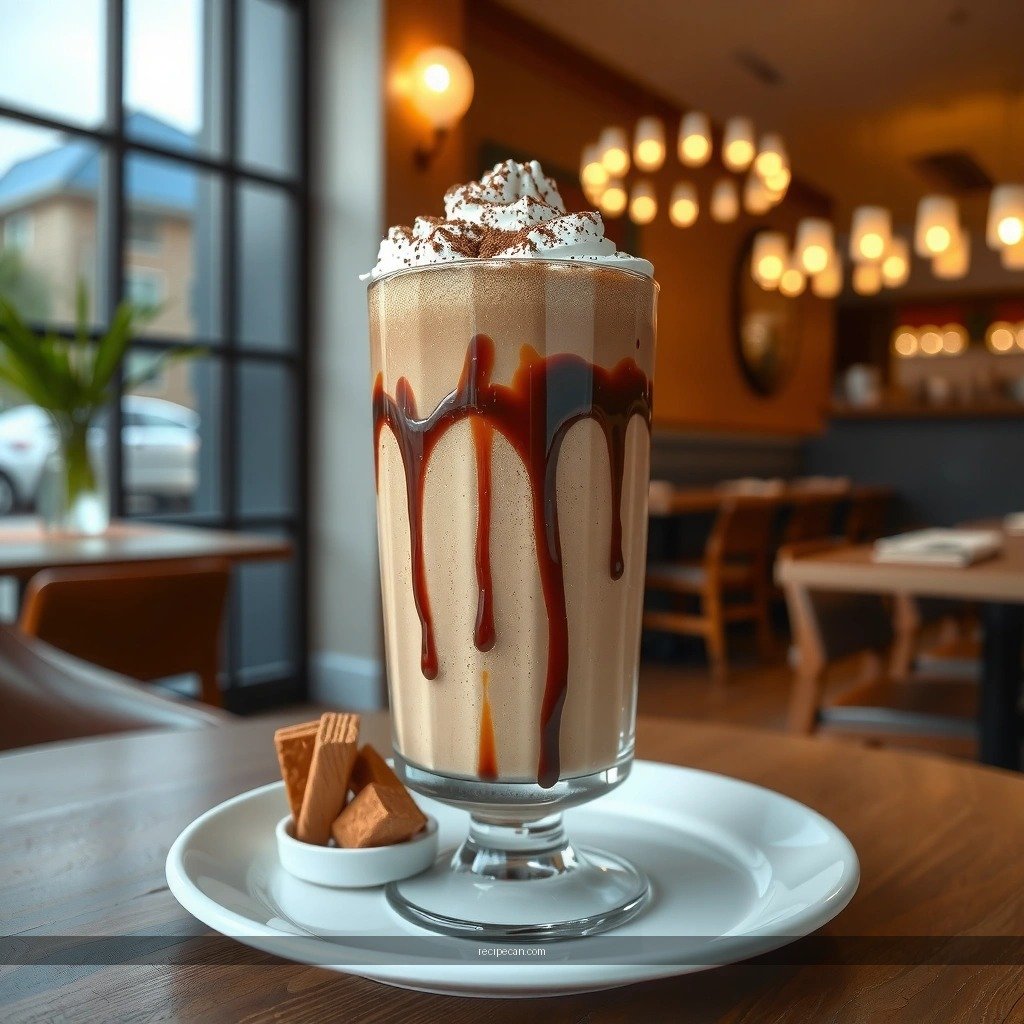
A classic chocolate milkshake recipe with cocoa powder is built on four fundamentals: cocoa powder for flavor, cold milk for body, a sweetener for balance, and ice to create the milkshake’s signature chill and thickness. For most people, this is the easiest way to get a “true milkshake” texture rather than a thin chocolate drink.
Core ingredient formula (1 standard serving):
– 2/3 cup (160 ml) cold milk (whole milk yields the creamiest mouthfeel; 2% works well)
– 2 to 3 tbsp unsweetened cocoa powder
– 1 to 2 tbsp sweetener (granulated sugar, brown sugar, honey, or maple syrup—start lower)
– 1 cup (about 6–8 cubes) ice (adjust for thickness)
Optional but common add-ins:
– Pinch of salt (intensifies chocolate flavor)
– 1/2 tsp vanilla extract (adds depth and smooth aroma)
– 1–2 tsp chocolate syrup (for a “more classic shop” taste)
From a consistency standpoint, you’ll get the best result when you keep the milk cold and use cocoa powder that fully disperses in cold liquids—this prevents dry cocoa specks and grainy texture.
Best Cocoa Powder for Rich Chocolate Flavor
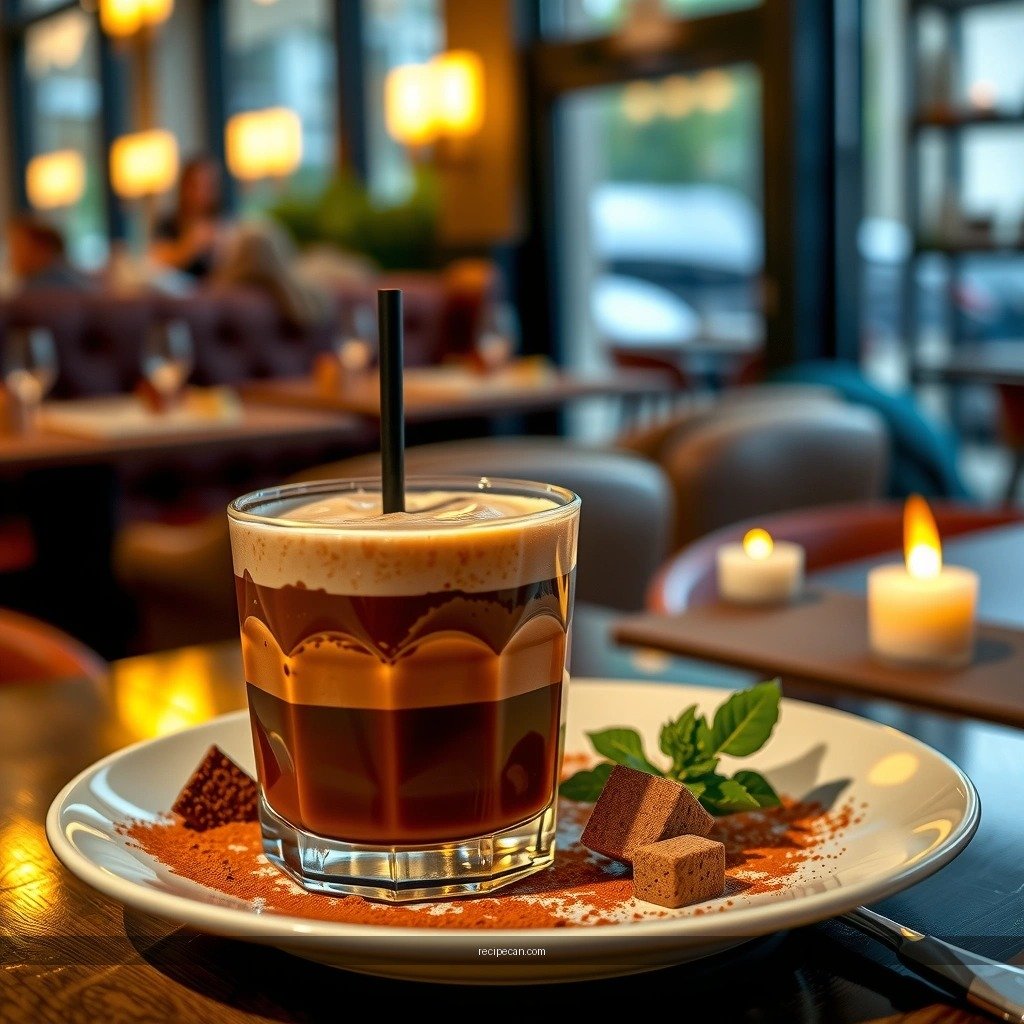
Not all cocoa powder behaves the same in a cold blend. Your choice determines whether the milkshake tastes like a chocolate bar (rich and steady) or a hot-cocoa powder (sweeter, sometimes less complex).
Use unsweetened cocoa powder for a classic, deep cocoa taste. Unsweetened cocoa gives you control over sweetness, and it typically offers a more “clean” cocoa flavor than sweetened mixes. If you rely on sweetened cocoa mixes, you often inherit added sugars and sometimes starches that can change the cold texture.
Choose “Dutch-processed” cocoa for a smoother, less acidic flavor. Dutch-processing alkalizes cocoa, reducing perceived sharpness and acidity. In a milkshake, that means fewer harsh notes and a more rounded “dessert chocolate” profile—especially if you plan to use less sweetener.
Practical guidance:
– Natural cocoa: brighter, slightly more tangy—excellent if you like a bold, classic cocoa snap.
– Dutch-processed cocoa: mellower, more chocolatey—excellent if you want a café-style smoothness.
– If your goal is a deep “old-school” chocolate flavor, Dutch-processed often wins, but natural can deliver a more vibrant cocoa aroma.
Step-by-Step: How to Blend a Smooth Milkshake
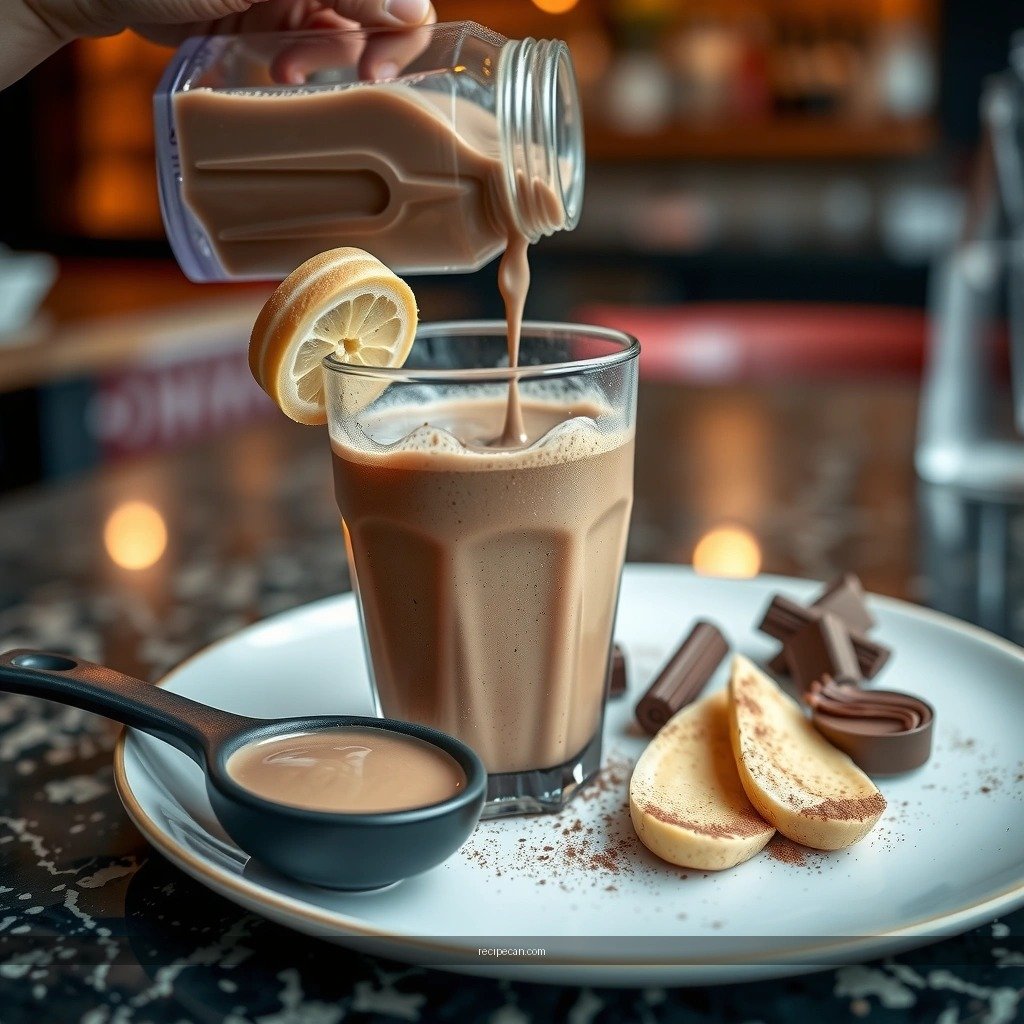
A smooth chocolate milkshake isn’t just about blending longer—it’s about blending in the right order. Cocoa powder can float and clump if it hits the blender too fast in a cold, thick environment. Your process should prioritize dissolving cocoa first, then building thickness with ice.
1. Blend milk + cocoa + sweetener first.
Add cold milk, cocoa powder, and your sweetener to the blender. Blend for 20–30 seconds until the cocoa looks fully dispersed and the mixture is uniform. This step is the difference between “silky” and “grainy.”
2. Add ice and blend again until thick and creamy.
Add ice and blend for 30–60 seconds, stopping once to scrape down the sides if needed. You want a texture that’s thick enough to hold its shape briefly in the glass, but still pourable through a spoon.
3. Check texture immediately and adjust.
If it’s too thick, add 1–2 tbsp milk and blend briefly. If it’s too thin, add a small handful of ice and blend again.
For best results, keep the blender ingredients cold and don’t “over-ice” on the first pass. Starting with less ice gives you more control: you can always add thickness, but you can’t easily remove it.
Sweetness & Flavor Adjustments
Chocolate milkshakes are all about balance—cocoa brings bitterness and aroma, while sweetness smooths and rounds the flavor. If you oversweeten early, it becomes harder to correct without ending up with a heavy, candy-like taste.
Taste and adjust sweetness before adding more ice.
Ice dulls flavor perception slightly. That means you may think the shake is adequately sweet during blending, then notice it tastes less sweet once it’s fully chilled and settled. Adjust sweetness in the base mixture first, then finalize thickness with ice.
Boost flavor with a pinch of salt or a splash of vanilla extract.
– Pinch of salt: amplifies chocolate notes and makes the flavor taste “bigger” without making it salty.
– Vanilla extract (about 1/2 tsp per serving): adds a warm aromatic layer that complements cocoa’s roasted character.
Optional professional-level adjustments:
– For a mocha-like effect: add 1/4 tsp instant espresso powder (or a tiny amount of strongly brewed espresso). This deepens chocolate flavor without tasting overtly “coffee.”
– For a richer finish: add 1–2 tsp chocolate syrup after blending, then pulse briefly to swirl.
Thickness Tips (Make It Thicker or Thinner)
Texture is where home milkshakes often miss the mark. Thickness comes from a combination of ice volume, milk amount, and cocoa dispersal. Use these controls to dial in the result like a routine.
For thicker: use more ice or slightly less milk.
– Add a handful more ice and blend in short bursts (10–15 seconds at a time).
– Or reduce milk by 1–2 tbsp in the next batch.
For thinner: add a small splash of milk and blend briefly.
– Start with 1–2 tbsp milk and re-blend for 10–20 seconds.
– Avoid adding too much liquid at once, because it can turn a milkshake into a drink.
Quick troubleshooting:
– Grainy texture? Likely cocoa wasn’t fully dispersed in the milk. Next time, blend milk + cocoa + sweetener longer (before adding ice).
– Too icy? Reduce ice volume, and consider blending slightly longer to fully incorporate.
– Too heavy? Increase milk by a tablespoon and re-blend until pourable.
Serving Ideas & Toppings
The simplest chocolate milkshake recipe with cocoa powder becomes significantly more indulgent with the right presentation. Toppings aren’t only decorative—they can change perceived sweetness, texture, and aroma.
Classic, high-impact toppings:
– Whipped cream and a dusting of cocoa powder for a café-style finish.
– Chocolate syrup drizzle for extra sweetness and glossy contrast.
For extra indulgence, choose one:
– Shaved chocolate (adds a delicate melt and crunch)
– Chocolate chips (adds texture; consider a brief pulse so chips don’t all sink)
– Cocoa nibs (more intense, less sweet—excellent if you want a “grown-up” shake)
Serving technique that improves experience:
– Chill your glass slightly (even 5 minutes in the freezer helps).
– Pour slowly; foam should form a thin cap without collapsing into watery layers.
A smart customization approach for consistency:
– If you used natural cocoa (more tangy), pair with whipped cream or vanilla.
– If you used Dutch-processed cocoa (smoother), try chocolate syrup or shaved chocolate to maximize richness.
A great chocolate milkshake recipe with cocoa powder comes down to dissolving the cocoa well, blending with enough ice for thickness, and tweaking sweetness to taste. Make it today by following the step-by-step blend method—then try one topping variation to find your favorite combination. Once you understand the “blend order + texture controls” approach, you’ll be able to recreate the same rich, smooth chocolate milkshake every time.
References
- Google Scholar Google Scholar
https://scholar.google.com/scholar?q=chocolate+milkshake+recipe+cocoa+powder - Google Scholar Google Scholar
https://scholar.google.com/scholar?q=cocoa+powder+milkshake+homemade+recipe - https://scholar.google.com/scholar?q=milkshake+formulation+cocoa+powder+emulsion Google Scholar
https://scholar.google.com/scholar?q=milkshake+formulation+cocoa+powder+emulsion - Milkshake
https://en.wikipedia.org/wiki/Milkshake - Chocolate milk
https://en.wikipedia.org/wiki/Chocolate_milk - Cocoa powder
https://en.wikipedia.org/wiki/Cocoa_powder - https://www.britannica.com/topic/cocoa
https://www.britannica.com/topic/cocoa - eCFR :: 21 CFR 163.130 — Milk chocolate.
https://www.ecfr.gov/current/title-21/chapter-I/subchapter-B/part-163/subpart-B/section-163.130 - https://pubmed.ncbi.nlm.nih.gov/?term=cocoa+powder+nutrients+polyphenols
https://pubmed.ncbi.nlm.nih.gov/?term=cocoa+powder+nutrients+polyphenols - Chocolate
https://en.wikipedia.org/wiki/Chocolate


