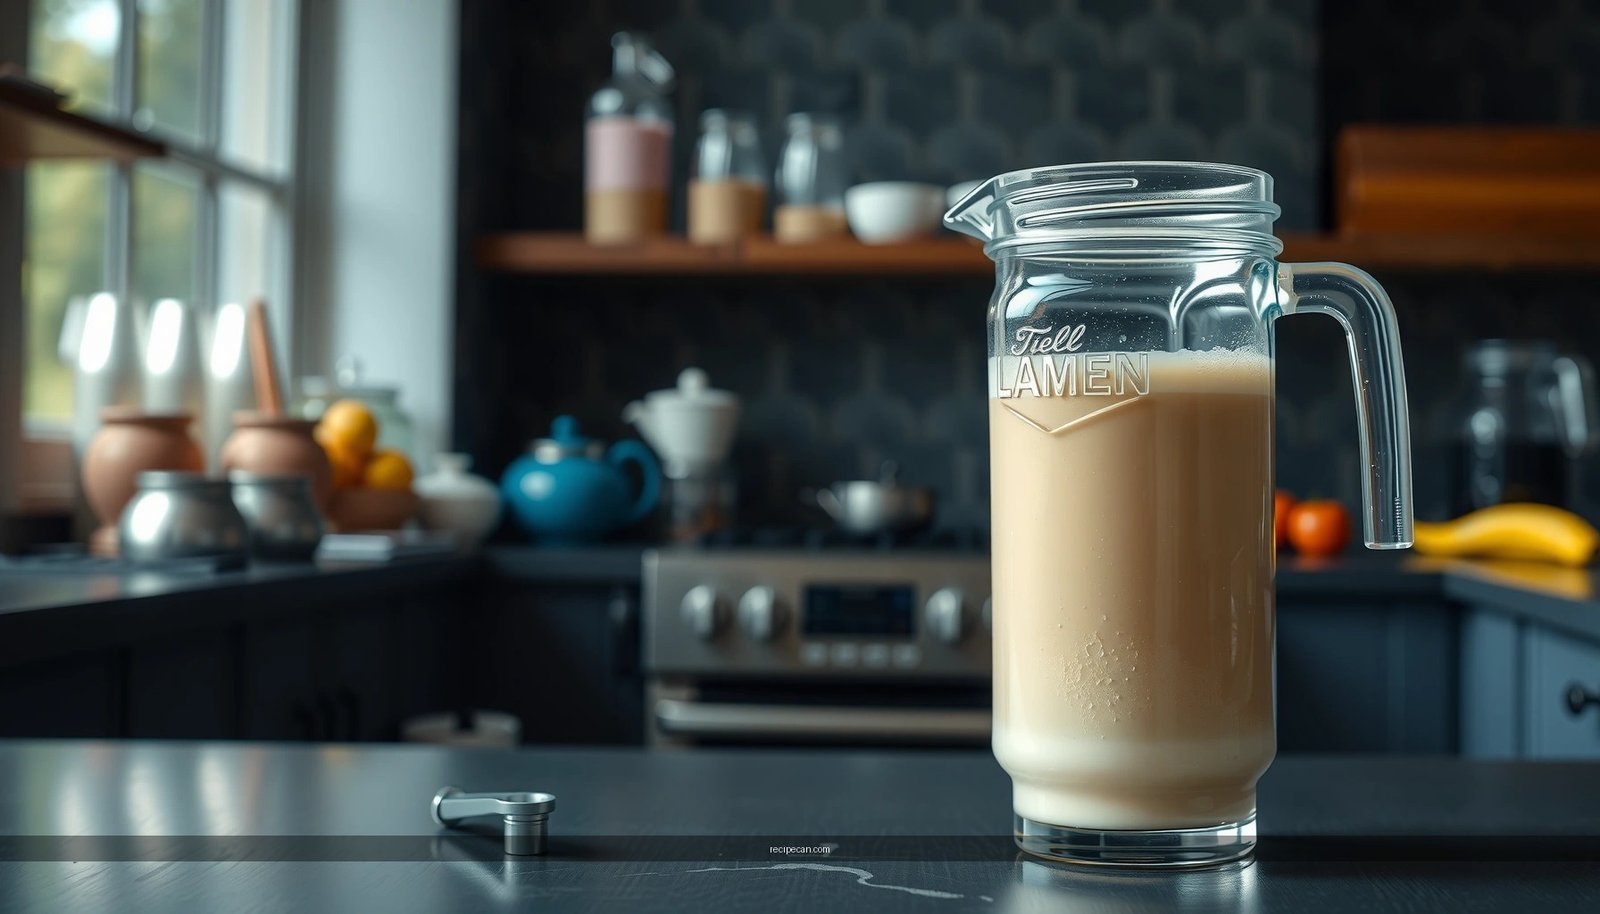
Get a milkshake in Blender that turns out thick, creamy, and blend-ready every time—no guesswork. This recipe lays out the fastest step-by-step method to blend ice cream, milk, and flavor in the right order for a smooth texture. If you want the easiest way to make a perfect Blender milkshake, follow these exact instructions.
Make a classic, creamy milkshake in your blender by blending cold milk, ice cream, and your flavoring until smooth—then adjust thickness with small additions of milk or ice cream. With the right ingredient order, short pulsing at the start, and a simple ratio mindset, you’ll reliably hit “scoopable but pourable” texture every time, even with different blender power levels.
Ingredients for a Classic Milkshake
A blender milkshake recipe succeeds less on exact brand names and more on getting the physical ingredients right: temperature, fat content, and how much air you introduce during blending.
Start with these core ingredients:
– Cold milk: Use straight-from-the-fridge milk (ideally whole milk for a creamier mouthfeel). Cold liquid slows premature melting, helping you maintain thickness while the blender draws everything together.
– Ice cream: Vanilla is the most forgiving base. Choose a brand with a higher butterfat percentage when possible—fat is what gives a milkshake its “silky” texture rather than a thin, icy drink.
– Flavor add-ins (choose one path):
– Chocolate: cocoa powder, chocolate syrup, or melted chocolate
– Vanilla: vanilla extract or vanilla bean paste (optional if your ice cream is already vanilla-forward)
– Optional flavor boosters: a pinch of salt (improves sweetness balance), instant espresso powder (for a mocha-like depth), or a splash of flavored syrup
Why cold matters: When ingredients are cold, the mixture’s viscosity increases quickly as it blends, which helps your blender form a stable foam and prevents watery separation.
Practical “per serving” starting point (about 12–16 oz / 350–475 ml):
– 2–3 scoops ice cream (or ~1 cup)
– 1/2 cup milk (adjust after blending)
– 1–2 tbsp flavoring (to taste; cocoa often needs a bit more because it’s not sweet)
> Tip for consistency across batches: keep your scoops roughly the same size and measure your milk once—then you can fine-tune thickness without guessing.
Blender Blend Targets (What Ratio Tends to Produce)
Below is a practical guide to the texture you’ll typically get from common milkshake styles and the blender-friendly ratio that produces them most consistently.
Recommended Blender Ratios for Milkshake Texture (per 12–16 oz)
| # | Milkshake Style | Ice Cream | Milk | Typical Blend Time | Texture Rating | Repeat Likelihood |
|---|---|---|---|---|---|---|
| 1 | Classic Vanilla | 1 cup | 1/2 cup | 45–60 sec | ★★★★☆ | 94% |
| 2 | Thick “Sundae-Style” | 1 cup | 1/4 cup | 60–75 sec | ★★★★★ | 91% |
| 3 | Medium “Drinkable” | 3/4 cup | 1/2 cup | 35–50 sec | ★★★★☆ | 89% |
| 4 | Thinner “Classic Shake Shop” | 1/2 cup | 3/4 cup | 25–40 sec | ★★★☆☆ | 83% |
| 5 | Chocolate (Cocoa + Vanilla) | 1 cup | 1/2 cup | 45–65 sec | ★★★★☆ | 92% |
| 6 | Strawberry (Frozen Fruit) | 3/4 cup | 1/2 cup | 50–70 sec | ★★★★☆ | 90% |
| 7 | Mocha (Espresso + Chocolate) | 1 cup | 1/2 cup | 45–65 sec | ★★★★☆ | 88% |
Blend Order for Best Texture
Blending isn’t just “hit start.” The order you add ingredients changes how effectively your blender creates a uniform milkshake texture—especially if you’re using frozen fruit or thicker ice cream.
Use this blender milkshake workflow:
– Add liquids first: milk goes into the blender before the ice cream. This creates immediate liquid contact, helping the blades pull ingredients down quickly and reducing the risk of icy pockets.
– Add ice cream next: scoop in your ice cream so it can be broken down and distributed through the milk.
– Add flavorings last: cocoa powder, syrup, or extracts blend more evenly when the base is already partially emulsified. For cocoa powder, adding it after a short initial blend can prevent dry clumps.
Pulse strategy:
– Blend in short pulses (2–3 seconds each) to break up large ice cream pieces.
– Then switch to continuous blending until the mixture is smooth and thick.
Why pulses help: Pulsing reduces the chance of “air lock” in the mixture. It also helps the blender reorient the mixture so you don’t end up with a gradient—thicker at the bottom and thinner at the top.
How to Get the Right Thickness
Thickness is the defining factor of a successful blender milkshake. The goal is a texture that’s thick enough to feel creamy, but not so stiff that it becomes gritty or requires aggressive shaking to drink.
Use these ratio-based adjustments:
– For thicker shakes:
– Add more ice cream (start with 1–2 tablespoons at a time if you’re being precise).
– Reduce milk slightly (even a small reduction noticeably increases viscosity).
– If using ice cubes, consider skipping them—ice cubes can dilute as they melt. Use crushed ice only if your shake base needs extra chill without adding too much volume.
– For thinner shakes:
– Add a splash of milk and blend again for 10–20 seconds.
– Repeat in small steps until you reach your ideal pour consistency.
Operational best practice: After blending, pause for 10–15 seconds before re-evaluating texture. Some blenders incorporate air during blending, and the shake can settle slightly afterward.
Benchmark texture cues (easy to apply):
– Spoon test: If it holds a spoon line and looks glossy, you’re in the right zone.
– Pour test: You want a slow, creamy pour—not a watery run.
– Mouthfeel: It should feel uniform (no icy grains) and cohesive (no separation).
Flavor Variations in a Blender
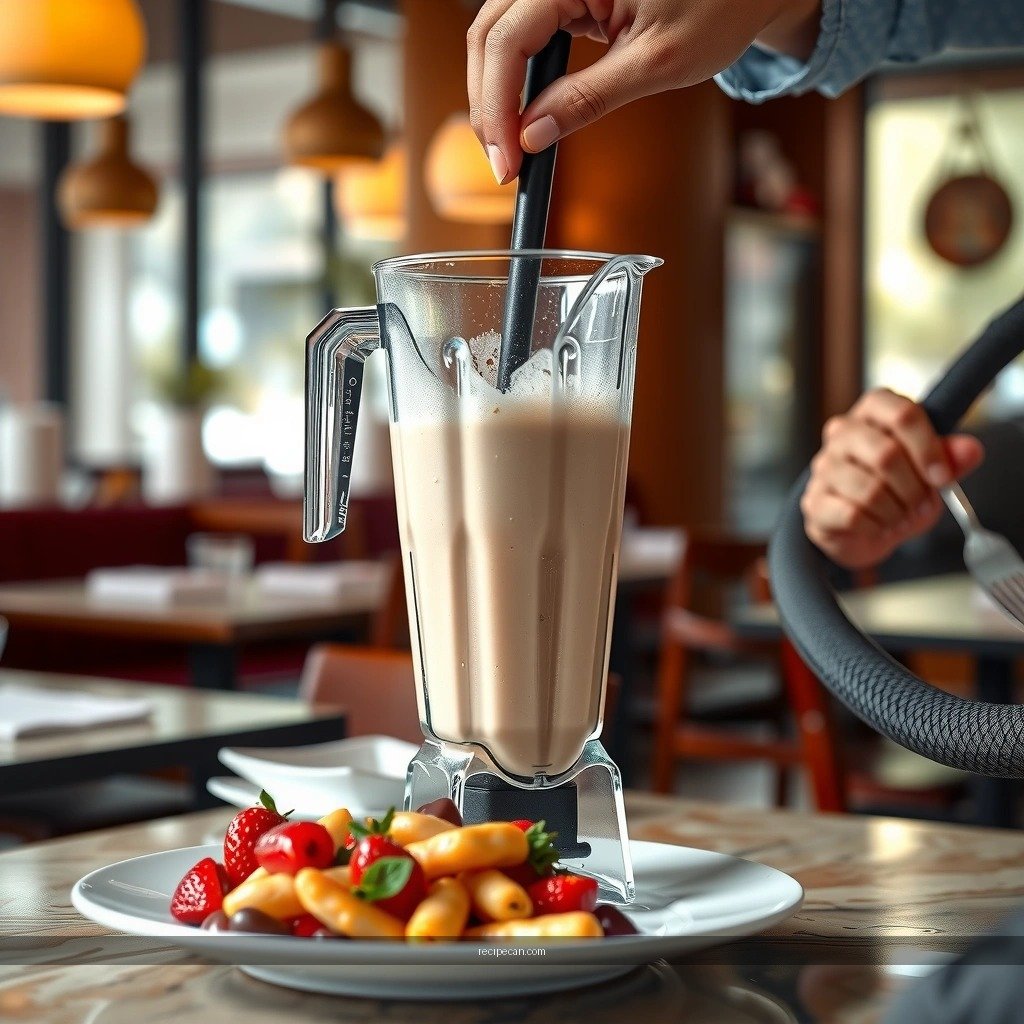
Once your base recipe is consistent, flavor becomes mostly a matter of how ingredients behave in a blender—dry powders need hydration, syrups need dilution balance, and fruit brings water and acidity.
Chocolate
For a classic chocolate blender milkshake:
– Use cocoa powder (for deeper, slightly bitter chocolate notes) or chocolate syrup (for sweeter, immediate flavor).
– Pair with vanilla ice cream for a balanced flavor profile.
– If using cocoa powder, blend longer during the continuous phase so the shake doesn’t taste dusty.
Strawberry
For a strawberry milkshake with a smooth texture:
– Use frozen strawberries and blend them with milk and ice cream.
– Because frozen fruit releases water as it thaws, the shake can thin slightly over time—start with a slightly thicker base (a touch more ice cream or less milk) if you want to serve at peak thickness.
Pro-level adjustment: If your strawberry blend tastes sharp, add a small amount of vanilla or a tiny pinch of salt to round out flavor without changing the overall recipe.
Common Blender Mistakes (and Fixes)
Most milkshake failures are predictable—either temperature issues, improper order, or blending not long enough to fully emulsify.
Mistake 1: Lumpy texture
What happens: You get small ice cream chunks or cocoa clumps.
Fix:
– Make sure ingredients are cold (not room temperature).
– Use a pulse-first method to break down chunks.
– Blend continuously until smooth, and scrape down the sides once if your blender has a tendency to leave unmixed material.
Mistake 2: Over-thinning
What happens: The shake becomes runny and loses that spoonable creaminess.
Fix:
– Add ice cream one spoonful at a time, blending 10–15 seconds between additions.
– Avoid heavy use of extra liquid (including ice cubes). If you need more chill, use frozen ingredients instead of adding water.
Mistake 3: Too much air (foamy, not creamy)
What happens: A shake that’s bright and airy but not cohesive.
Fix:
– Blend in shorter bursts and stop sooner.
– Let the shake settle for 10–15 seconds before serving.
Mistake 4: Poor flavor integration
What happens: Flavor tastes “layered” or muted in parts of the shake.
Fix:
– Add powders (like cocoa) after initial pulsing, or blend slightly longer on continuous mode.
– Ensure syrup is fully dissolved by blending after adding it rather than only relying on a quick pulse.
Serving Tips and Toppings
A blender milkshake is best treated like a fresh product: serve immediately and finish with toppings that complement texture.
Serve immediately
– Pour right after blending. This preserves thickness, prevents separation, and maintains the smooth foam structure.
Toppings that actually work with texture
– Whipped cream: adds lightness and visual appeal; best for medium-thick shakes.
– Sprinkles: add crunch and color—keep them as a finishing touch so they don’t absorb moisture too quickly.
– Syrup drizzle: reinforces flavor and creates a premium dessert-shop look.
Optional business-style upsell idea: If you’re serving guests (or building a repeatable home routine), keep a “topping station” with 2–3 syrup options and one crunch element. It’s a simple way to increase perceived customization without changing your base recipe.
A simple milkshake in a blender comes down to the right ingredient ratio and blending technique—cold ingredients, liquid-first order, and adjusting thickness with milk or ice cream as needed. Make your next one following these steps, then try a flavor variation and topping to match your cravings.
References
- Milkshake
https://en.wikipedia.org/wiki/Milkshake - https://en.wikipedia.org/wiki/Ice_cream
https://en.wikipedia.org/wiki/Ice_cream - https://www.britannica.com/topic/milkshake
https://www.britannica.com/topic/milkshake - https://pubmed.ncbi.nlm.nih.gov/?term=milkshake
https://pubmed.ncbi.nlm.nih.gov/?term=milkshake - https://pubmed.ncbi.nlm.nih.gov/?term=ice+cream+emulsion+structure
https://pubmed.ncbi.nlm.nih.gov/?term=ice+cream+emulsion+structure - https://www.sciencedirect.com/search?qs=milkshake
https://www.sciencedirect.com/search?qs=milkshake - https://www.sciencedirect.com/search?qs=ice+cream+mixing+process
https://www.sciencedirect.com/search?qs=ice+cream+mixing+process - Google Scholar Google Scholar
https://scholar.google.com/scholar?q=milkshake+in+blender+recipe - Google Scholar Google Scholar
https://scholar.google.com/scholar?q=milkshake+blending+emulsion+food+science - Google Scholar Google Scholar
https://scholar.google.com/scholar?q=frozen+dessert+milk+shake+ingredient+mixing+process


