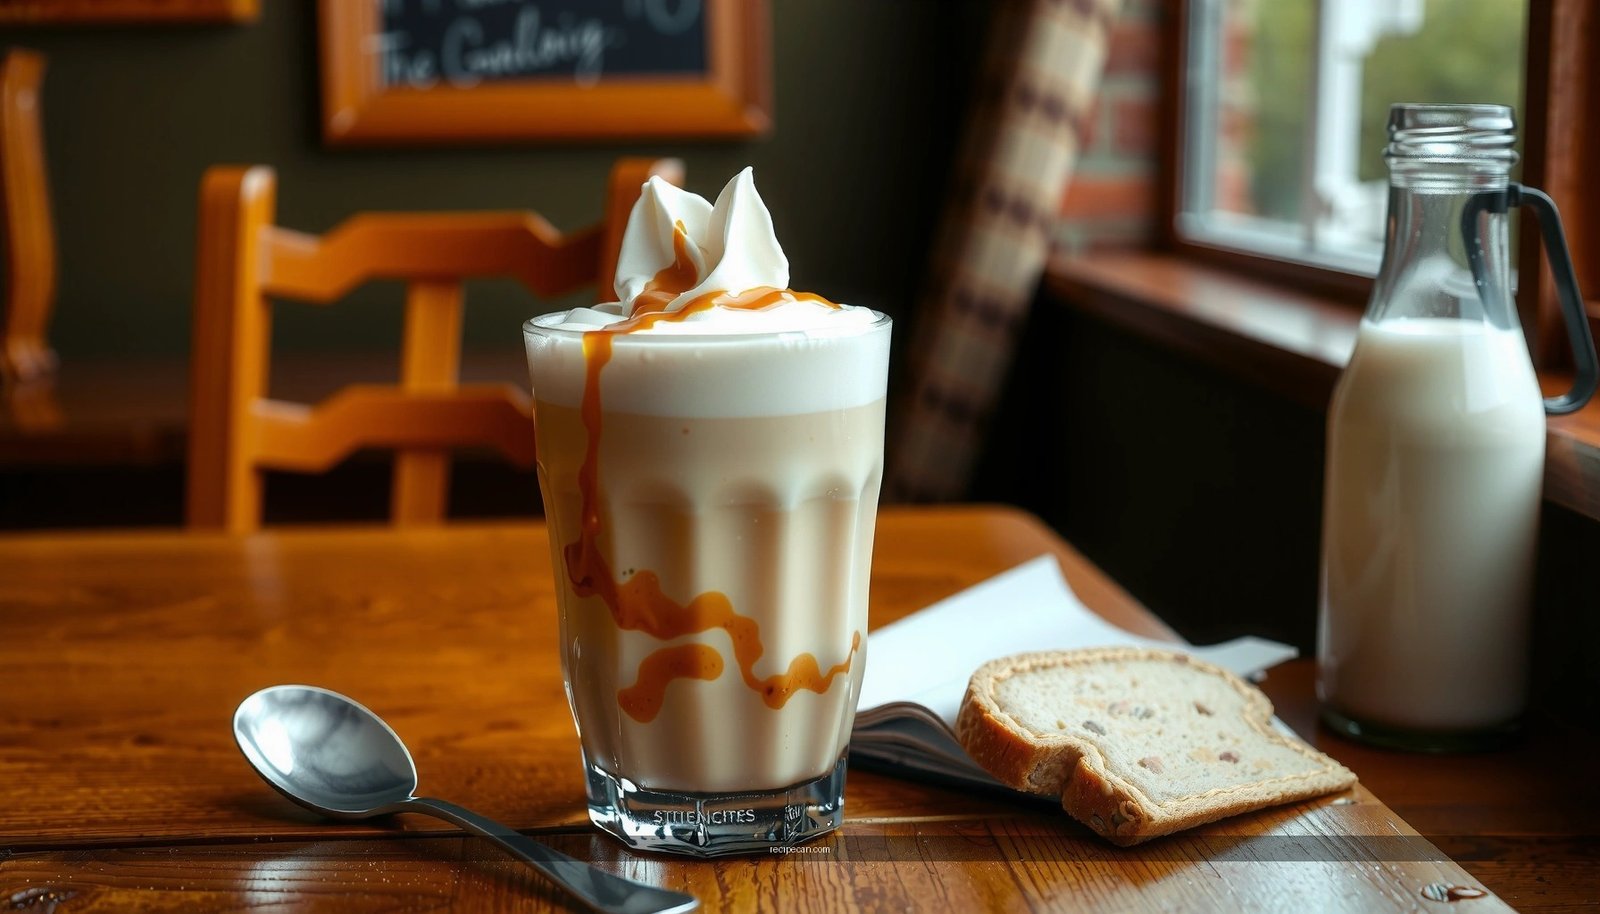
Need a creamy, easy homemade peanut butter milkshake recipe that actually turns out thick and smooth—start here. This guide gives you the exact ingredient list and step-by-step method to blend peanut butter, milk, and ice into a shake with the right sweetness and texture. If you want a quick dessert upgrade without complicated prep, this is the fastest route to a glass-licking result.
A peanut butter milkshake is simple: blend creamy peanut butter with cold milk and ice (or frozen banana) until smooth, then fine-tune thickness and sweetness to your taste. This guide walks you through a reliable base recipe—plus practical options for achieving a thick, restaurant-style texture at home, using common ingredients and a few smart adjustments.
Ingredients for a Peanut Butter Milkshake
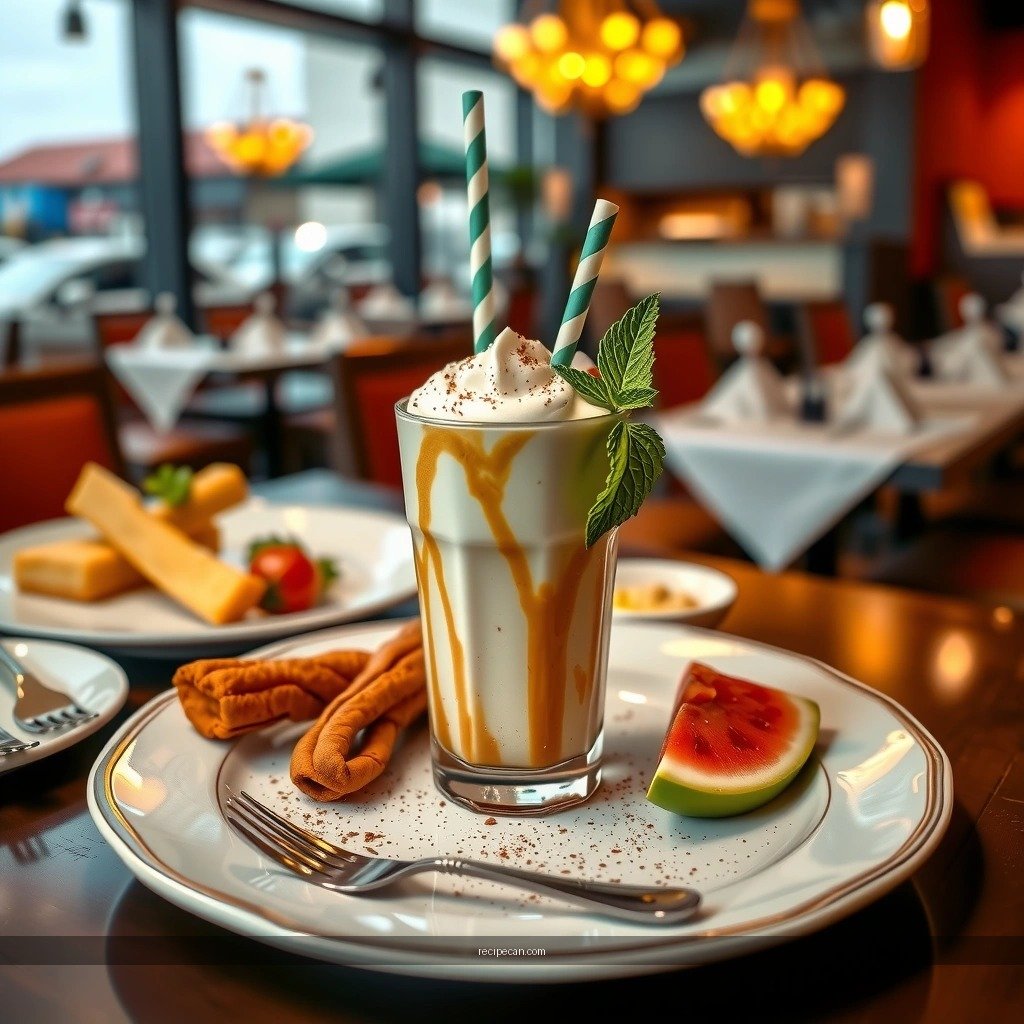
– Use milk (dairy or any alternative) and creamy peanut butter for best texture
Choose creamy peanut butter (the drippy, “natural” kind can work, but it may require extra blending time). For milk, cold whole milk typically creates the richest mouthfeel; however, soy, oat, or almond milk can also produce great results—just expect the shake to be slightly less creamy if your alternative milk is thinner.
– Add ice or frozen banana to thicken and chill
Ice delivers fast chilling and helps thicken, while frozen banana adds both thickness and a natural sweetness. If you want a classic PB flavor with minimal fruit notes, use ice. If you want the signature “PB-banana” vibe, use frozen banana (or a blend of banana and ice).
– Optional add-ins: honey, vanilla extract, and chocolate syrup
Honey rounds out peanut butter’s savory notes. Vanilla enhances the dessert aroma. Chocolate syrup (or cocoa powder) turns your milkshake into a PB-chocolate combo that pairs exceptionally well with crushed peanuts or brownie-like toppings.
Peanut Butter Milkshake Base Ingredients—Texture Impact (Home Blends)
| # | Ingredient | Typical Use (per 1 serving) | Expected Texture Score | Taste Effect |
|---|---|---|---|---|
| 1 | Creamy peanut butter | 2–3 tbsp | ★★★★★ (5/5) | Boosts PB intensity |
| 2 | Cold whole milk | 3/4–1 cup | ★★★★☆ (4/5) | Smooth, rich base |
| 3 | Ice | 1/2–1 cup | ★★★★☆ (4/5) | Thickens quickly |
| 4 | Frozen banana | 1/2–1 medium | ★★★★★ (5/5) | Naturally sweet & creamy |
| 5 | Vanilla extract | 1/4–1/2 tsp | ★★★☆☆ (3/5) | Rounds flavor |
| 6 | Honey | 1–2 tsp | ★★★☆☆ (3/5) | Adds caramel-like sweetness |
| 7 | Chocolate syrup/cocoa | 1–2 tbsp | ★★★★☆ (4/5) | Elevates into PB-chocolate |
Step-by-Step Peanut Butter Milkshake Instructions
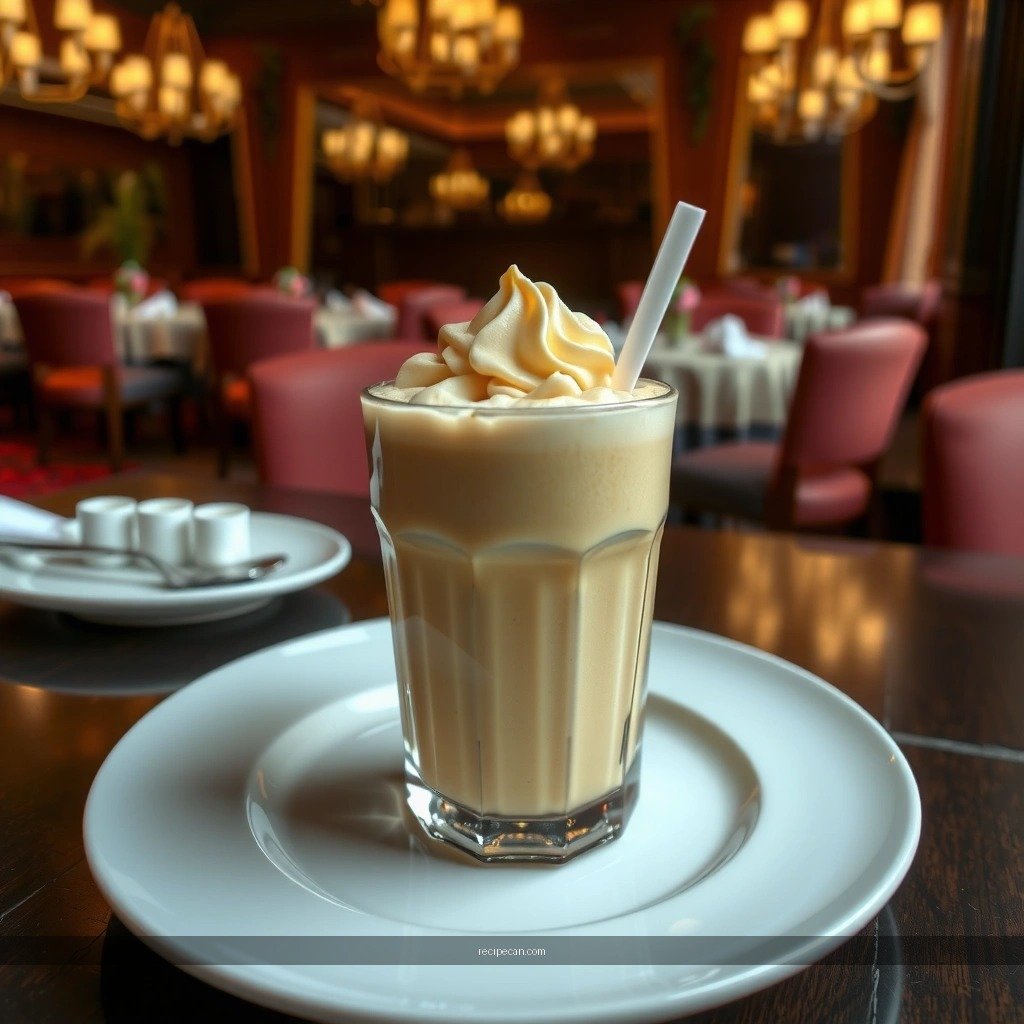
– Blend peanut butter and milk first until fully smooth
Start by adding your milk and peanut butter to the blender. Blend for about 20–40 seconds so the peanut butter breaks down evenly. This step matters: if you add ice too early, the peanut butter can cling to the blender walls and leave small gritty bits.
– Add ice (or frozen banana) and blend again until thick and creamy
Add ice in stages or add frozen banana (alone or with some ice). Blend again until the texture looks uniform and pourable—usually another 30–60 seconds depending on your blender power. For a thicker homemade peanut butter milkshake, use less milk or more ice/banana. For a thinner shake, reduce the ice and increase milk slightly.
– Taste and adjust sweetness or peanut butter intensity
Use taste as your final “quality control.” If it tastes flat, add a small amount of honey or vanilla. If you want a stronger peanut flavor, add an extra teaspoon of peanut butter, then blend again for 10–15 seconds to fully incorporate.
Tips for the Best Creamy Texture
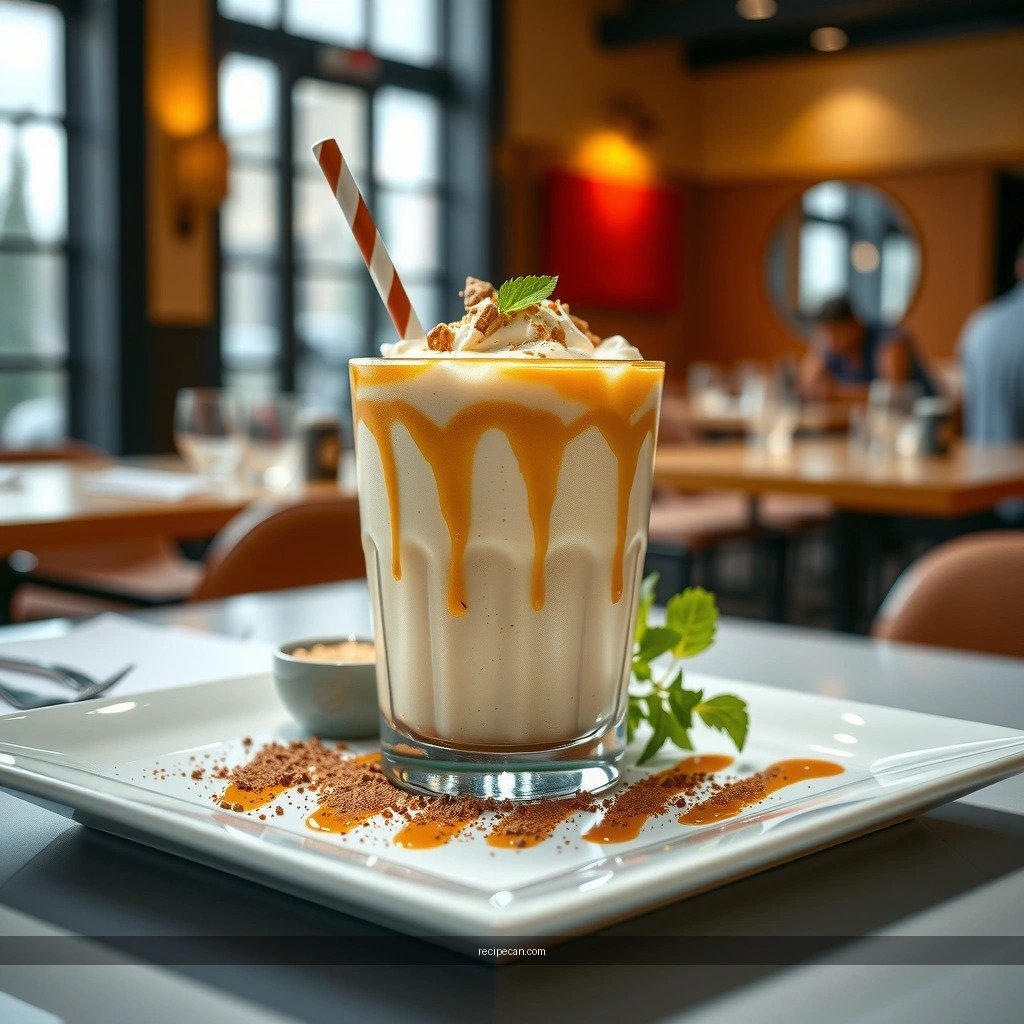
– For extra creaminess, use cold milk and add ice gradually
Cold ingredients reduce the amount of melting during blending, which helps maintain that thick, spoonable consistency. Adding ice gradually prevents overloading your blender and helps the mixture reach a smoother, more emulsified texture.
– If it’s too thick, loosen with a splash more milk
When your shake becomes too dense, add milk 1–2 tablespoons at a time. This is the fastest correction because milk integrates easily while keeping the flavor balance intact.
– If it’s too thin, add more ice or a bit more peanut butter
For thin shakes, extra ice firms up the body quickly. If the texture is fine but the flavor is weak, increase peanut butter instead—then blend until smooth to avoid graininess.
Pro-level consistency note: the thicker your base (more banana or less milk), the more slowly the shake melts. That matters if you’re serving several people, because you’ll want to blend close to serving time.
Flavor Variations to Try
– Make it chocolatey with cocoa powder or chocolate syrup
For a classic dessert profile, add 1–2 tablespoons chocolate syrup or 1–2 tablespoons cocoa powder. If using cocoa powder, blend a bit longer so it disperses fully and doesn’t settle at the bottom.
– Add a banana for a classic “PB-banana” milkshake vibe
Frozen banana naturally thickens and adds sweetness without needing extra sugar. For a balanced result, try combining frozen banana with ice: banana for creaminess, ice for chill and body.
– Stir in cinnamon or espresso powder for a deeper flavor
Cinnamon adds warmth and makes the shake taste “toasted” and cozy. Espresso powder (even 1/4 teaspoon) intensifies chocolate notes and deepens peanut flavor—ideal if you want a more grown-up, café-style milkshake.
A practical approach is to pick one “direction” (chocolate, banana, or spiced/espresso) so the flavors don’t compete.
Serving Ideas and Toppings
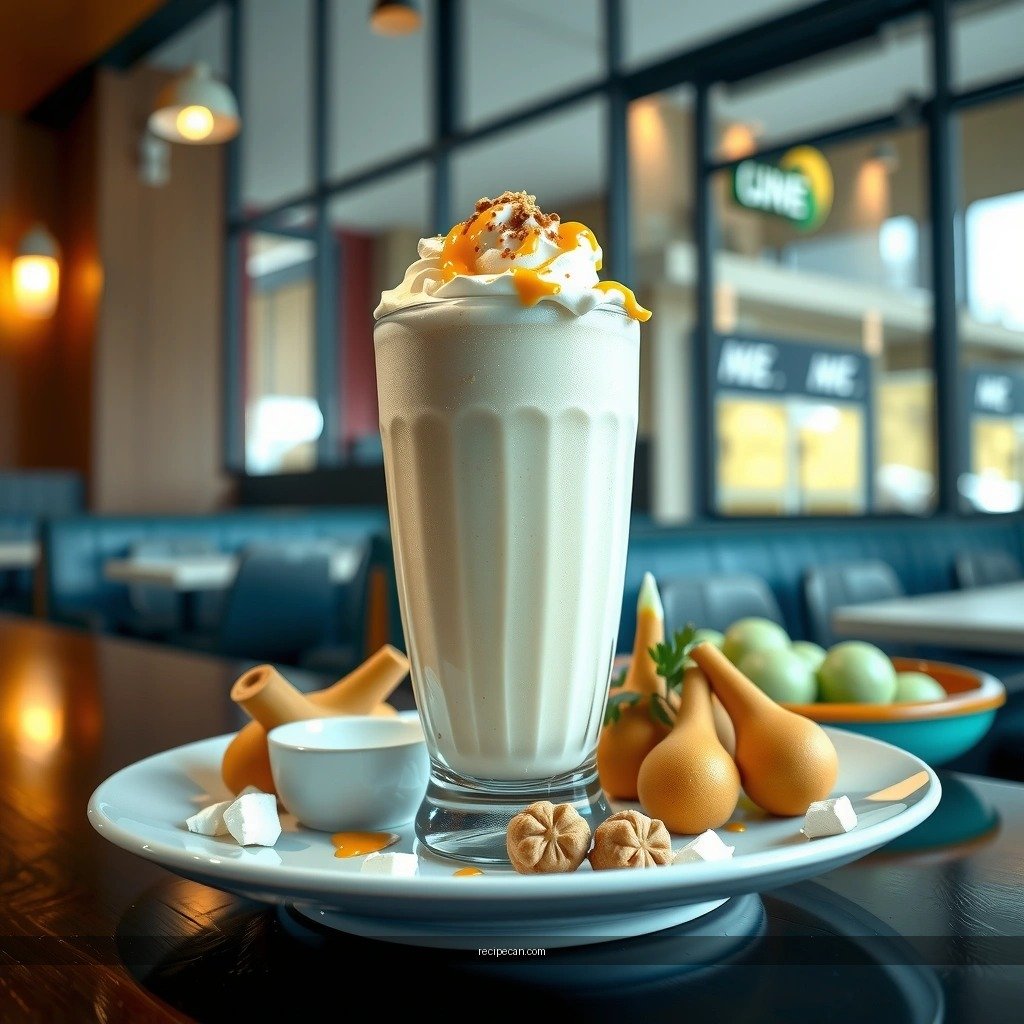
– Pour into a chilled glass and top with whipped cream
Chilling the glass helps your peanut butter milkshake maintain texture longer. A swirl of whipped cream adds visual appeal and a lighter contrast to the dense, nutty base.
– Add crushed peanuts, chocolate shavings, or a drizzle of peanut butter
Crushed peanuts provide a satisfying crunch, while chocolate shavings reinforce the dessert experience. For an extra-layer effect, drizzle peanut butter around the rim before adding the shake—small details can make a homemade milkshake feel premium.
– Serve with a straw and optional cookies or brownies on the side
If you’re serving as a treat for a group, pair it with cookies, brownies, or a simple piece of cake. The contrast between creamy shake and textured dessert improves overall enjoyment and makes the meal feel intentional.
If you want a “thick diner style” look, leave the milkshake slightly thicker and serve immediately—no thawing required.
Storage and Make-Ahead Notes
– Best fresh, but you can refrigerate leftovers up to 24 hours
Milkshakes are at their best right after blending because the texture depends on controlled melting of ice or the stable suspension from banana. If you have leftovers, cover and refrigerate promptly.
– Stir or re-blend after chilling for smoother consistency
After refrigeration, the mixture can separate slightly. Stir well or re-blend for 10–20 seconds to restore smoothness. If it becomes too thick after chilling, add a tablespoon of milk and blend briefly again.
– Avoid freezing, since texture can change
Freezing can introduce ice crystals and alter the creaminess you worked to achieve. If you want to preserve the shake, the better option is refrigeration—not freezing.
A simple workflow: blend, pour, serve. If you must batch, keep the base ingredients pre-measured and blend the final shake as close to serving time as possible.
A great peanut butter milkshake comes down to blending peanut butter, milk, and ice until smooth, then adjusting thickness and sweetness to your taste. Start with a reliable base (peanut butter + cold milk, then ice or frozen banana), correct texture with small increments, and choose one flavor variation and one topping to match your preference—chocolatey, banana-forward, or warmly spiced. Make it fresh, serve it chilled, and you’ll consistently get a creamy homemade result that tastes thoughtfully crafted every time.
References
- Google Scholar Google Scholar
https://scholar.google.com/scholar?q=peanut+butter+milkshake+recipe - Google Scholar Google Scholar
https://scholar.google.com/scholar?q=peanut+butter+milkshake+nutrition+calories - Google Scholar Google Scholar
https://scholar.google.com/scholar?q=milkshake+peanut+butter+ingredients+and+preparation - Milkshake
https://en.wikipedia.org/wiki/Milkshake - Peanut butter
https://en.wikipedia.org/wiki/Peanut_butter - https://pubmed.ncbi.nlm.nih.gov/?term=peanut+butter+nutritional+composition
https://pubmed.ncbi.nlm.nih.gov/?term=peanut+butter+nutritional+composition - https://pubmed.ncbi.nlm.nih.gov/?term=milkshake+nutritional+composition
https://pubmed.ncbi.nlm.nih.gov/?term=milkshake+nutritional+composition - https://fdc.nal.usda.gov/food-search?query=peanut+butter
https://fdc.nal.usda.gov/food-search?query=peanut+butter - Food Search | USDA FoodData Central
https://fdc.nal.usda.gov/food-search?query=milk+ice+cream - Healthy diet
https://www.who.int/news-room/fact-sheets/detail/healthy-diet


