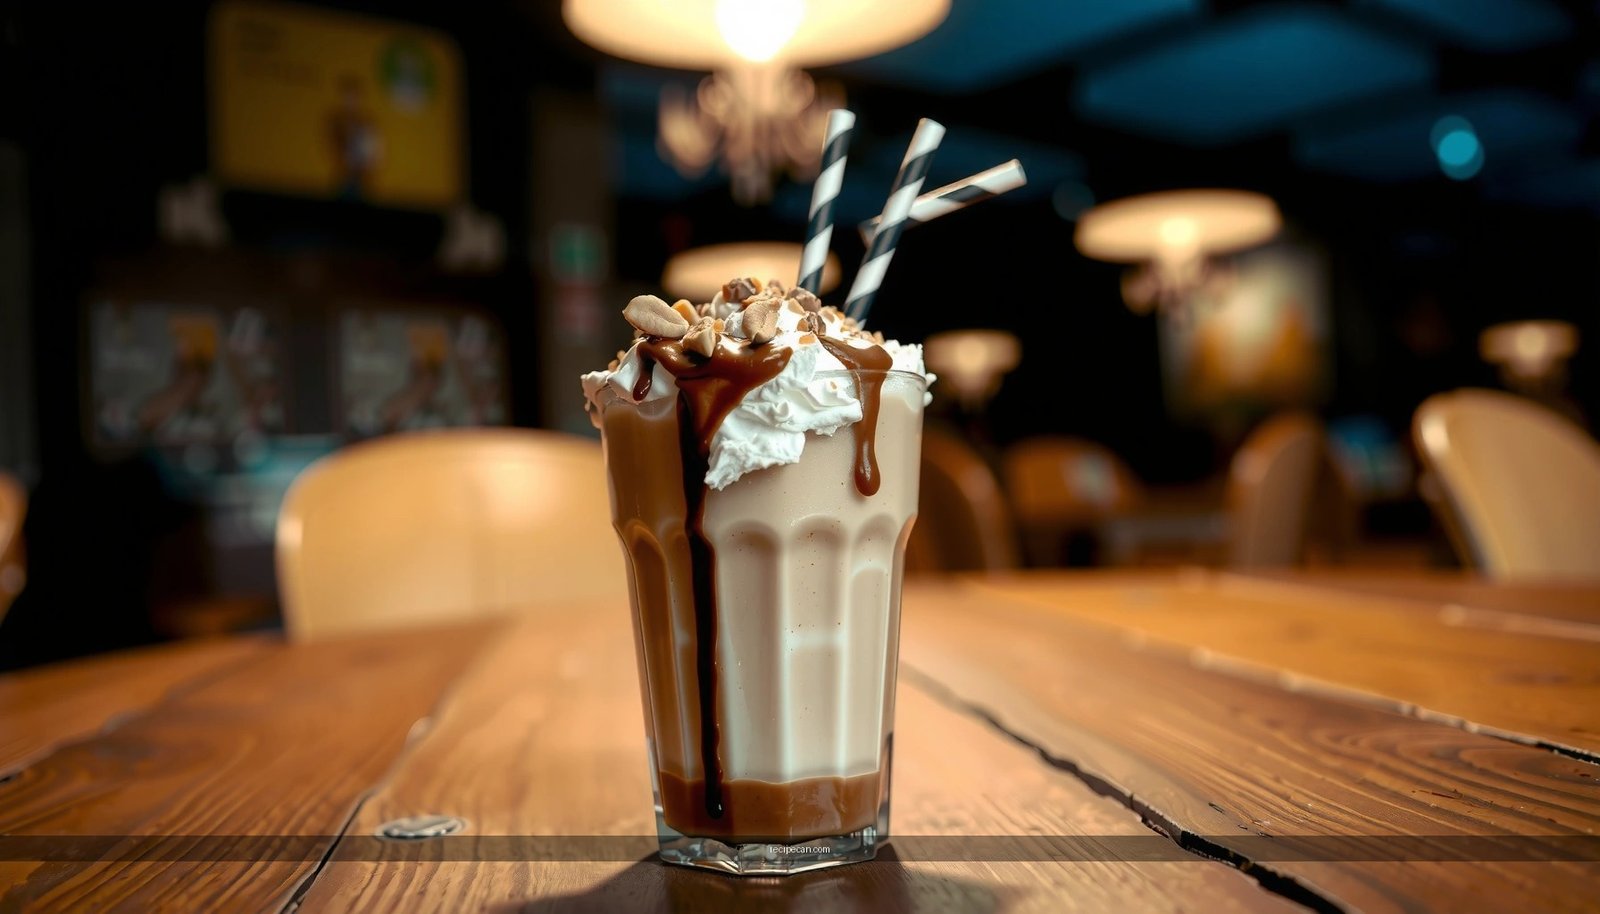
Get the best chocolate peanut butter milkshake recipe fast, with the exact measurements and method to make it thick, creamy, and intensely flavorful. This recipe wins if you want a classic shake that balances rich chocolate with nutty peanut butter in every sip—no icy slush, no bland sweetness. You’ll learn how to blend, chill, and garnish so the final milkshake holds its texture and delivers a dessert-worthy payoff.
This chocolate peanut butter milkshake recipe is quick, creamy, and reliably thick—if you start with a cold base and adjust the milk gradually. In minutes, you’ll blend a balanced chocolate-and-peanut-butter flavor that’s smooth enough to sip immediately and thick enough to hold its shape with toppings.
Ingredients for a Chocolate Peanut Butter Milkshake
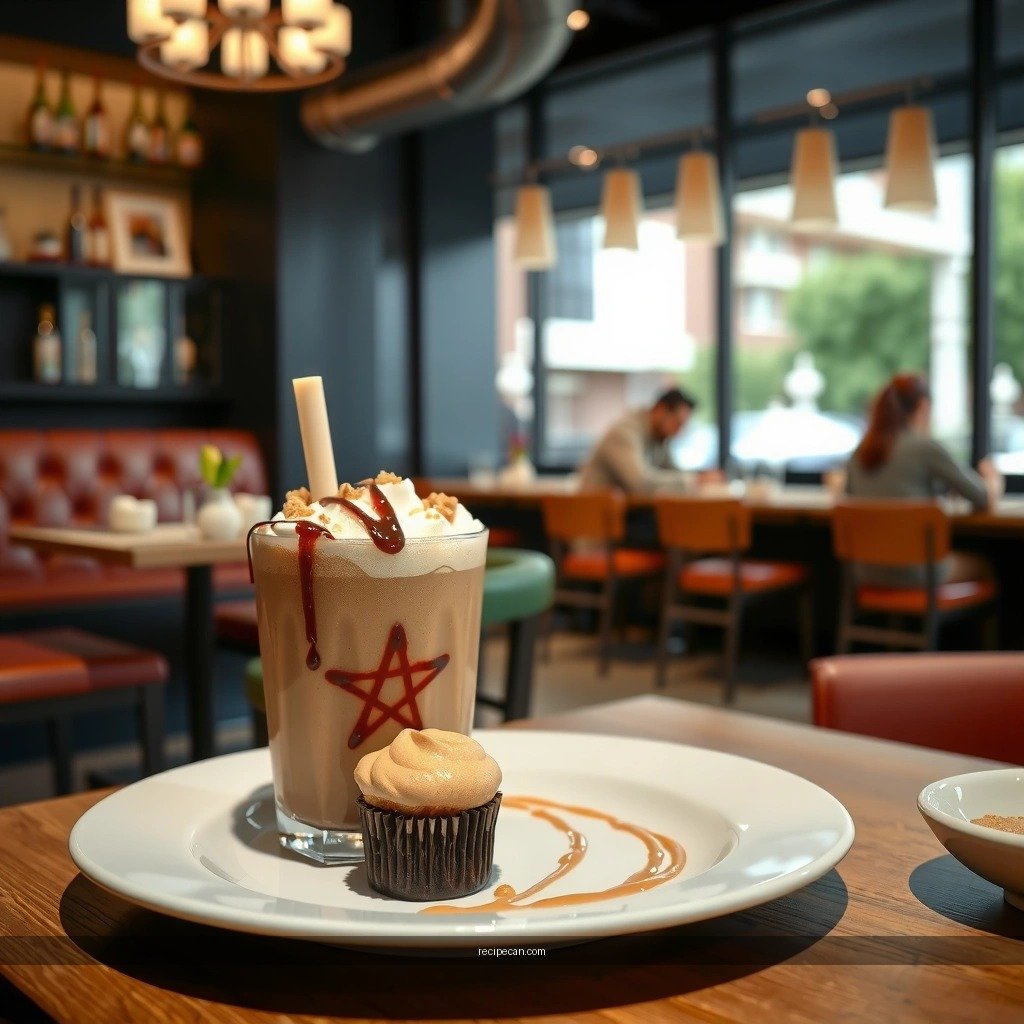
A great milkshake is less about complicated techniques and more about getting the component ratios right. Chocolate provides the cocoa depth and sweetness, peanut butter delivers nutty richness and “body,” and milk controls both texture and drinkability.
– Use chocolate ice cream or milk + cocoa as your chocolate base
– Best for quickest results: chocolate ice cream gives an instant creamy base and natural sweetness.
– If using milk + cocoa: choose unsweetened cocoa powder and sweeten to taste; cocoa will deepen the flavor, but it won’t thicken as effectively as ice cream.
– Add peanut butter (creamy or natural) for rich, nutty flavor
– Creamy peanut butter blends smooth for a classic texture.
– Natural peanut butter can be slightly more textured; if it separates, just stir it first.
– Include milk and optional sugar/vanilla to adjust sweetness and thickness
– Whole milk is typically the most milkshake-like.
– Add vanilla extract if your chocolate base tastes flat (especially if you’re using cocoa powder rather than chocolate ice cream).
– Optional sugar can help if your ice cream is less sweet or if you’re aiming for a dessert-style profile.
Below is a practical, ingredient-focused view of what different “bases” deliver in real-world milkshake outcomes (thickness and flavor strength vary significantly).
Chocolate Base Options Compared for Milkshake Texture & Flavor
| # | Chocolate Base | Typical Thickening Power | Flavor Intensity | Best Use Case | Shake Success Rating |
|---|---|---|---|---|---|
| 1 | Chocolate ice cream | High | ★ ★ ★ ★ ★ | Classic thick milkshake | 9.6/10 |
| 2 | Chocolate gelato | Medium-High | ★ ★ ★ ★ ☆ | Smoother mouthfeel | 8.9/10 |
| 3 | Vanilla ice cream + cocoa | Medium | ★ ★ ★ ★ ☆ | Cocoa-forward flavor | 8.4/10 |
| 4 | Chocolate syrup + ice cream | Medium-High | ★ ★ ★ ★ ★ | Extra sweet, dessert-style | 9.1/10 |
| 5 | Milk + unsweetened cocoa (no ice cream) | Low-Medium | ★ ★ ★ ☆ ☆ | Lighter shake alternative | 6.8/10 |
| 6 | Greek yogurt + cocoa | Medium | ★ ★ ★ ★ ☆ | Higher-protein, tangy option | 8.0/10 |
| 7 | Oat milk + cocoa + ice cubes | Low-Medium | ★ ★ ★ ☆ ☆ | Dairy-free texture target | 6.5/10 |
In most home-kitchen scenarios, chocolate ice cream (with peanut butter) is the fastest pathway to a consistently thick chocolate peanut butter milkshake.
Step-by-Step Milkshake Instructions
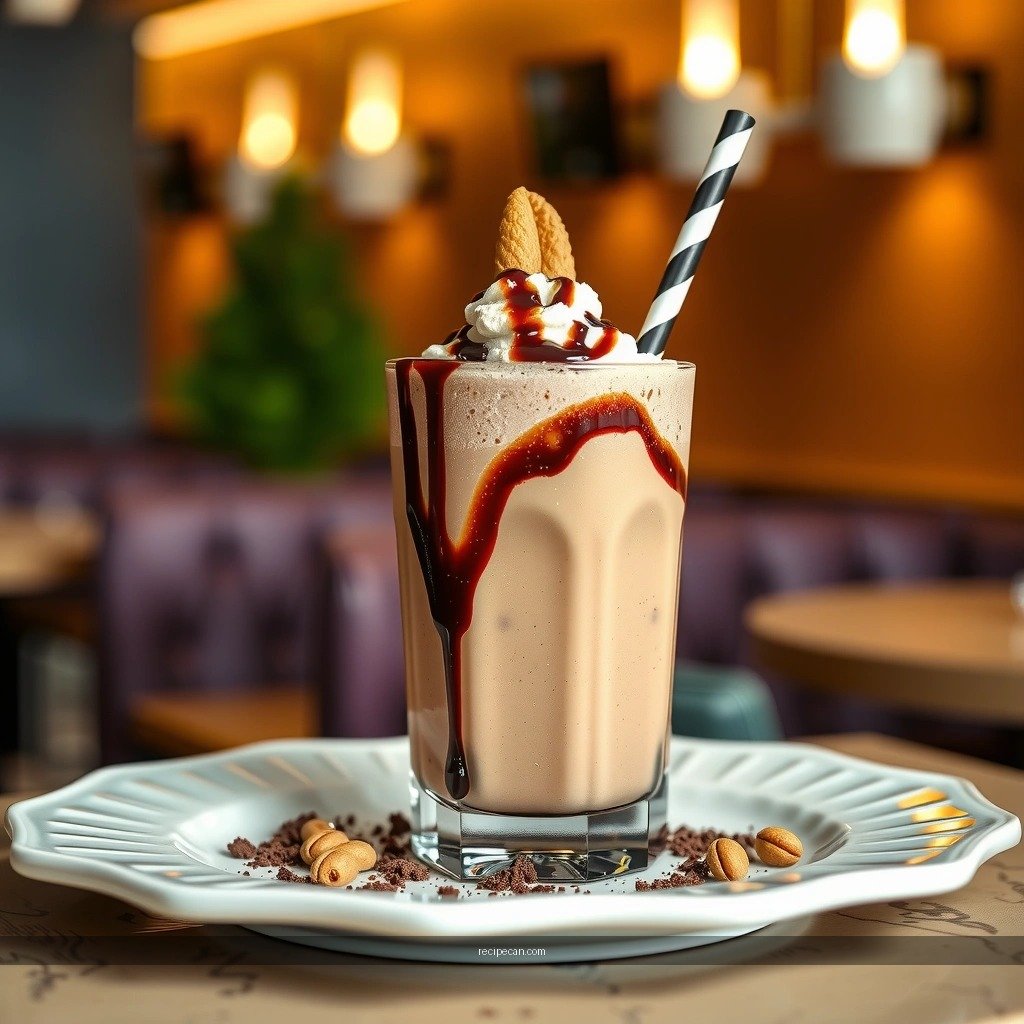
The process is simple, but doing it in the right order matters—especially when you’re trying to keep the shake smooth rather than grainy.
– Blend ice cream, peanut butter, and milk until smooth and thick
Start with the thickest ingredients first: scoop chocolate ice cream into the blender, add peanut butter, then pour in milk gradually. Blend until there are no streaks and the peanut butter disappears into the chocolate base.
– Taste and adjust with a splash more milk or a spoon of peanut butter
This is where you fine-tune the balance.
– If it tastes too rich or too dense, add 1–2 tablespoons of milk and blend again.
– If you want a stronger peanut flavor, add another spoon of peanut butter (peanut butter also thickens as it blends).
– Blend again briefly to fully combine
Peanut butter and cocoa can cling to blades and sides. Give the blender a second pass—usually 10–20 seconds—to ensure the mixture is uniform.
Practical tip: If your peanut butter is very firm (or you’re using natural peanut butter that’s thicker), let it sit at room temperature for 5–10 minutes. That reduces “chunk risk” and improves mouthfeel.
Get the Perfect Thick & Creamy Texture
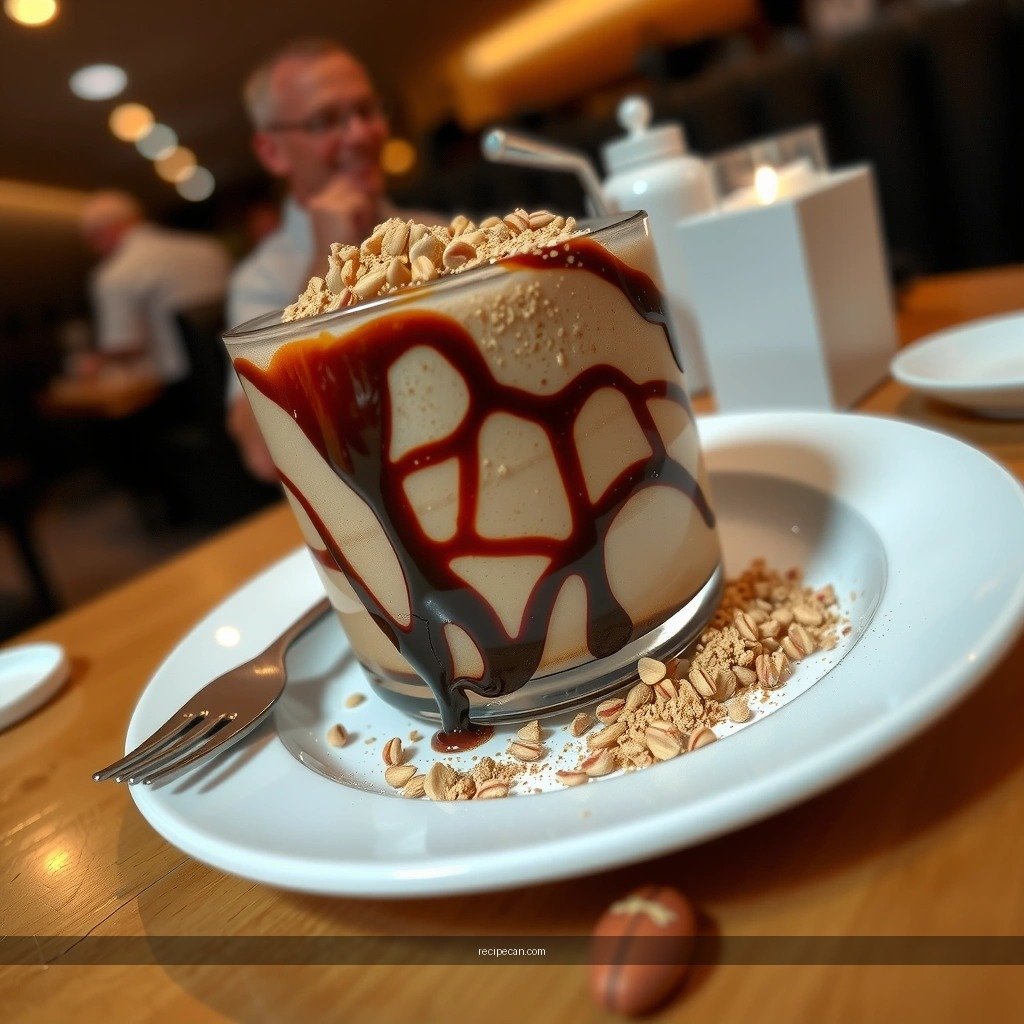
Thickness is the result of ratio and temperature, not just blending speed. If your milkshake ends up too thin, you generally can’t “fix” it without adding more thick base—so it’s best to aim carefully from the start.
– For thicker milkshakes, use less milk and add more ice cream
A good approach is to start with a smaller milk amount than you think you need, then blend. You can always thin it slightly; reversing thinness is harder.
– For a thinner shake, add milk a little at a time until smooth
Add milk one splash at a time, blending between additions. This prevents over-thinning and keeps the shake cohesive.
– Use cold ingredients and blend just until creamy to avoid separation
Over-blending can warm the base and make dairy look separated or glossy rather than silky. Blend in short intervals if your blender runs hot, and keep all ingredients chilled.
Texture troubleshooting (quick fixes):
– Too thick / hard to pour: add milk 1 tablespoon at a time.
– Too thin / watery: add ice cream, then re-blend.
– Grainy or oily patches: blend longer in short bursts; ensure peanut butter is fully mixed and ingredients are cold.
Easy Flavor Boosters (Optional)
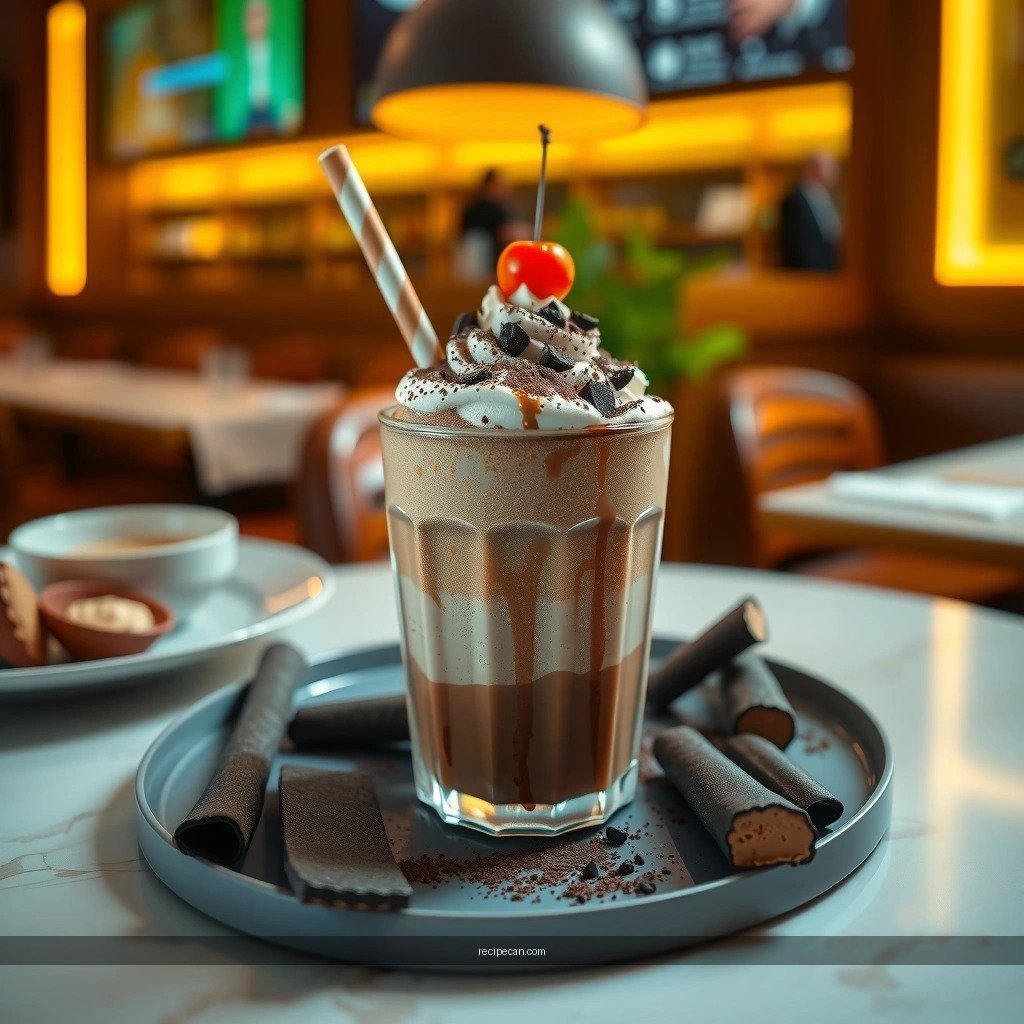
Once the base is correct, you can turn your chocolate peanut butter milkshake into a “special order” dessert by adding one or two targeted enhancements—without overwhelming the core flavor.
– Add a pinch of salt to enhance the chocolate-peanut butter combo
Salt sharpens cocoa notes and makes peanut butter taste more “roasted” and complete. Start with a small pinch; you can’t taste salt, but you *will* taste the difference.
– Stir in chocolate syrup for deeper chocolate flavor
Chocolate syrup increases sweetness and intensifies chocolate aroma. Use it in moderation so your shake doesn’t become overly sugary or thin from extra liquid.
– Top with whipped cream, chocolate shavings, or crushed peanuts
Toppings are not just visual—texture matters. Whipped cream adds aeration, chocolate shavings add bittersweet contrast, and crushed peanuts reinforce the peanut aroma in every sip.
If you want a balanced “coffee shop” effect at home, combine a pinch of salt + chocolate syrup and then finish with crushed peanuts. That trio strengthens both the chocolate and nut notes without masking them.
Serving Ideas & Storage Tips
Milkshakes are best fresh because the same cold-thick structure that makes them perfect can change as they warm.
– Serve immediately with a thick straw and extra peanut butter drizzle
Fresh milkshakes have the most stable texture. Drizzling a thin ribbon of peanut butter on top can make the flavor pop without changing thickness much.
– Store leftovers in the fridge briefly (texture may thicken as it sits)
Refrigeration can slightly firm the shake, especially if it contains a lot of ice cream. Don’t store for days—think same-day to next day for best texture.
– Stir before drinking and blend again if needed for best consistency
Separate or thickened milkshake? Stir first to re-emulsify, then blend briefly. A quick re-blend typically restores smoothness.
Serving note for events or meal prep: If you’re making multiple servings, batch-blend and portion into cups right away. Keep everything cold and avoid leaving the blender running too long between batches.
You’ll now have a chocolate peanut butter milkshake recipe you can make fast with a creamy, balanced flavor. Gather your ingredients, blend to your preferred thickness, and finish with your favorite toppings—then enjoy and share your perfect version!
A consistently excellent chocolate peanut butter milkshake comes down to three principles: choose a strong chocolate base (typically chocolate ice cream), control thickness by adding milk gradually, and maintain creaminess by blending only until smooth with cold ingredients. Follow the steps above, tweak with peanut butter or a splash of milk to reach your ideal balance, and use simple boosters—like a pinch of salt—to elevate the flavor without complicating the process.
References
- Google Scholar Google Scholar
https://scholar.google.com/scholar?q=milkshake+recipe+chocolate - Google Scholar Google Scholar
https://scholar.google.com/scholar?q=peanut+butter+milkshake+recipe - Google Scholar Google Scholar
https://scholar.google.com/scholar?q=chocolate+peanut+butter+milkshake+nutritional+composition - Milkshake
https://en.wikipedia.org/wiki/Milkshake - Peanut butter
https://en.wikipedia.org/wiki/Peanut_butter - Chocolate milk
https://en.wikipedia.org/wiki/Chocolate_milk - Milk
https://en.wikipedia.org/wiki/Milk - https://www.britannica.com/topic/milkshake
https://www.britannica.com/topic/milkshake - Peanut butter | Description, History, Nutrition, & Facts | Britannica
https://www.britannica.com/topic/peanut-butter - https://pubmed.ncbi.nlm.nih.gov/?term=milkshake+peanut+butter
https://pubmed.ncbi.nlm.nih.gov/?term=milkshake+peanut+butter


