
Get a quick and creamy easy milkshake recipe with ice cream in minutes, with no complicated steps. This is the best choice when you want a thick, spoonable shake using ice cream as the base—perfect for satisfying cravings fast. You’ll learn the simple mix-and-blend method and the exact add-ins that turn basic milk into a dessert-level milkshake.
Blend ice cream with milk until smooth, and you’ll get a classic, thick milkshake in minutes. Below is a reliable recipe framework—simple ratios, troubleshooting tips, and flavor add-ins—so your homemade milkshake comes out creamy and consistent every time.
Gather Simple Ingredients
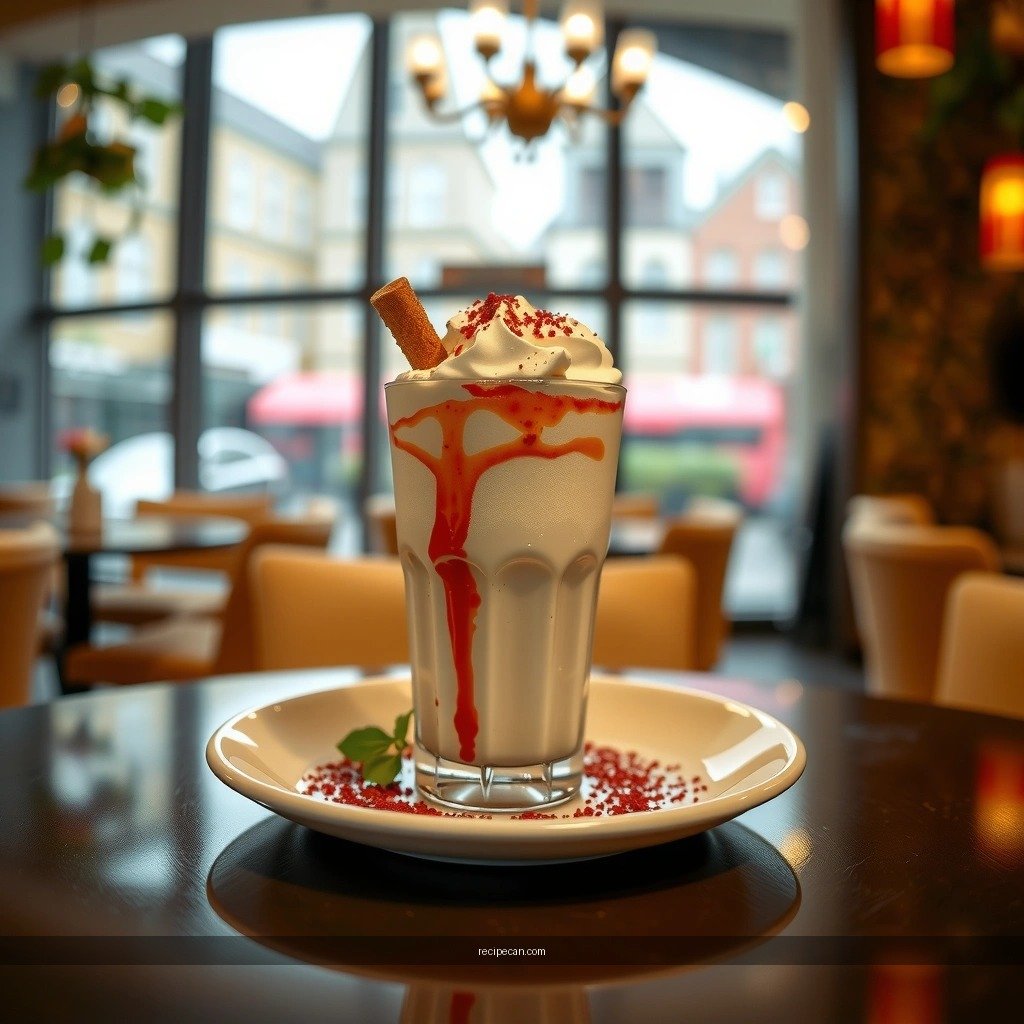
You don’t need a long ingredient list to make a great ice cream milkshake—what matters is using the right base and adjusting consistency with milk. Think of this as a “ratio-first” recipe: once the base is correct, the flavor is easy to customize.
– Use your favorite ice cream as the main base
Full-fat ice cream produces the most stable texture because it contains more milk solids and fat, which helps the shake hold its thickness as you blend and sip. Classic vanilla, chocolate, strawberry, and cookies-and-cream are the most forgiving choices for beginners.
*Professional tip:* If your ice cream is very hard (straight from a deep freezer), let it sit at room temperature for 2–5 minutes so it blends smoothly instead of staying icy or chunky.
– Add milk (dairy or non-dairy) to reach the right consistency
Dairy milk (whole milk, 2%, or half-and-half for extra richness) blends into a smoother mouthfeel. For non-dairy milk, choose options that mimic creaminess—oat milk and soy milk generally produce the best “milkshake-like” body.
Consistency note: The thicker your milkshake, the less milk you need; the more you want it pourable, the more milk you add.
– Optional but high-impact flavor tools
Even with a basic setup, small additions can elevate the result: a pinch of salt to brighten flavor, vanilla extract for aroma, or a small amount of cocoa powder to deepen chocolate notes. These additions are more controllable than swapping entire ingredients.
Quick Reference: What You’re Building (in plain terms)
Milkshakes get their texture from two main factors:
1. Fat and proteins from ice cream provide creamy structure.
2. Milk provides liquid + dilution, allowing the mixture to blend smoothly without turning watery.
If either factor is off (too much milk or too little blending time), you’ll notice it immediately in thickness and mouthfeel.
Quick Blend Ratio for Perfect Texture
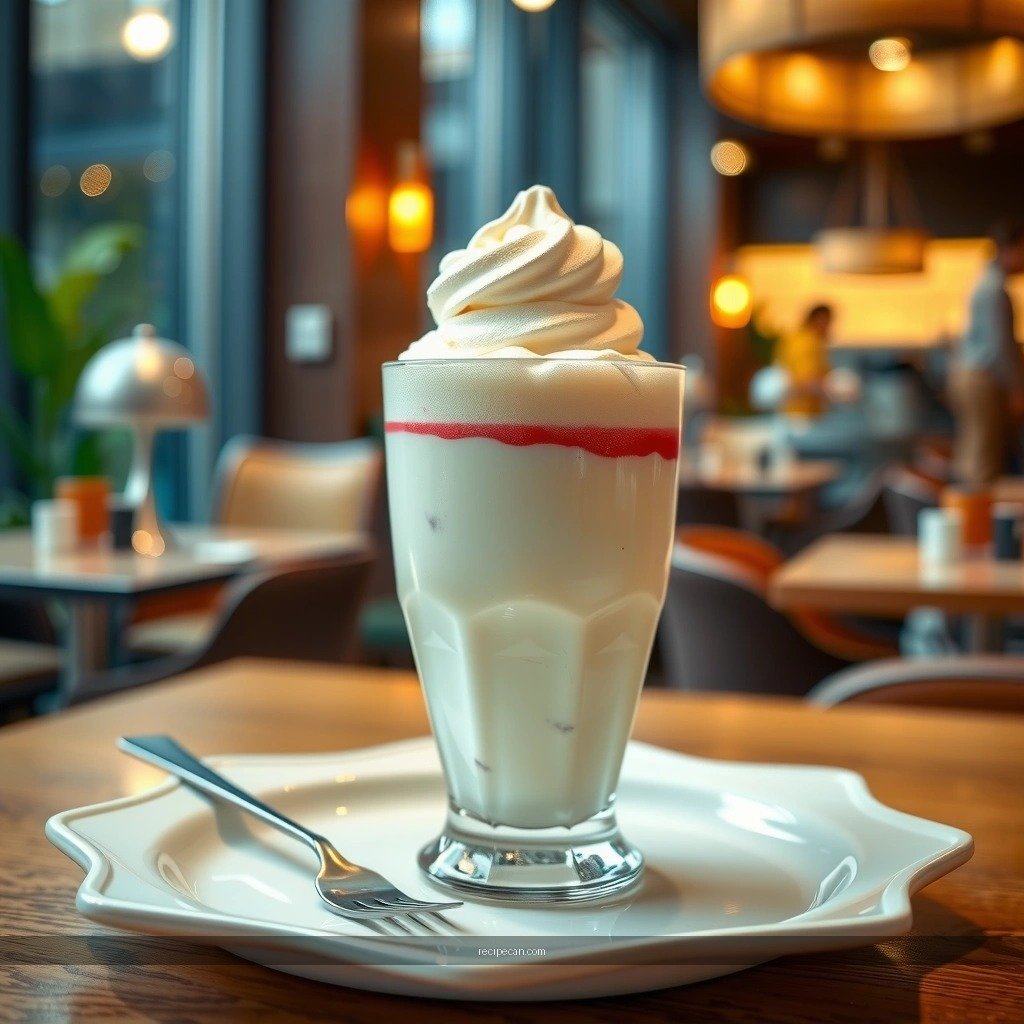
A predictable blend ratio is the fastest way to guarantee a thick, creamy milkshake rather than a thin shake or an overly icy smoothie. Start with the baseline below, blend, and then fine-tune.
– Start with 2–3 scoops of ice cream per 1/2 cup milk
This ratio is designed for a classic thick milkshake that stands up slightly when poured. Use 2 scoops for a thicker result and 3 scoops if you want it a touch smoother and more spoonable.
– Blend until thick and creamy, then adjust with a splash more milk if needed
If your milkshake is too thick or slow to blend, add milk in small increments (think 1–2 tablespoons at a time). If it’s too thin, add another small scoop of ice cream and blend again until uniform.
Consistency Targets (What “Right” Looks Like)
The “perfect texture” depends on personal preference, but most people want one of these outcomes:
Milk-to-Ice Cream Ratio Guide for Thick vs. Pourable Milkshakes
| # | Milk (per 2 scoops ice cream) | Resulting Texture | Best Use | Milkshake “Creaminess” Rating |
|---|---|---|---|---|
| 1 | 2 tbsp (30 ml) | Very thick, spoonable | Sundae-style shakes | ★★★★☆ |
| 2 | 3 tbsp (45 ml) | Thick, straw-friendly | Classic thick sip | ★★★★★ |
| 3 | 1/4 cup (60 ml) | Creamy, slightly pourable | Crowd-pleasing texture | ★★★★☆ |
| 4 | 1/3 cup (80 ml) | Smooth and pourable | Shakes for drinking | ★★★☆☆ |
| 5 | 1/2 cup (120 ml) | Thin, “milkdrink” style | When you want lightness | ★★☆☆☆ |
| 6 | Add 1–2 tbsp if blending stalls | Fixes icy texture quickly | Rescue technique | ★★★★★ |
| 7 | Swap to half-and-half (no milk) | Extra rich, less dilution | Max flavor impact | ★★★★☆ |
Easy Steps: Make It in Minutes
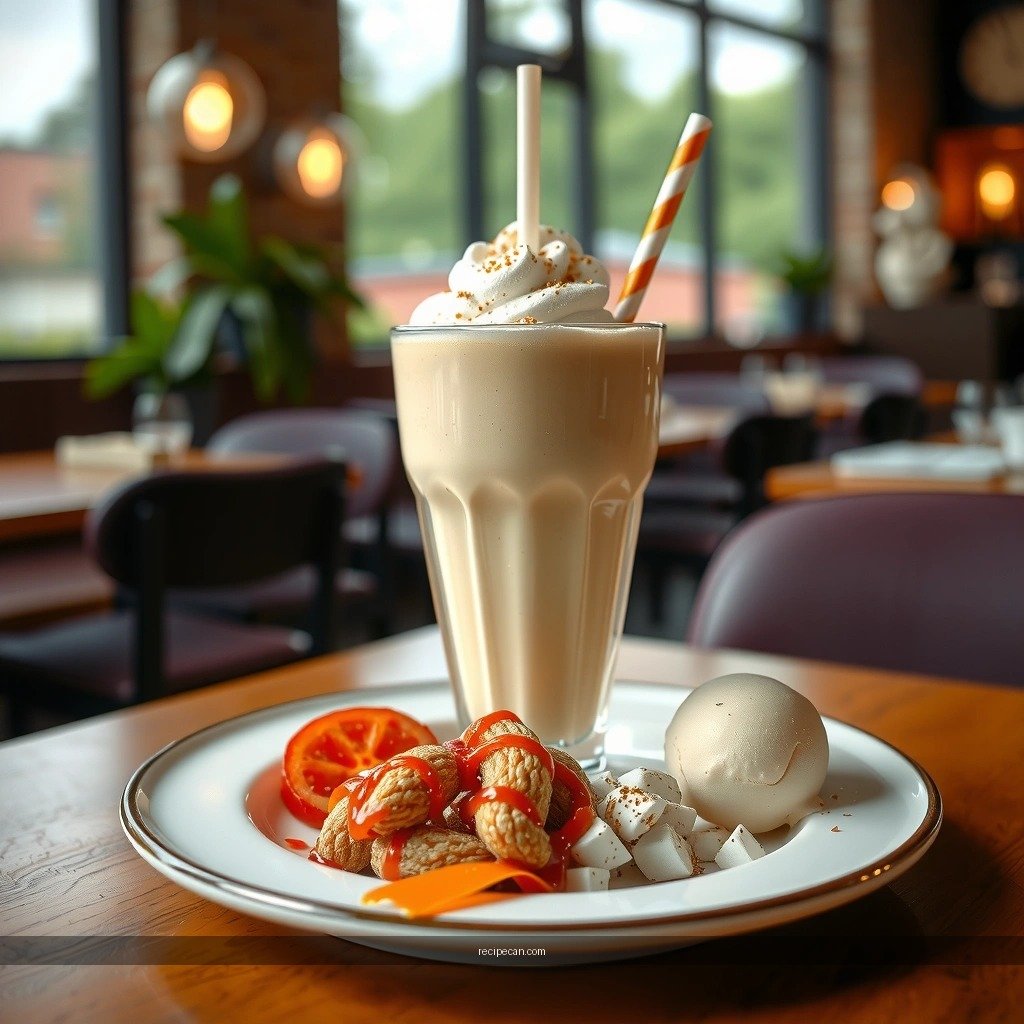
This is the part where the “easy milkshake recipe with ice cream” becomes repeatable. With a blender and a simple workflow, you can go from ingredients to creamy milkshake quickly and consistently.
– Scoop ice cream into a blender or shaker
Add 2–3 scoops depending on how thick you want the final shake. If using a blender, start with smaller chunks for easier blending. For a shaker method (less common), ice cream must be softer and the result may be less uniform.
– Add milk, blend, then taste and fine-tune sweetness and thickness
Blend for about 20–40 seconds, scraping down once if your blender tends to leave pockets. Taste immediately while the shake is cold and thick.
– Too thick? Add 1–2 tablespoons of milk and blend again.
– Too thin? Add a small scoop and blend until smooth.
– Keep operational details in mind (time + temperature)
Milkshakes melt quickly once blended. If you’re serving multiple people, blend in batches and serve right away. This isn’t just convenience—it’s a quality control step that protects texture.
Flavor Variations Without Complicating It

Once your base ratio works, you can customize flavors quickly without turning the recipe into a project. The analytical approach is simple: add concentrated flavor ingredients, then rebalance with a tiny adjustment to sweetness or thickness.
– Add chocolate syrup, vanilla extract, or cocoa powder for classic flavors
These add-ins mix well with most ice cream types. Start small and adjust:
– Chocolate syrup: Great with vanilla ice cream; add 1–2 tablespoons for a noticeable but not overpowering chocolate profile.
– Vanilla extract: Ideal when using neutral or fruity ice creams; 1/2–1 teaspoon boosts aroma and “rounds out” sweetness.
– Cocoa powder: Use 1–2 tablespoons, whisked with a little milk first if you’re concerned about clumps.
– Toss in fruit like strawberries or bananas for a fresh, creamy twist
Fruit adds flavor and perceived freshness, but it can affect texture:
– Strawberries: Fresh or frozen both work. If using fresh berries, consider blending a short time longer to fully break down pieces.
– Bananas: Add banana for natural sweetness and a thicker body—especially good with vanilla or caramel ice cream.
Key technique: If fruit is watery (especially very ripe berries), blend with ice cream first, then add milk gradually to avoid thinning.
Business-Friendly Consistency Tip
If you’re making milkshakes for guests (or as a mini catering item), standardize your add-ins by tablespoons and keep a “base batch” approach: one base recipe, then flavor variations in smaller servings to maintain texture uniformity.
Toppings and Serving Ideas
Toppings aren’t just decorative; they influence flavor balance and mouthfeel. A professional approach is to choose toppings that either (a) add crunch, (b) intensify the main flavor, or (c) provide a complementary contrast in temperature and texture.
– Top with whipped cream, sprinkles, crushed cookies, or chocolate chips
Choose one “dominant” topping plus one supportive element. For example:
– Whipped cream + chocolate shavings
– Crushed cookies + a drizzle of caramel
– Sprinkles + vanilla bean dust (or extra vanilla extract in the shake)
– Serve immediately with a thick straw for the best texture
Thick straw placement isn’t a gimmick—it’s functional. When a milkshake is served immediately, the blend stays airy and thick enough to resist quick settling. As it warms, it becomes thinner; the straw helps you control how you drink it and keeps the experience consistent.
Practical pairing examples (quick wins)
– Chocolate syrup shake: whipped cream + chocolate chips
– Strawberry shake: extra strawberry slices + whipped cream
– Banana shake: crushed graham crackers or vanilla wafers
Storage and Re-Blending Tips
Milkshakes are best fresh, but you can still manage leftovers without wasting ingredients. The goal is to restore texture rather than try to “fix” flavor from the original blend.
– Enjoy right away for the thickest, smoothest result
Once blended, the mixture begins to melt and separate. You’ll get the most stable texture within the first few minutes.
– If it thickens, blend again with 1–2 tablespoons of milk
If the shake becomes too thick or icy, re-blend with a small splash of milk. This step reintroduces liquid and helps redistribute fat evenly. Avoid adding large amounts of milk at once—small increments protect thickness and flavor concentration.
*Optional storage guidance:* If you must store, use an airtight container to reduce ice crystal formation. When ready to serve, stir briefly, then blend for 15–25 seconds with 1 tablespoon of milk first.
If you want a quick, creamy treat, this easy milkshake recipe with ice cream is the fastest way to get great results. Pick your favorite flavor, follow the simple blend ratio, and customize with toppings—then make your next milkshake today.
References
- Google Scholar Google Scholar
https://scholar.google.com/scholar?q=easy+milkshake+recipe+with+ice+cream - Google Scholar Google Scholar
https://scholar.google.com/scholar?q=milkshake+nutrition+ice+cream - Google Scholar Google Scholar
https://scholar.google.com/scholar?q=ice+cream+milkshake+food+science+emulsion - Milkshake
https://en.wikipedia.org/wiki/Milkshake - Ice cream
https://en.wikipedia.org/wiki/Ice_cream - https://www.britannica.com/topic/milkshake
https://www.britannica.com/topic/milkshake - Ice cream | Definition, History, & Production | Britannica
https://www.britannica.com/topic/ice-cream - https://pubmed.ncbi.nlm.nih.gov/?term=milkshake
https://pubmed.ncbi.nlm.nih.gov/?term=milkshake - https://pubmed.ncbi.nlm.nih.gov/?term=ice+cream+nutrition
https://pubmed.ncbi.nlm.nih.gov/?term=ice+cream+nutrition - https://www.cdc.gov/nutrition/data-statistics/added-sugars.html
https://www.cdc.gov/nutrition/data-statistics/added-sugars.html


