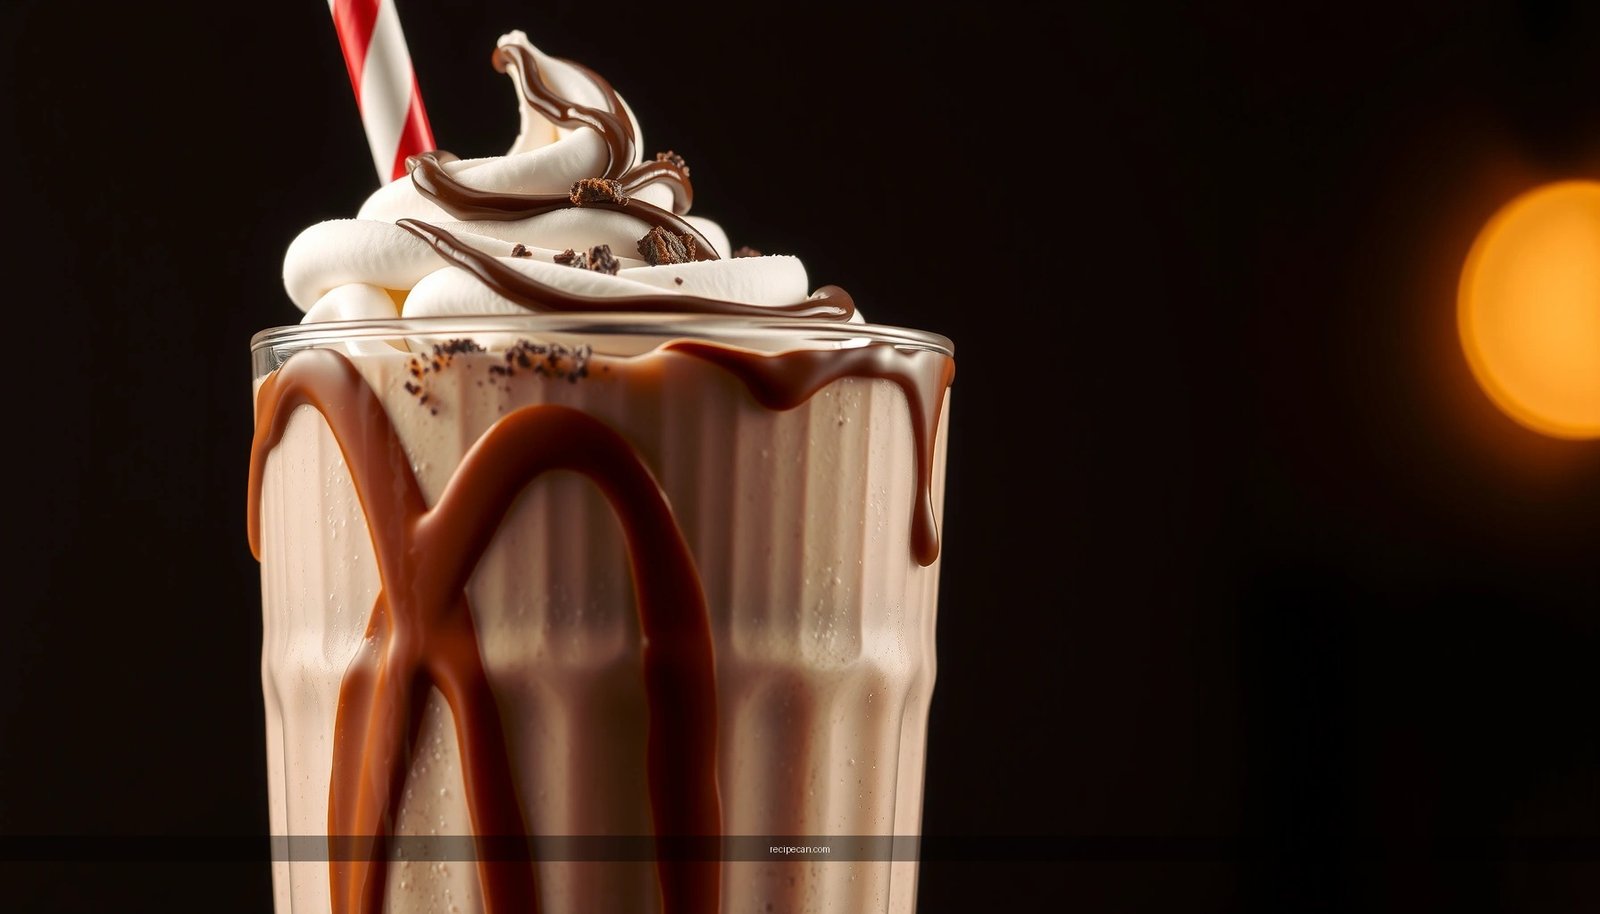
Want a chocolate milkshake recipe that actually tastes like chocolate ice cream? This guide delivers the best method for blending chocolate ice cream into a thick, smooth shake with a rich chocolate flavor and the right consistency. You’ll learn the exact ingredient ratios and mixing steps so your milkshake comes out bold, cold, and dessert-worthy every time.
Make a classic, diner-style thick chocolate milkshake by blending chocolate ice cream with milk and adding chocolate syrup (or cocoa) gradually until the flavor and texture hit your target. The key is controlling the ice cream-to-milk ratio and adjusting the chocolate boost in small increments so you get the same sweetness, richness, and “straw-sticking” thickness every time.
A great chocolate milkshake is essentially a texture-and-flavor engineering problem: fat from ice cream creates body and mouthfeel, milk controls pourability, and chocolate syrup or cocoa drives both flavor intensity and perceived sweetness. Below is a reliable method you can execute consistently with standard kitchen tools—no special equipment required.
Ingredients You’ll Need
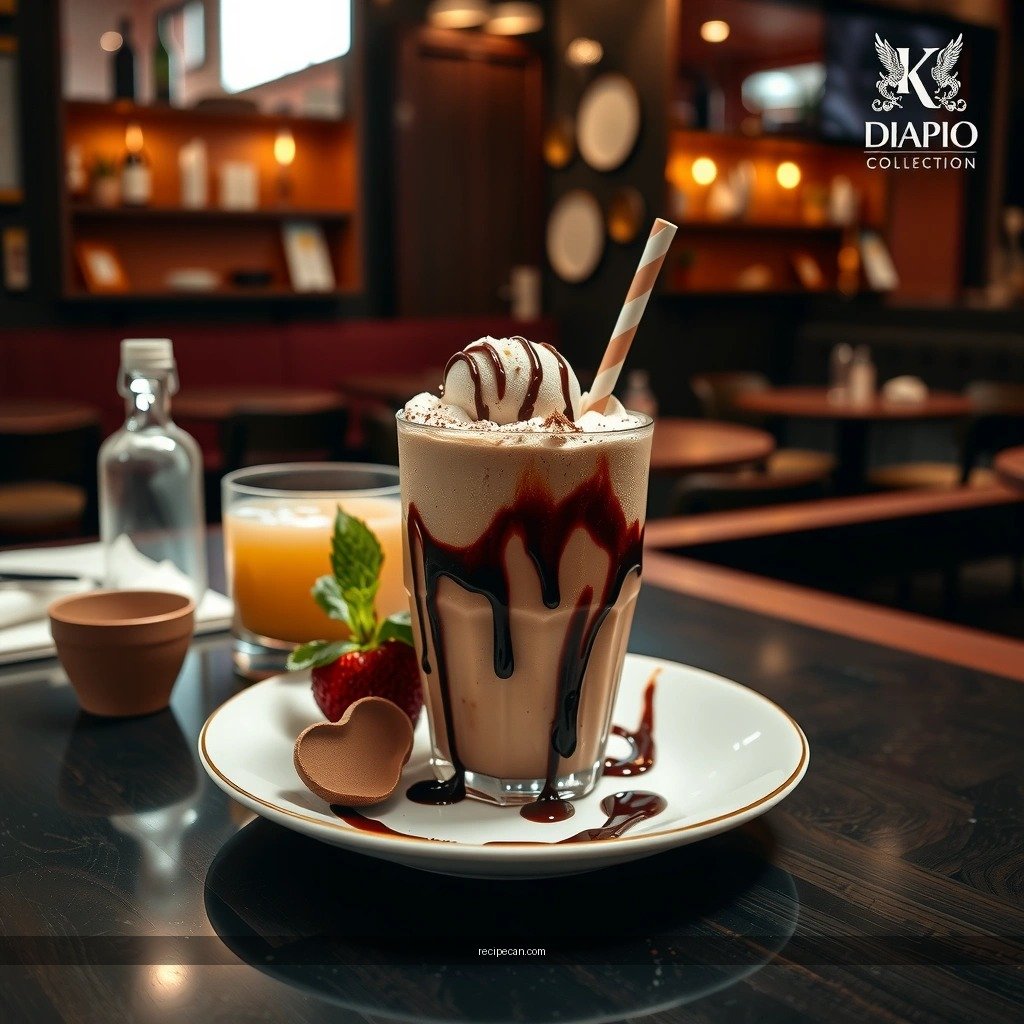
– Chocolate ice cream as the creamy base
– Milk (dairy or alternative) for the right pourable texture
To make the recipe truly “diner classic,” start with vanilla-style chocolate ice cream (or a true chocolate ice cream) rather than gelato with very low fat, because fat is what creates that smooth, spoon-coating thickness. For the milk, choose something that matches your desired mouthfeel: whole milk typically produces the thickest, creamiest result, while 2% milk gives a slightly thinner shake. If you’re using an alternative, oat milk often mimics dairy fat richness better than almond milk.
For the chocolate component, use one of these approaches:
– Chocolate syrup (easiest control; adds sweetness and a glossy chocolate note)
– Unsweetened cocoa powder (more “baker’s chocolate” depth; you may need more or a sweetener depending on your ice cream)
Simple Chocolate Milkshake Recipe Steps
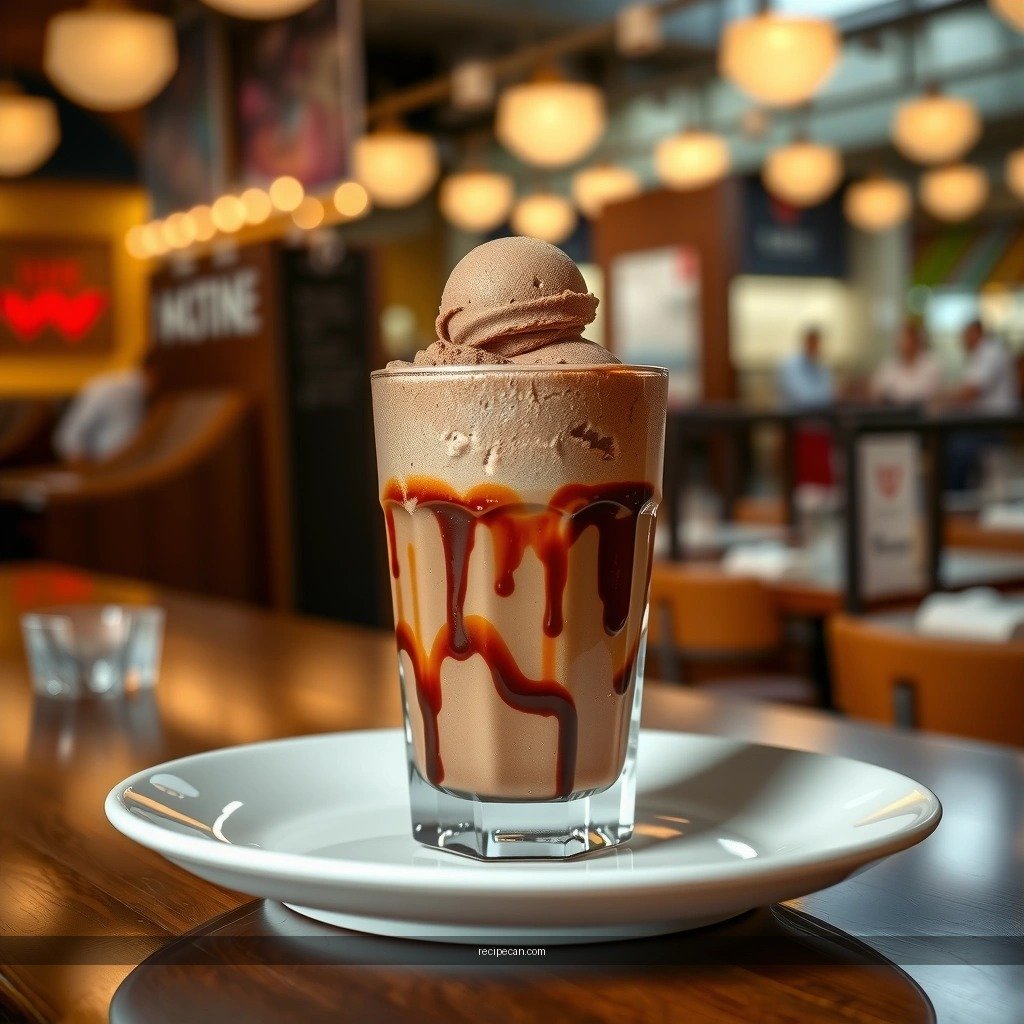
– Blend chocolate ice cream with milk until smooth and thick
– Add chocolate syrup or cocoa gradually to match your flavor
1. Start with a thick base. Add chocolate ice cream and milk to your blender in the ratio that matches the thickness you want (the thickness section below gives exact starting points).
2. Blend thoroughly first, then flavor-tune. Run the blender until the mixture is fully smooth—typically 20–45 seconds, depending on your blender and the softness of your ice cream. This prevents cocoa from clumping and ensures the syrup disperses evenly.
3. Add chocolate gradually.
– If using chocolate syrup, start with about half your intended amount, blend 10–15 seconds, then taste and adjust.
– If using cocoa powder, mix in 1 tablespoon at a time and blend longer (often 20–30 seconds) to eliminate graininess.
4. Taste with the right “service temperature.” A shake tastes different cold vs. slightly warmed. If you let it sit for 1–2 minutes, it can thicken slightly—so do a final taste right before serving.
Here’s a practical execution principle: texture first, flavor second. Fixing flavor with syrup or cocoa is easy; fixing texture after you’ve over-thinned is harder—so get the base thickness right before adding chocolate.
Diner-Style Thickness Targets (Chocolate Milkshake Batch Options)
| # | Ice Cream (oz) | Milk (tbsp) | Blend Time (sec) | Chocolate Boost | Consistency Fit |
|---|---|---|---|---|---|
| 1 | 16 oz | 6 tbsp | 35 sec | 6 tbsp syrup | ★ ★ ★ ★ ★ |
| 2 | 14 oz | 5 tbsp | 30 sec | 5 tbsp syrup | ★ ★ ★ ★ ★ |
| 3 | 16 oz | 4 tbsp | 40 sec | 3 tbsp syrup + 1 tbsp cocoa | ★ ★ ★ ★ ☆ |
| 4 | 16 oz | 8 tbsp | 30 sec | 6 tbsp cocoa (unsweetened) | ★ ★ ★ ☆ ☆ |
| 5 | 12 oz | 6 tbsp | 25 sec | 4 tbsp syrup | ★ ★ ★ ★ ☆ |
| 6 | 18 oz | 7 tbsp | 45 sec | 7 tbsp syrup | ★ ★ ★ ★ ★ |
| 7 | 16 oz | 10 tbsp | 30 sec | 8 tbsp syrup | ★ ★ ★ ☆ ☆ |
How to Get the Perfect Thickness
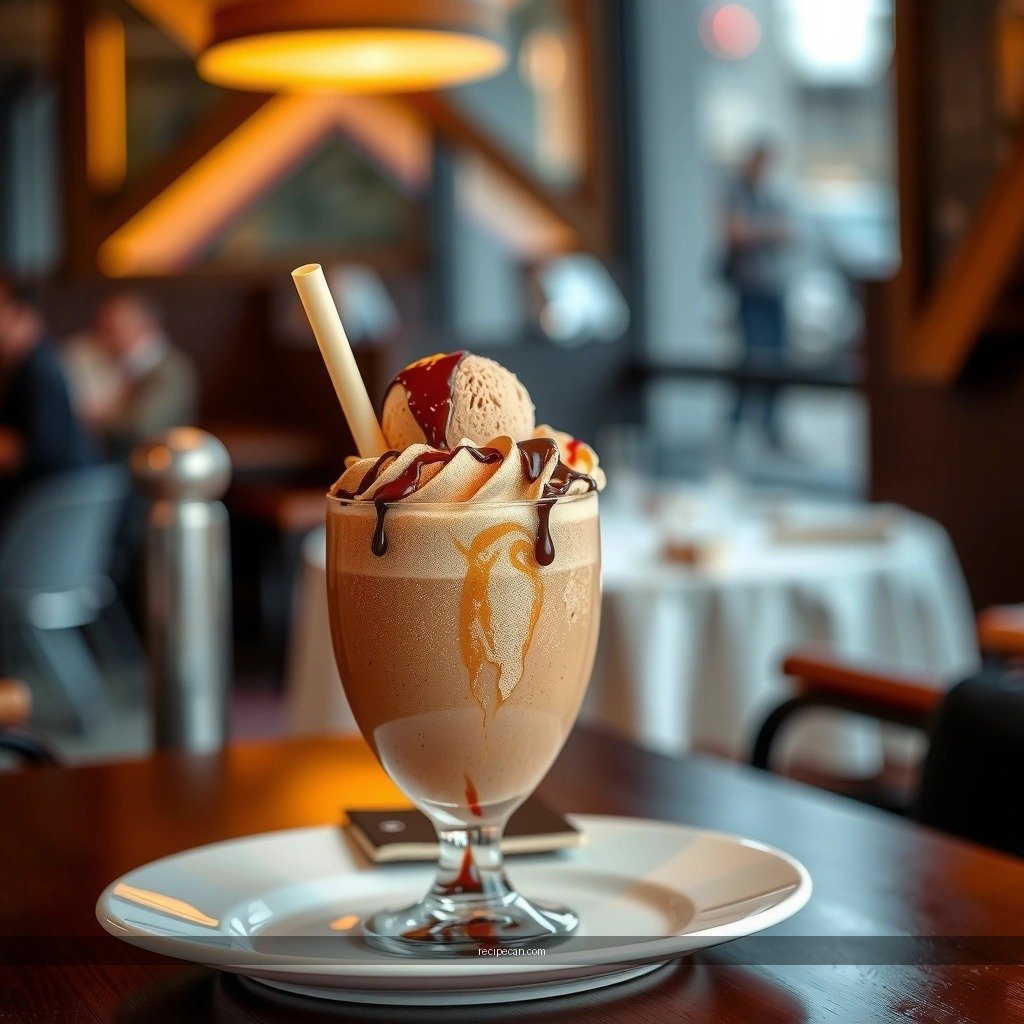
– Use more milk for a thinner shake, less milk for extra thickness
– Blend longer for a smoother, frothier result
Thickness is determined by two levers: liquid ratio (milk) and emulsification (blending duration and ice cream softness). If you want that classic diner shake—thick enough to slow the straw but not so thick you need a spoon—start with a relatively low milk amount.
What to do in practice:
– Aim low first. Add less milk than you think you need, then loosen gradually. Milk is the only direction that “thins” permanently unless you compensate with more ice cream.
– Adjust in small increments. A common professional adjustment is 1 tablespoon of milk at a time when tuning thickness.
– Blend longer than you think for froth. If your blender has enough power, blending longer can incorporate tiny ice crystals and create a smoother foam layer. That foam improves perceived creaminess—even when the shake is thick.
Quick troubleshooting logic:
– Too thick? Add milk, one tablespoon at a time.
– Too thin? Add more ice cream (or freeze the shake for 10–15 minutes, then re-blend briefly if needed).
Also consider ingredient temperature. If your ice cream is very hard straight from the freezer, you may need a longer blend time; otherwise, the shake can turn out gritty (especially with cocoa powder).
Flavor Boosters and Variations
– Add a pinch of salt to deepen chocolate flavor
– Try espresso powder or vanilla for a richer taste
Chocolate often tastes “flat” when sweetness is the only lever you pull. A small amount of salt and targeted flavor boosters can increase perceived richness without making the shake overly sugary.
High-impact boosters:
– Pinch of salt (start tiny). Salt reduces chocolate’s bitterness harshness and amplifies chocolate aroma. Use a pinch—about the size you can rub between two fingers—then taste.
– Espresso powder for mocha depth. Add 1/4 to 1/2 teaspoon espresso powder and blend well. It doesn’t make the shake taste like coffee; it makes the chocolate taste more “dark” and full-bodied.
– Vanilla extract for roundness. A small amount (about 1/4 teaspoon) can smooth out cocoa bitterness and make the flavor taste more integrated.
– Cocoa + syrup balance. Syrup gives sweetness and shine; cocoa adds intensity. If your shake tastes sweet but not chocolatey enough, adding cocoa (in small steps) can correct that.
Variation ideas that stay diner-authentic:
– Chocolate “triple” shake: chocolate ice cream + cocoa + chocolate syrup
– Mocha shake: add espresso powder and a touch of vanilla
– Classic café style: cocoa powder only (for less sweetness) plus salt to keep it bold
For best results, introduce boosters after the base is blended. That way, flavors distribute evenly instead of sitting in dry cocoa pockets.
Toppings and Serving Ideas
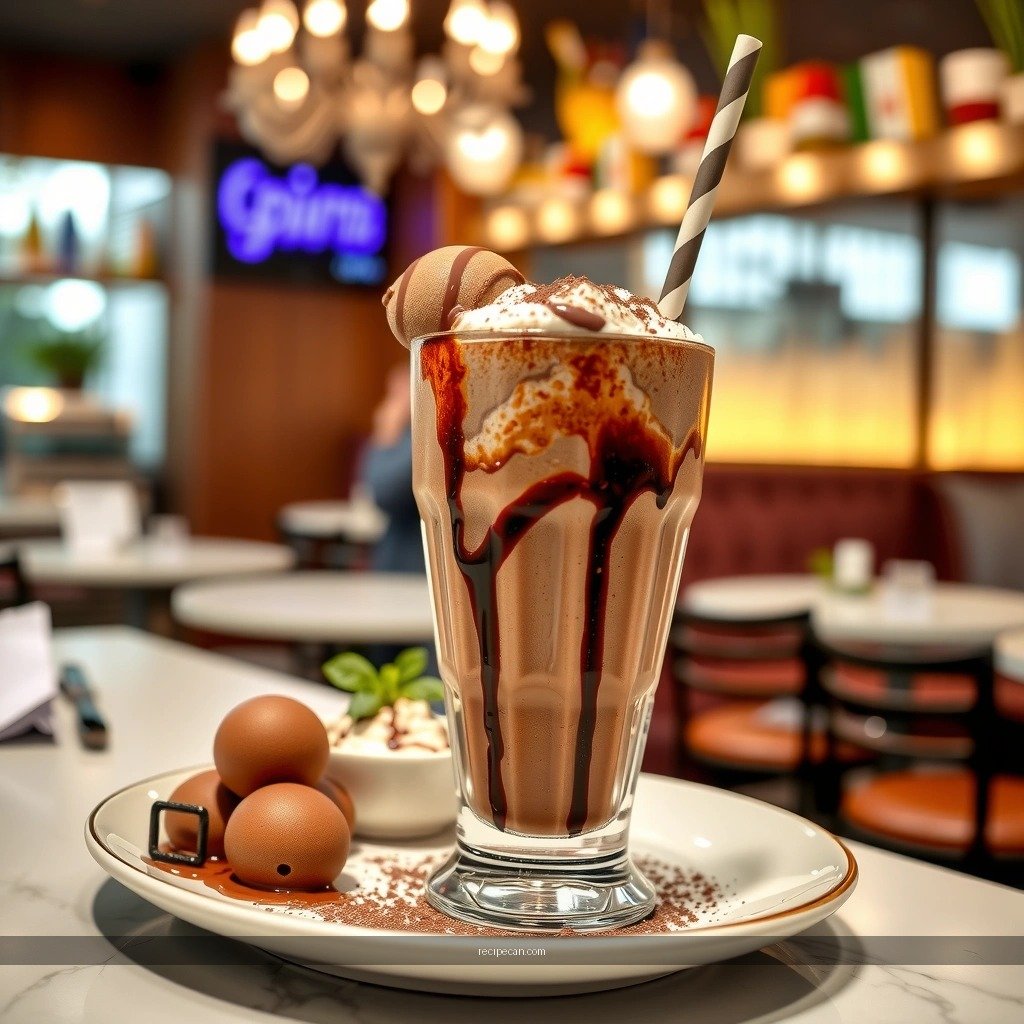
– Top with whipped cream, chocolate shavings, or sprinkles
– Serve immediately in cold glasses for best texture
A thick milkshake is only as good as its first few sips. For the classic experience, serve immediately and keep the presentation cold.
Topping strategy:
– Whipped cream adds air and a creamy finish that complements thick texture.
– Chocolate shavings (or shaved chocolate bar) provide a more refined, less sugary chocolate presence than candy sprinkles.
– Sprinkles add visual appeal and a playful crunch; choose nonpareils or chocolate sprinkles for a chocolate-forward look.
Serving best practices (texture management):
– Chill your glasses first. Cold glass helps slow melt, keeping the shake thicker for longer.
– Use a wide straw or thick spoon depending on your shake thickness.
– Serve right after blending. Even with perfect ratios, the shake will loosen as ice crystals melt.
Optional professional touch: If you’re serving multiple people, portion each shake and garnish at the last moment to maintain peak texture.
Common Fixes if It Doesn’t Turn Out Right
– If too thick, add milk 1 tablespoon at a time
– If not chocolatey enough, add cocoa or chocolate syrup gradually
Even strong methods can produce variability due to different brands of ice cream, blender power, and ingredient temperatures. Here are targeted fixes that preserve quality.
If your shake is too thick
Symptoms: won’t pour, straw feels “blocked,” or texture is dense/grainy.
Fix: Add milk 1 tablespoon at a time, blending 10–15 seconds after each addition. If it’s very thick, you can add 2 tablespoons at once, but stop early and refine with smaller adjustments.
If your shake is too thin
Symptoms: watery texture, chocolate flavor diluted.
Fix options:
1. Add more chocolate ice cream (1–2 scoops) and blend again.
2. Alternatively, chill briefly in the freezer for 10–15 minutes, then re-blend quickly to restore smoothness.
If your shake doesn’t taste chocolatey enough
Symptoms: sweet but not deep; chocolate aroma is faint.
Fix: Add chocolate gradually:
– With cocoa powder, add 1 tablespoon at a time, blend thoroughly.
– With chocolate syrup, add 1 tablespoon at a time, then taste.
If cocoa tastes gritty
Symptoms: small chocolate particles or uneven texture.
Fix: Blend longer and make sure cocoa is incorporated after the base is liquid enough to disperse. If needed, mix cocoa with a tablespoon of milk first before blending into the full batch.
You can make a great chocolate milkshake recipe using chocolate ice cream, milk, and a quick chocolate boost—then adjust thickness to your taste. Try the basic version first, then experiment with toppings and flavor boosters; make one tonight and share your favorite variation.
References
- Milkshake
https://en.wikipedia.org/wiki/Milkshake - Ice cream
https://en.wikipedia.org/wiki/Ice_cream - Chocolate ice cream
https://en.wikipedia.org/wiki/Chocolate_ice_cream - https://www.britannica.com/food/milkshake
https://www.britannica.com/food/milkshake - Ice cream | Definition, History, & Production | Britannica
https://www.britannica.com/topic/ice-cream - https://pubmed.ncbi.nlm.nih.gov/?term=chocolate+ice+cream+formulation
https://pubmed.ncbi.nlm.nih.gov/?term=chocolate+ice+cream+formulation - https://pubmed.ncbi.nlm.nih.gov/?term=milkshake+ice+cream+emulsion+stabilizers
https://pubmed.ncbi.nlm.nih.gov/?term=milkshake+ice+cream+emulsion+stabilizers - Google Scholar Google Scholar
https://scholar.google.com/scholar?q=chocolate+milkshake+recipe+chocolate+ice+cream - Google Scholar Google Scholar
https://scholar.google.com/scholar?q=ice+cream+chocolate+flavor+formulation+stabilizers - Google Scholar Google Scholar
https://scholar.google.com/scholar?q=milkshake+emulsion+overrun+viscosity+study


